In this training session, I'll show you the high-contrast look.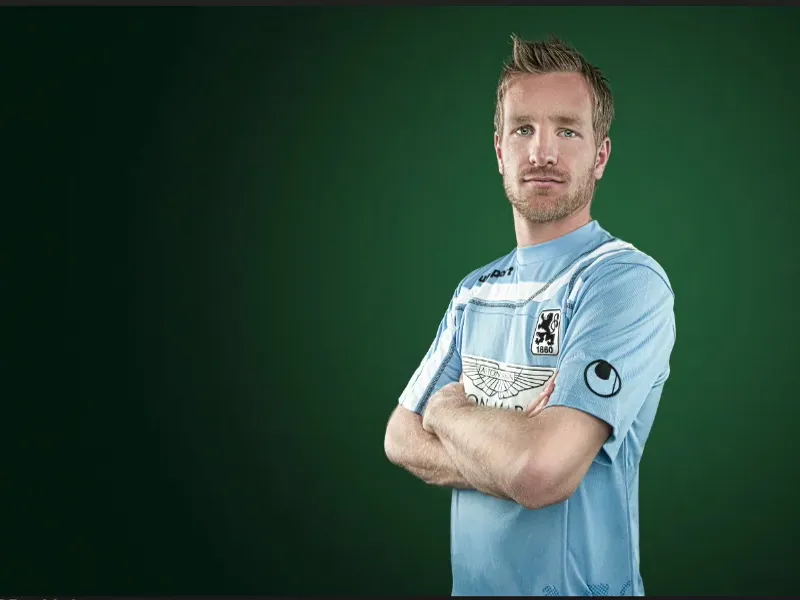
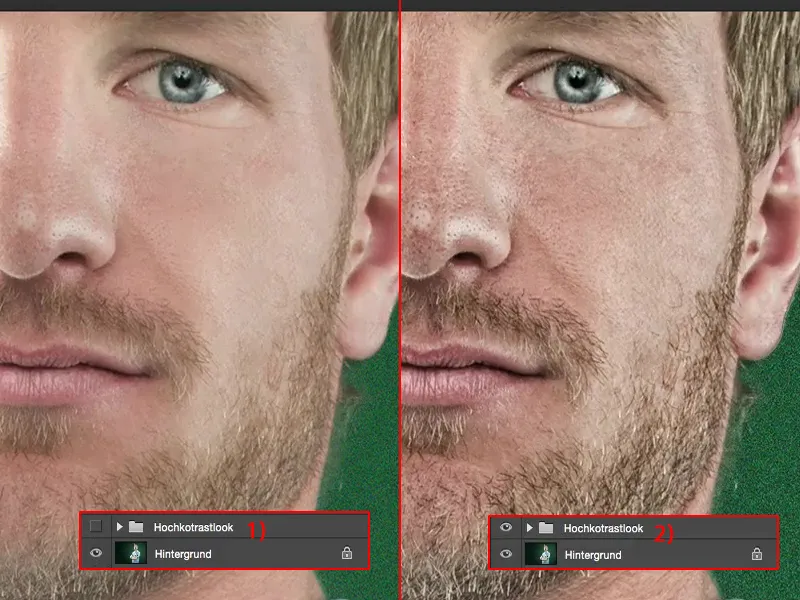
I'm zooming in a bit on Stefan Aigner, who was still playing for the Lions at the time.
The before (1) is kind of kindergarten. You can see the after (2): The high-contrast look really teases everything out of the pores. It doesn't look so good on women, but on men and in outdoor shots, in animal photography, I can really put one hundred percent of this high-contrast look over it. And now I'll show you how it works.
Working out contrasts with a grayscale layer
I'll simply Blender the effect now (1). Let's zoom back a little so that you can see a bit more. First of all, you need to copy the layer (2).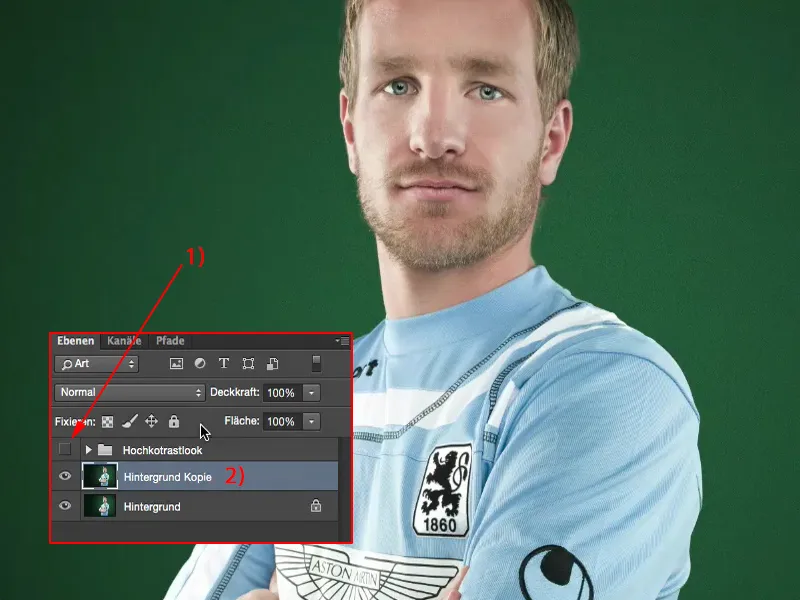
Then invert it with Cmd + I or Ctrl + I (1). This gives you a kind of negative of your image.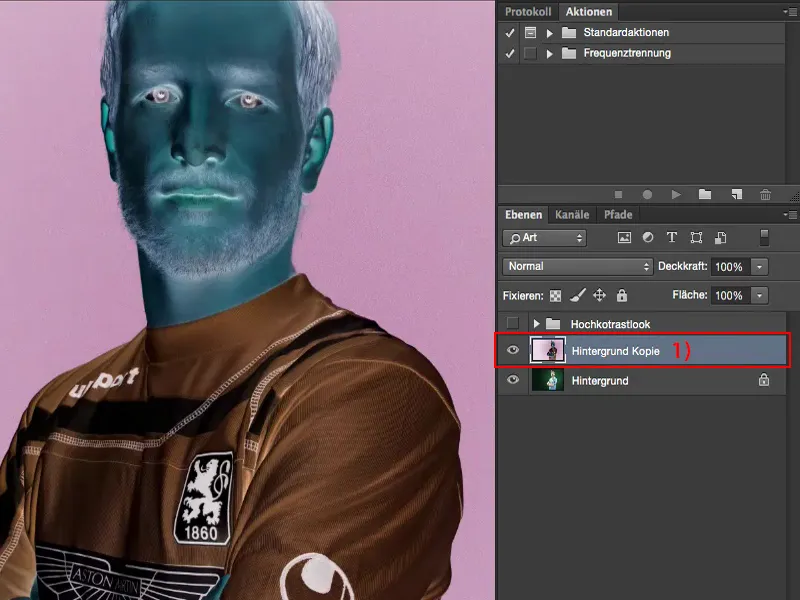
And then set the layer mode to Radiant light.
Radiant light? You can see that only a few contours remain here. It looks pretty junky down here, but this gray, it's this 50 percent Photoshop gray. And we can hide that later.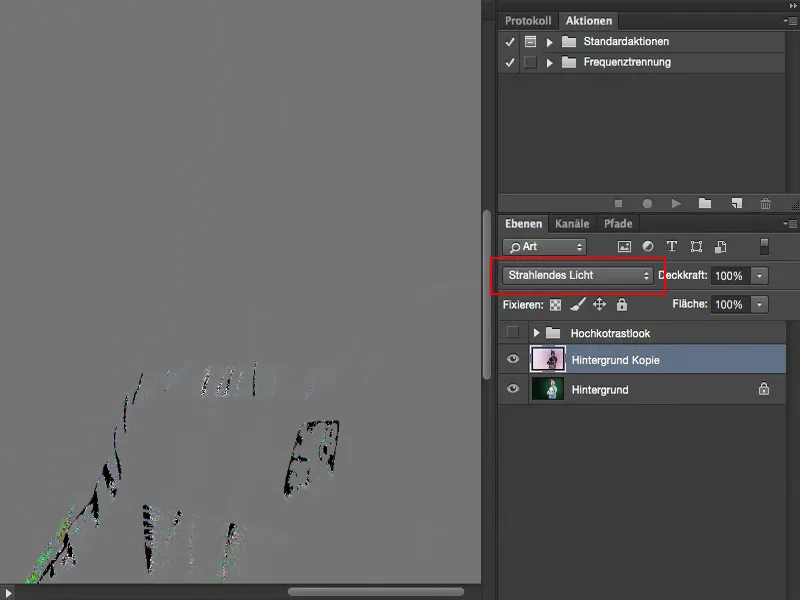
What we still need here is: Filter>Smooth Filter>Make Matte... (1).
I do this often and have noticed that The settings Radius 15 pixels and Threshold 30 levels (2) work for every image. Of course, you can also play with the radius a little and see what happens. The only thing you really need to pay attention to is: You should have a lot of detail here. The higher you go with the radius, the less detail you get. And you have to watch the edges.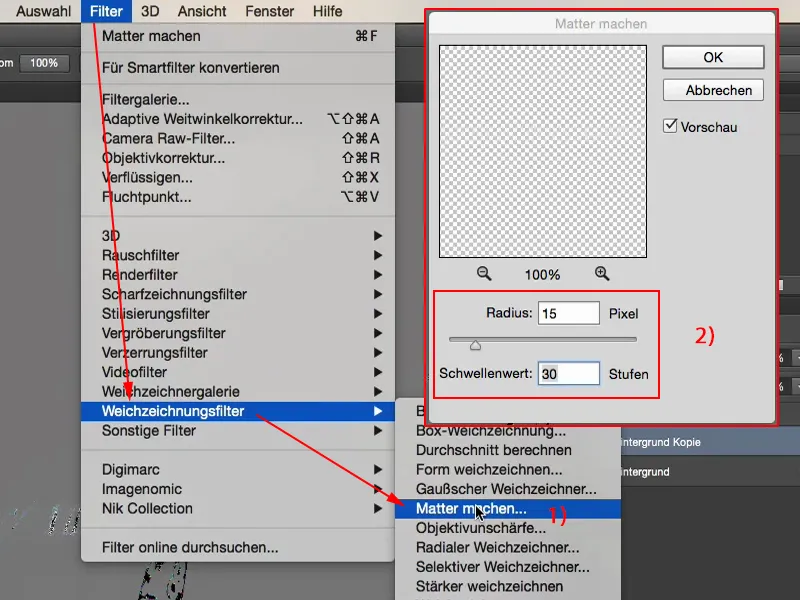
I'm going to go a bit higher with the threshold value. The moment black edges (1) appear here, i.e. these seams, it no longer works so well. It may still look good on the inside, but you will definitely get a dark edge on the outside, which will immediately expose this high-contrast look.
And with the setting Radius 15 pixels and Threshold 30 steps (2) - I tested this up to a D800 with 36 megapixels - everything always works wonderfully. So 15 pixels, 30 levels - matte, no edges, lots of detail - ideal!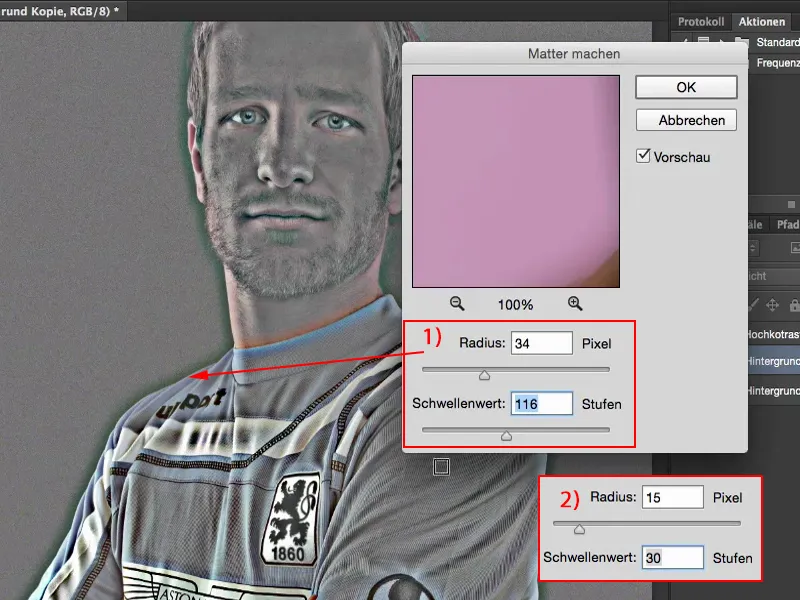
Photoshop then calculates a little, which can take a while, depending on how fast your computer is ...
What you see here is basically exactly what we need for an overlay mode. I have almost exclusively gray in there and everything that stands out is structure.
But I also have color in here. And if I put this in overlay mode now, I'll definitely get a color shift. I don't want that.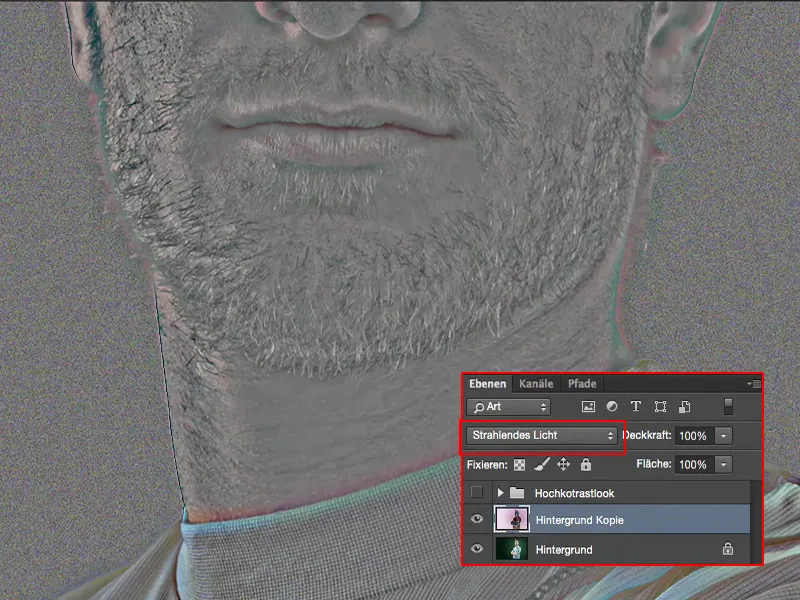
Testing layer modes
What's more, this mode is already set to Radiant Light, which means that if I set this to Overlay, for example, the gray is already removed, but it's not removed one hundred percent and I somehow get something very, very strange that I don't want.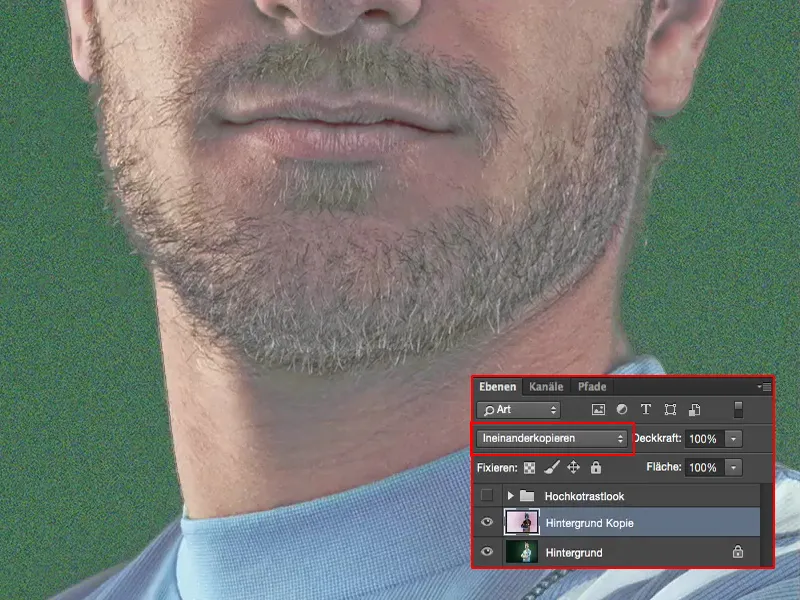
Hard light (1) doesn't work either, soft light (2) doesn't work either.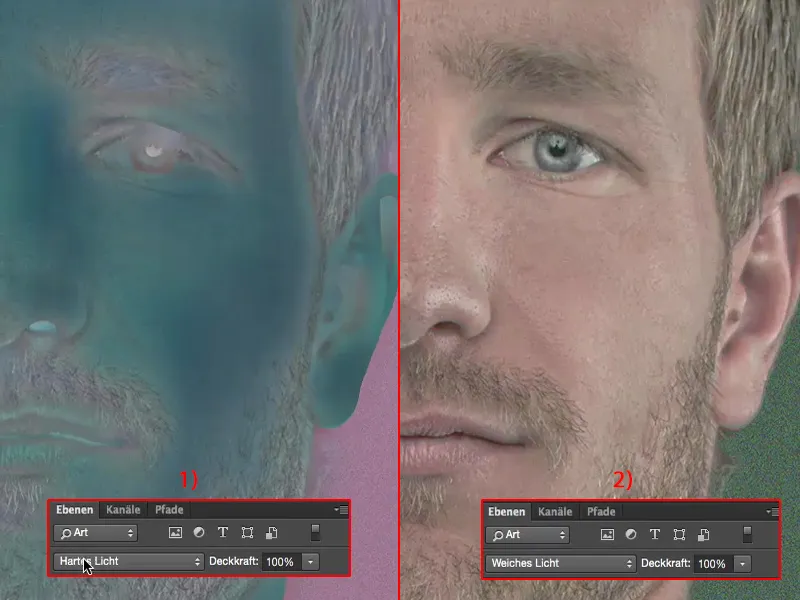
Radiant light - yes, that brings me back to grayscale.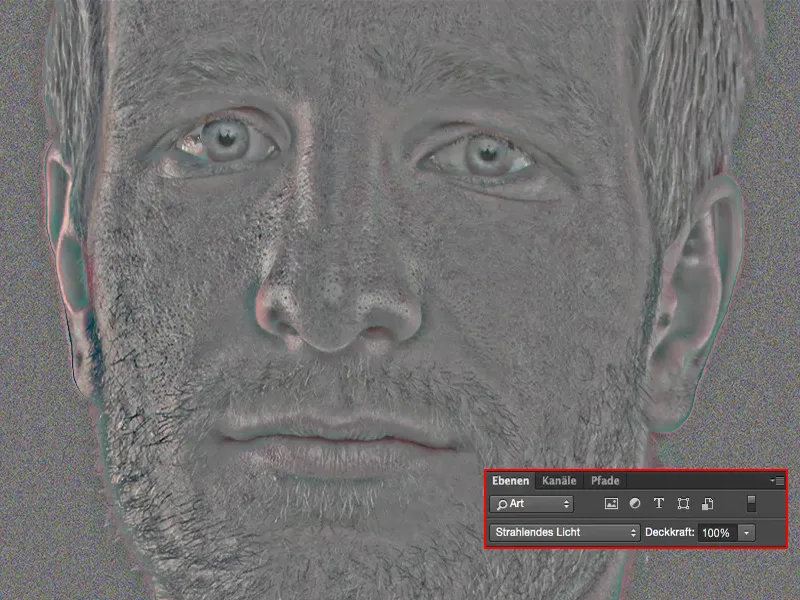
Creating a grayscale image
And now you have to merge these two layers (1) into a new one (2). There is a shortcut for this: Shift + Alt + Cmd + E (or Shift + Alt + Ctrl + E). This will practically merge these two layers (1) into a new one (2), which will be in Normal mode again (3). Now you can hide the middle layer (4), you no longer need it. It is still in Radiant light mode, which you cannot work with here.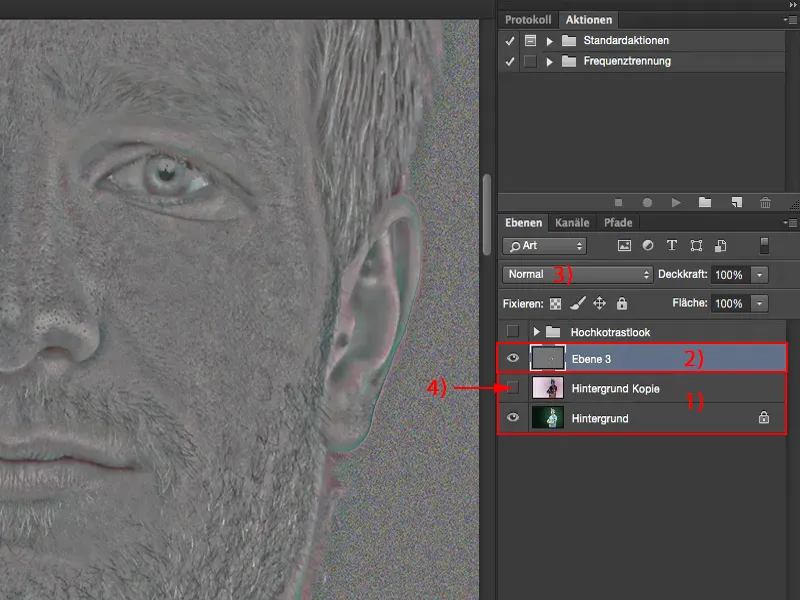
And remove the saturation here: Image>Corrections>Reduce Saturation (1). Now you won't get any more color shift. You now have a pure grayscale image and the Normal layer mode (2).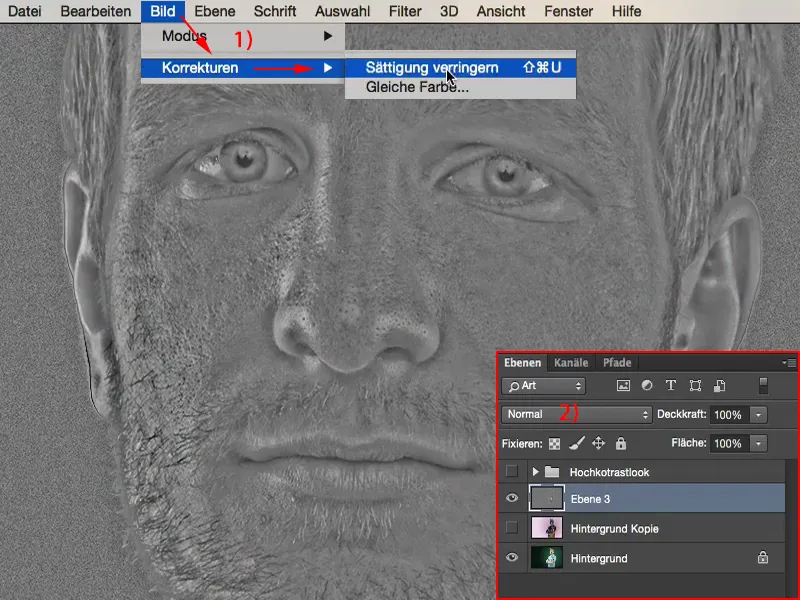
Creating a high contrast look
Now you can play with the modes here. You can set this to Soft light (1), which will give you an okay effect in the image, but not as strong. Or you can set it to Overlay (2) for the full hardness, for the full details, for this high-contrast look. And it's as simple as that.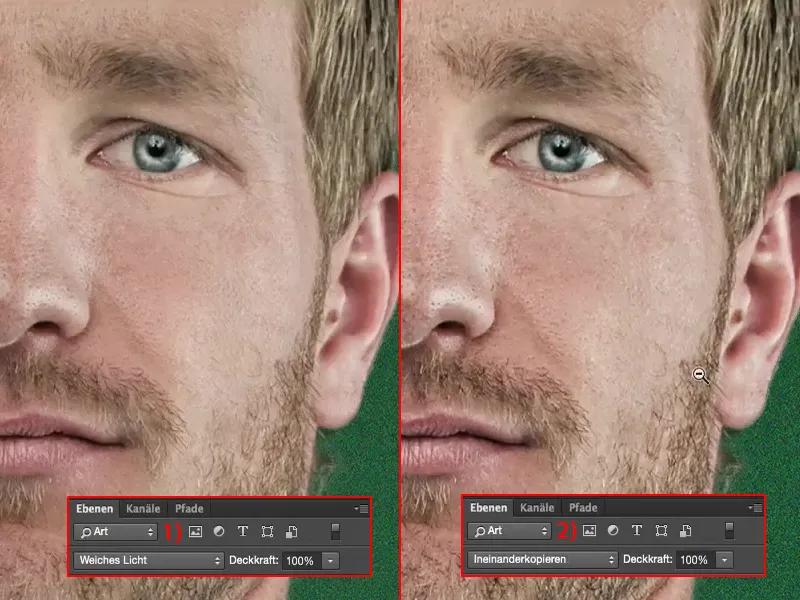
Create action
If you want to apply this to your images again and again, then I recommend that you create an action (1). Let me show you how. I'll take this out here (2).
Up here I'll say: New action set (3), New set, and then call it "Contrast look". This creates this new folder (4).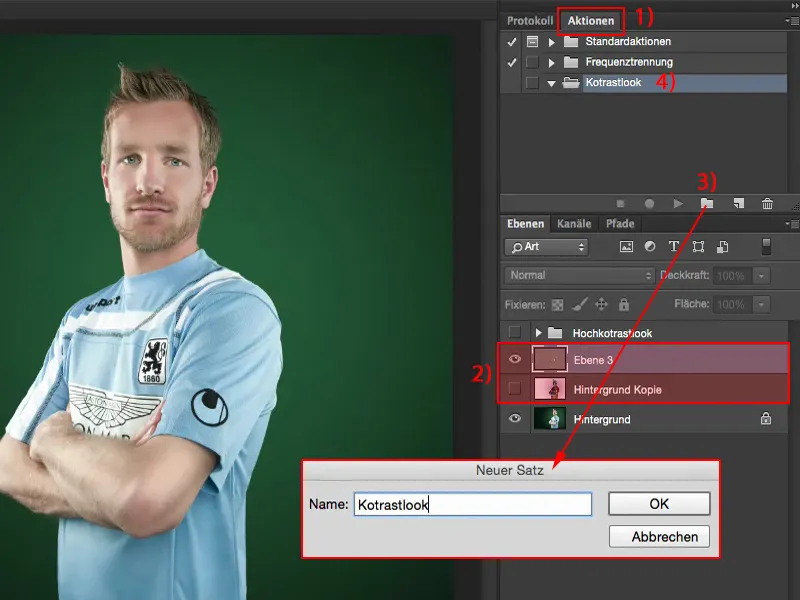
Now you record the new action (1). From the moment the red lamp (2) lights up, Photoshop will record every single click, which means that Photoshop will now also remember every mistake you make.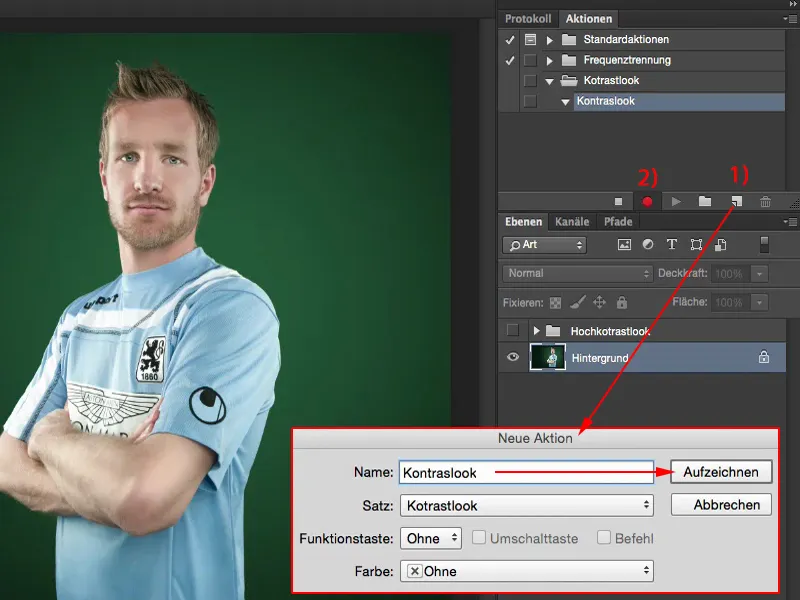
Then you first need a background copy(Layer>New>Copy layer) (1). You need to invert this layer (Cmd + I or Ctrl + I) (2), ...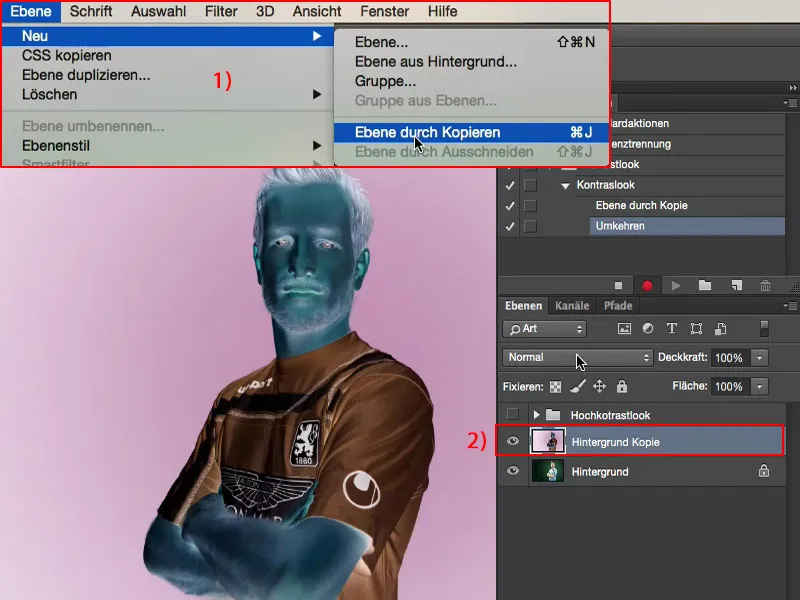
... set it to Radiant light (3),...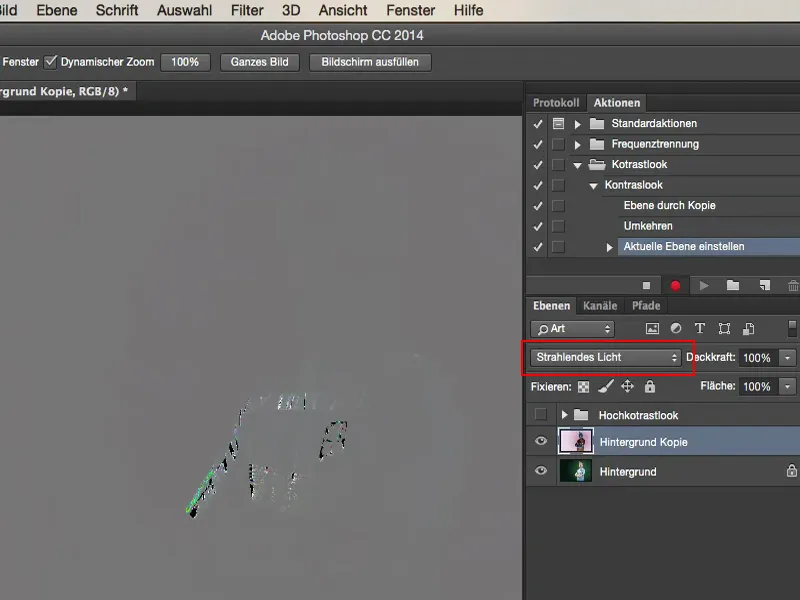
... go to the blur filter Make Matter... (1): Radius 15, Threshold 30 - Ideal values (2). You confirm the whole thing.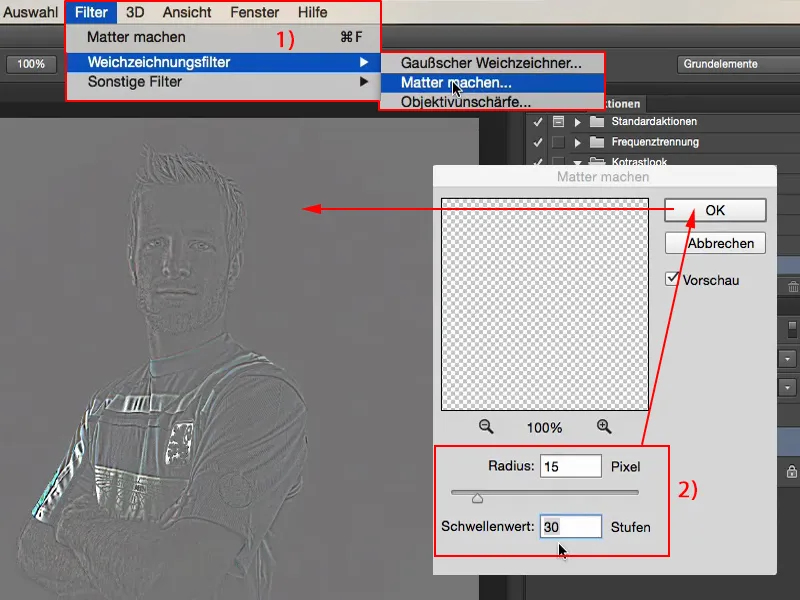
Then merge the layers (Shift + Alt + Cmd + E or Shift + Alt + Ctrl + E), Blender out the middle layer (1), desaturate the top layer (2)(Image>Corrections>Reduce Saturation),...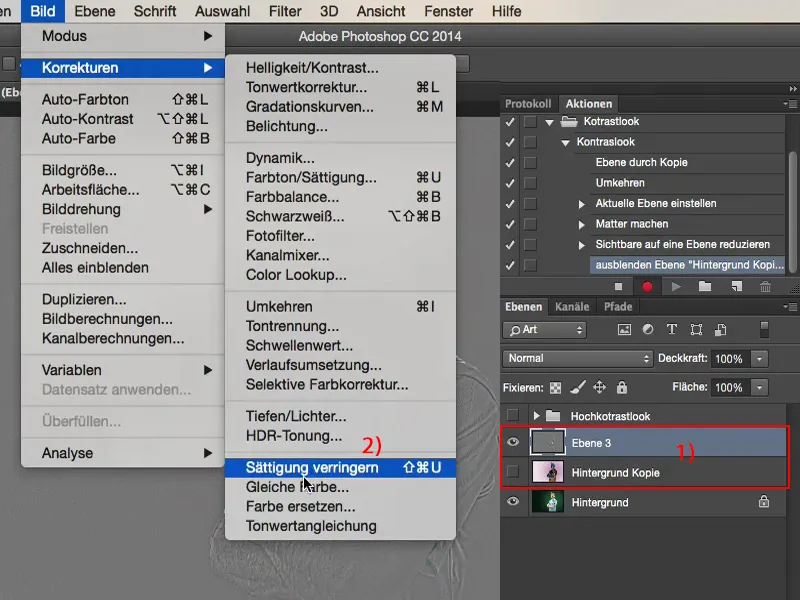
... and change the layer mode to Copy one into the other (1). Then press Stop (2) for the action.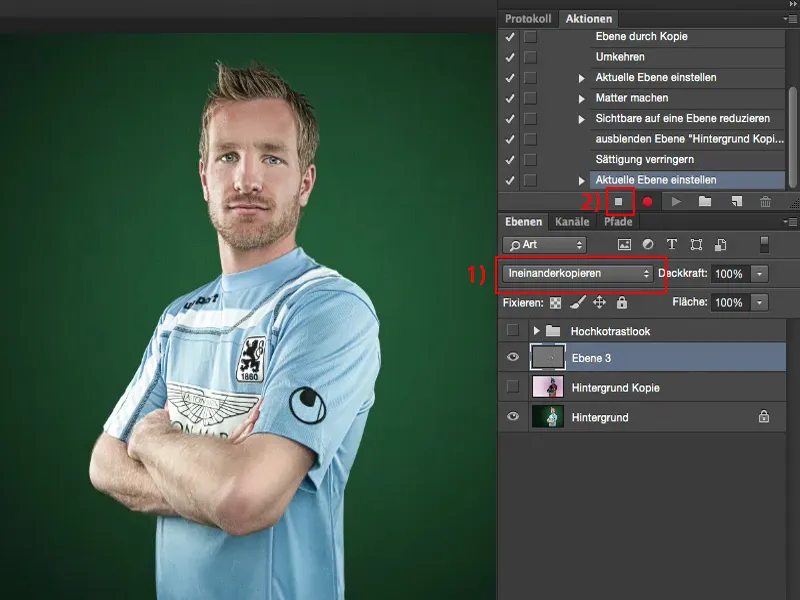
Check action
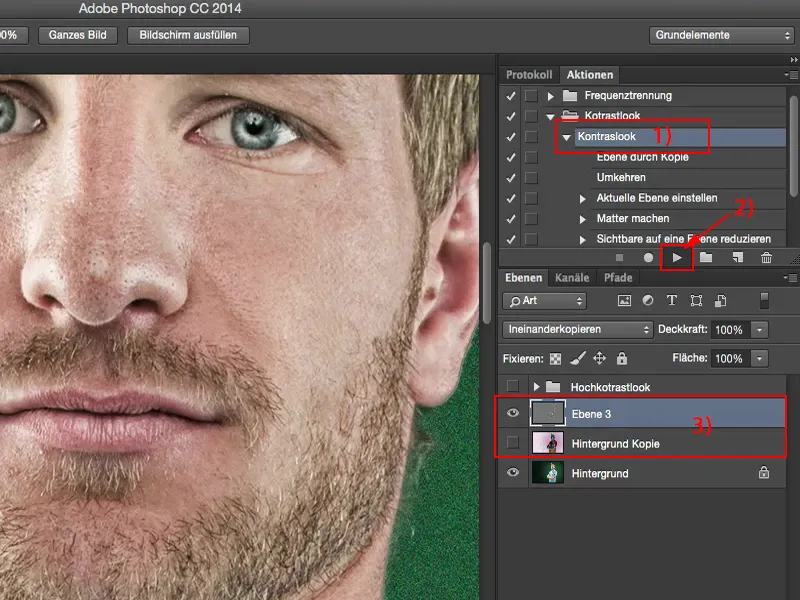
First of all, when you have written such an action, you should of course check whether it is running. This means that you go back to the contrast look (1) and simply press the start button (2) to see: Does the action do what you wrote it to do?
Of course, it takes a little while again with the make-matter filter. And then you see: The layers are created (3), you have your high-contrast look in the image with one click of the mouse using an action like this and can continue with the retouching.
Such actions are real time savers and I recommend that if you always have the same processes, write an action for them. This will really save you time.