You want to simulate an absolutely recognizable black and white look with old, analog grain? Nothing could be easier! It's easy with Photoshop. This is my original image ...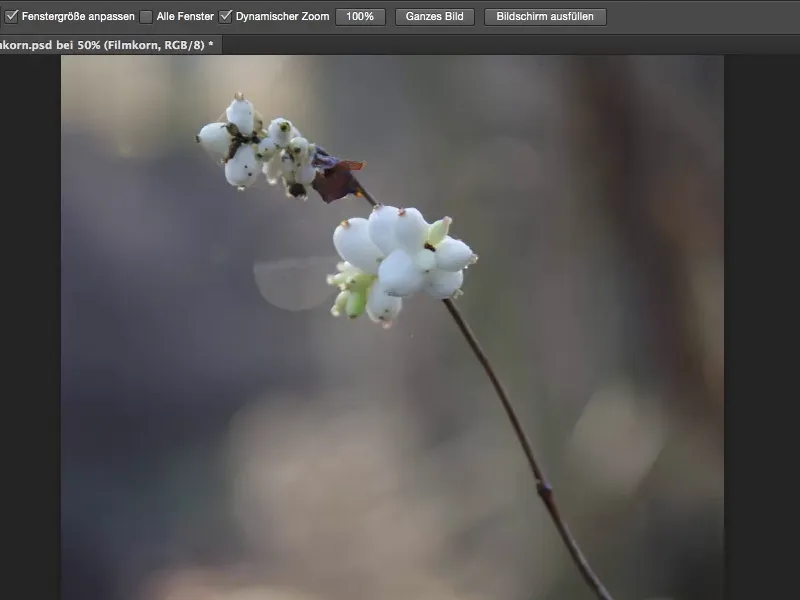
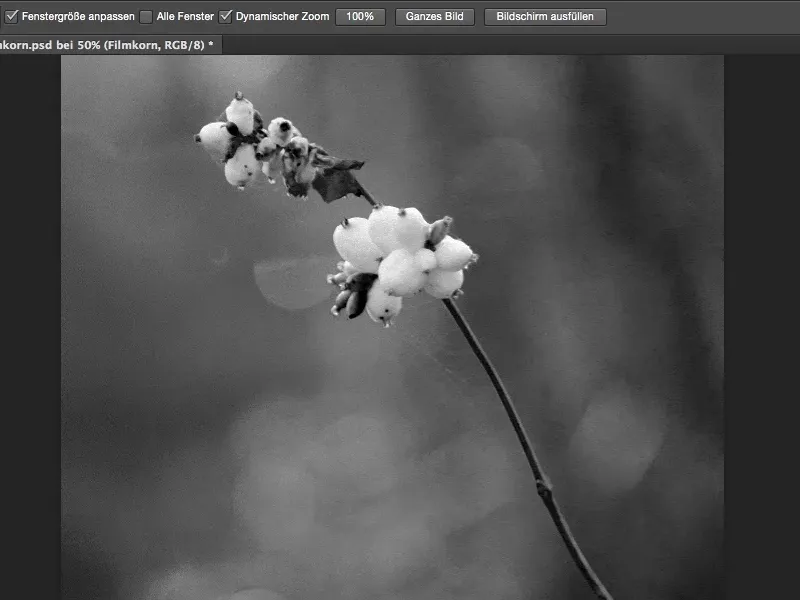
... and if you overlay the effect here, you get this grainy black and white look. And I'll show you how to do it now - it's really easy.
First of all, you need an adjustment layer. I'll Blender the window (1) here again and select the Corrections panel(2) of type black and white (3).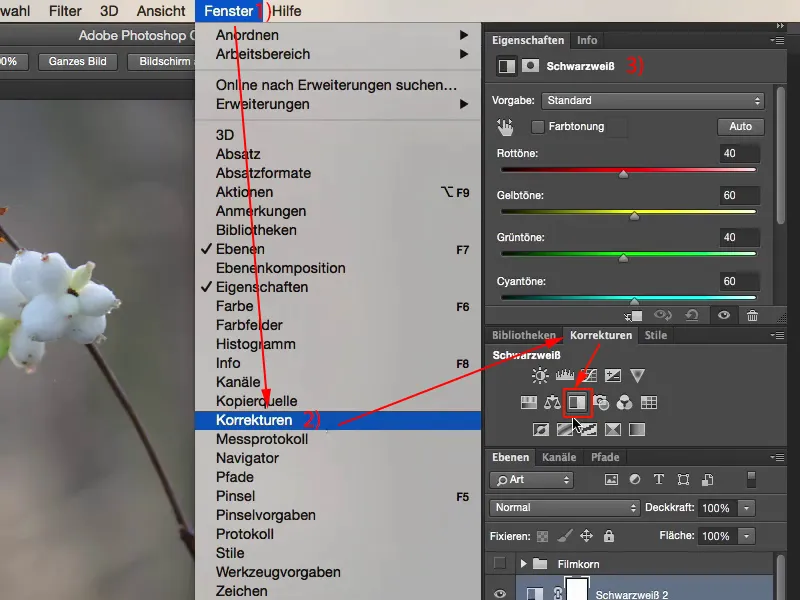
Here you can either use the individual color sliders to make your black and white adjustments or click on the hand symbol, select the grayscale and create the contrast in the image that you would like to have in black and white. It's really easy, anyone can do it: Simply click on the hand symbol (1) here and use the eyedropper tool (2) to pick up the black and white tones that you would like to change.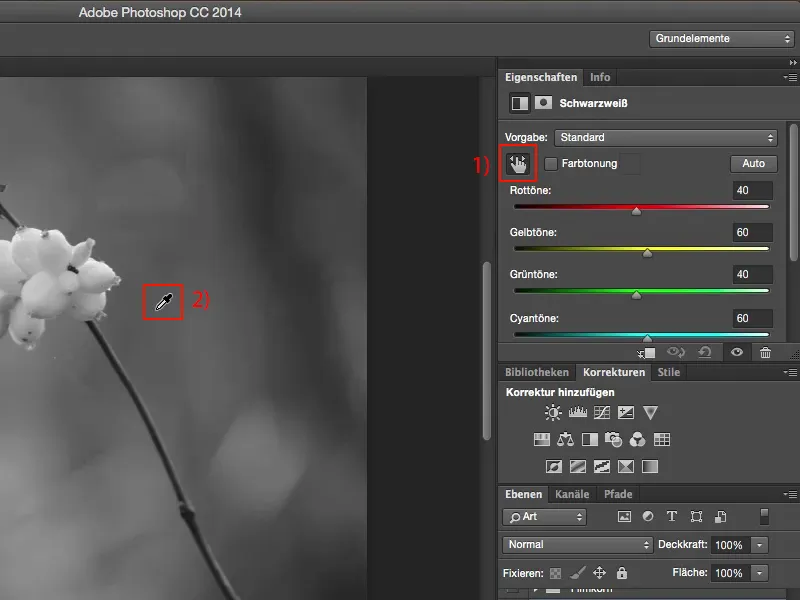
But where does the grain come from? The grain comes from an empty layer that you create above the black and white layer.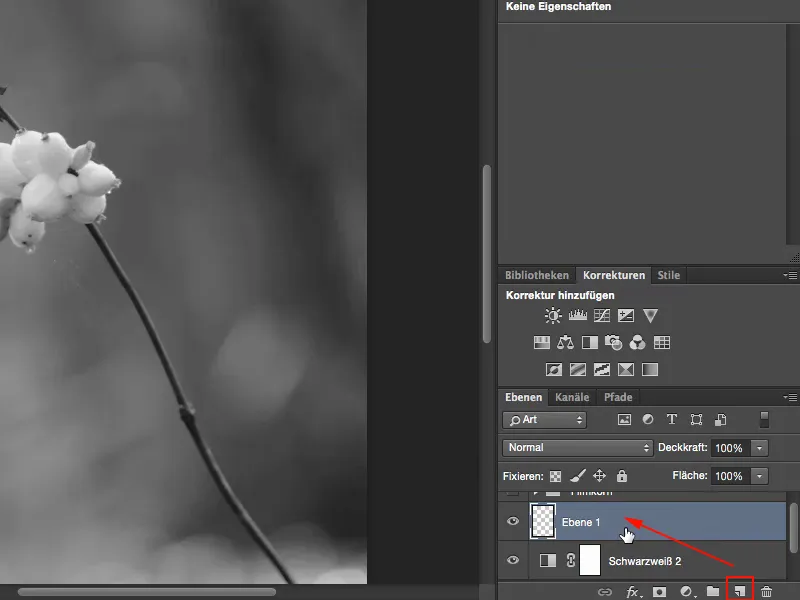
You then fill this layer with 50% gray using Fill area....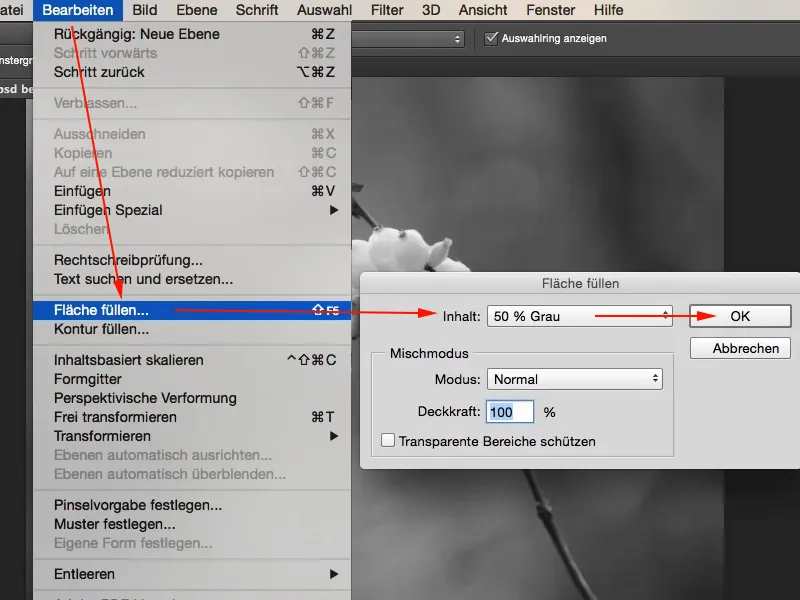
This 50 % gray corresponds to an RGB value of 128.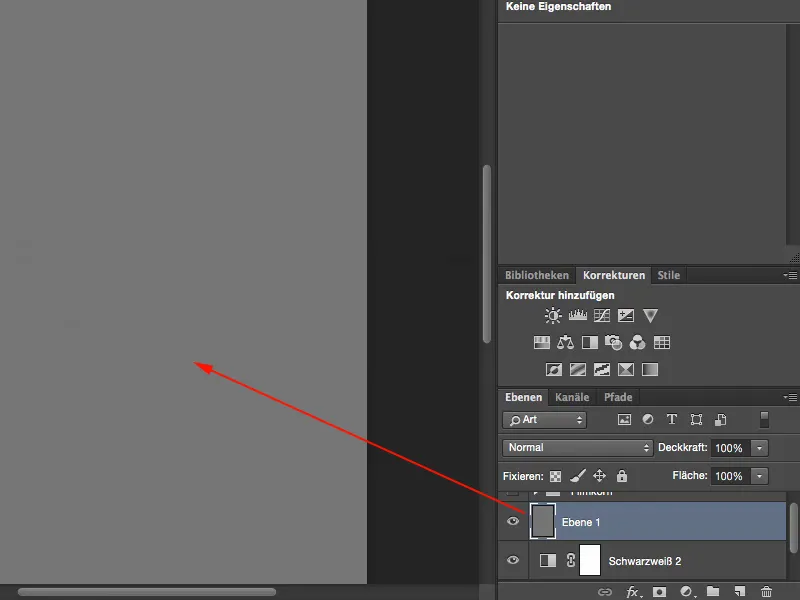
And this is invisible here in the calculation group (1). So you can apply Soft Light, Overlay or Radiant Light here - Photoshop will make this gray (2) disappear for you.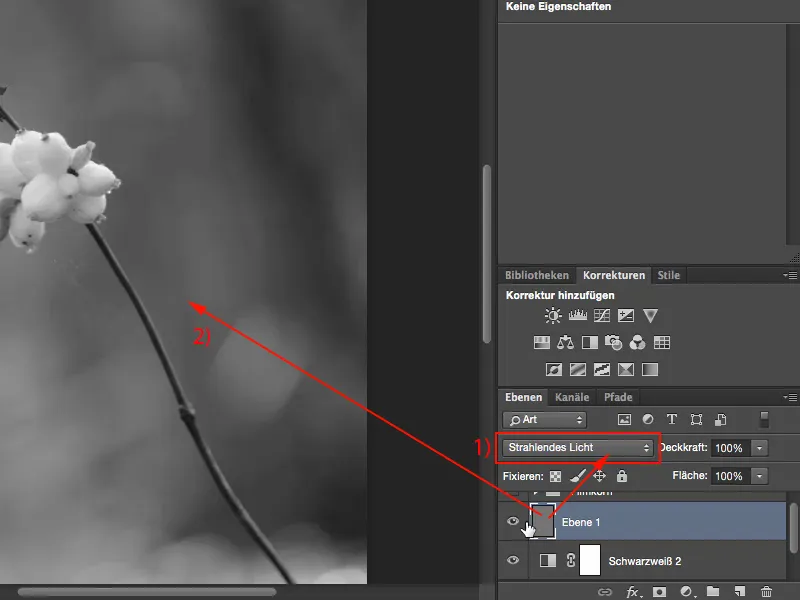
Anything that stands out from this gray layer can now be displayed here in the image. First turn the layer into a smart object, because you want to be able to influence the grain afterwards. So: Layer>Smart objects>Convert to smart object (1). Now you have this little settings box down here (2).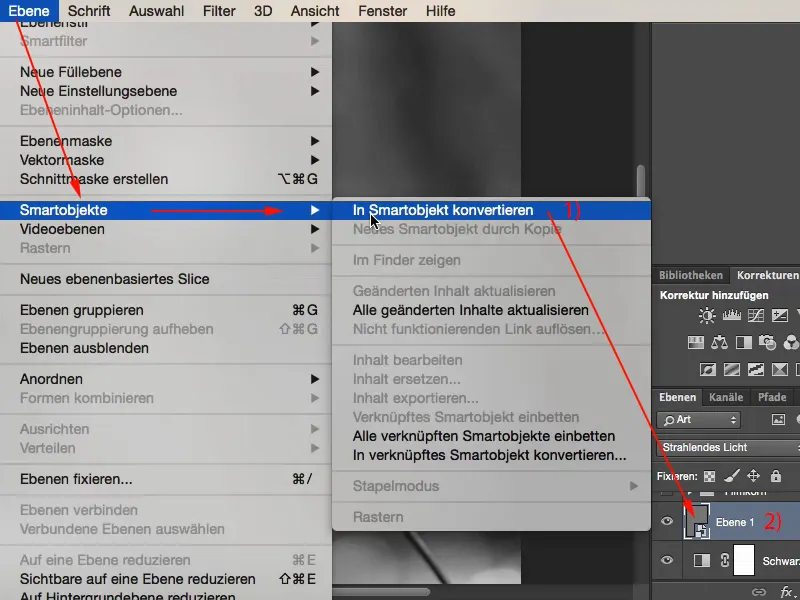
Now you can activate the noise filter and add noise ... (1).
You definitely have to check the Monochromatic checkbox (2), because if you don't do that, you'll get color noise and that doesn't come out so well in the black and white image. Also Gaussian normal distribution (3), so that you don't create a repeating pattern. So Gaussian normal distribution and monochromatic.
And I'm now pulling the value really extremely to a strength around a value of 28 % (4).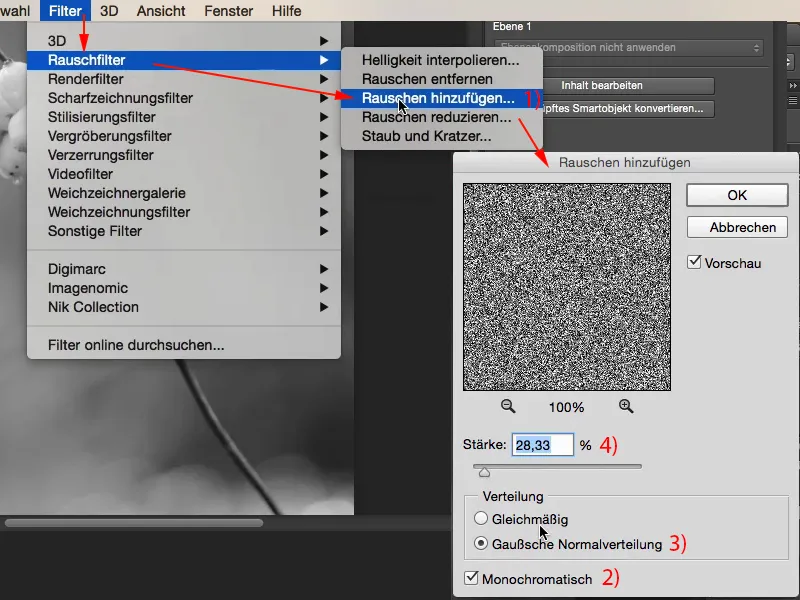
And so I can show you the advantage of this smart object here. You now have this add-noise filterat the bottom and by double-clicking on it (1) you can go back at any time and reduce the grain a little, let's say to a strength of around 12 % (2).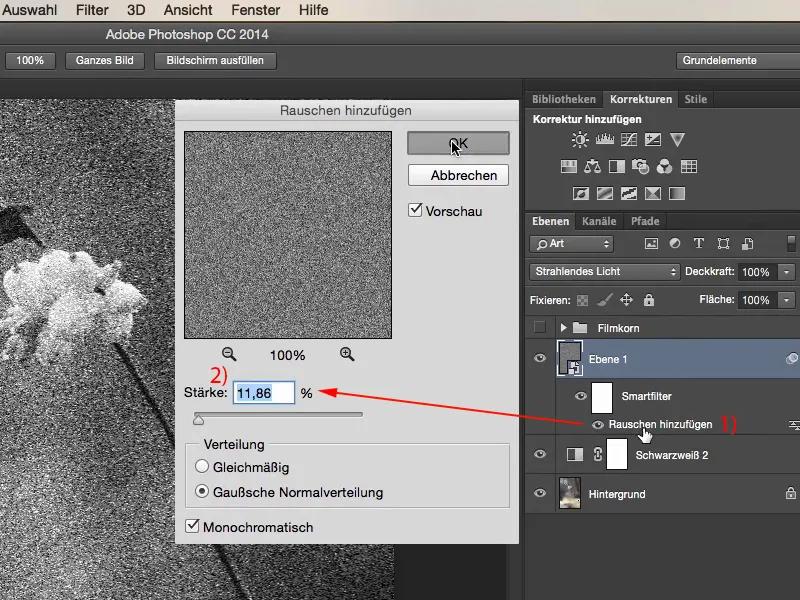
If the whole thing is too hard, simply go to Filter>Blur filter>Gaussian blur (1). Here you can now blur the grain. You can make the pixels of the grain a little wider. It doesn't have to be much, a radius in the range 0.5 to 0.7 is sufficient (2).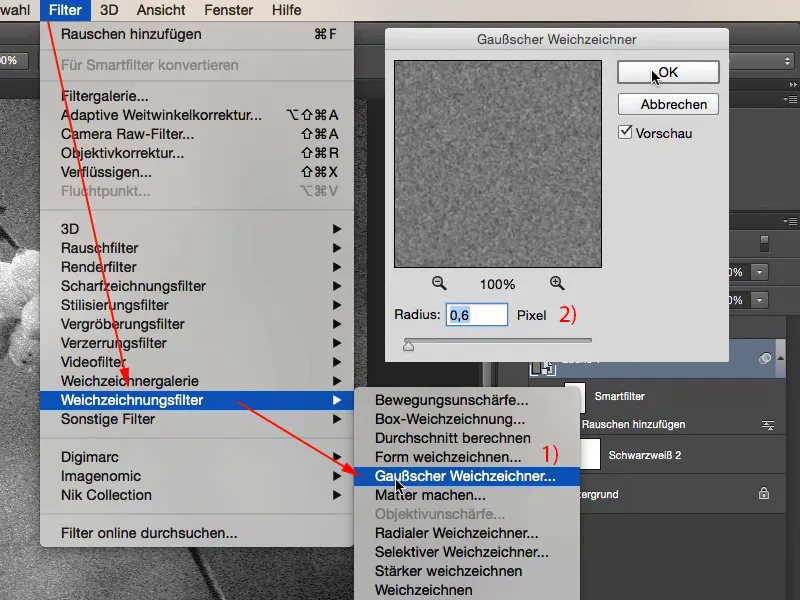
Now you can go back to the add noise filter(1) and perhaps reduce the strength a little, maybe to six, seven, eight percent. Oh, I think eight percent looks pretty good. Yes. Relatively strong grain. And because it's on this layer, you can now also determine the opacity (2) of the grain. This gives you complete flexibility as to how large the grain should be, how much it shows in the image, how much you want to blur the grain. Yes, and I think that's a very, very nice option.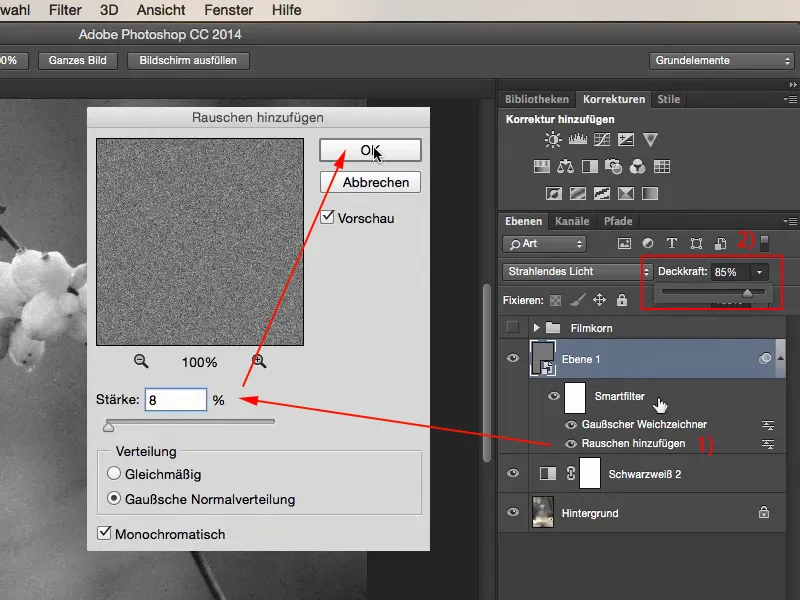
If, in the end, you find that the whole thing is a bit too dull or doesn't have enough grip, simply duplicate the black and white layer in Copy (1) using Cmd + J or Ctrl + J and set the mode here to Soft Light (2). Now you have much, much stronger contrasts in the image and I think this is definitely more appealing because there is simply more contrast in the image than with the previous variant.
If this is too much for you, you can of course always adjust the opacity here (3).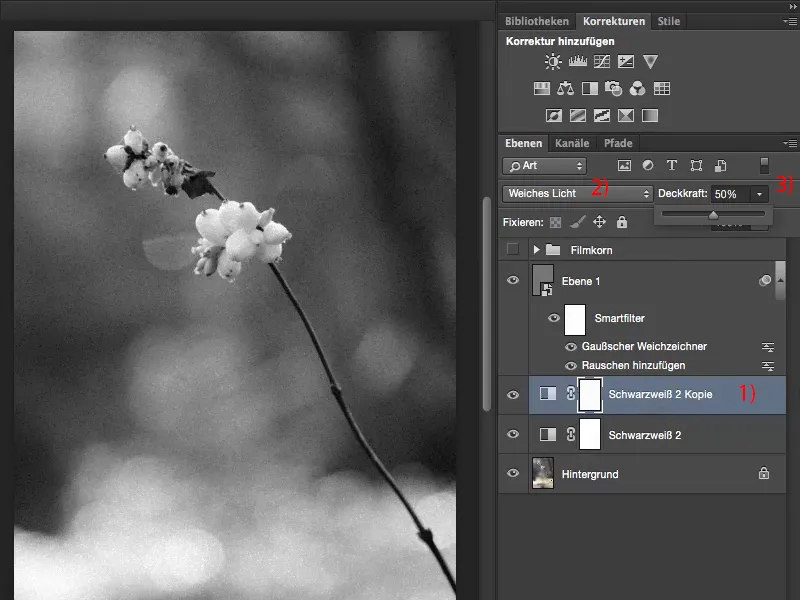
With one or two black and white adjustment layers, a neutral gray layer, adding noise and the Gaussian blur, you can determine your personal grain look.


