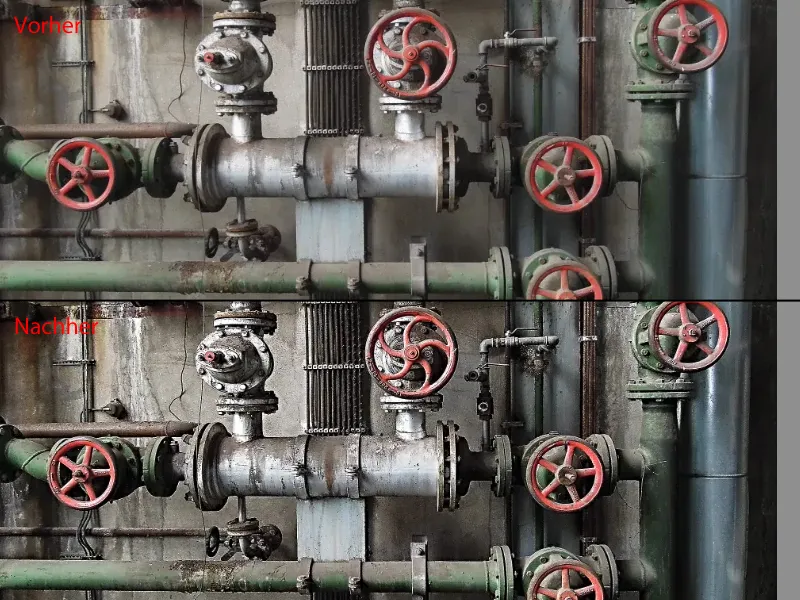
I'll show you that you can very well create a look or a style with certain sharpening techniques. If you look at the picture here (1), you might think that the subject, well, okay, it's just industrial, it might not appeal to you, anyone can take a picture. But what appeals to me are all these details. Even at 39% magnification, I can almost feel what it feels like to stroke this rust here (2). I can almost touch these wheels because they almost pop out. I can see the dirt back here (3), all the grime.
Is this just the result of a sharpening technique or are these already micro-contrasts? Is this perhaps a plug-in that brings out special details? I start to ponder and the picture becomes interesting because of the look. And that's the goal when I want to apply a sharpening look here. In principle, the technique is nothing more than targeted sharpening using certain methods, but if I do this for all my pictures and perhaps go out into nature and away from the model, where I can't sharpen the skin so much that every pore jumps out at me, then this is a very good look to make pictures memorable.
This is what the whole thing looks like before (4). I think you'll agree with me that this is really super boring now. But if I replace the focal plane here, the image suddenly gains from the sharp look. How does the whole thing work?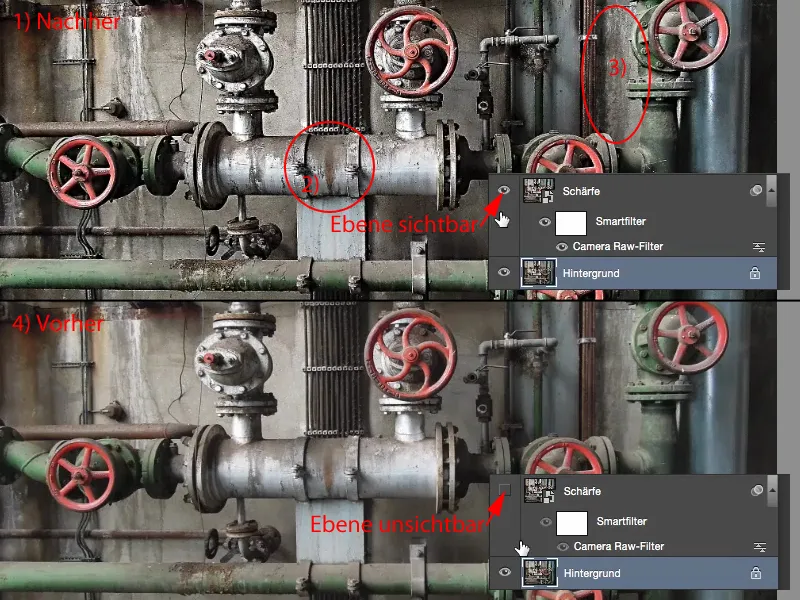
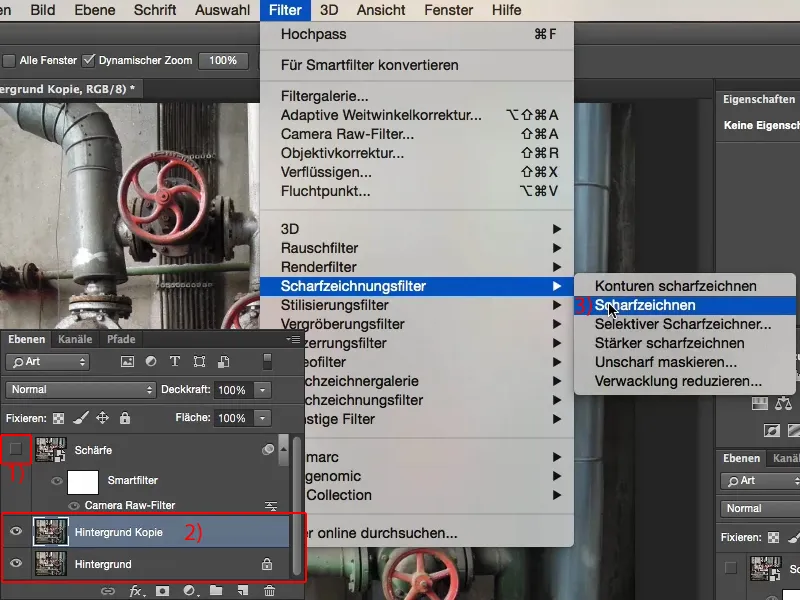
I Blender out the focus plane (1) and make a background copy (2). Then I go to the simplest of all sharpening filters, namely Sharpen. It does so little that you really only see it in direct comparison with a 100% or 200% view.
Let's see what happens if you run the sharpening filterthree times in succession (click on the filter three times). This is the first level of detail. It's not oversharpened, the image is now really just really well sharpened. You don't need to know anything about sharpening. You can simply run this sharpening filterover your image two or three times.
If it's too much, create a mask (3) and brush it away from where you don't want it.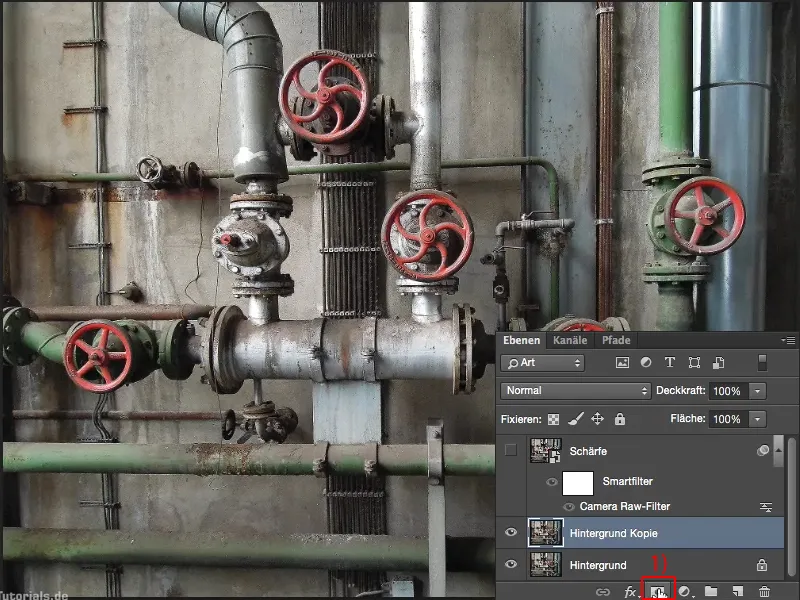
Next, I combine the layers (1) into a new layer with the shortcut: Shift + Alt + Command + E (or Shift + Alt + Ctrl + E). All visible layers are now combined here (2) in a new layer. For the sake of clarity, I'll rename the layers again (3) to "sharpen" and "high-pass filter", which we'll play with in a moment.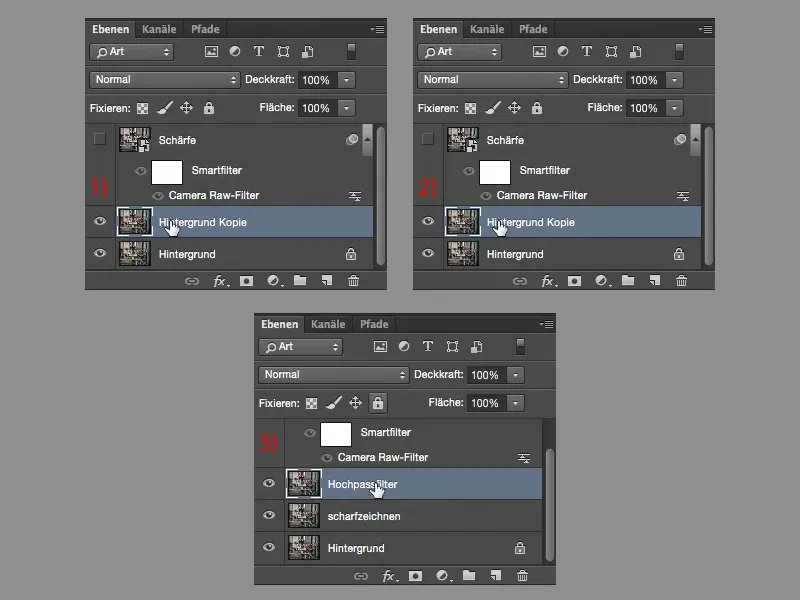
The high-pass filteris hidden under Filter>Other filters>High-pass. If you call it up, you can drag (1) to the right here. This looks a bit strange. If I later set something like this to overlay mode, I get an extreme color shift. I have red in the wheels, I have green in the pipes, for example, and lots of other diffuse colors, which I don't want.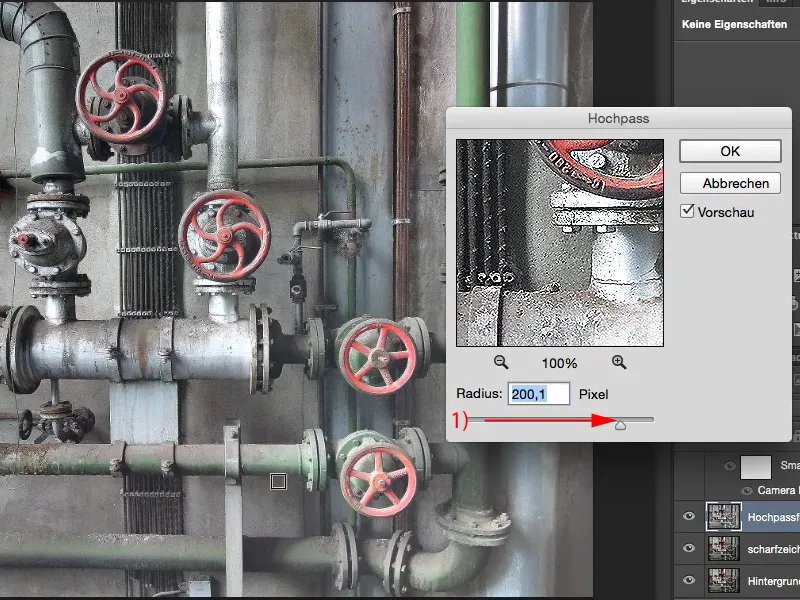
But if you work with very few pixels, you can see how the color and also the surface of the image disappear completely, but the texture, i.e. the edges, remain. So the high-pass filteris ideal for this. I go so far down (1) until I really only see the contours in my preview. And the color disappears almost completely. I still have a bit of red in the wheels, but I don't want that to bother me. I confirm the whole thing with Ok (2) ...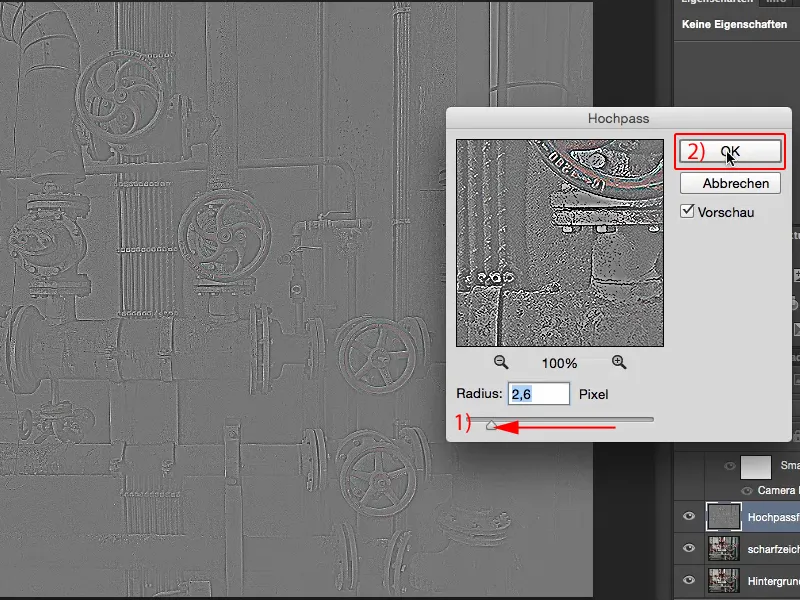
... and set the layer mode here to Overlay.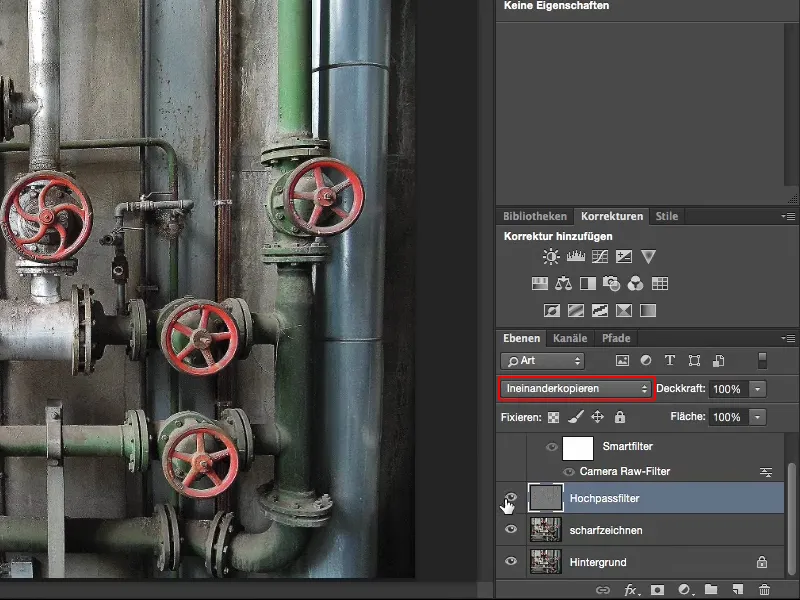
I immediately take a look at the before and after. Now I've really made a big step forward.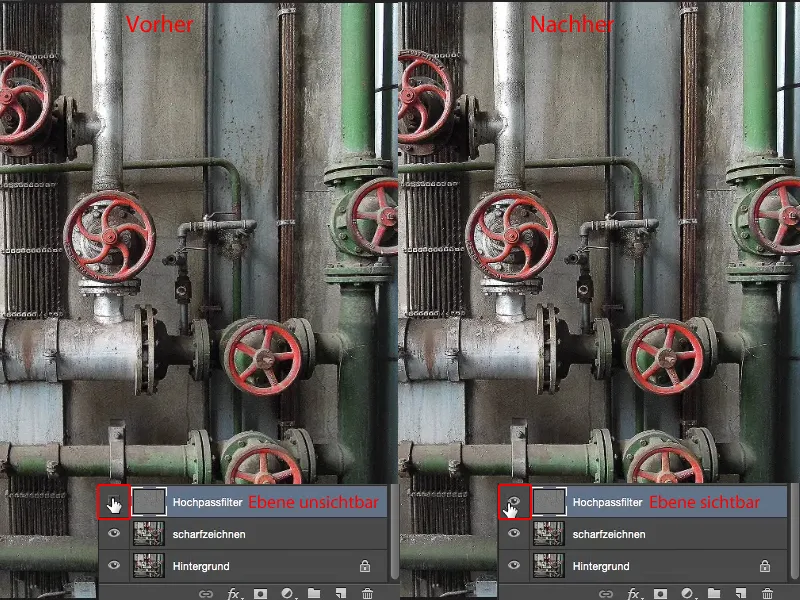
I'll merge the whole thing (1) again, using the shortcut again (Shift + Alt + Command + E or Shift + Alt + Ctrl + E). On the new layer (2) I would now like to use a brute sharpening filter here again, with the Unsharp Mask filter(3).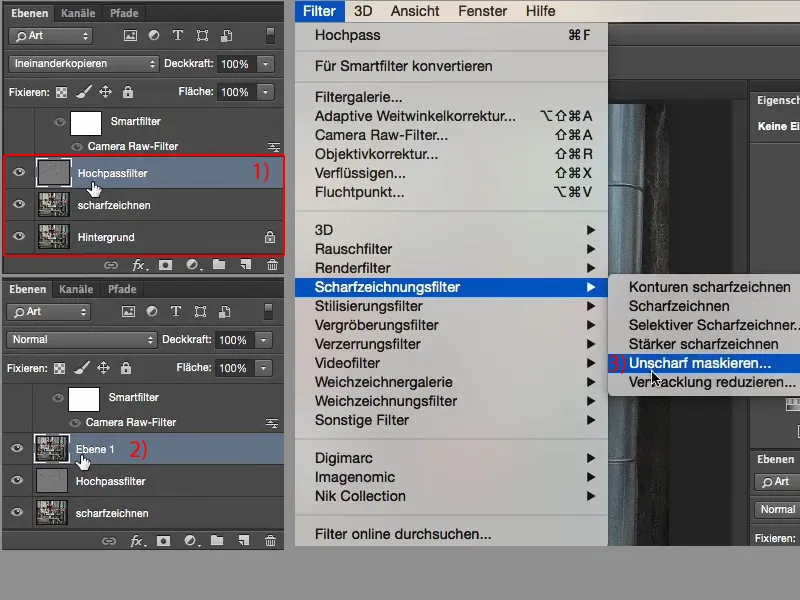
If you leave this setting as it is, with relatively high values for radius and strength, then the image is broken. I would even say that it is almost broken beforehand. But I can always adjust the opacity of the layers and thus reduce the effect a little.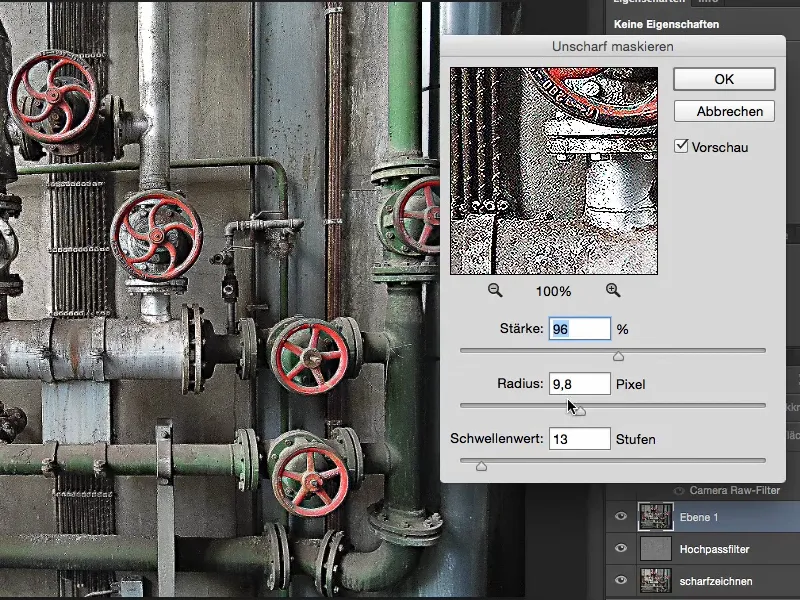
But what I can do with the Unsharp Mask filteris to create a bit more edge contrast in the mid and low areas. I'll set the threshold value back a little, then it won't be quite so aggressive, and confirm the whole thing with OK.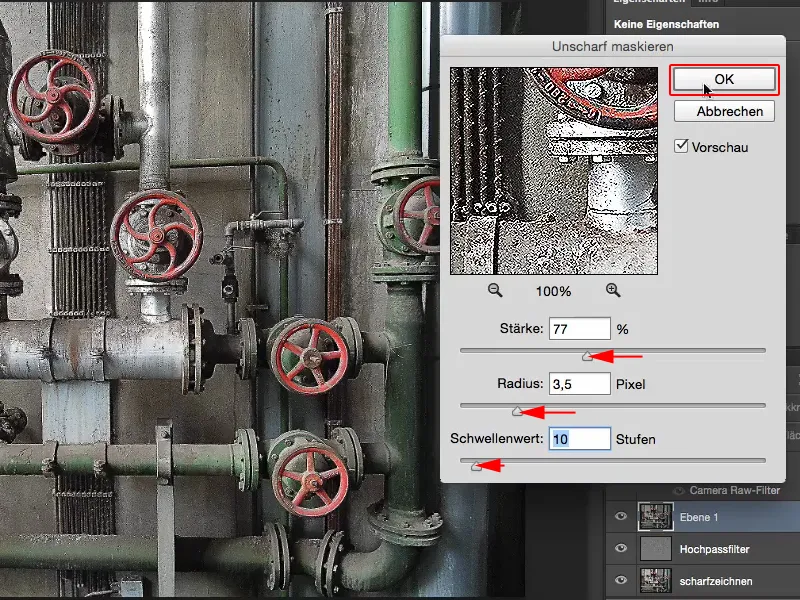
Now we can take a look at the enhancement here. This is the bland original image (1). With the sharpening filteractually perfectly sharpened (2), but this sharpness still doesn't make up for the image look when sharpening. The high-pass filter(3) really brings out the best. And the unsharp mask filter(4) exaggerates the whole thing. However, this also means that even the walls, which were very smooth in the original, suddenly become textured. That's what I want here with this picture. For me, the picture is not broken. For me, the image is now textured with a real grip.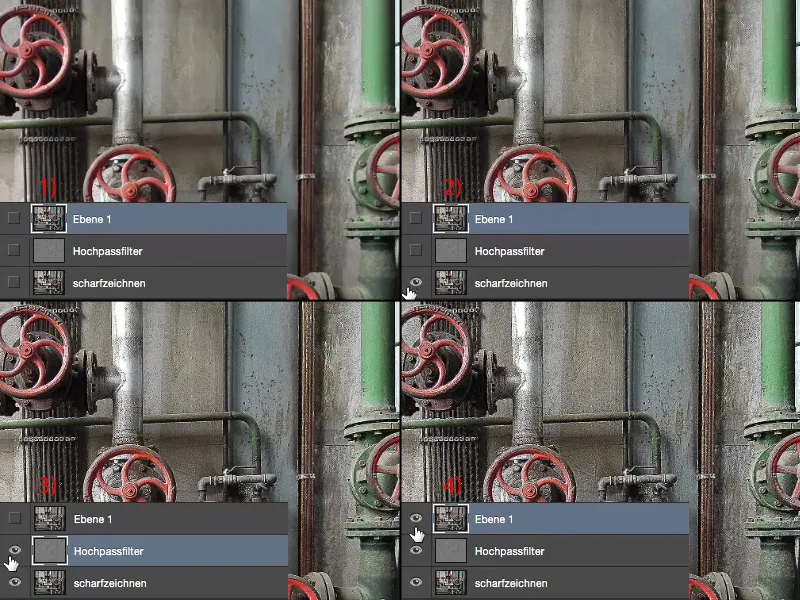
If I want to increase the contrast globally or add micro-contrasts, then it becomes really funny. I now group these three layers (1) using Ctrl + G or Command + G. I leave the name of the group at "Group 1" (2). I click on this group with the right mouse button and convert it into a smart object (Convert to smart object). There is now the small icon (3). Now this group is hidden behind it.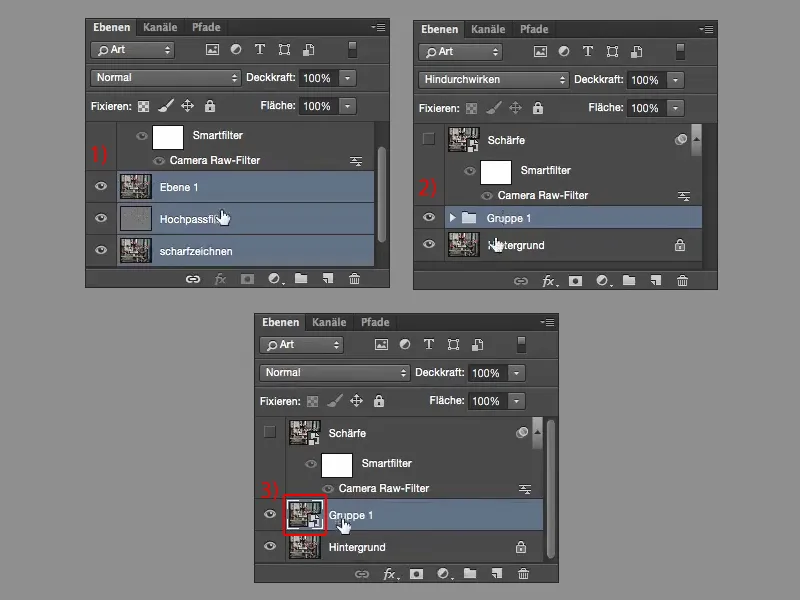
Last but not least, we top it all off and go to the Camera Raw filter under Filters. Camera Raw is a built-in filter in the new version of Photoshop. This is of course brilliant for sharpening techniques, for a sharp look, because I have this clarity sliderhere. If I put it in the negative, the image becomes super fuzzy, ...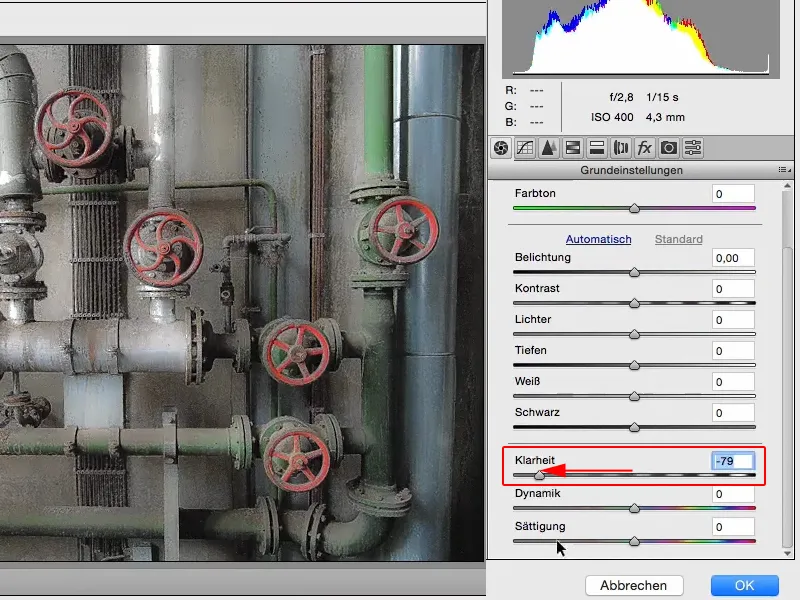
... but if I move this to the positive (1), I get the micro-contrasts that I really want to see in the image. I confirm the whole thing with OK (2).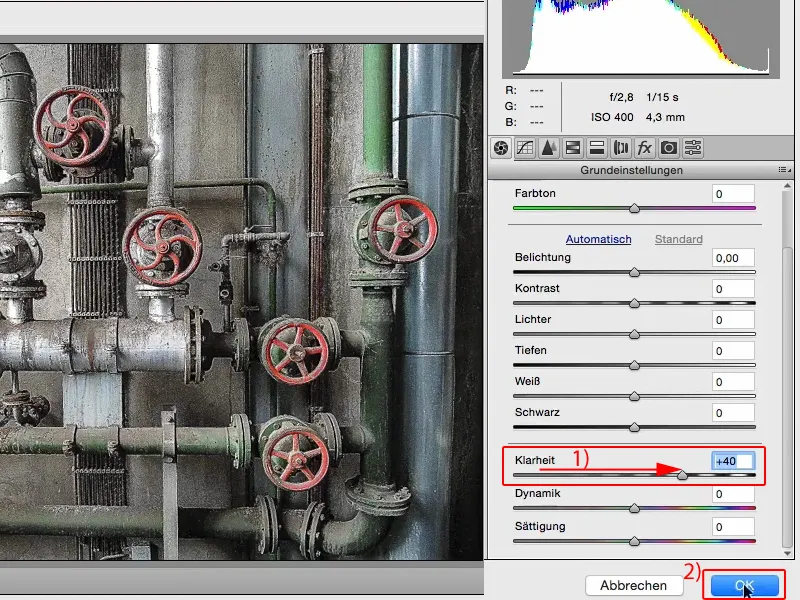
If I now show the before and after, I've almost created an oversharpened HDR here. I've done all this with two or three filters and in the smart object by increasing the clarity in the Camera Raw filter.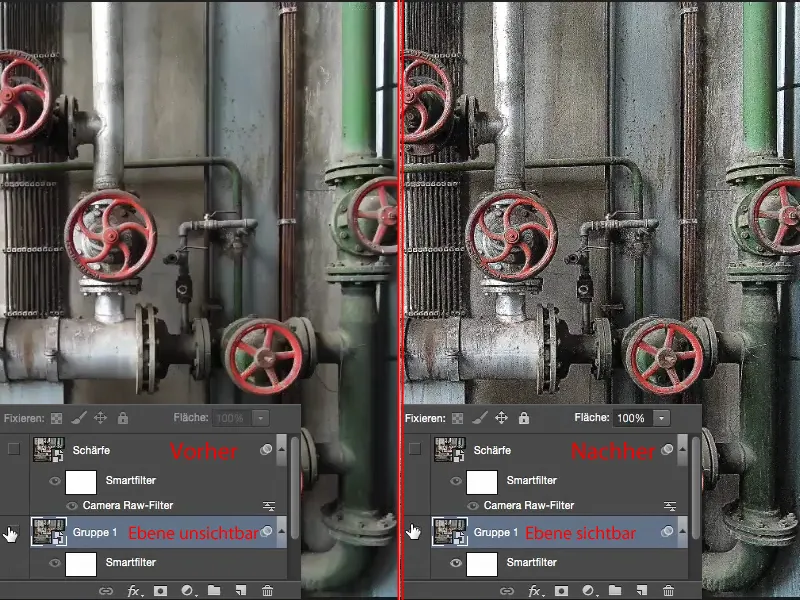
If I want to change something in my settings, I can easily do so by double-clicking on the smart object (1). The group is visible again (2) and a new document opens up here (3).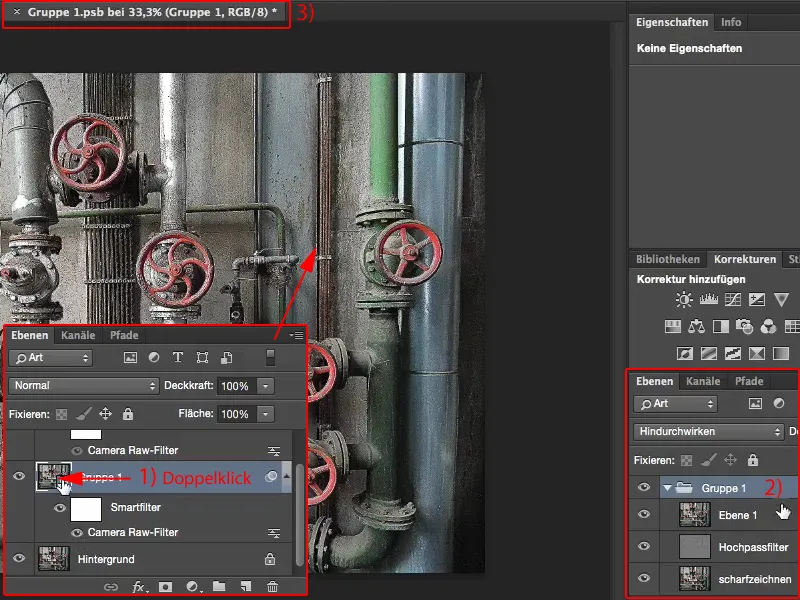
Now I can change the opacity of these sharpening layers at any time. I take the "Layer 1" (1) and the high pass (2) and sharpen filter(3) down a little, close the group (4), and close the whole thing (5). Then this dialog (6) appears and when I click on Save, the smart object is updated.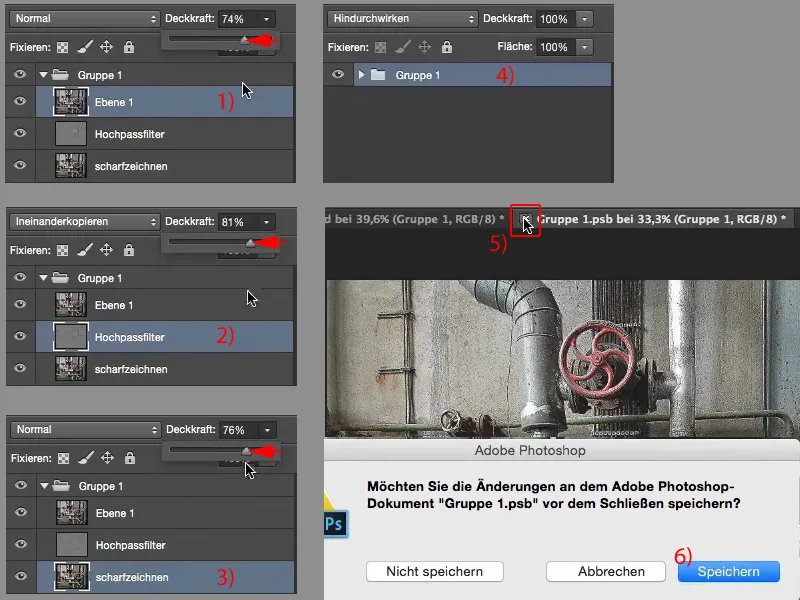
This means that I have now included these changes in the smart object. This is a super ingenious, non-destructive solution for working with sharpening techniques.