Painting with light can be quite simple. Ultimately, you're doing a kind of dodge & burn. But we're moving away from the textbook approach here, which does the whole thing on this neutral gray plane. No, because it has to be done quickly, we're simply doing it here on the empty layer.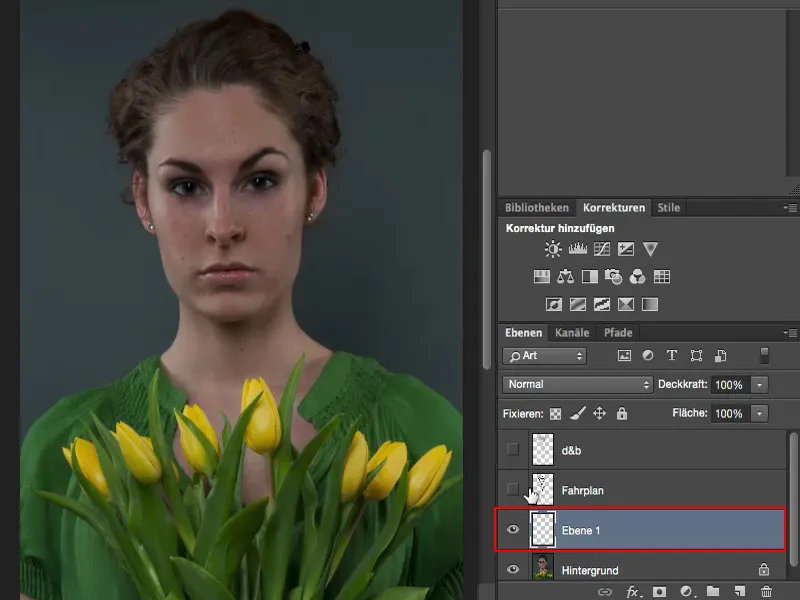
Tip - create an overview beforehand
I have created a timetable here. This is my overview map. Everything that is light - everything that is white should be lightened. Everything that is black is darkened.
As you can see: I want to lighten the tulips a little, lighten the leaves, the clothes, the neck and these areas of the face. And all of this is centered towards the focal point, towards the face - and that's where I want the viewer to be.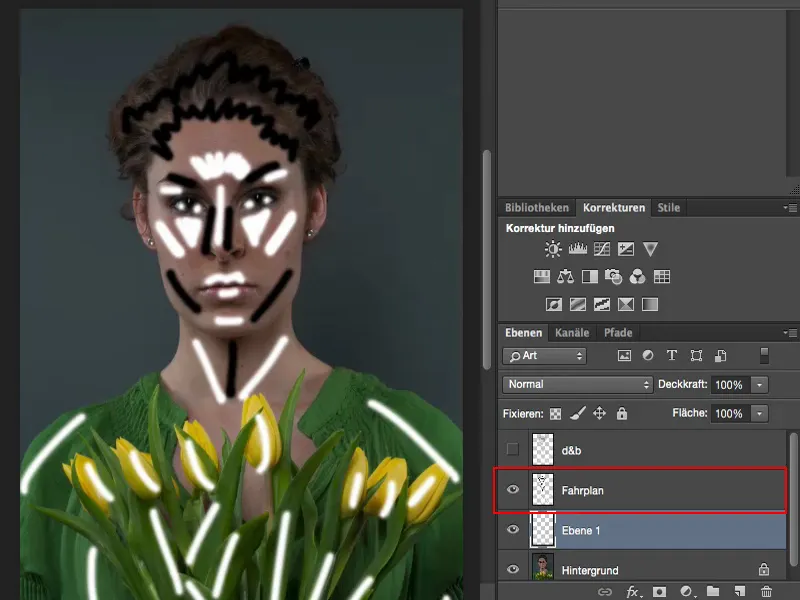
Later, it should look something like this. The eyes should just stand out a little and the hair. And everything else should recede a little.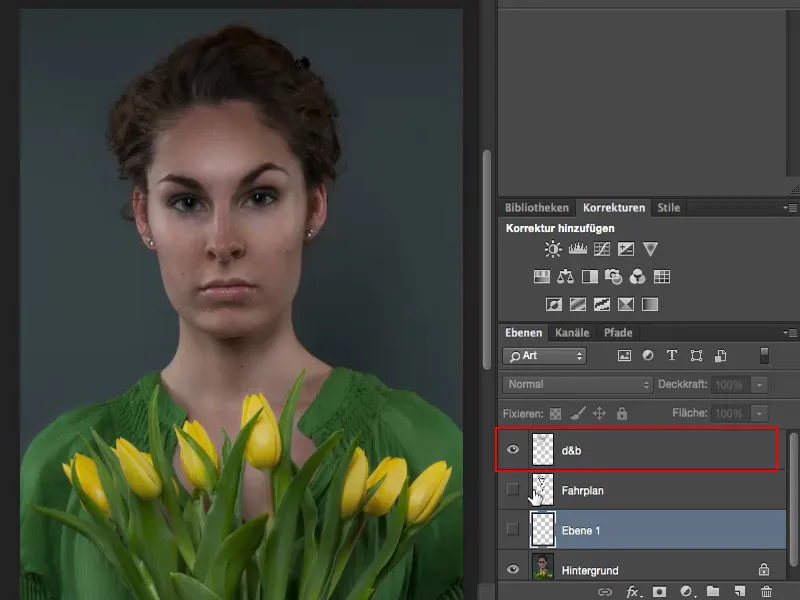
Lightening with the brush
To do this, simply use white as the foreground color (1) and a soft brush (2). Activate this layer briefly (3). Yes, and with the dirt power: As practiced as you are, you can give it that much power. I'm going to go for 14, 15 % (4). I wouldn't trust myself to do any more. Less is definitely more with this method.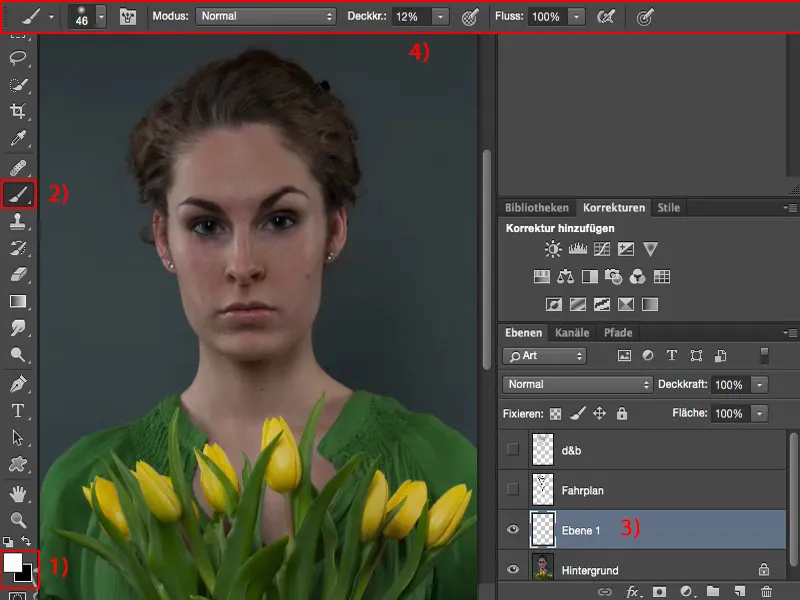
And then we lighten this area. I also lighten the eyes. That's already too much for me.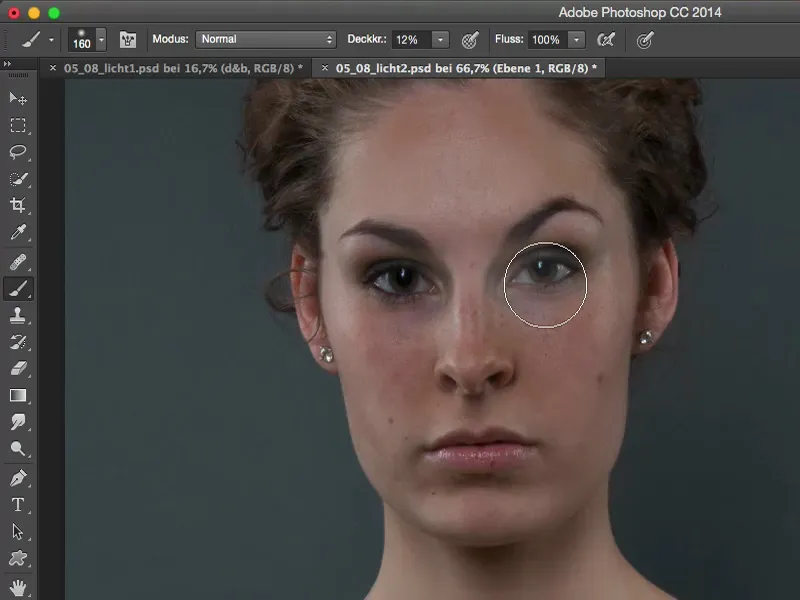
So I take a step back and reduce the opacity. So you see, even with 10% you can actually do quite well. You lighten the eyes at the top so that they stand out a little. I don't do anything to the hair. I'd like the bridge of the nose to be a little lighter, the lips to be a little brighter, the chin and also the sides to be a little brighter (the red areas in the picture are the ones I'm working on).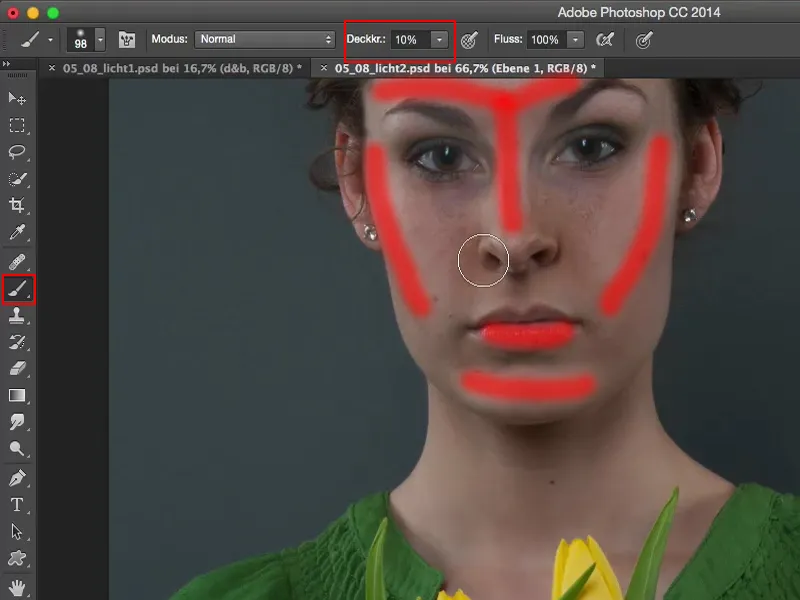
I don't want this in the iris, I go over it destructively (1) and take it out, because otherwise it all looks so milky and glassy - and that doesn't look nice.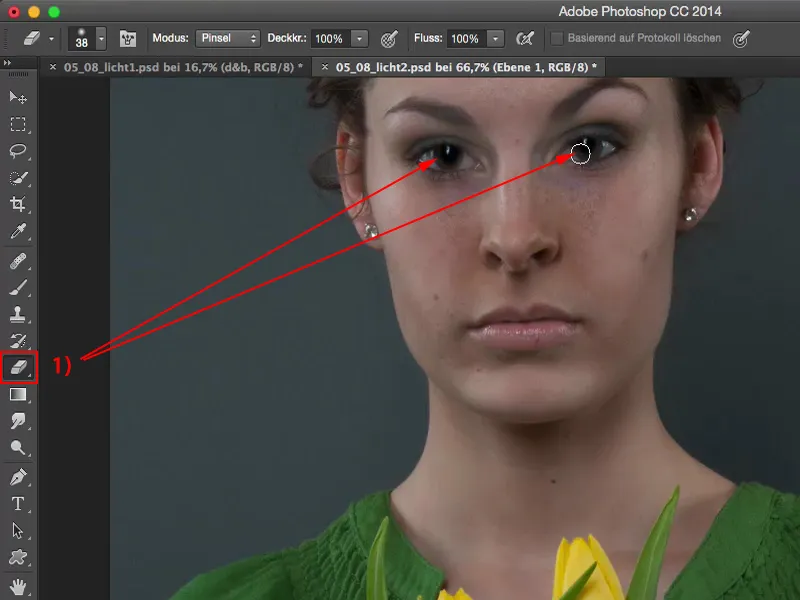
We now do the same on the neck and then on the tulips. You don't need much practice with the technique because if you reduce the opacity, the effect is very subtle and then you can go all out.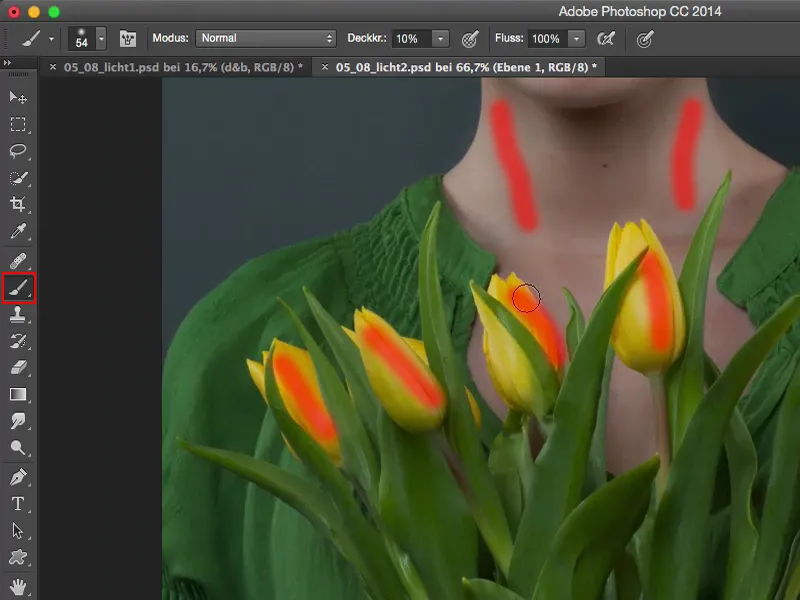
I use my brush tip very, very softly and create this shine on the Blums. If it's too much, just take a step back. Adjust the opacity, brush opacity (1) a little further down. Don't forget the layer mode Soft light (2) here, of course. Then the whole thing looks much, much nicer.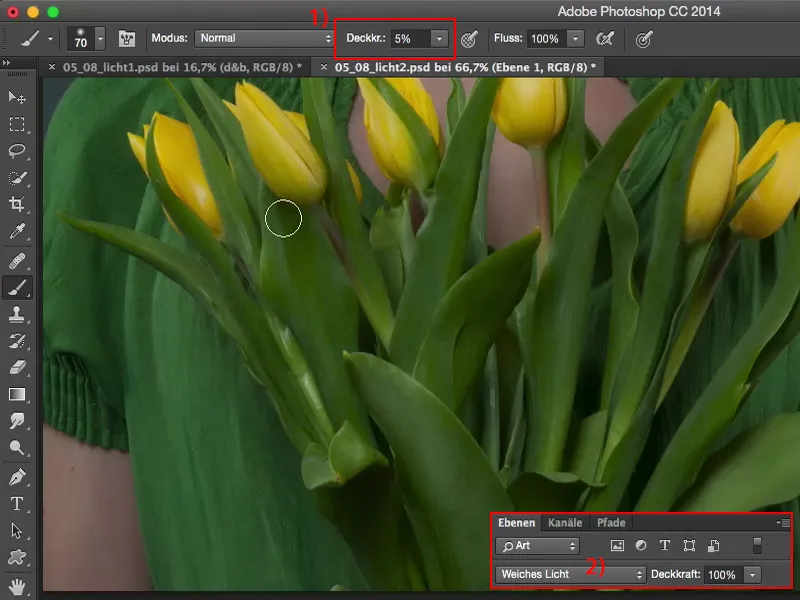
Now I'm going to increase the opacity a little again. You always have to vary a little, depending on which parts are being painted. And then the whole thing definitely looks much, much more upbeat.
Now I can also do a bit on the nose, on the lips, I want them to shine a bit more. Something like this.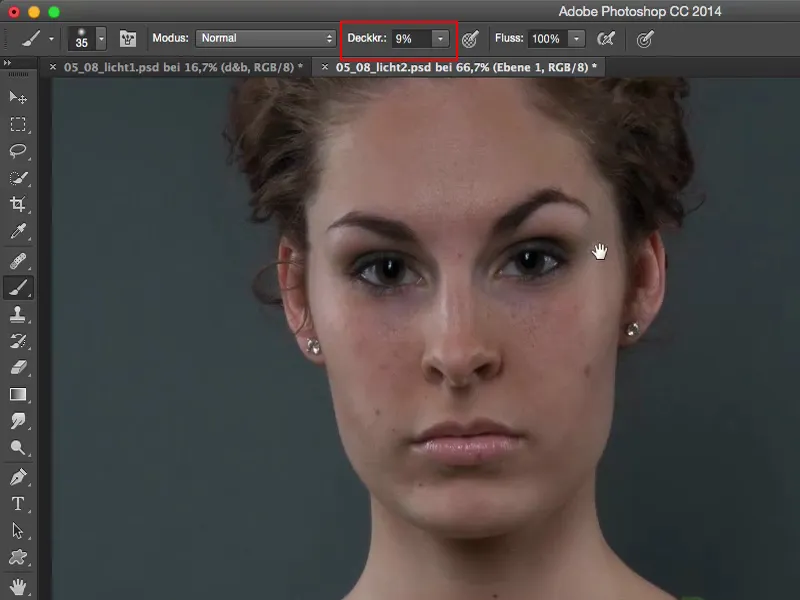
Darkening with the brush
Yes, and when I've finished with the light areas of the picture, I'll take the black brush and go over the hair here a few times first of all. I want the hairline to be darker. And it's never been easier to darken anything than to paint with the normal brush on the Soft Light layer.
I'm also adding a little something to the corners here. It almost looks like smokey eyes. It makes the eyes look a bit more striking. I let it run out like this. I darken a little next to the nose to make it look a little narrower. Yes, the blush here can still be intensified a little.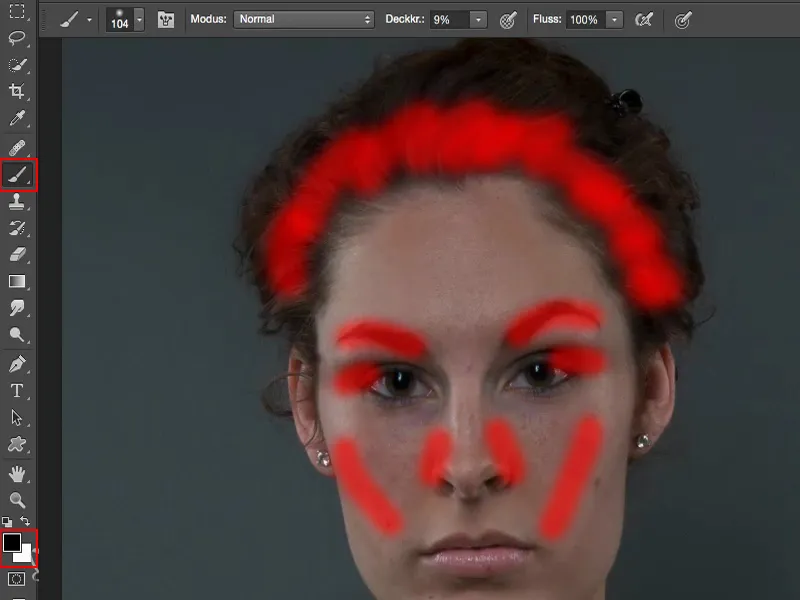
I create a dark light edge in the middle. Then I go back to the dark parts of the picture, here in the leaves, a little at the top of the collar. So this is really something if you need to do it quickly, perhaps at the end of a retouching session, when you realize: "Ah, I could make something a bit lighter and a bit darker here", then I would recommend this method.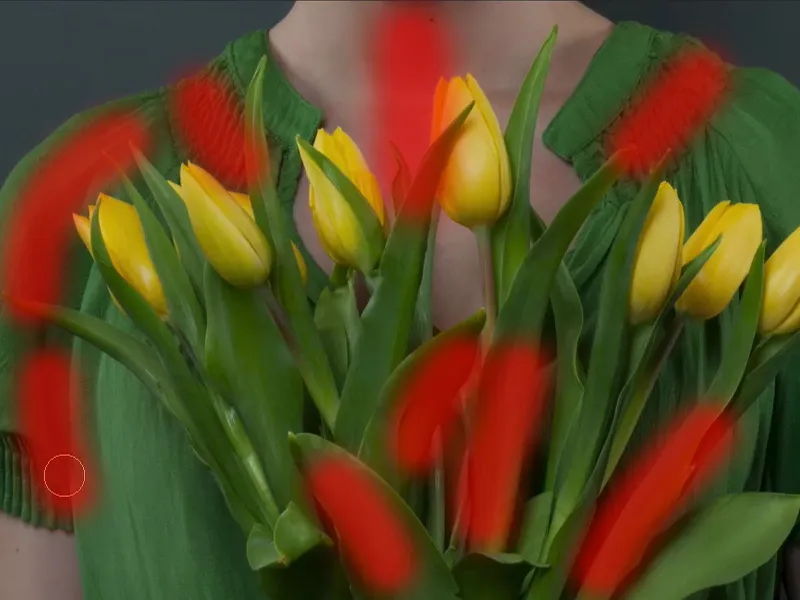
The before and after is amazing despite the relatively simple working method. I think the hairline in particular has been corrected really well. And take a look at the eyes: I also think our smokey eyes look really, really cool - it's as if the make-up has simply been pulled out further, but it's nothing more than a very soft darkening with a transition.
So you can also paint with light like this. This is an example of a portrait of a woman.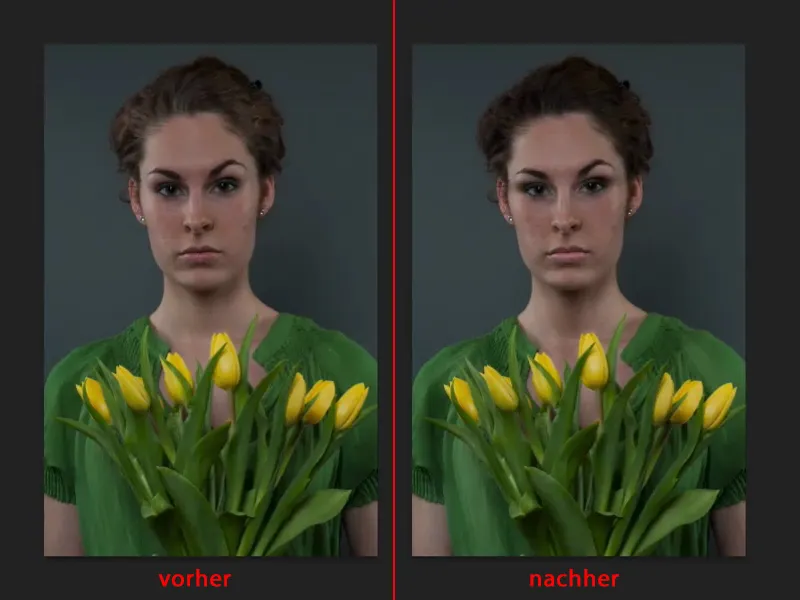
Example: Portrait of a man
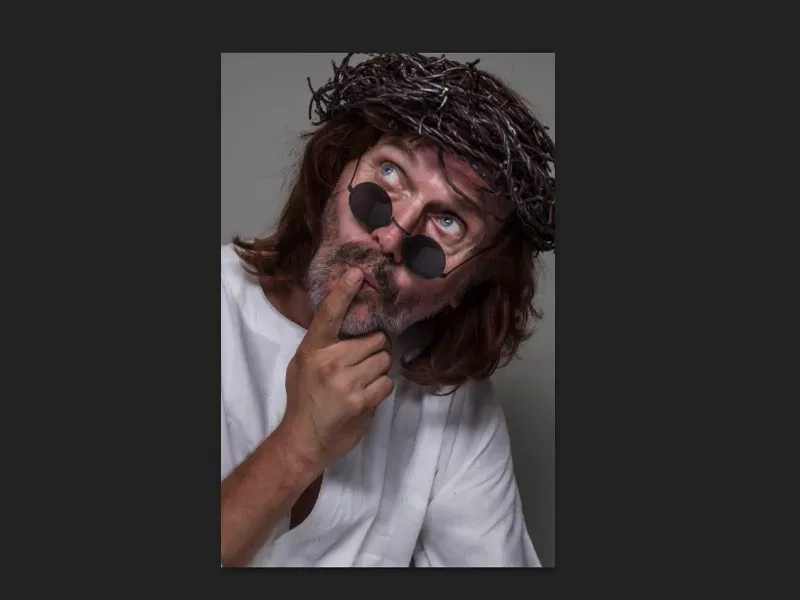
Here I'll show you the whole thing using the example of a portrait of a man. Admittedly, it's a bit of a funny picture. I still like it. Excellent model, by the way.
I have my timetable here too: You can see there's a lot going on in the area around the eyes. The soul of the picture is in the eyes and I really want to do much, much more here. The large areas like here on the clothes and so on, that's all done quickly, but with a man - unlike a woman - I can also work out the wrinkles. My model may forgive me, but it just looks really, really good on this person.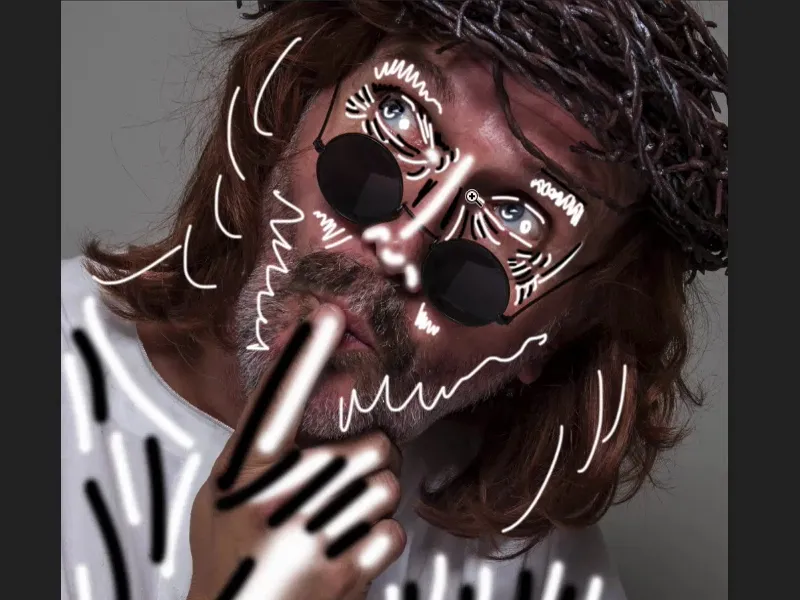
Let's get started again here: we'll make a new empty layer. I'm going to use the black brush here too , I just have to have a look: Where is it already darker? I'll definitely make this even darker. Soft light mode. And then I'll work out everything that's in the shadows here again in a very targeted way. I'm going to increase the opacity a little more and really paint in even the smallest wrinkles. And everything that I notice here, I'm going to take out and I'm going to emphasize that again, even these little things here, I can add something everywhere so that it stands out much, much better. Here under the eye, these little wrinkles ... And so of course I have to take my time with the painting and then finish it.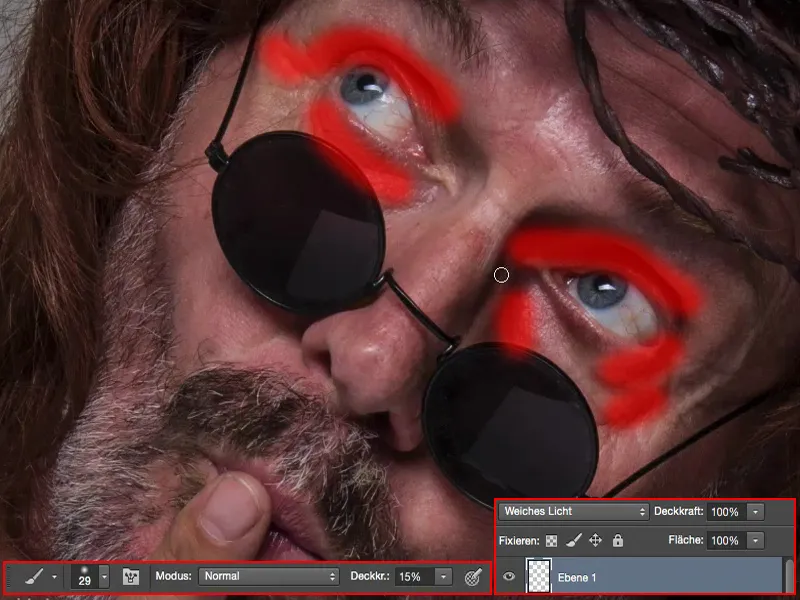
Then I think about what to do with the hair. I'll definitely darken it again - it frames the face a bit better. Then I'll make a dark edge along my thumb and let it run down my hand. I will definitely lighten up the middle.
The folds in the fabric - this is of course a feast for painting with light, because now I can really go all out and let the folds really stand out on the clothing. I emphasize everything that goes back a little. And then I'll lighten up the wrinkles that stand out.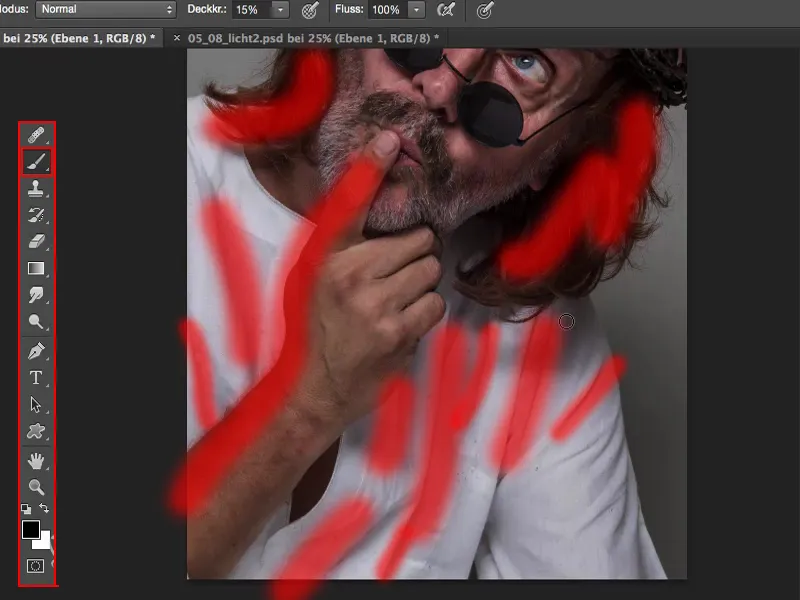
All I have to do is press the X button on this cool technique and I can continue working with white. So I don't have to think too much: Which layer am I doing this on? Does the layer mode fit? No, I can simply switch white and black - and for me that's the easiest way if you want to learn and perfect this technique.
You'll certainly get far with the textbook method, but to start with you first have to learn where these areas are that you want to lighten and darken.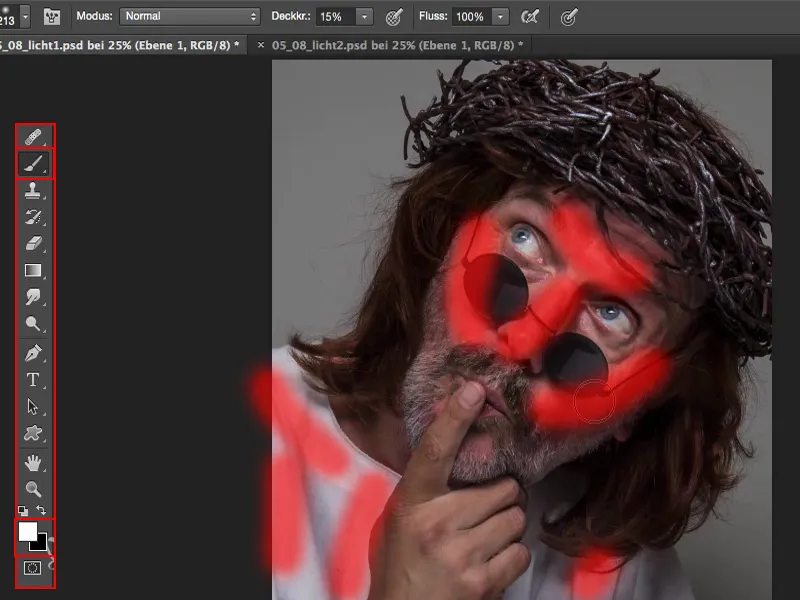
I'm making more of an effort with the eyes, making the tip of my brush very small and looking for these shiny areas. And I'll get them out too. I want the eyeball to shine a little more. And I'll even add a bit of shine to the iris, which will make everything much, much, much more exciting. And these areas too - I'm going to emphasize everything nicely, I'm also going to put a shiny spot in the middle of the nose, down here. And all these little wrinkles will also come out much, much more vividly if I just brush over them a little with white. I've already done the whole thing with black.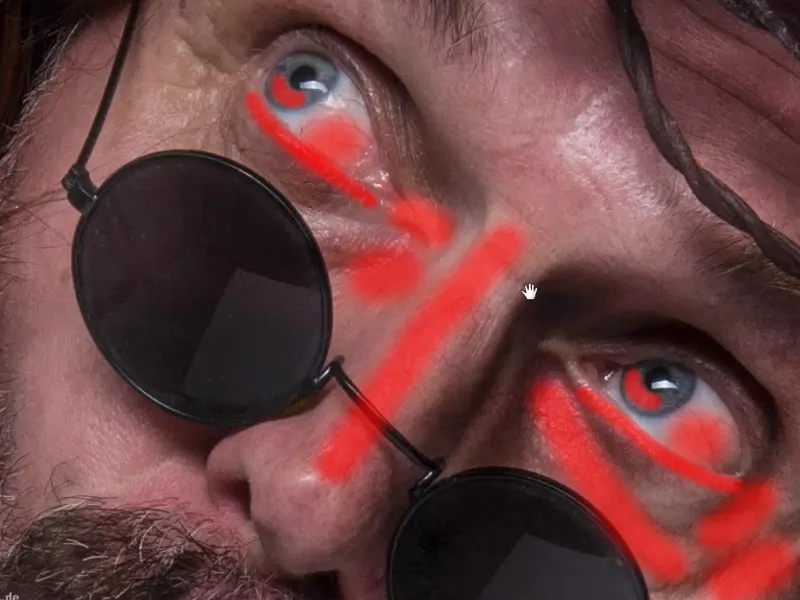
And if you zoom out here, you'll be amazed at what's actually happened to the face. I'm only here in this area with the face. The rest of the picture, yes, it's funny, it's fun, but I'm only really looking at the facial expressions of my model here and maybe at the finger.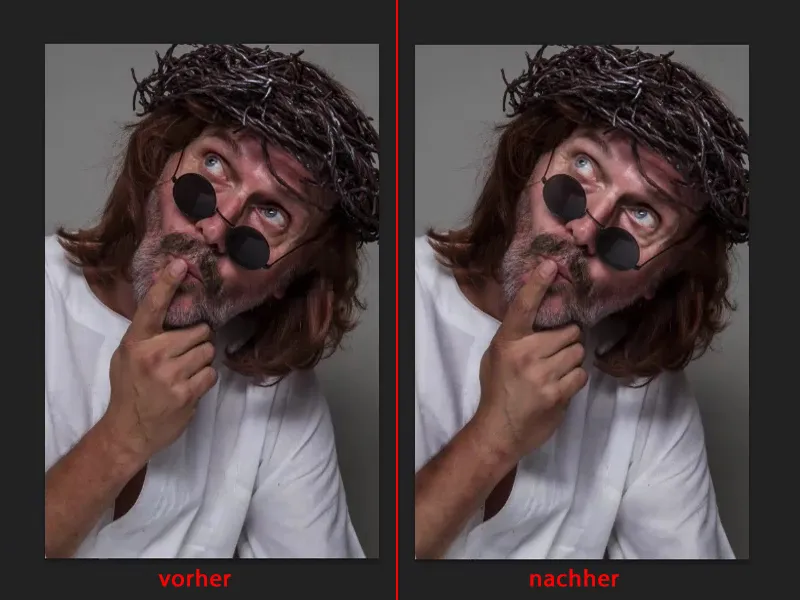
The fact that it's a bit too much here doesn't bother me at all in this case. I just use the eraser tool, maybe go to 40, 50 percent opacity and brush it out again, because, as I said, that's the way to go if I need to do it quickly.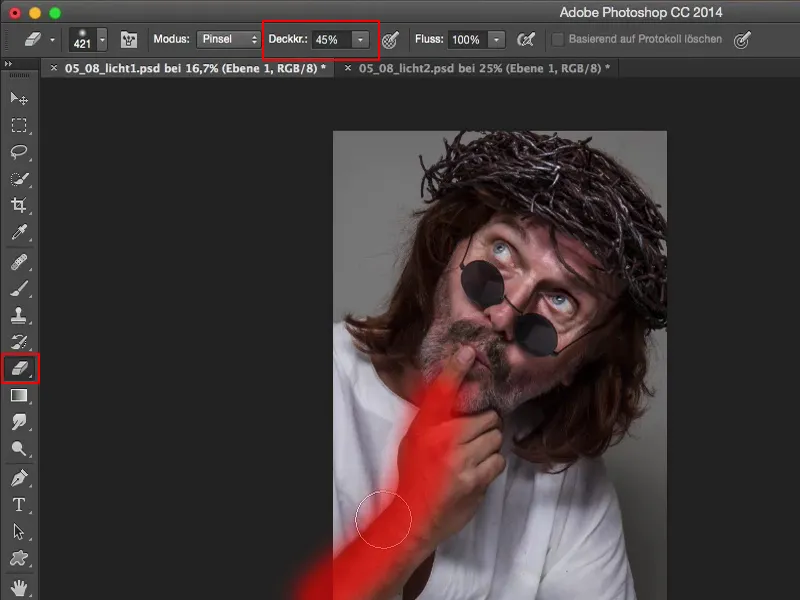
And so I very, very quickly created an insanely cool look by simply painting with light on an empty layer.