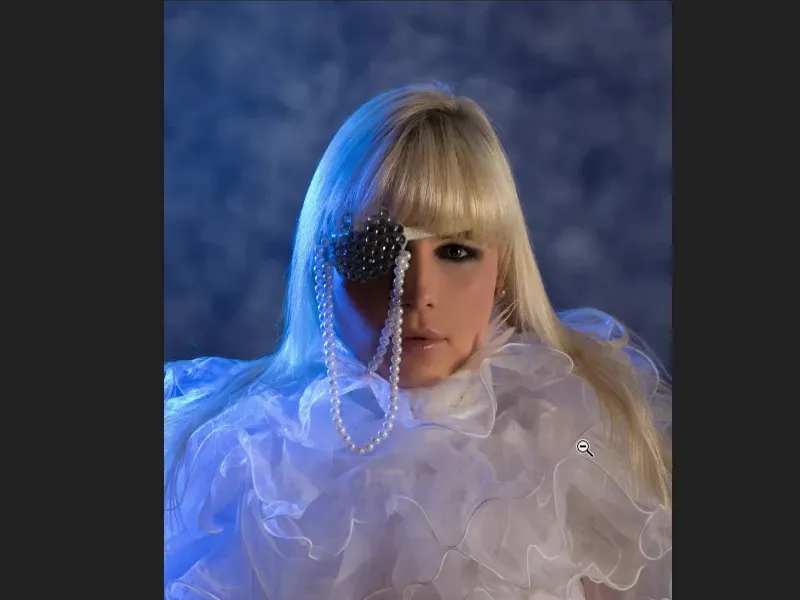
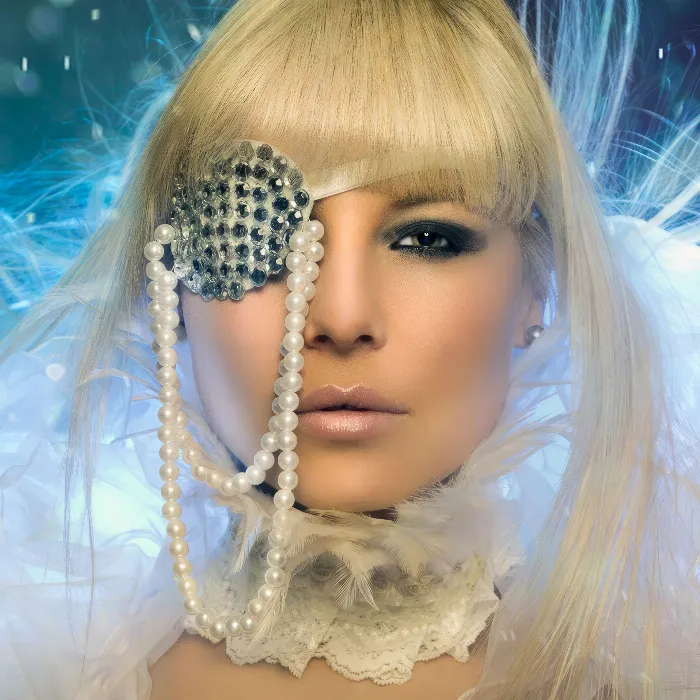
You can work very successfully with certain painting techniques for high-end beauty retouching or any other retouching task.
Let me show you the after picture. First of all, the background in this picture was too boring for me. Because it's not necessarily in the golden ratio and is very, very flat, all that blue, I could now crop the picture tighter. But I like the dress and the huge ruff the model is wearing. And I thought to myself: "No, that's quite good. I just have to be able to fill it somehow." So I simply painted this background with brushstrokes.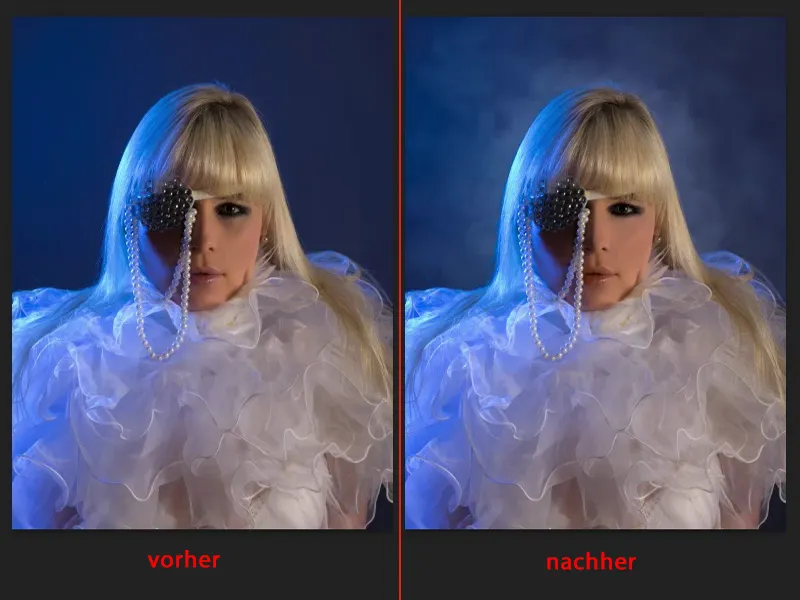
Then next, if I zoom in a little closer here ... If I tell you now, without telling you, that the hair here is painted in this area (1), I don't think you'll ever figure it out. If I take out the retouching layer (2), then you'll see: Yes, of course, there was this dark strand here, and the guy just painted over it with fake hair. Because now you suddenly notice this fake hair, which is painted over here on an empty layer. Or this brightness on the nose and under the eye (3), it's all painted. And the color is also adjusted.
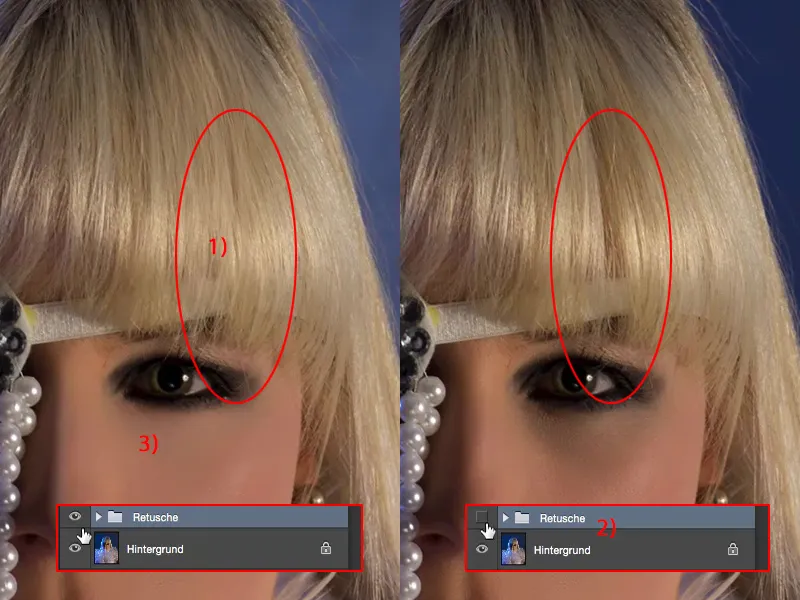
And if you look at the lip, it's a pretty good color, but I painted it a little bit in the skin color.
And I'll show you these techniques now. It's all very simple, you can do it straight away or join in.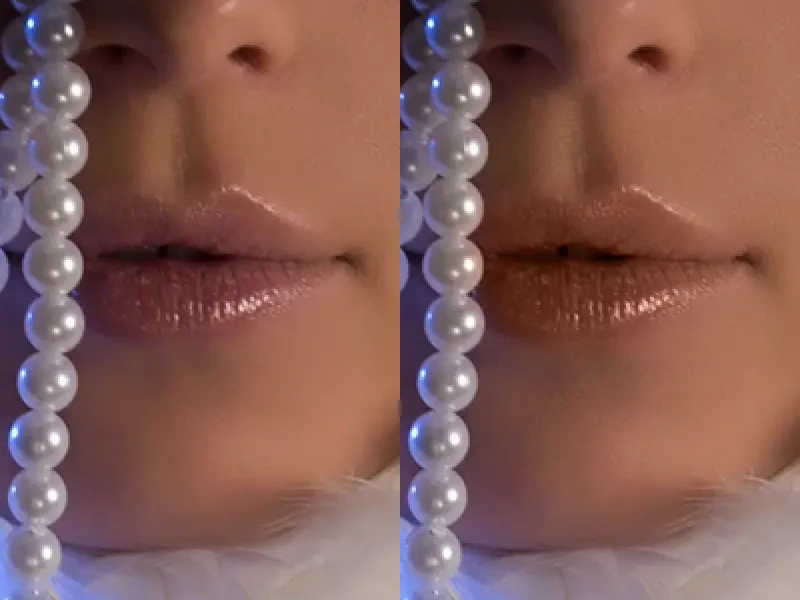
Adding clouds to the background
First of all, you need an empty layer for the background (1). This is also in Normal mode (2). Switch to the brush tool. You can already see my brute brush here (3).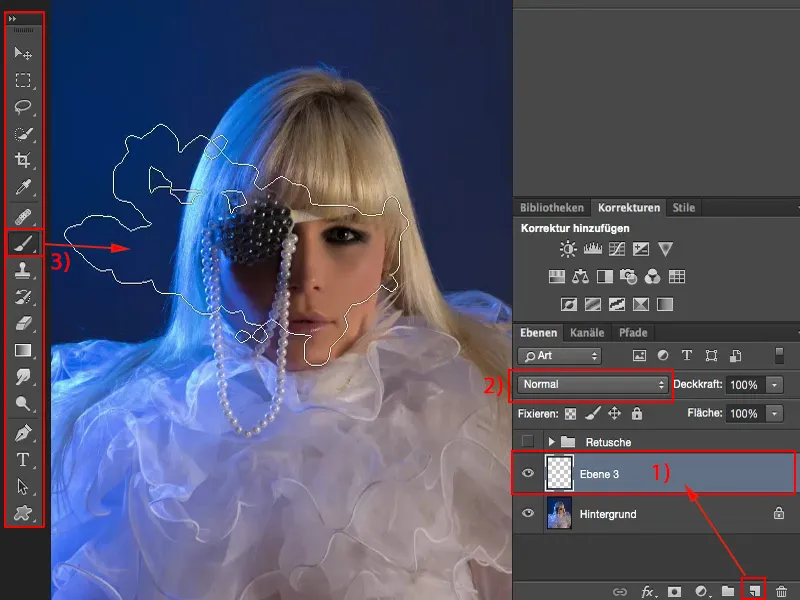
I just used this one (1), but you can also use any other brush that is as chunky and large as possible that you find here. The only important thing is that you reduce the opacity (2) a little.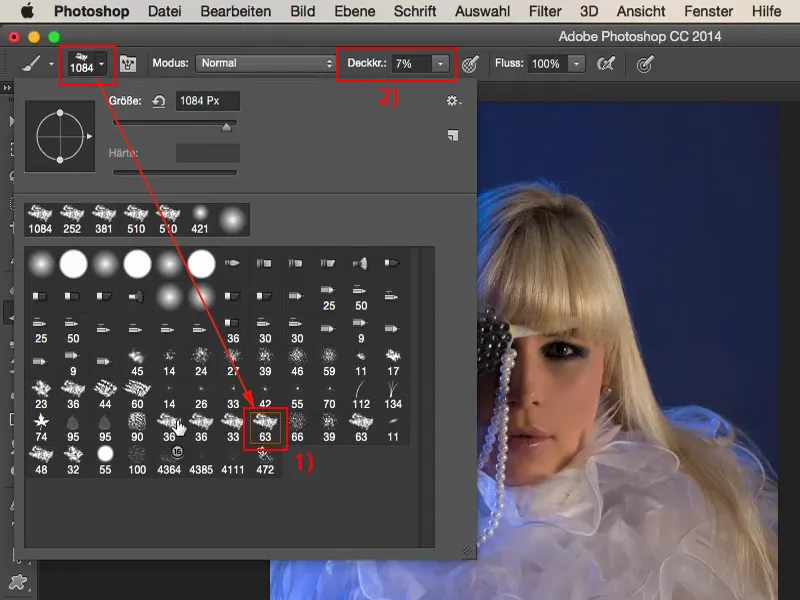
And I just click around in the picture with this one. I chose it so large because then I can also add a bit of structure outside the picture by practically only using the edge of the brush.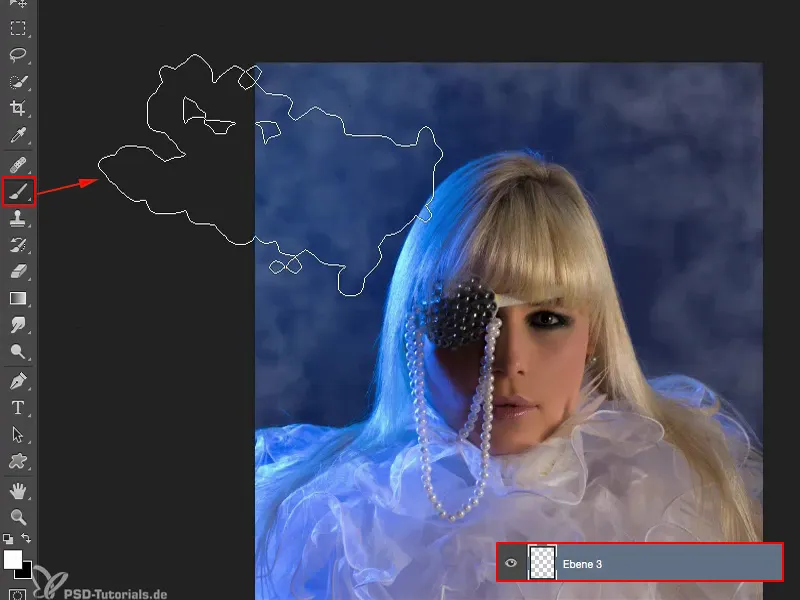
And then I make it a little smaller inside and create my other little clouds here.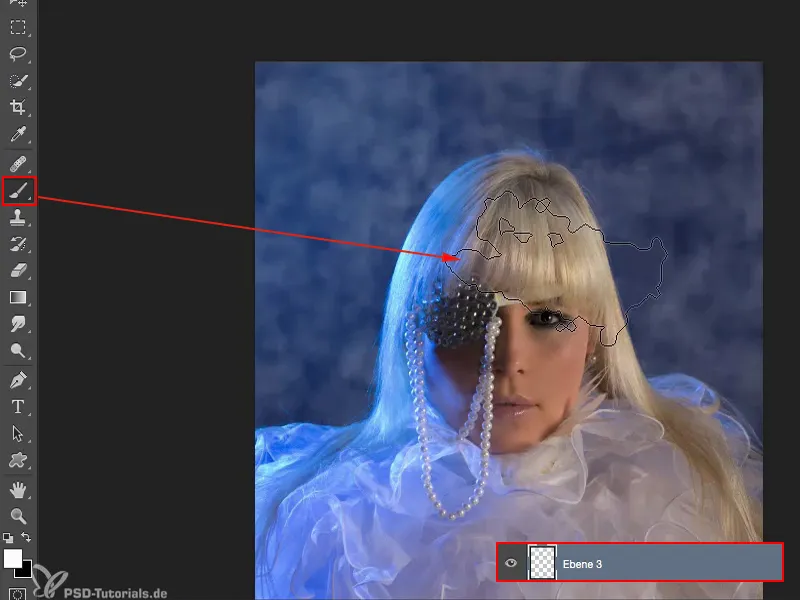
I can make them even smaller, I always add little accents. And that's how I condense this atmosphere, so to speak, until my model stands here, completely framed.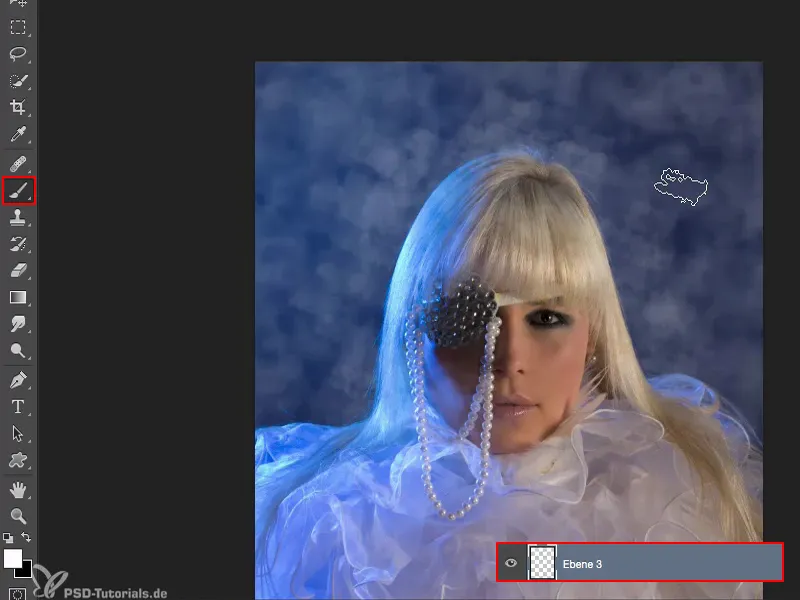
I draw the whole thing a little softly with the Gaussian blur. I have to find a value here that makes it look a bit foggy. And I think that at 8 or 9 pixels, it works for the picture.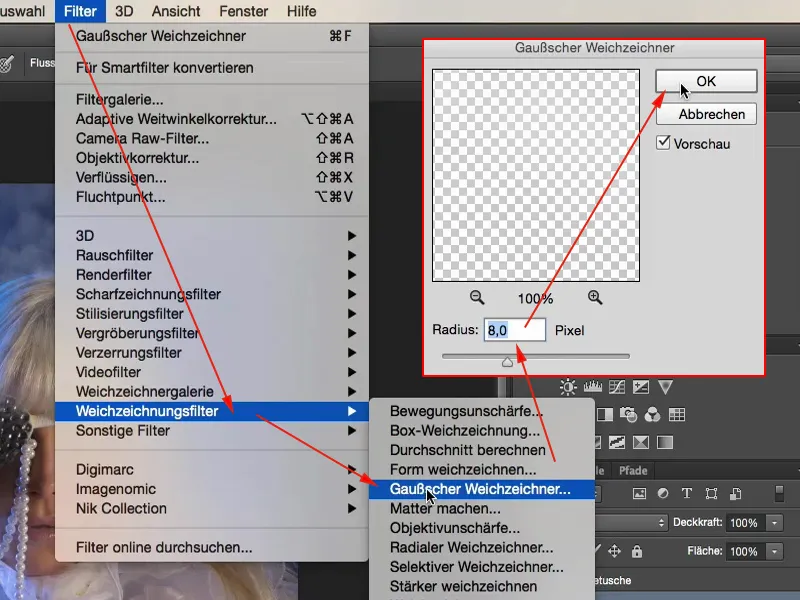
First problem solved. Second problem created: I am of course also on my model. And for this I need a layer mask (1) and a black brush (2). I take the default brush at 100 % opacity (3) and simply go over it briefly inside the model, because I don't want the fog there of course, it should only be behind the model.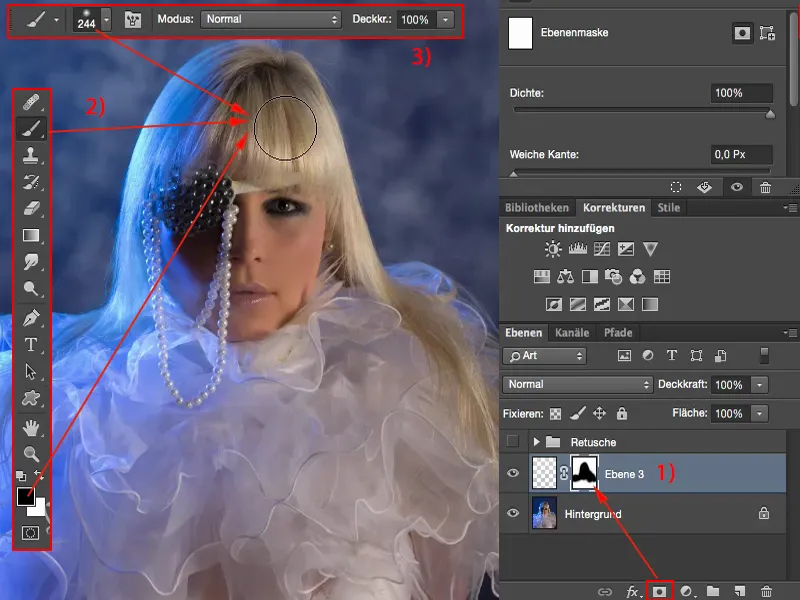
Alternatively, I could also reduce the fog a little on the mask if I wanted to, or I could simply reduce the opacity a little here.
If you look at the before, it already looks naked and bare and unfinished because you get used to it so quickly that something is happening in the background. And the easiest way to do that is to use a large, chunky brush tip.
And then you can adjust the opacity of this effect. I'll go back to 80 % (1). I think it looks quite nice like this.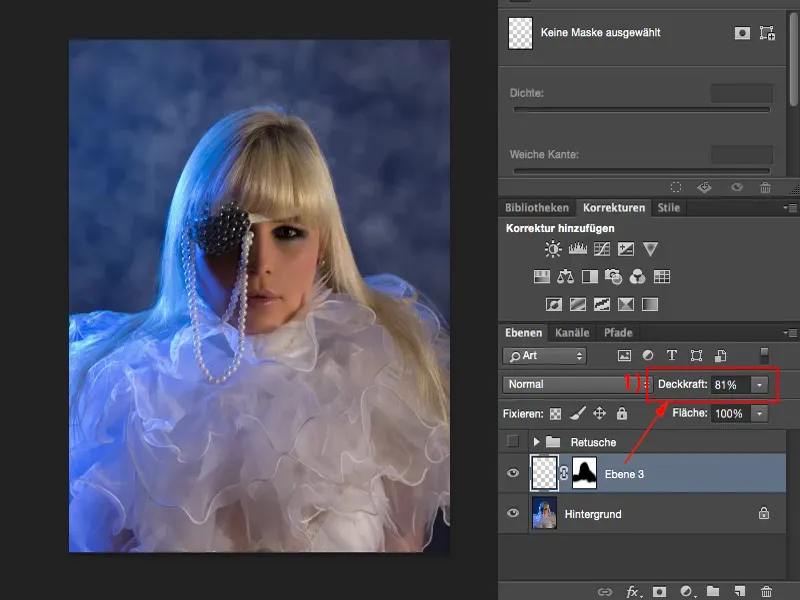
Editing the skin
Next, I want to paint skin color. I'll take a look at it: Where do I have deficits? And in that area I have, I don't know, a gray, greenish touch in it (1), I don't want it like that. So I go to another empty layer (2), take the brush (3) and pick up the skin color I want. In this case, that's roughly the area (4), I could also take a picture of the nose. I'll take this skin color.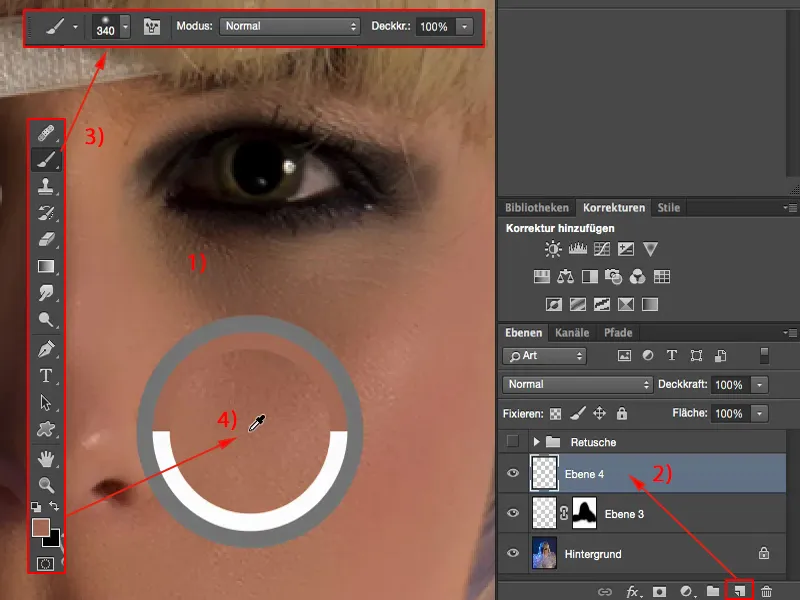
If I now brush over it in Normal mode (1), I will of course paint away the entire structure. And I don't want to do that. I just want to change the skin color.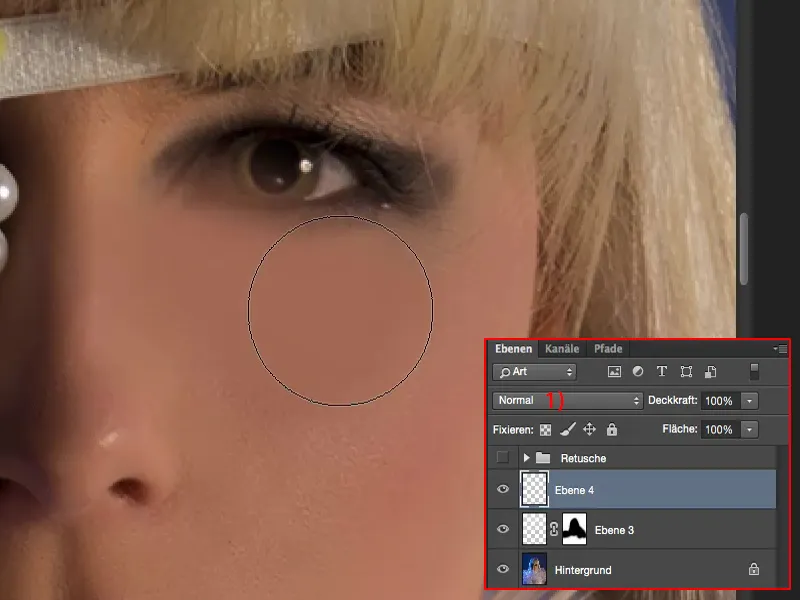
So I have to set my layer mode to Color (1) mode. If I now brush over it at 100% opacity (2), that's obviously far too much, because then I've applied 100% of the color. But you can see very clearly how the principle works, because the structure remains 100% intact. And that's exactly what I want here.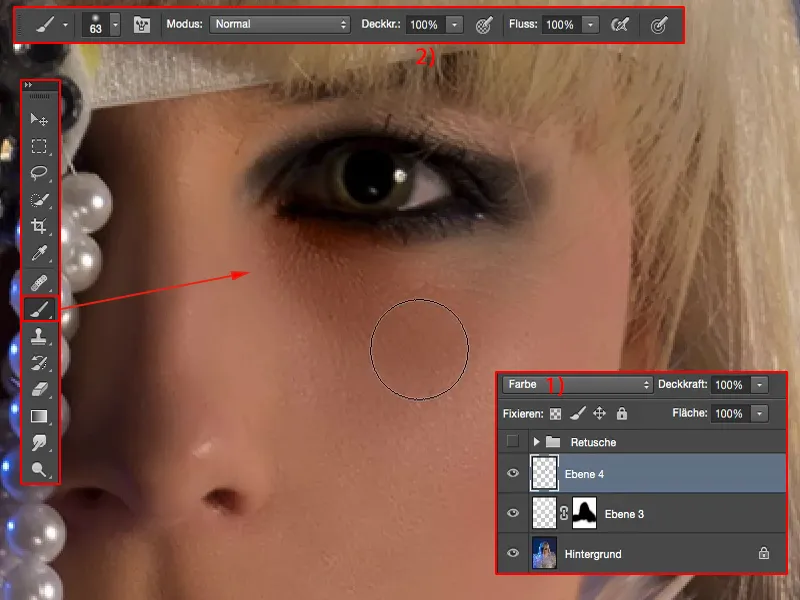
So I go back a step, reduce the opacity to 15% (1) and can now apply this skin color very gently (2). And I notice that by the third time I brush over it, I'm actually already at the limit of how orange I want it to be.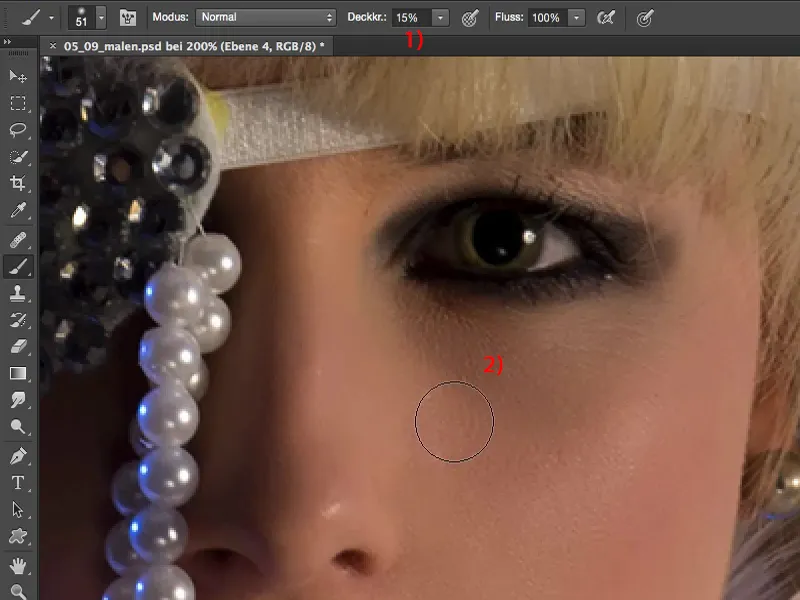
But if you look at the before and after, it's such a small subtlety that simply makes the picture more perfect. And it's also a bit about high-end beauty retouching. High-end means nothing other than that we pay attention to the details. And I think that's the most important thing you should take away from this tutorial: you have to learn to look for and correct these detail errors, then you'll be a step closer to perfect beauty retouching.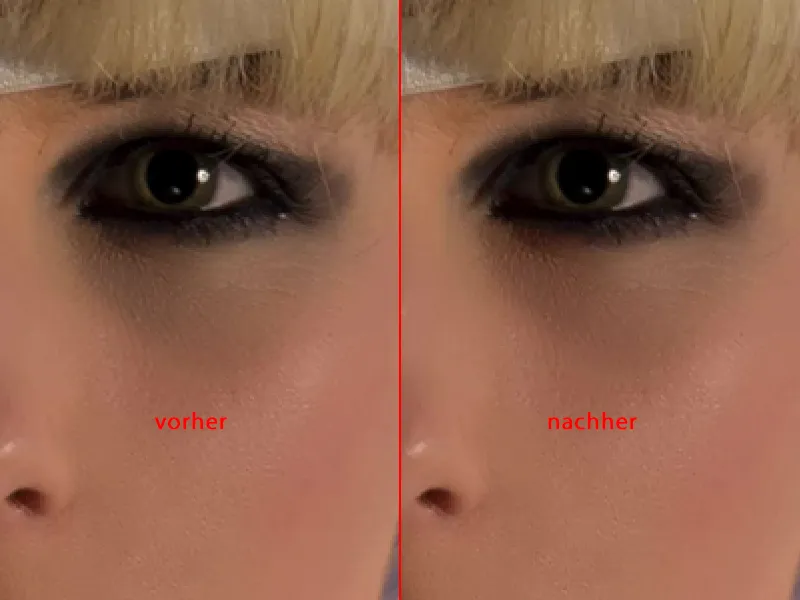
Drawing a shadow under an eye
Now we also have a shadow under the eye. How do we even it out now?
Similar to this color layer, we simply create a layer in luminance mode (1). There is no more color here, only brightness. Here on the nose, for example, it's bright. So I'm going to take the light skin color (2) and apply it to this layer again with low opacity (3).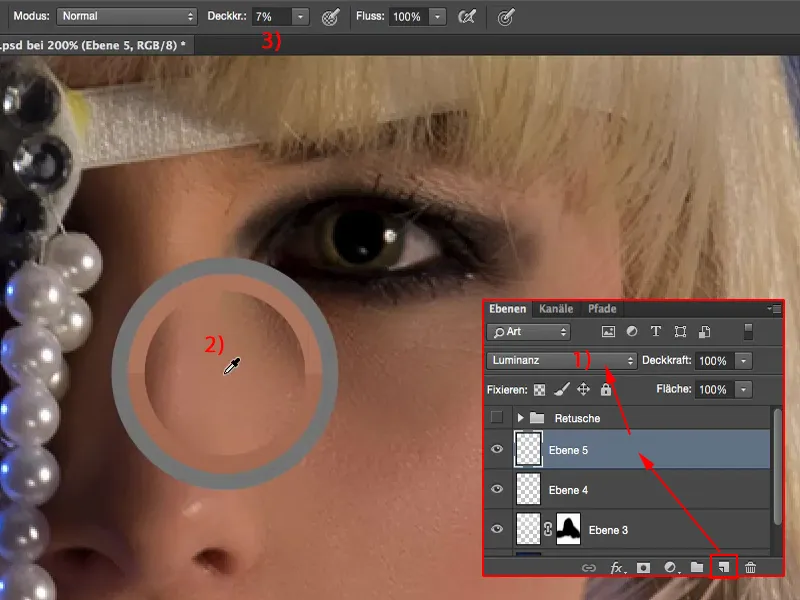
I'll just brush over it here and you can see that the structure is naturally retained. That's how it has to be. And now I've softened this shadow in any case.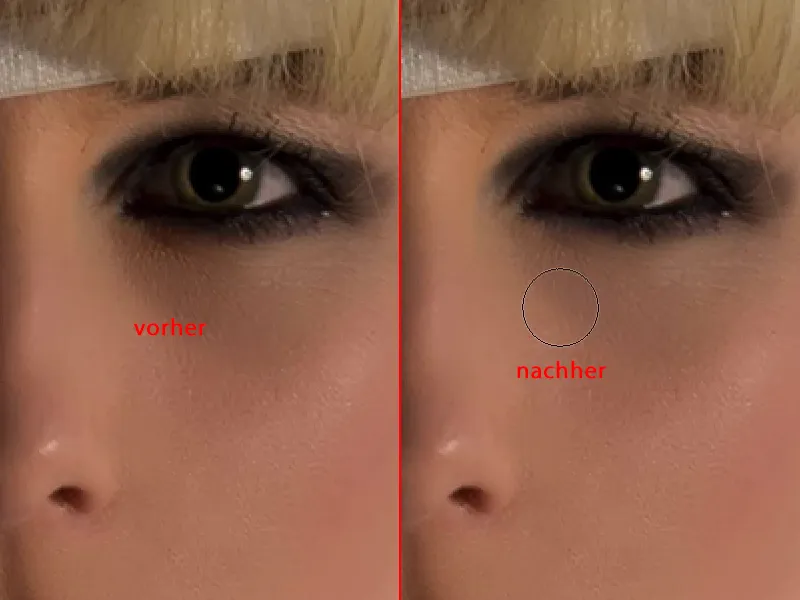
If that's not enough, you just have to choose a lighter color. To do this, go to the color selector (1), simply go up one shade and you'll have more room and can lighten it even more.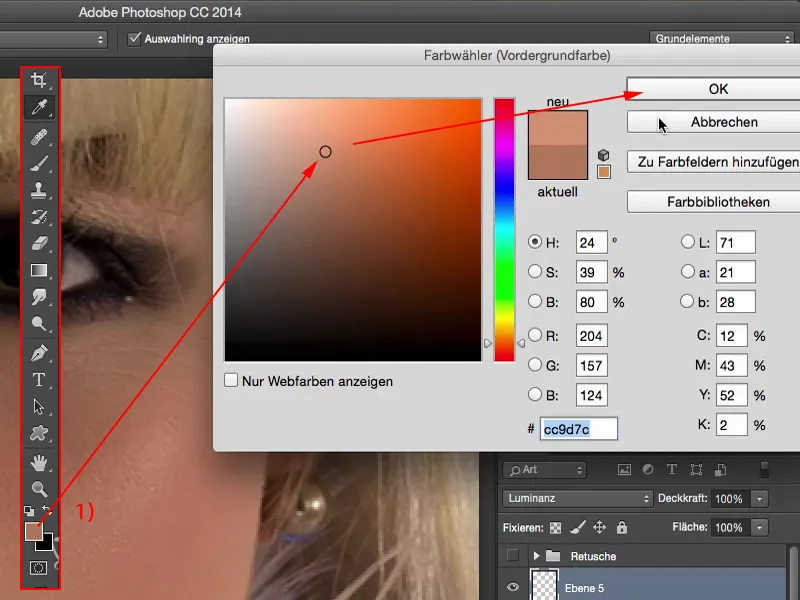
It can be that simple if you want to change a shadow or a dark area. Of course, we can also play the same game on the lips. We already had the Color mode (1) down here. If you want to adjust the lip color a little to the skin color, simply pick up Skin Color (2) and go over the lips two or three times with very low opacity (3) (4). And you'll see: It doesn't make much difference, but the whole thing looks a little more harmonious overall.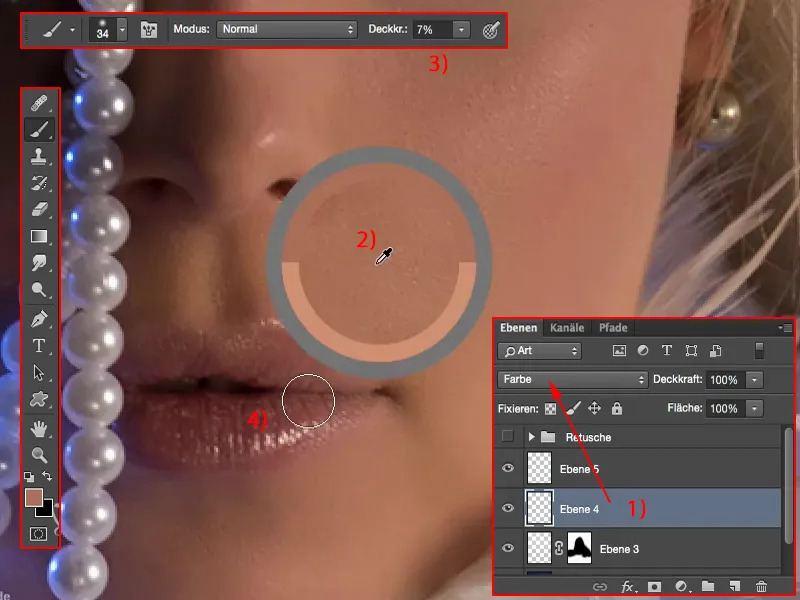
Edit hair
Let's move on to the hair - painting the hair. This gap (1) needs to be filled here.
So you guessed right - a new empty layer (2). Let's take the brush and add approximately this brightness. I don't want to take it directly out of the glossy area, because otherwise it will stand out too much. Maybe a little further back (3).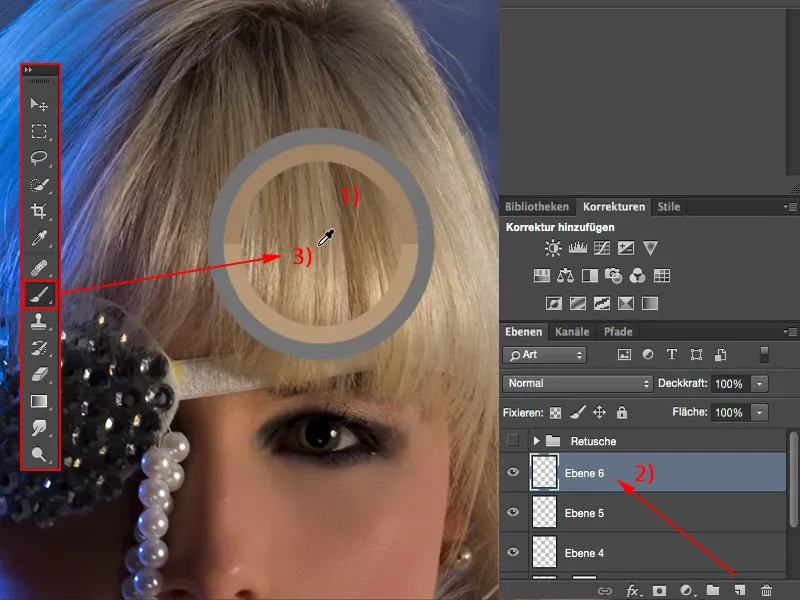
I need a very small brush of maybe one or two pixels (1). And then I paint down this hair one, two, three, four, five times (2), of course with 100% opacity (3). It looks really stupid at first.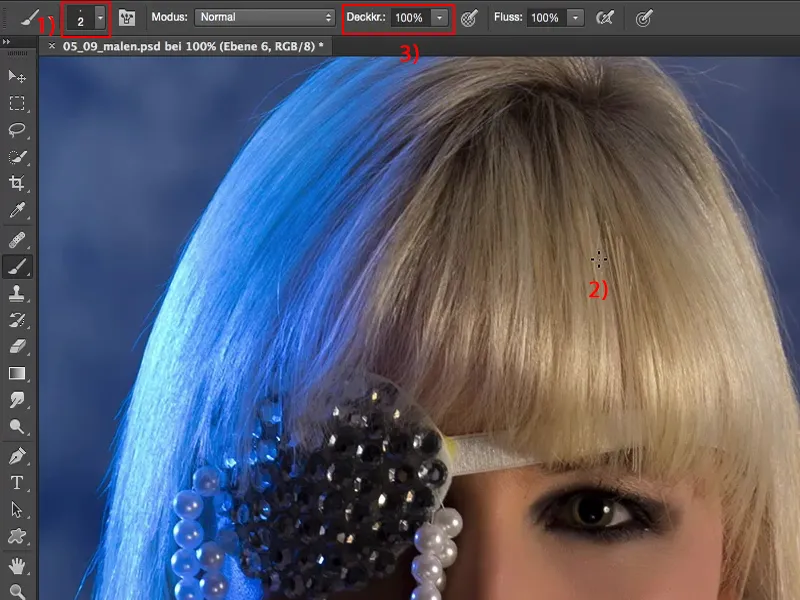
I now duplicate this layer (1) and simply move it over here by one or two pixels (2).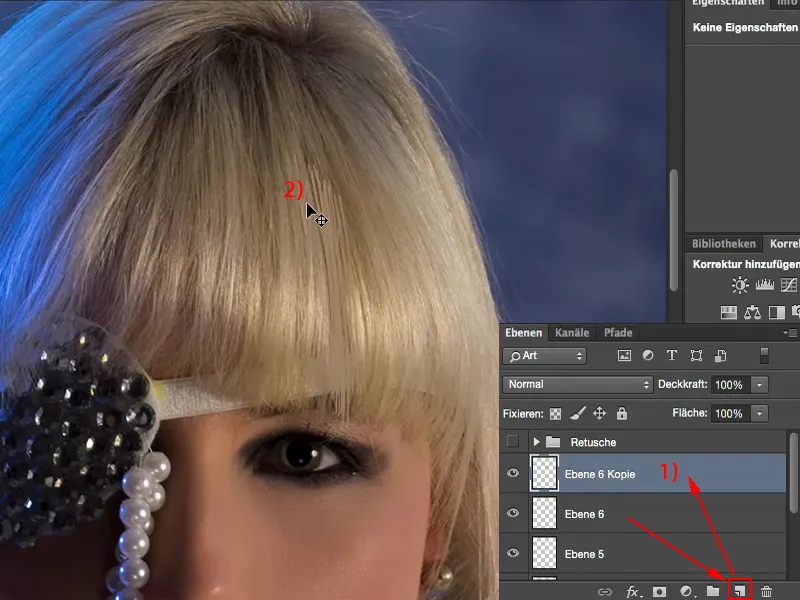
I'll then reduce the whole thing again (1), go to Free Transform (2) and create this bend (3) afterwards, I'll let it run out like this.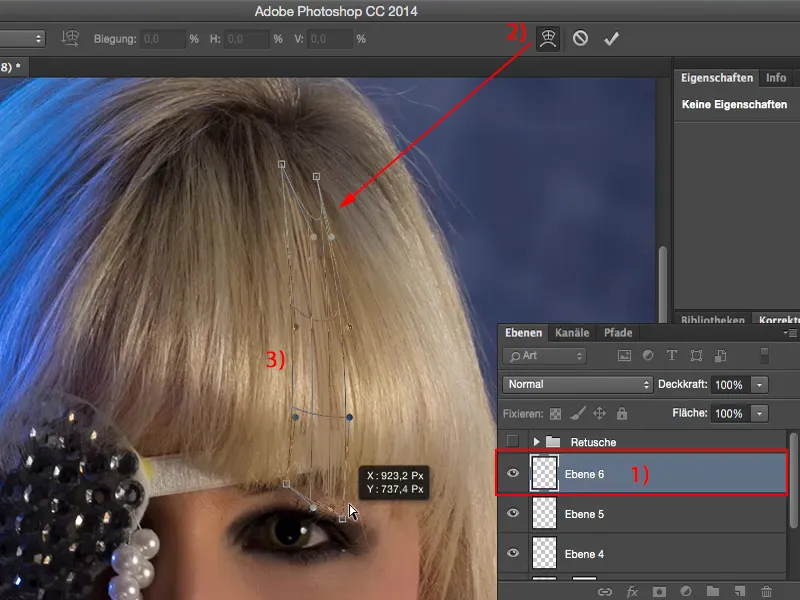
I'll transform the whole thing again, because I need this to be a bit more compact. It looks cool like this. Then we'll rotate the whole thing a little bit here and move it over this gap with pixel precision.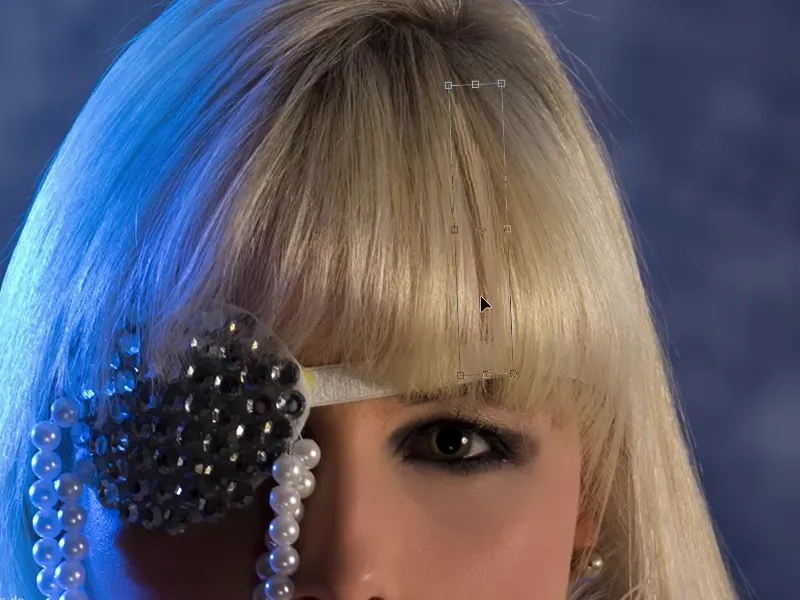
It doesn't look cool up here (1), but the gap isn't there either, so it's not at all distracting. So: reduced brush opacity (2), small brush tip (3) and create a transition here. And you've already closed this gap here. If you know it, you might see it, but if you look at the picture like this, you'll never realize that this gap in the hair has been painted here.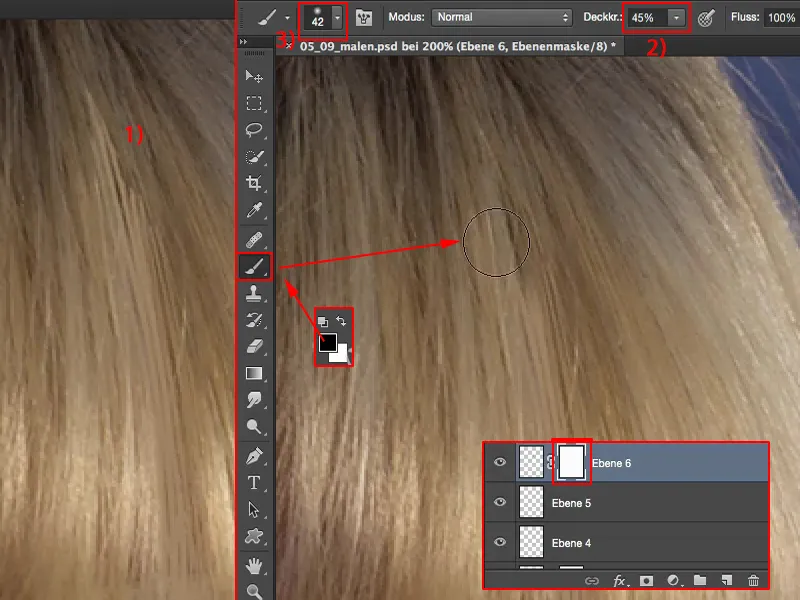
Summary
So you can work very non-destructively with different layer modes on individual layers. You can paint skin color here, you can paint skin brightness, you can paint hair, yes, you can even paint your own foggy background.