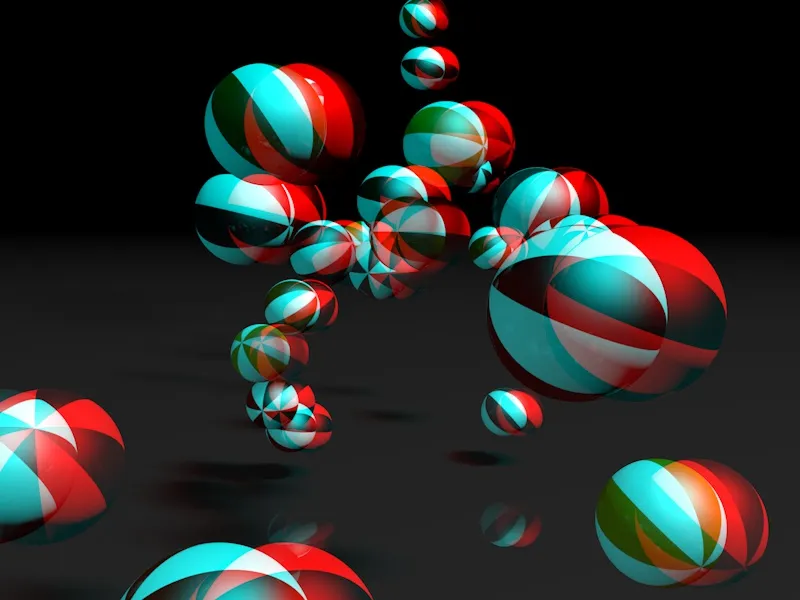
Compared to a still image, the viewer needs more time to get used to an animation in 3D stereoscopy. Especially with the inexpensive, widely used anaglyph method, too many objects moving too quickly can push the 3D effect into the background. My example animation for this tutorial deliberately approaches this limit so that you can later experiment with the number of particles and their speed as you wish.
In the working file "PSD_C4D_R13_Stereoscopy_start.c4d" you will find the starting point for this tutorial. Let's take a quick look at the existing elements before we dive into 3D stereoscopy.
Setting up the scene
The elements already installed in the scene include a floor object with a reflective, dark gray material and two light objects to illuminate the scene.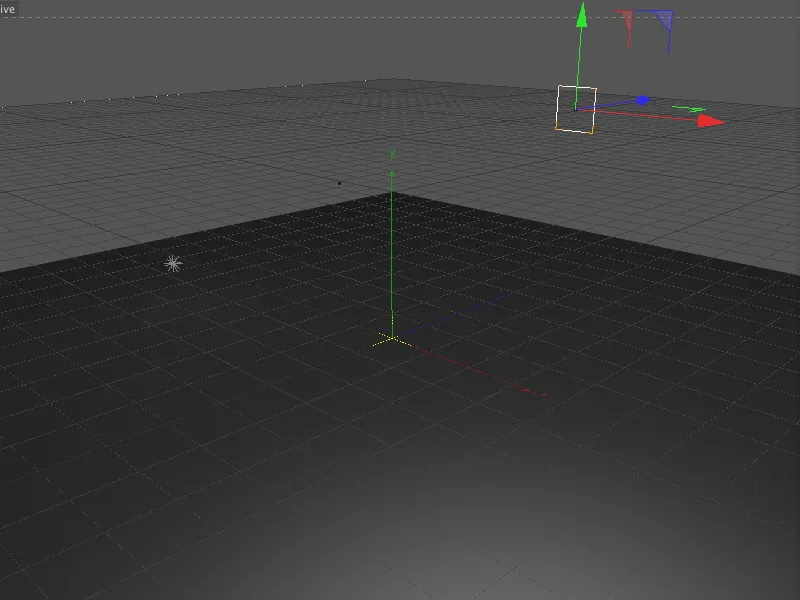
In addition, a particle system is already built into the scene, of which the emitter is clearly recognizable as a rectangle in the editor view. A total of five differently textured spherical objects are available as particles. A gravity and reflector modifier ensure that the spheres fall and bounce off the ground object.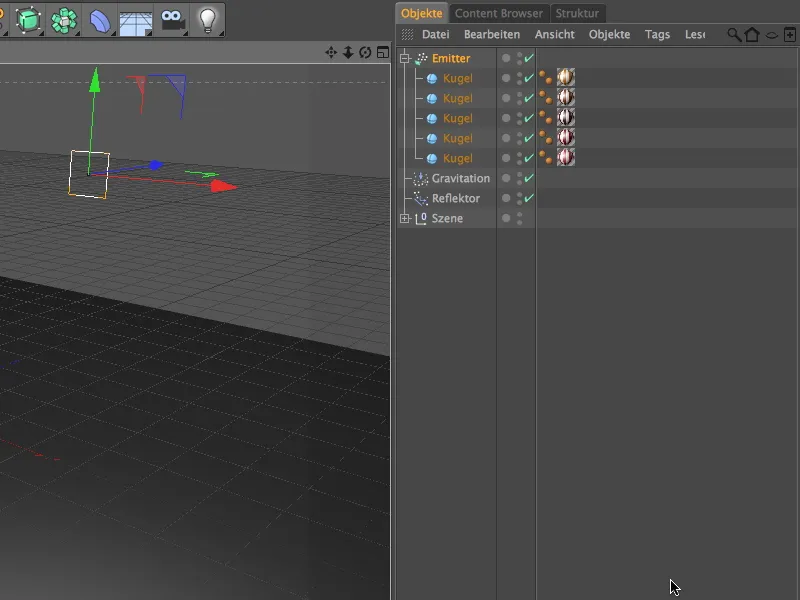
As the scene is created on a relatively small scale, the sphere objects are not particularly large. If you want to use other objects as particles, simply replace these elements that are subordinate to the emitter.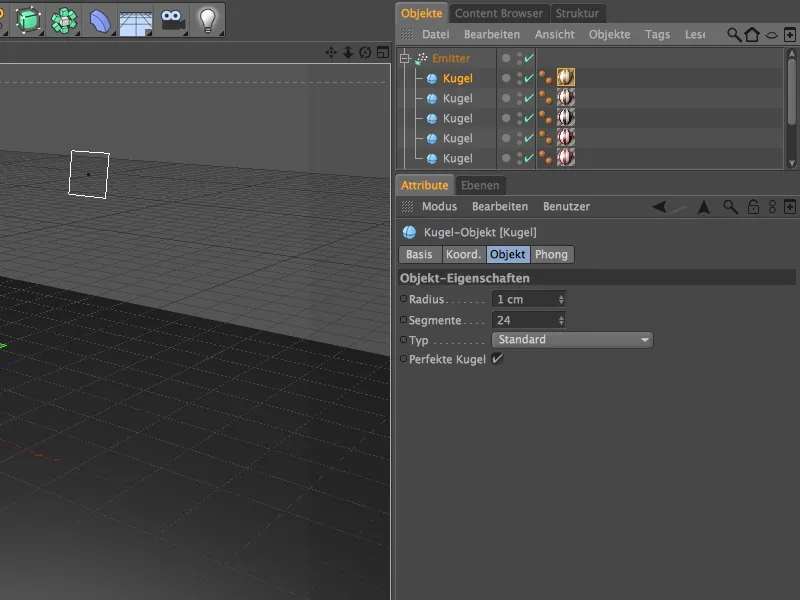
The only difference between the five sphere objects is their different textures. I achieved the stripe pattern with a simple checkered pattern. You are also welcome to use other patterns or materials here.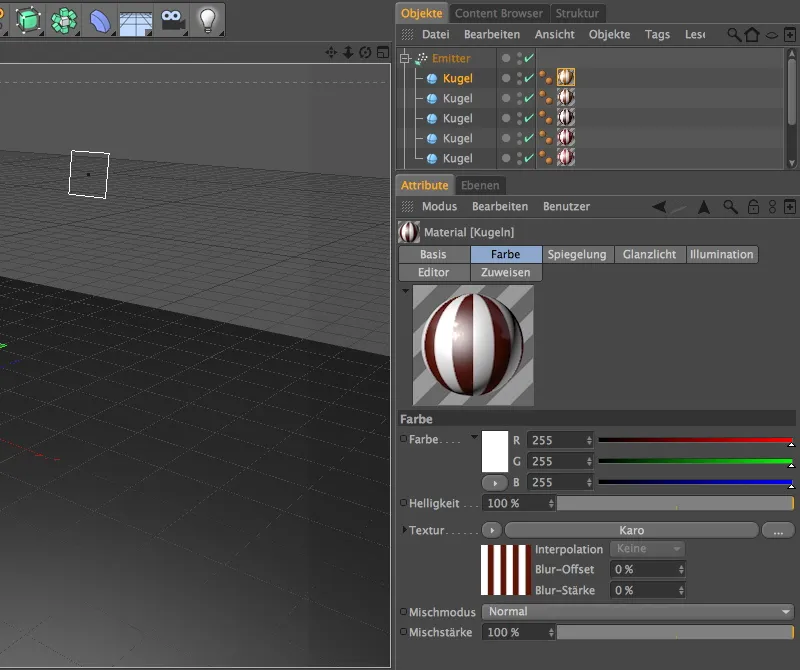
The settings dialog of the emitter shows how many particles are ejected in which way and in which period of time. As already mentioned, the birth rate of 10 is already at the limit of what can be recorded. You can also set lower values here. The emission is stopped from frame 500, so that the last particles still have enough time to pass through our 3D stereo camera.
The lifespan of 120 images ensures that the emitted particles also disappear from the memory after they have disappeared from the field of view. With a rotation of 60°, we give the particles a little spin to make the animation more realistic.
CINEMA 4D displays the emitted sphere objects in the editor view when the Show objects option is activated. If there are too many or too complex particles, it would be advisable to deactivate this option to reduce the load on the computer.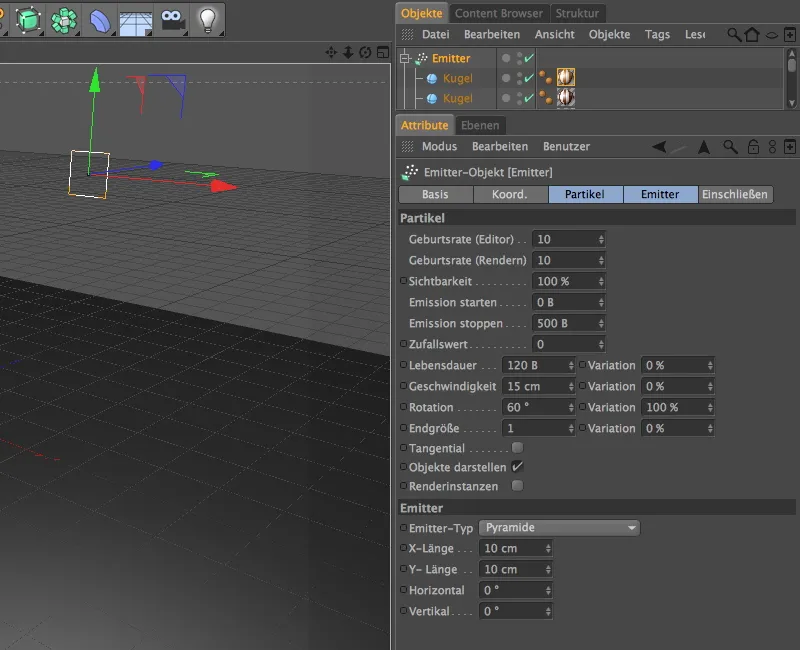
With these settings, the emitter ejects the sphere objects in the Z direction. To ensure that the particles follow the force of gravity and bounce off the ground, we also have two modifiers in the particle system.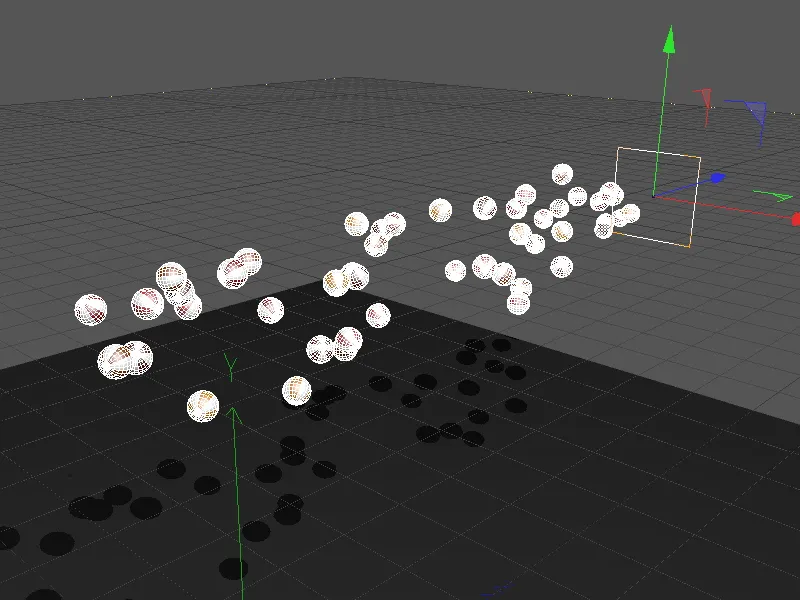
As the name suggests, the gravity object takes care of the gravity acting on the particles. Thanks to unlimited shape and decrease, all emitted particles are captured by gravity.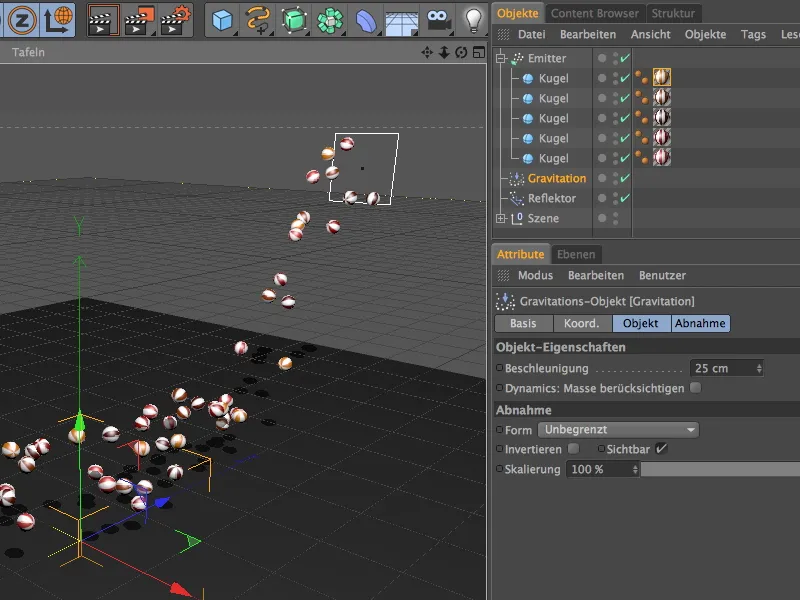
As a second modifier, we have a reflector object in the scene. It is at the same height (Y position) as the ground object so that the sphere objects also bounce up and down as precisely as possible. Due to the elasticity of 50%, the particles are thrown upwards with half the impact energy.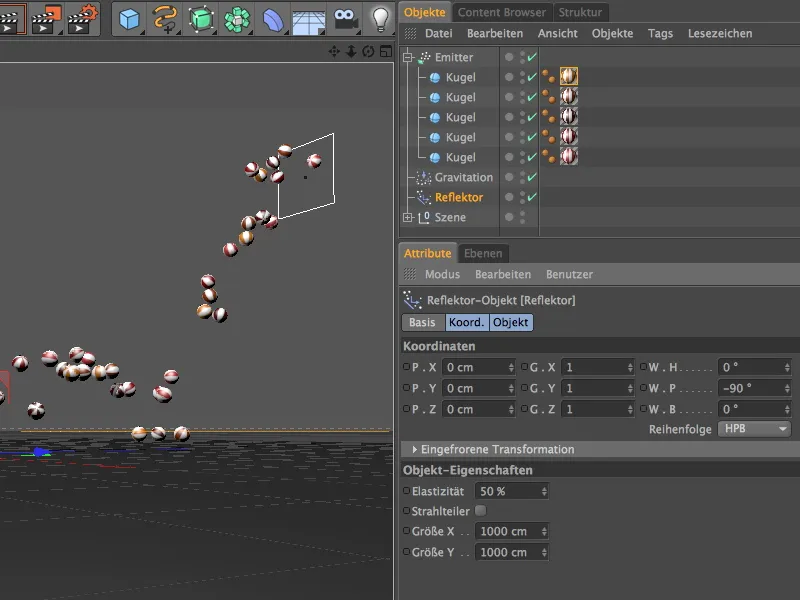
We now want to capture this small particle animation with a 3D stereo camera in order to be able to render a stereoscopic animation from it. In order to capture the strongest possible 3D effect, we let the particles flow towards us head-on.
Use the view tools in the editor to select an appropriate perspective; we will make the fine adjustments later.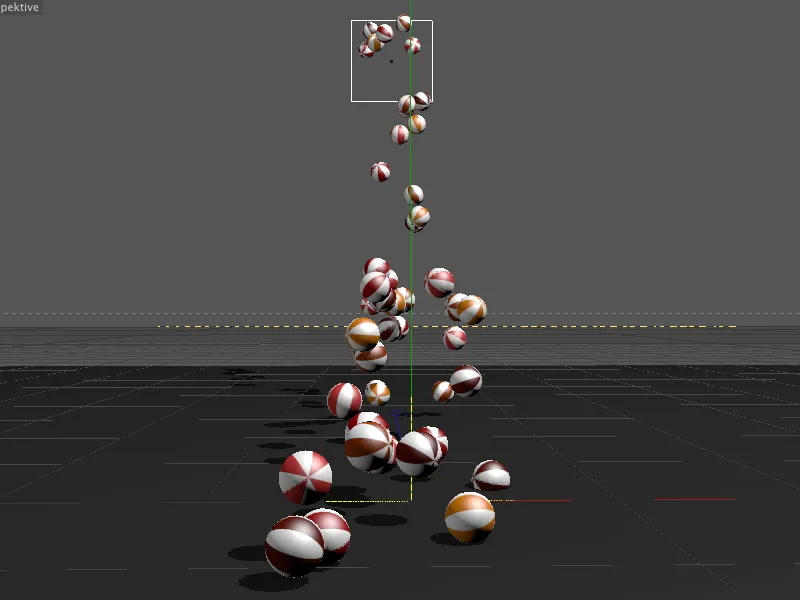
Creating and setting up the 3D stereo camera
We capture this position by creating a camera. However, we are not using a standard camera, but the stereo camera from the camera object palette.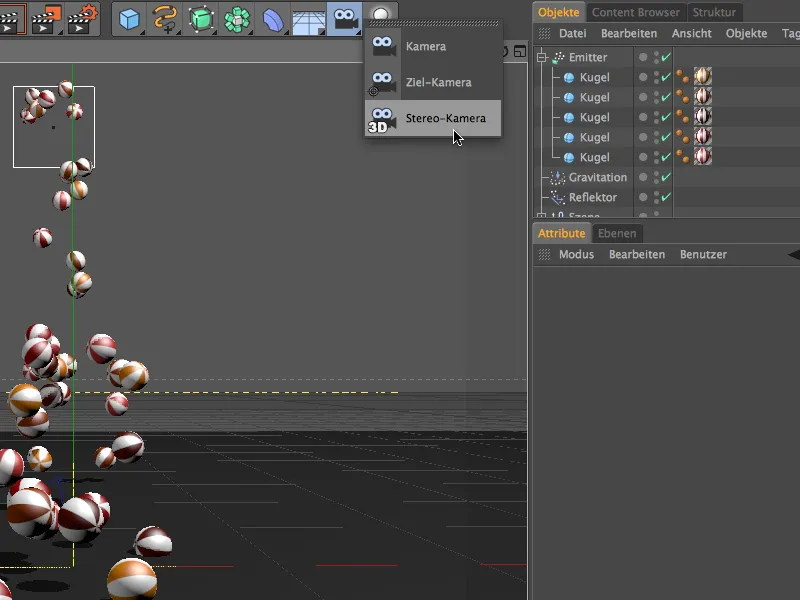
In order to be able to edit the newly created stereo camera in the editor, we use the camera icon in the Object Manager to ensure that the camera is not active and correct the position and angle on the Coord. page in the settings dialog of the camera object.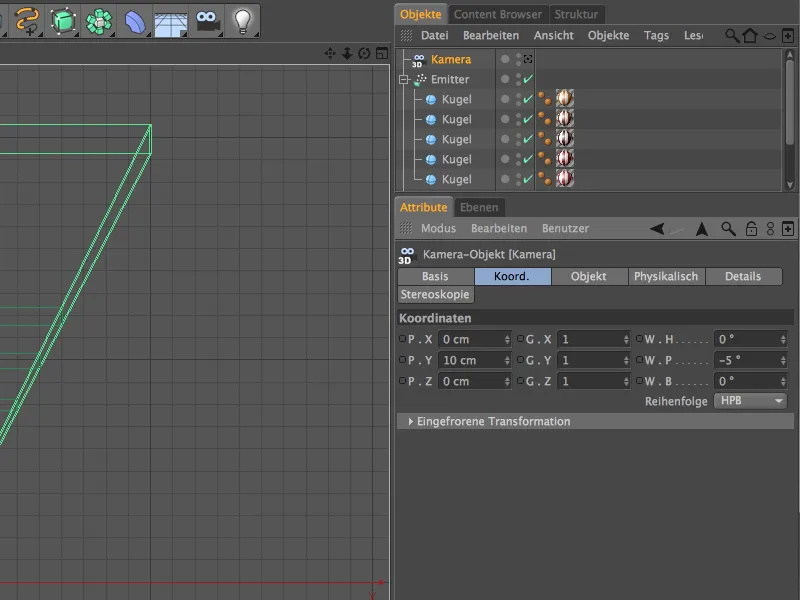
To align the stereo camera precisely, it is helpful to let the emitter work for a short time by clicking on the play button in the animation palette. The slightly offset double lines of the camera also show in the editor that it is a stereo camera that records the scene from two slightly offset perspectives.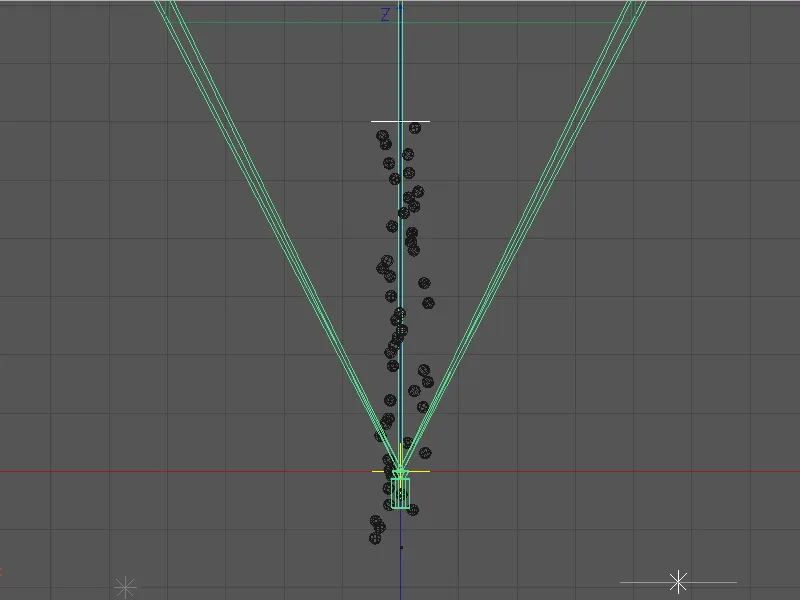
The Y-position of 10 cm places the camera approximately at the height of the bouncing particles; the slight downward tilt ensures that the source of the particles, the emitter, is not in the field of view.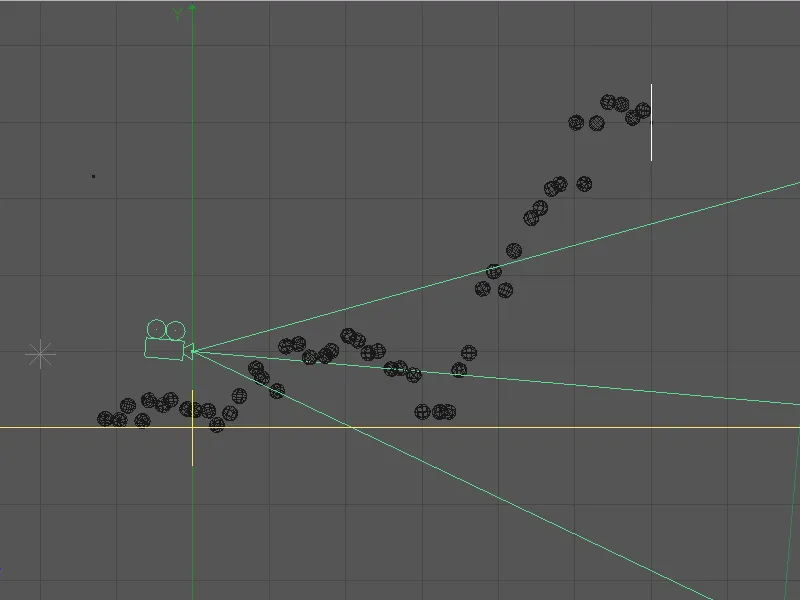
Now that the stereo camera is in place, we can activate it and take care of its settings. All parameters relating to 3D stereoscopy can be found on the dedicated stereoscopy page. To be able to better assess the camera in the editor, we reduce the focus distance and thus the green view pyramid to the distance to the point of impact of the articles. In my example, this value is 35 cm.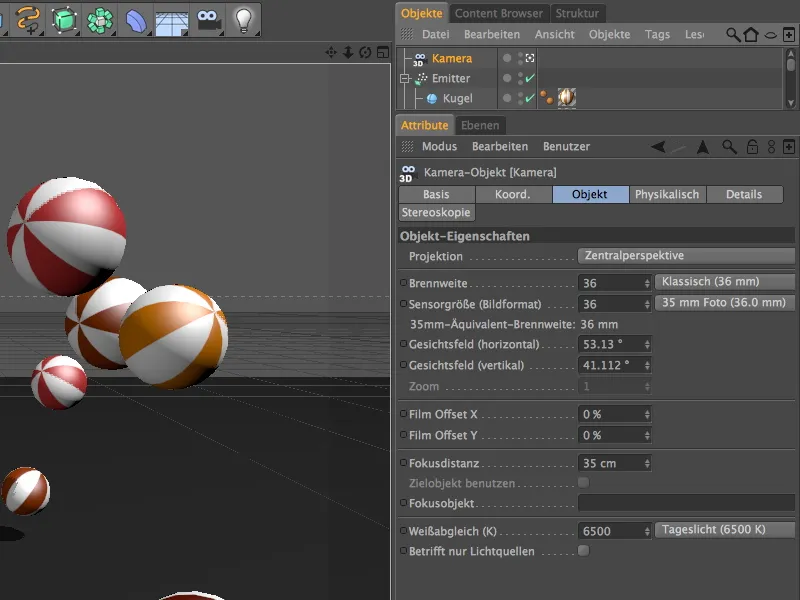
Now that the stereo camera has been activated, we can take this opportunity to get a first impression of the stereoscopic display. In the Options menu of the Editor view, you can switch on the stereoscopic display for the currently active camera.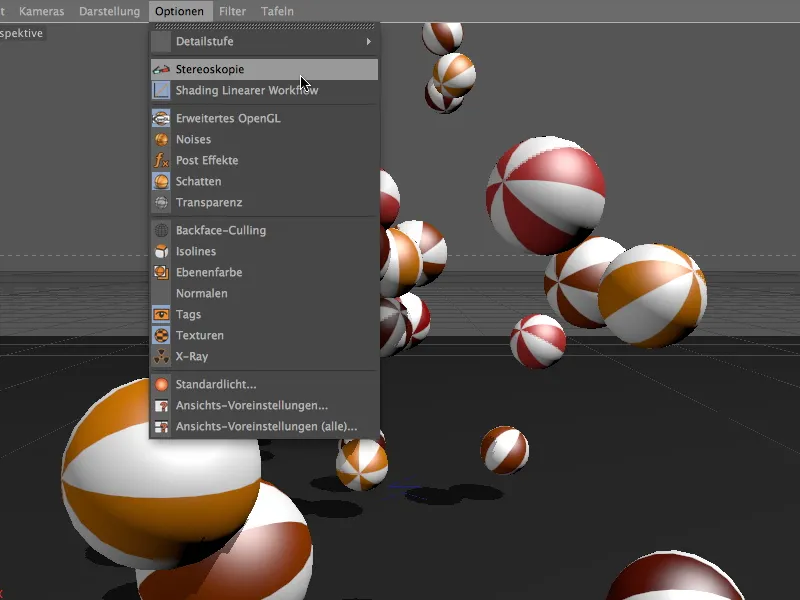
With suitable red-cyan glasses, we can already view the scene in 3D stereoscopy in the editor. However, stereoscopy is currently still based on the standard parameters. For a usable three-dimensional staging, we have to go back to the settings dialog of the camera object.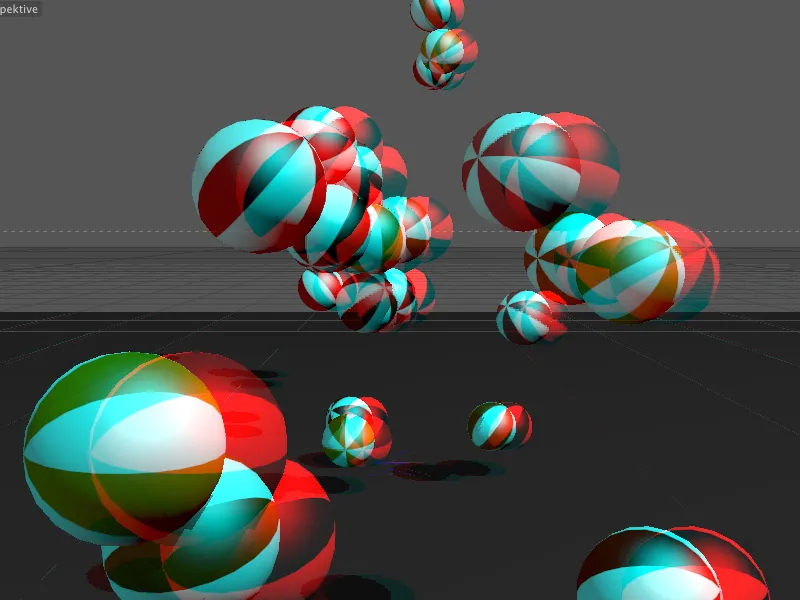
On the stereoscopy page, we will find all the necessary settings. The Zero parallax entry is of crucial importance here. With this value, we specify the vertical plane on which the origin for the three-dimensionality lies. All areas behind this plane are pushed into the background, all areas in front of this plane extend out of the image plane towards the viewer.
I have used the focus distance value of 35 cm for the zero parallax. This means that all spheres will stand out clearly in three dimensions at the latest when they hit the ground.
We also activate the option Crit. Show critical area to be able to take a closer look at an important feature of stereoscopy.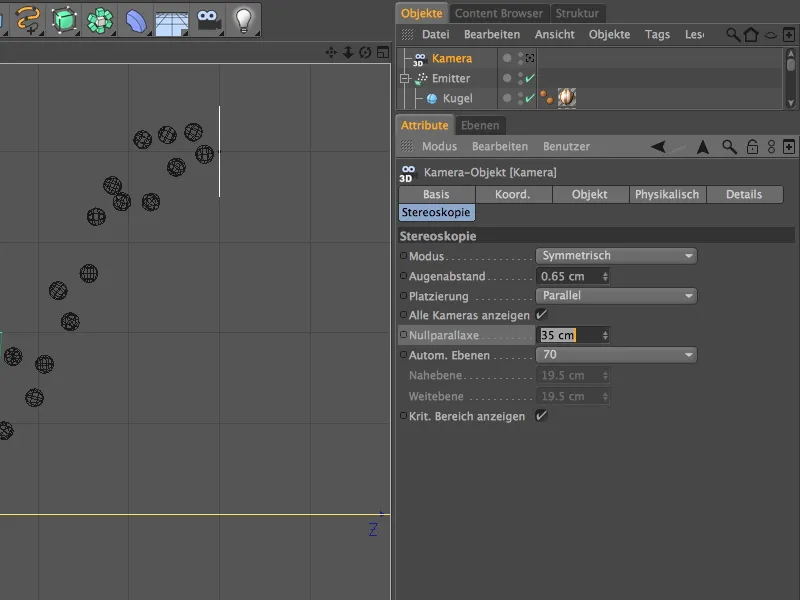
In the following illustration, we can see the camera settings once again in the editor view. The zero parallax is at the same level as the focus distance. From this position, the particles emerge from the zero plane towards the camera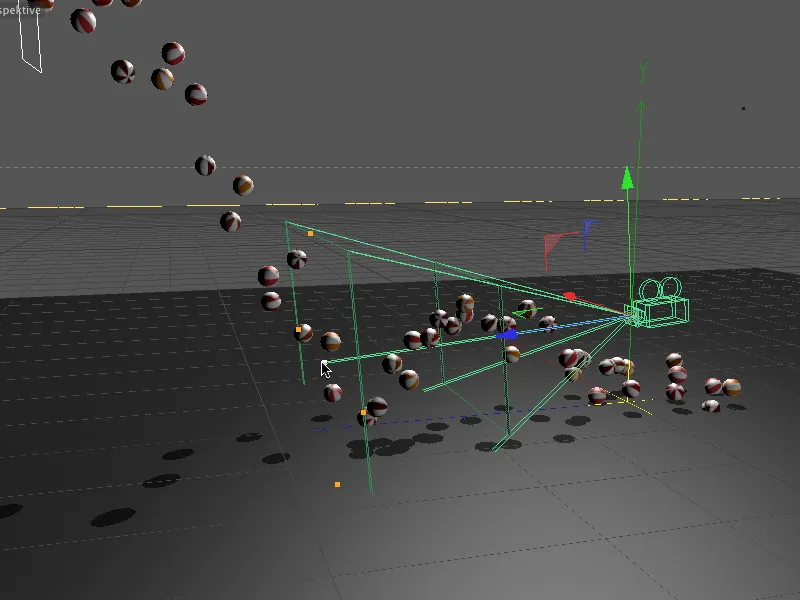
Rendering the 3D stereoscopic image
The 3D stereo camera is now set up so that we can start rendering the animation. Even if you want to render individual stereoscopic images from the editor view, you can do this by rendering in the image manager.
As we need to define the render settings for stereoscopy beforehand, we first call up the CINEMA 4D render presets.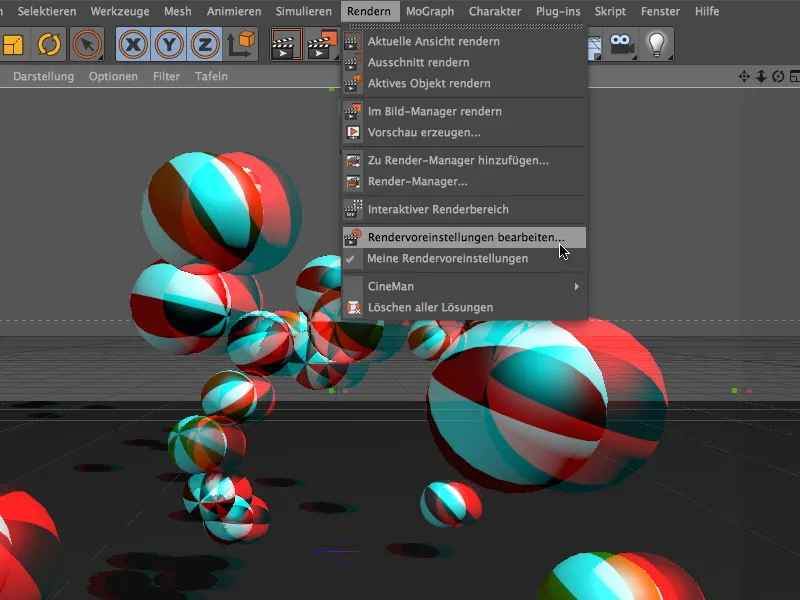
Because we have already specified that the camera should work stereoscopically when we created it, CINEMA 4D has already activated the Stereoscopy entry in the render pres ets. Under Calculate stereoscopic image, we first specify that we want a combined stereoscopic image to be calculated. CINEMA 4D then automatically renders both stereoscopic images and combines them.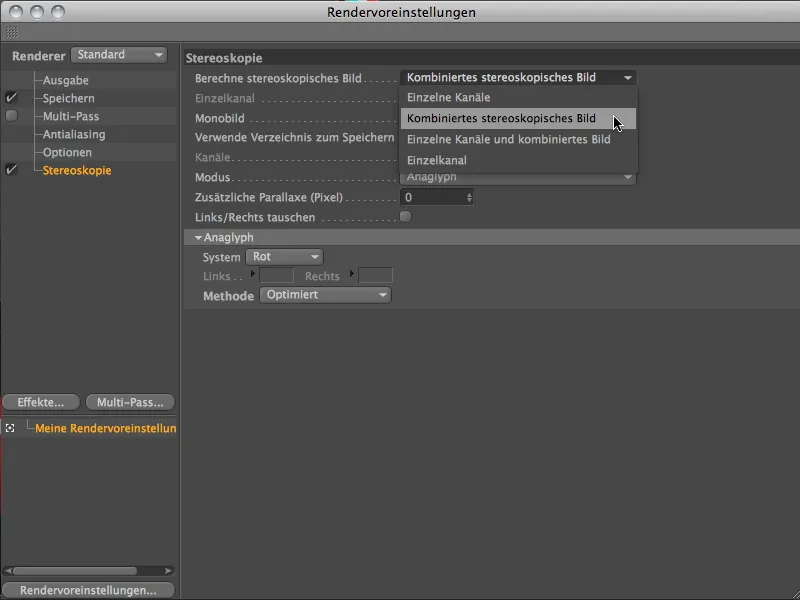
In the Mode entry, we select the desired method of stereoscopy. For our red-cyan glasses, we need the Anaglyph mode.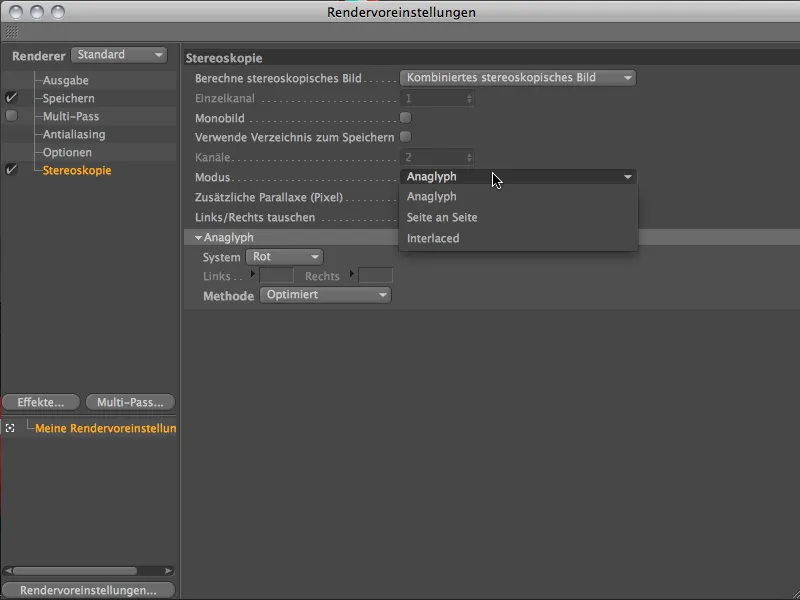
In the Anaglyph section, it is sufficient to specify the color of one side (here: red), the other is automatically created by specifying Anaglyph. The Optimized method offers a good compromise between color fastness and the 3D stereoscopic effect.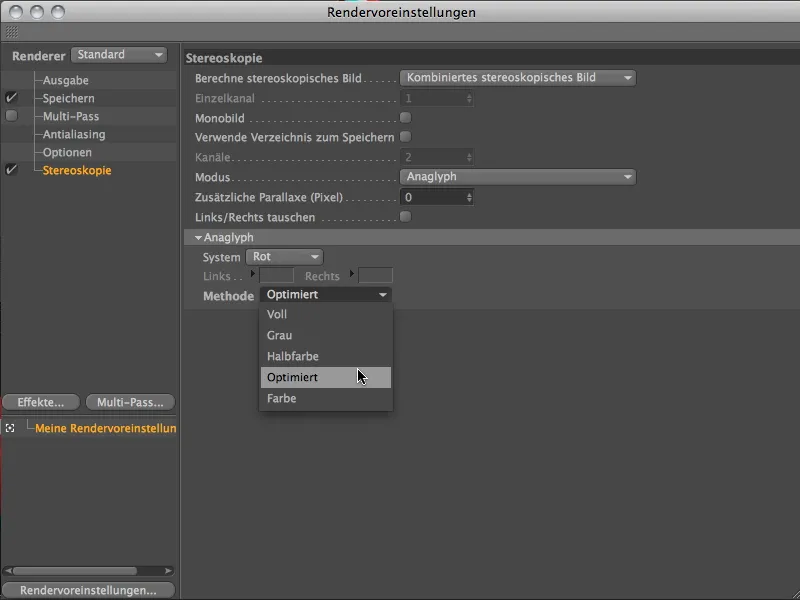
Let's move on to the basic settings for our rendering. On the output page, we enter the size of the animation under Width and Height. I have based the duration of the animation on the particle ejection. As the last sphere object is ejected at image 500, no more particles are visible at image 600.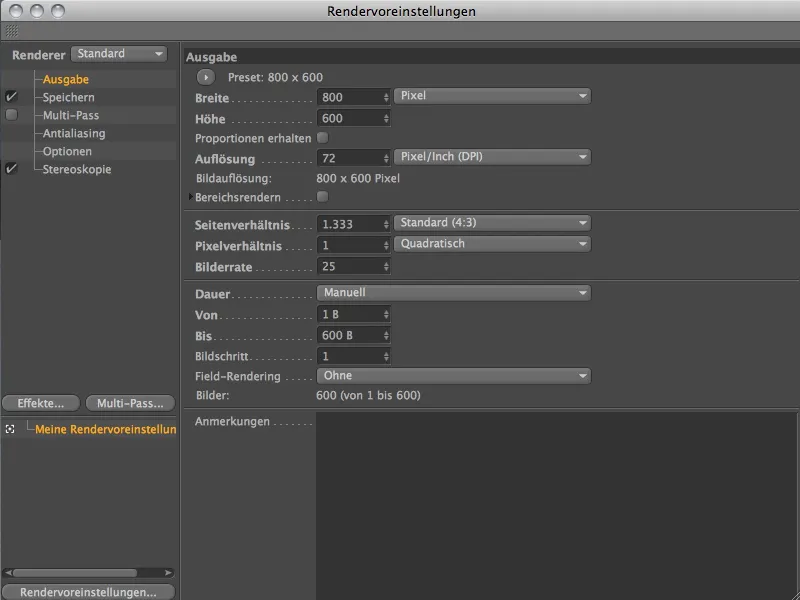
On the save page of the render presets, enter the desired output format for the movie and the storage location.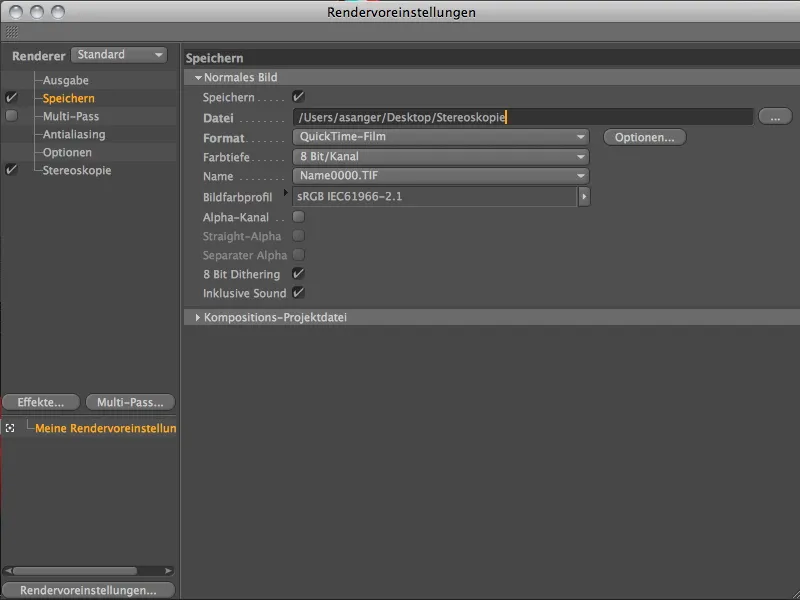
Now that the render pres ets are correct, we can start the render process using the Render in Image Manager command in the Render palette.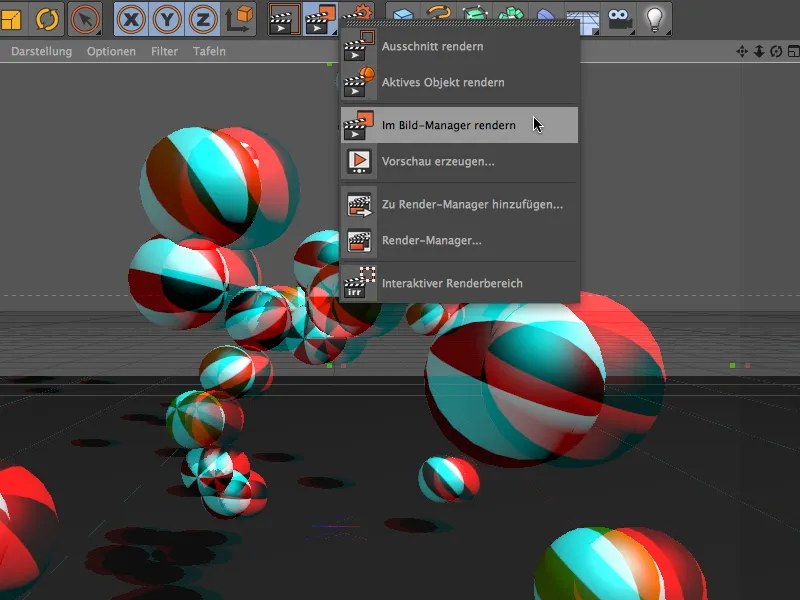
In the Image Manager, you can clearly see how the two offset images from the stereoscopic camera are calculated one after the other and then combined with each other.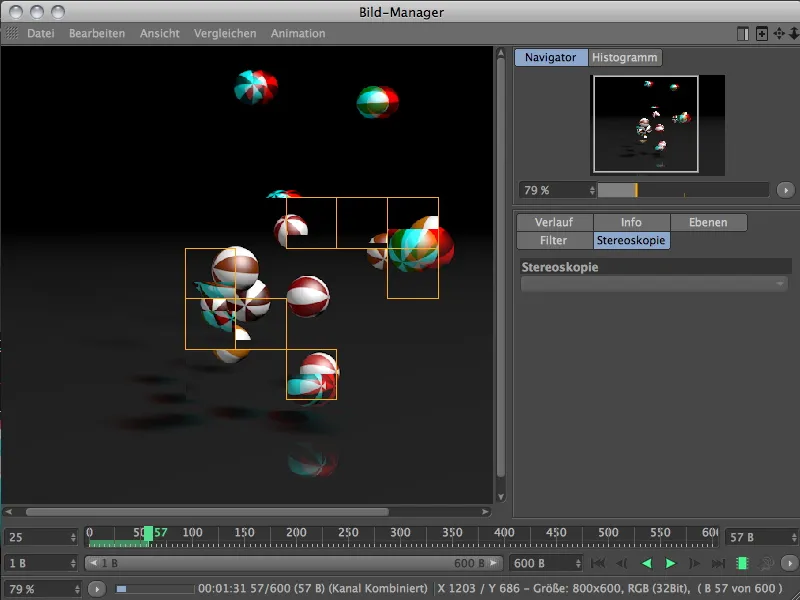
As soon as the renderer is finished, you can view the finished movie with red-cyan glasses.