The Team Render Server from Release 16 is a stand-alone program that can be used by all users of the Cinema 4D variants Broadcast , Visualize and Studio. The number of usable clients - nothing has changed here - is still limited to 3 for Broadcast and Visualize, Studio usersare not limited here.
Anyone who had experience with NET Render before version 15 will quickly find their way around the Team Render Server. The server takes care of the organization and distribution of render jobs and can be accessed from anywhere in the network via a web interface.
After starting the Team Render Server, the slimmed-down user interface presents itself with current information on the status and availability of the server.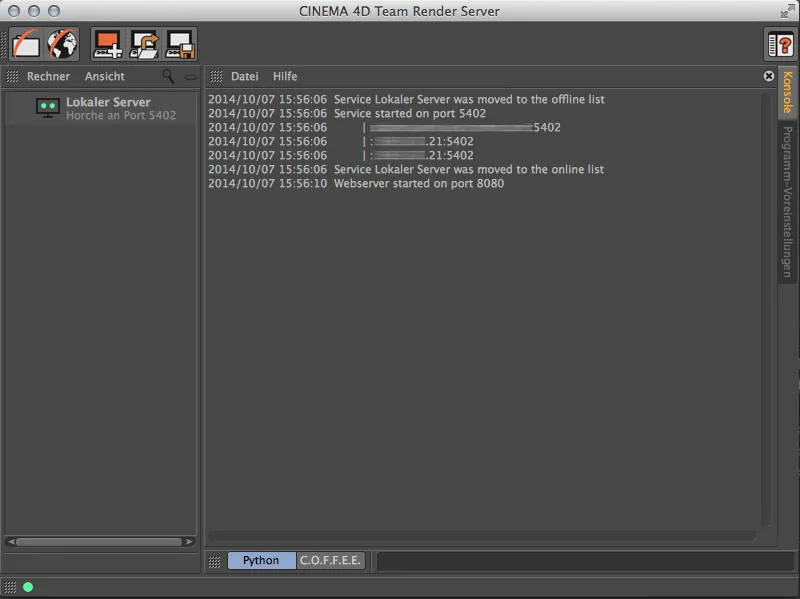
Setting up the render clients
Now we need to familiarize the server with the render clients to which it will later distribute the render jobs. To do this, we simply double-click on a free space in the left-hand column of the computer list. We are then asked for the IP address or host name of the client computer. Before we can register a render client here, however, it must first be available.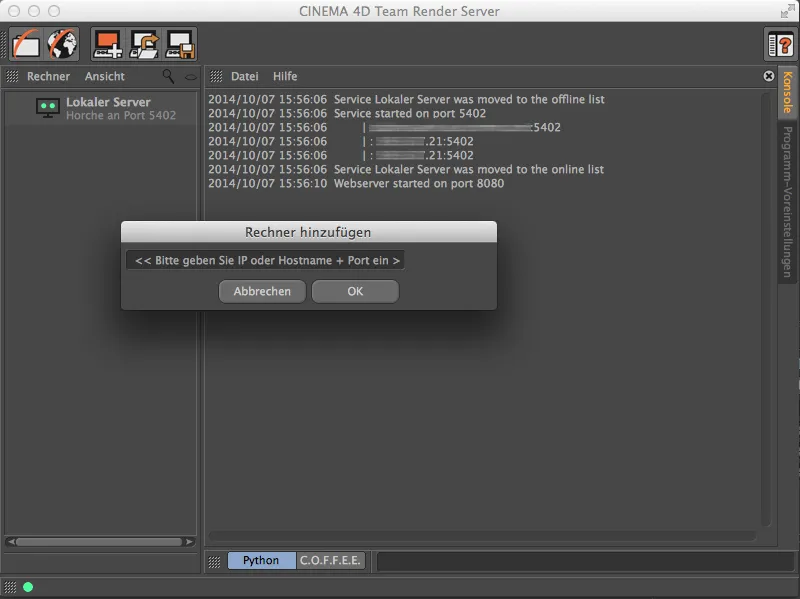
A render client can either be a running Cinema 4D application or a reduced render client, which can also be installed via the program DVD. Like the Team Render Server, the reduced render client can be found in the Cinema 4D program directory.
If we want to add a computer with a running Cinema 4D installation as a render client, we must first activate Team Render there via the program preferences in the Edit menu.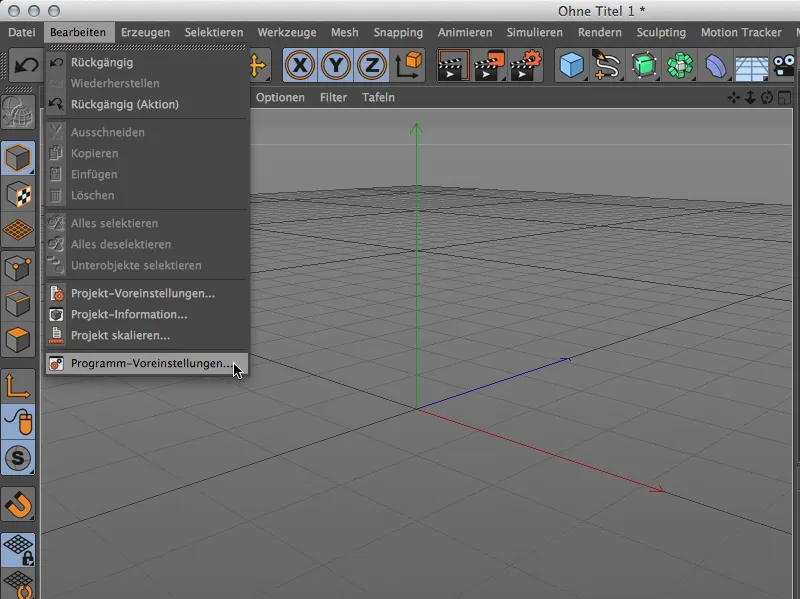
The default settings for Team Render can be found under Renderer. There we activate Team Render and assign a suitable name for the render client. We also need the specified security key to enable the connection between the client and server.
Under the local settings, we can immediately enable the computer for network rendering. To do this, we activate the option Share computer via network.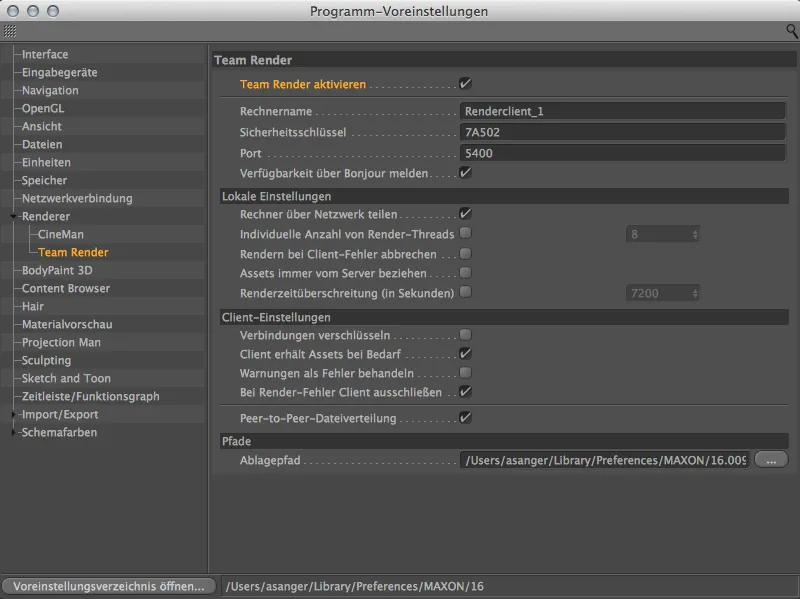
Alternatively, this command can also be found in the Render menu. This allows you to quickly share the local computer as a team render clientor remove the computer from the render network.
The green dot at the bottom left of the status bar shows us at any time whether our computer is part of a Team Render network.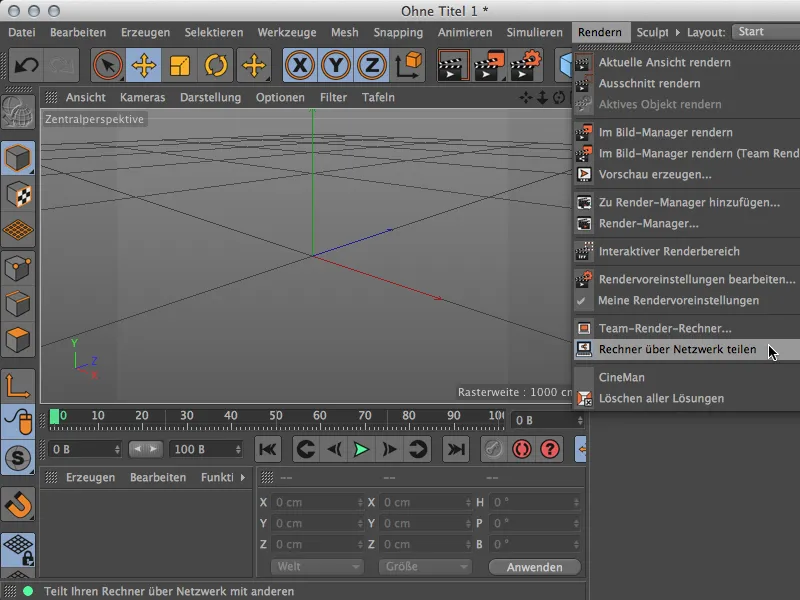
Back in the Team Render server, we can now introduce the render client to the server. To do this, we enter the IP address of the render client together with port 5400.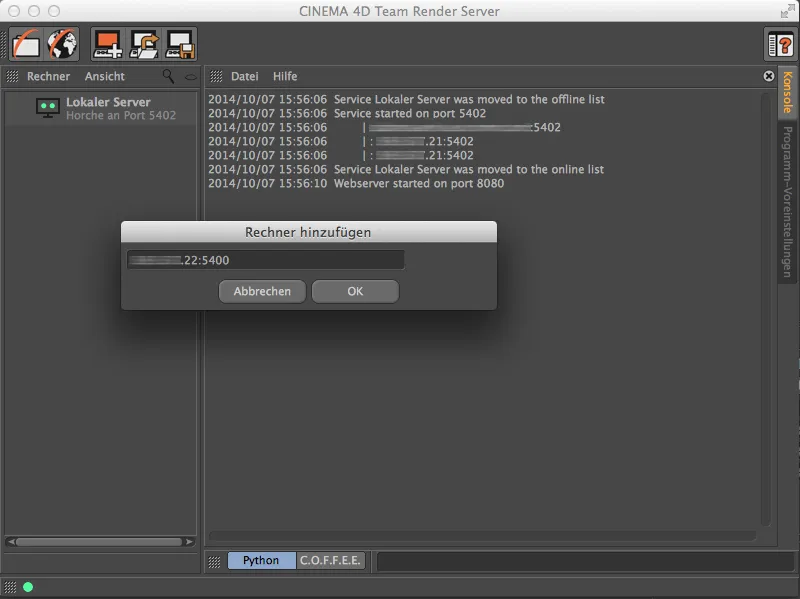
After clicking OK, we are asked for the security key that was specified in the program settings of the render client. After successfully entering the key ...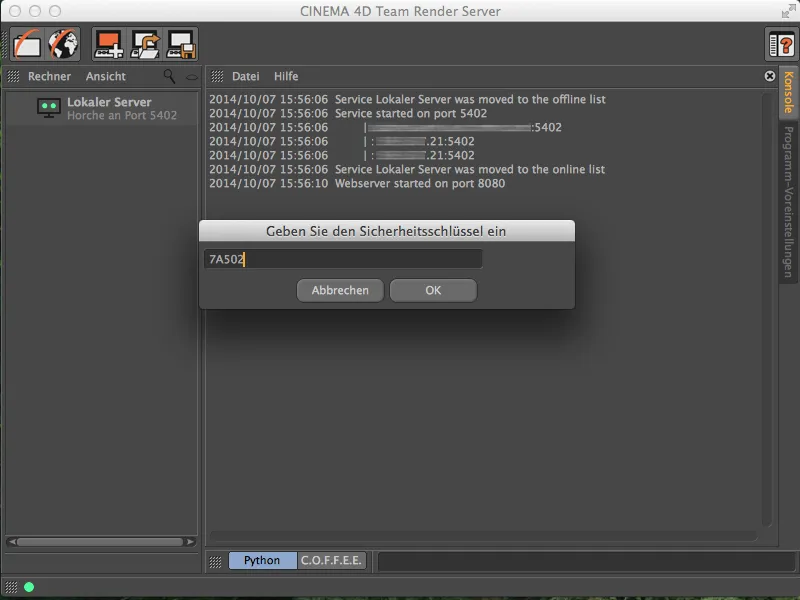
... we finally find our active render client in the left column of the Team Render computers.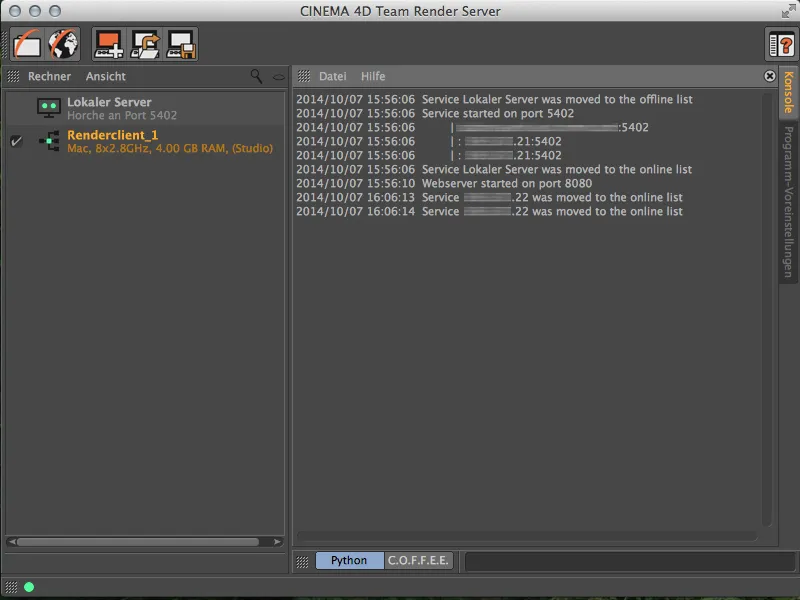
We can now integrate further render clients into our render network in exactly the same way. As mentioned at the beginning, only the Broadcast and Visualize variants are limited to a maximum of three render clients.
Setting up a render job
Once the render network is set up, we can start setting up the render jobs. To do this, we click on the Open web interface icon in the Team Render Server.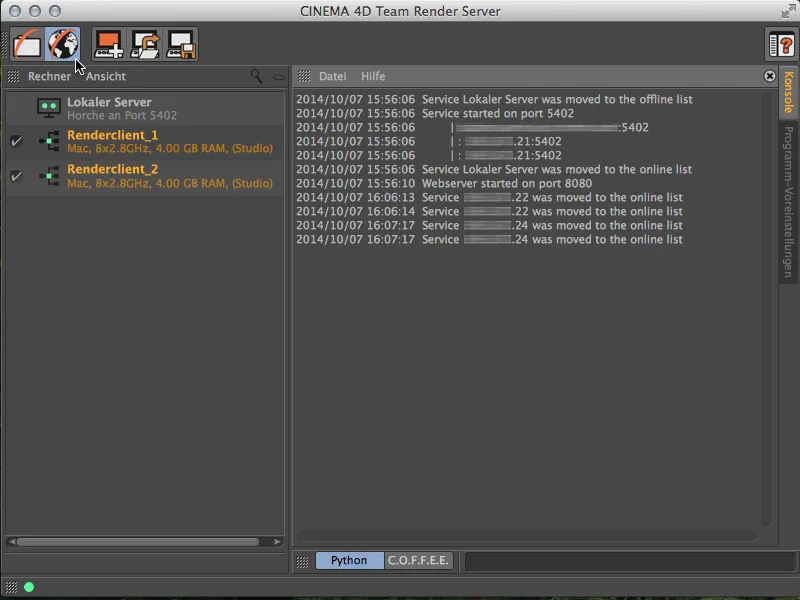
Our Internet browser opens with the Team Render Server start page. Unless otherwise defined, the login works via "admin" as the user name and password.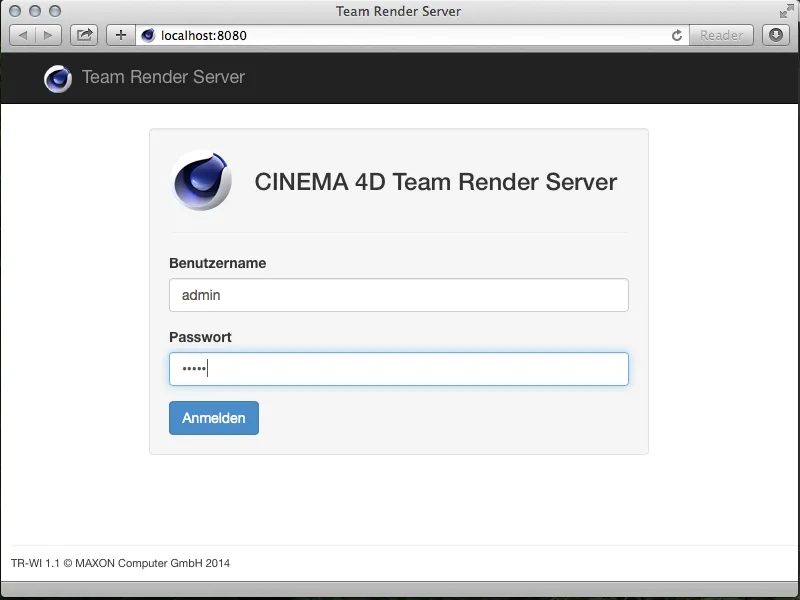
After successfully logging in, we are in the online control center for the Team Render Server. Here we can create, organize and monitor render jobs, as well as view the network and manage users.
To create a new render job, we go to the Jobs page and click on the Add job button.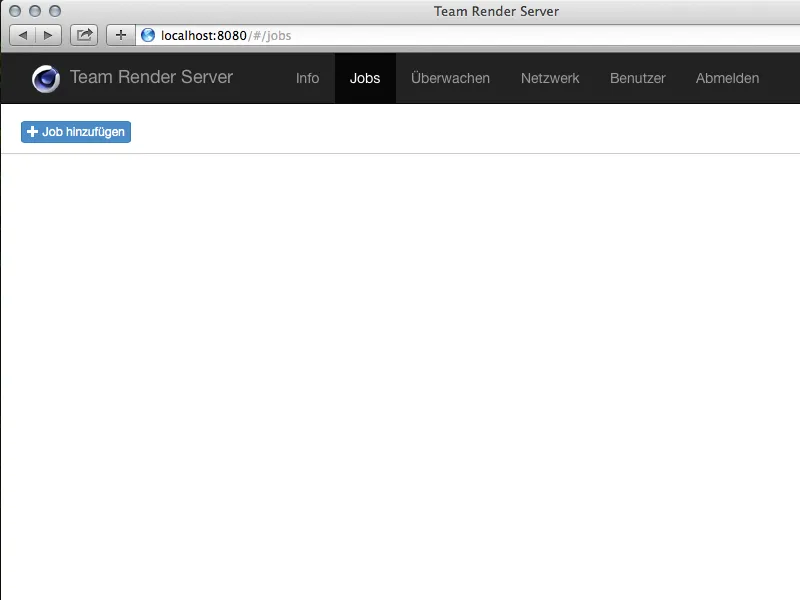
The first step is to assign a name to the newly created render job. We can later use this name to find the render results in the directory.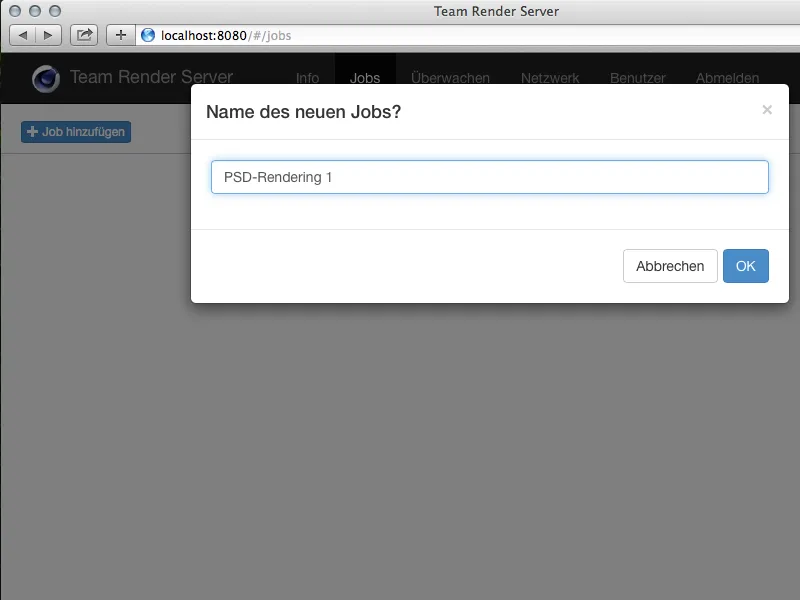
We have now created the render job and can upload the assets required to run the render job (C4D documents, textures, etc.) on the corresponding page. This is done in the lower area using the Add files button.
For more complex scenes with external assets, it is recommended to have Cinema 4D collect the entire project into a package (in the File menu you will find the command Save project incl. assets...).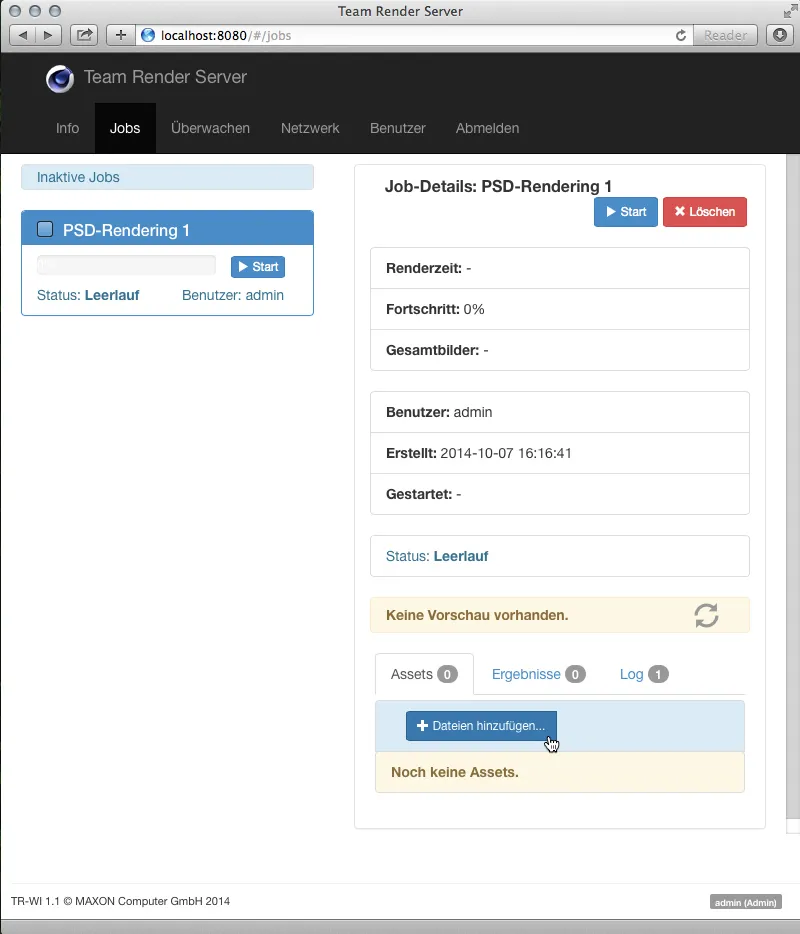
After adding the required assets, they must be copied to the server using the Upload button.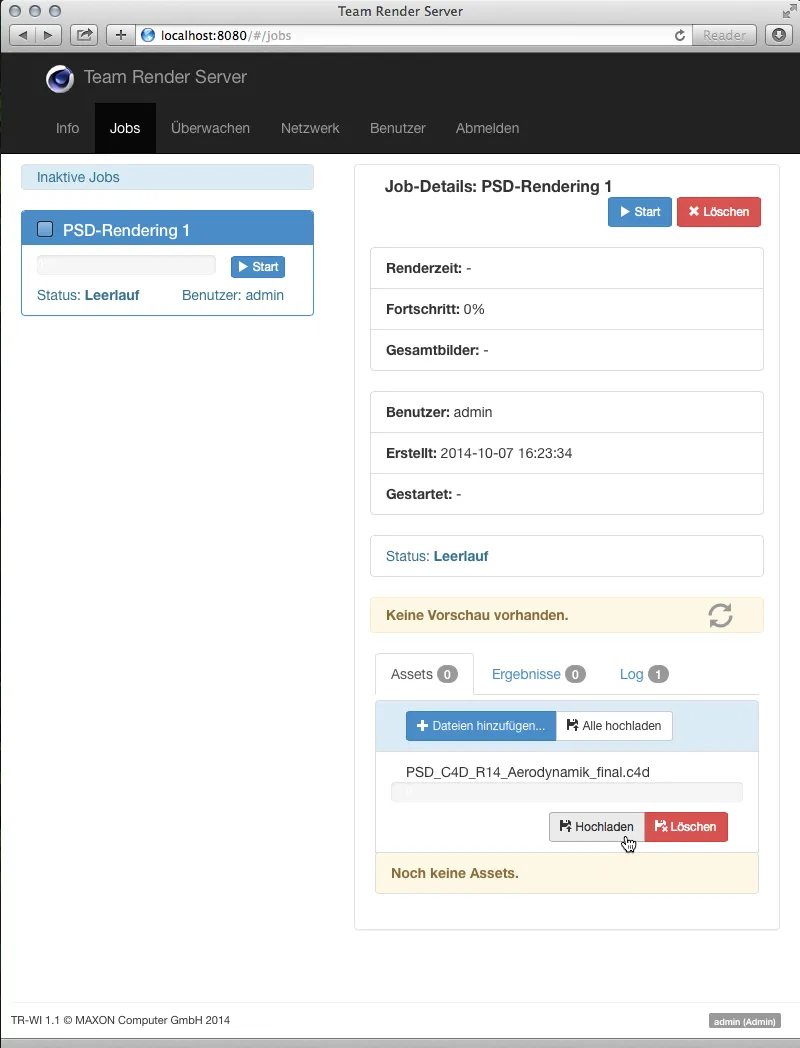
Starting the render job
After the successful upload, we can already see a preview of the scene on the render job page. By clicking on the blue Start buttonin the render job box on the left-hand side, we finally start the render job.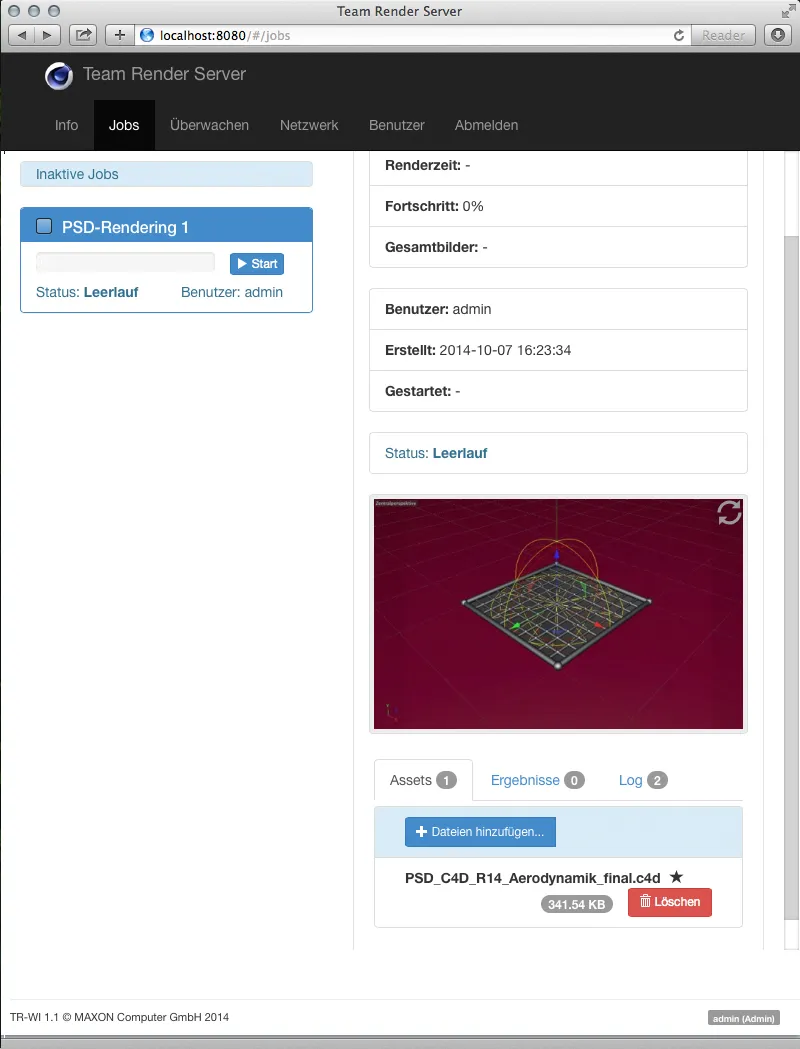
Once the render job has been started, the information on the current rendering via the Team Render Server is also displayed. In addition to the percentage progress, we can also see which image the network renderer is currently working on.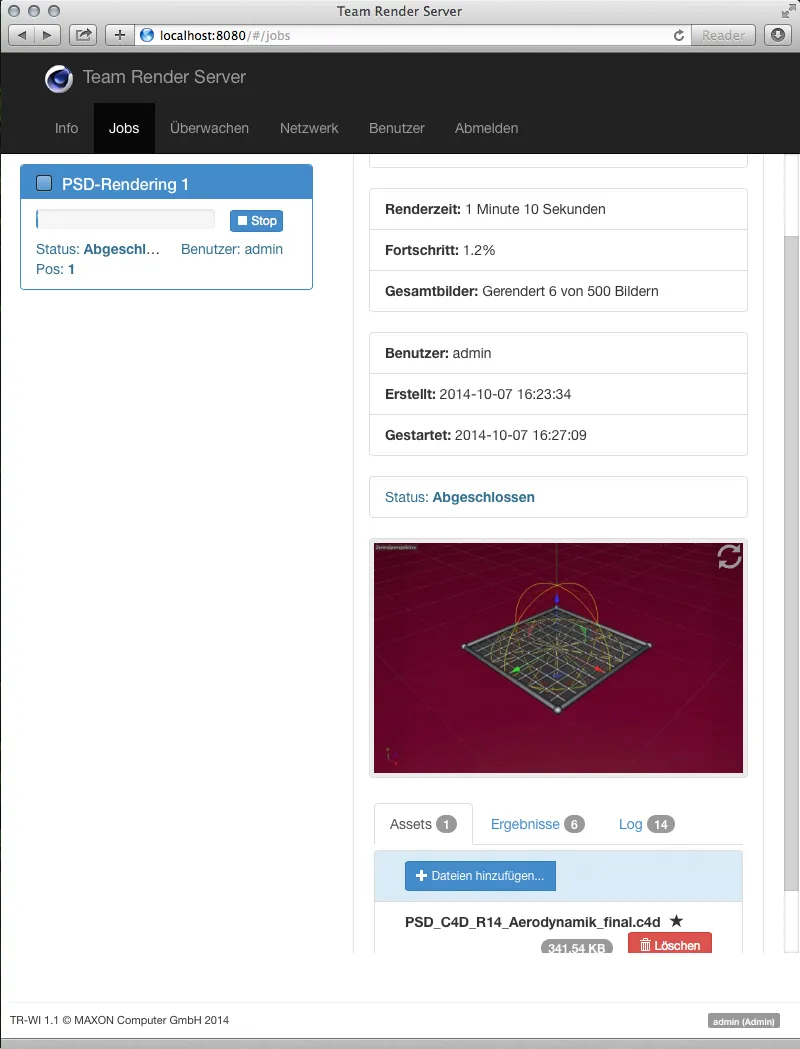
Retrieving the render results
Further down on the render job page, we find the finished results listed as the middle of the three tabs. With the Download button, we can download and view these image files from any computer via the web interface.
The Prepare .ZIP button packs all the listed results into a ZIP archive and then makes it available for download.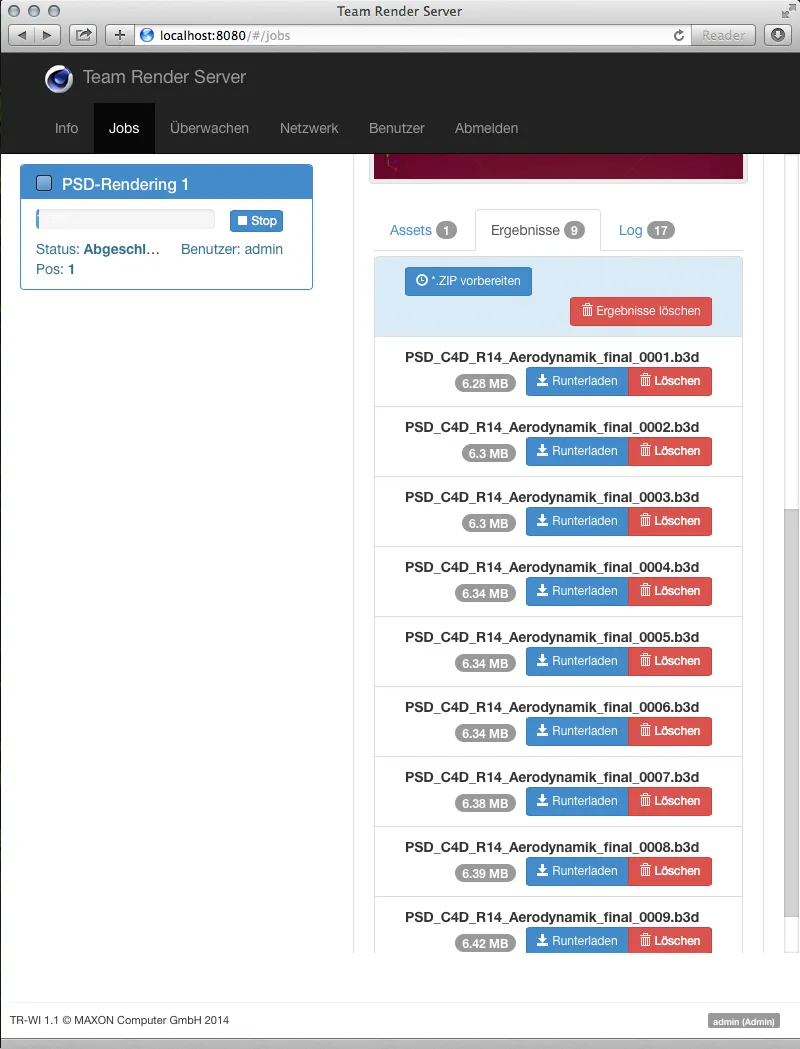
If you do not want to access your render results via the web interface, but with the Team Render Server, click on the Open storage path icon ...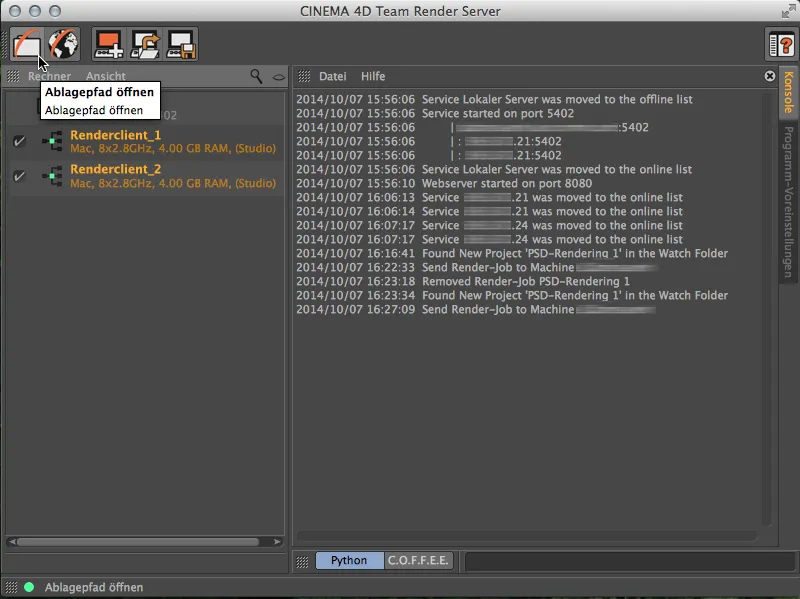
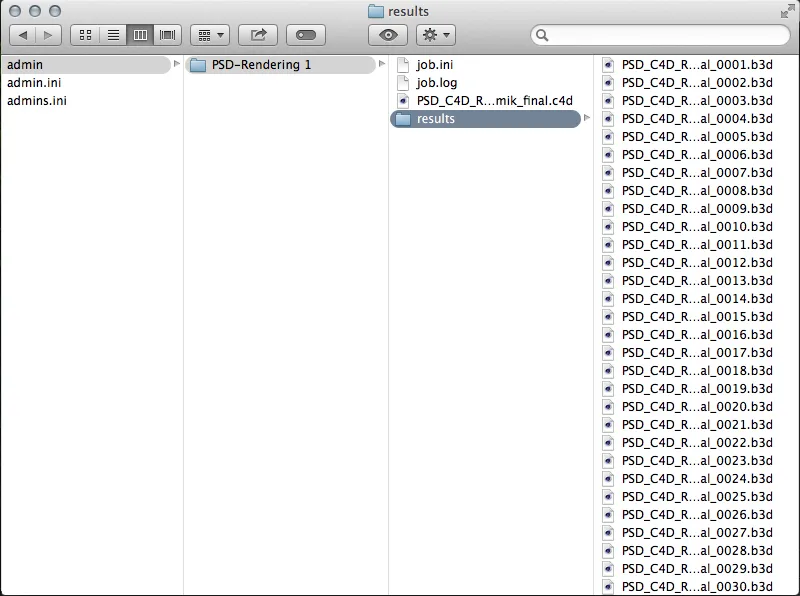
... and you will find yourself in the user directory of the Team Render Server. All render jobs are available for access there, sorted by user.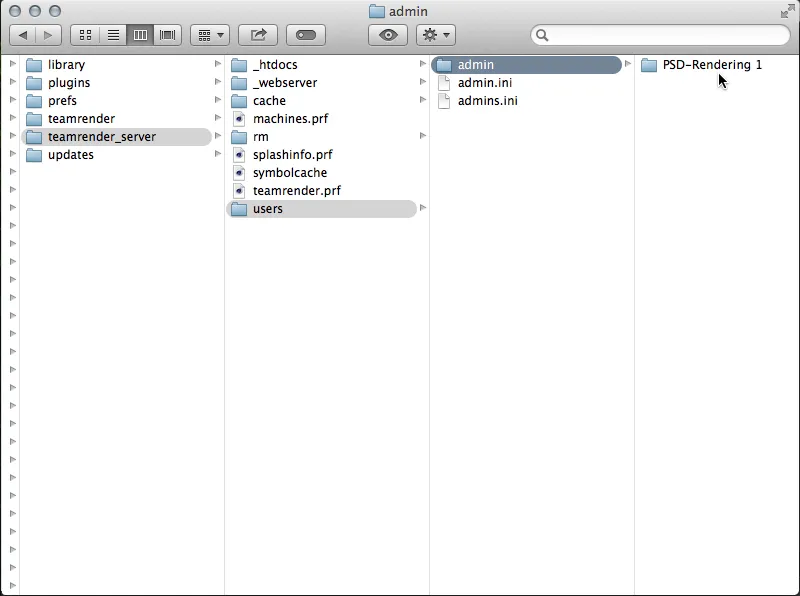
In the directory of the render job, we find the "results" folder with all the rendered images of the job in addition to the uploaded assets.
Incidentally, the user directories are monitored by the Team Render Server so that we can also create and start a new render job by simply copying a collected project as a folder into this user directory.