(The animation is of course not visible in the PDF).
Setting up the cameras
The first step is to position and set up the individual cameras. When creating a new camera object, CINEMA 4D always adopts the current camera position and perspective. A currently active camera can be easily recognized in the Object Manager by the white camera symbol. Alternatively, you can also switch to the desired camera in the View menu of the Editor.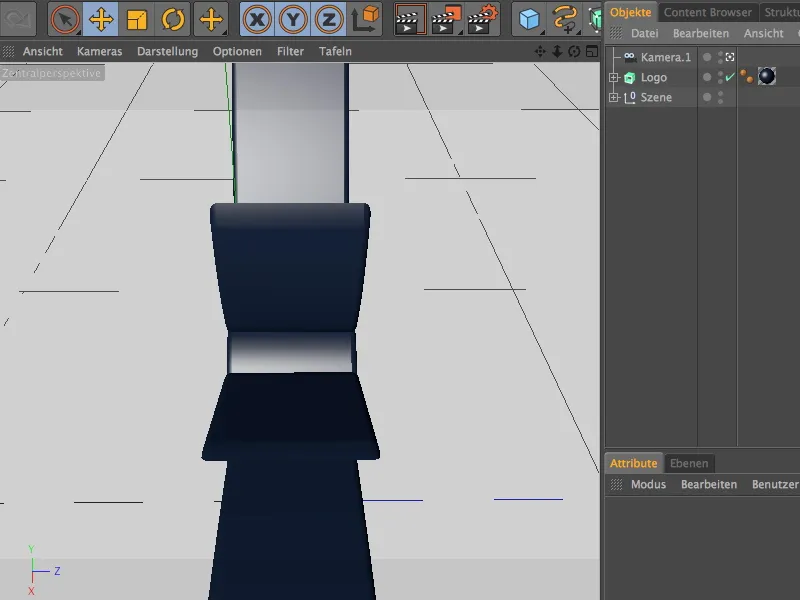
As a starting position, and therefore as the first camera perspective, I have selected the view of the butterfly from the top right-hand side. This is where the first camera object "Camera.1" was created.
To prevent you from accidentally moving the camera, you can assign a protection tag to the camera. When creating each additional camera, make sure that you either temporarily switch to the standard camera or create a new camera object for the next perspective beforehand.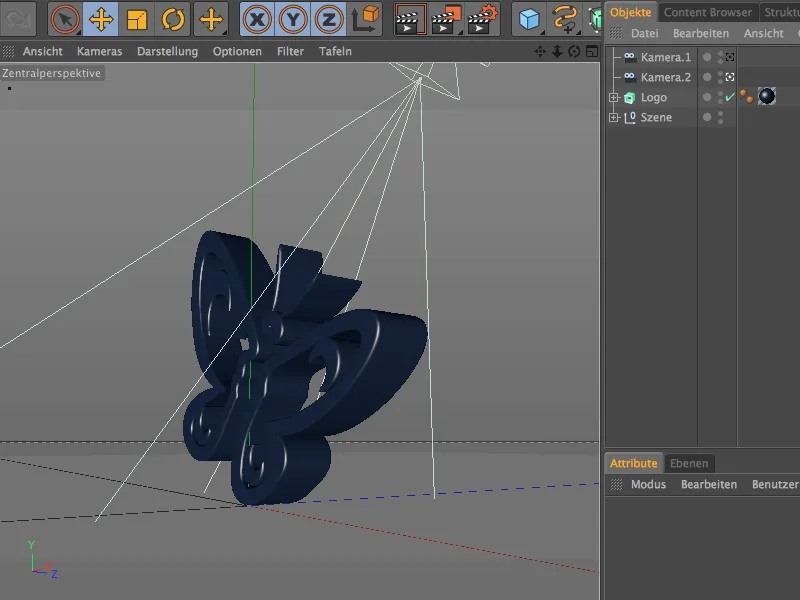
I have created my "Camera.2" from this perspective. When fine-tuning the camera, make sure that you have activated the correct camera in the Object Manager.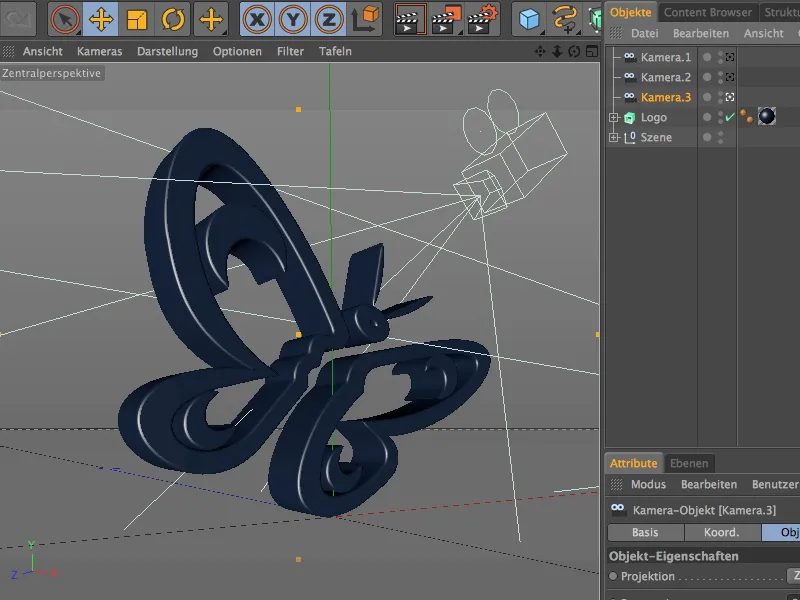
My third camera perspective "Camera.3" is on the other side of the logo; the position is just above the floor.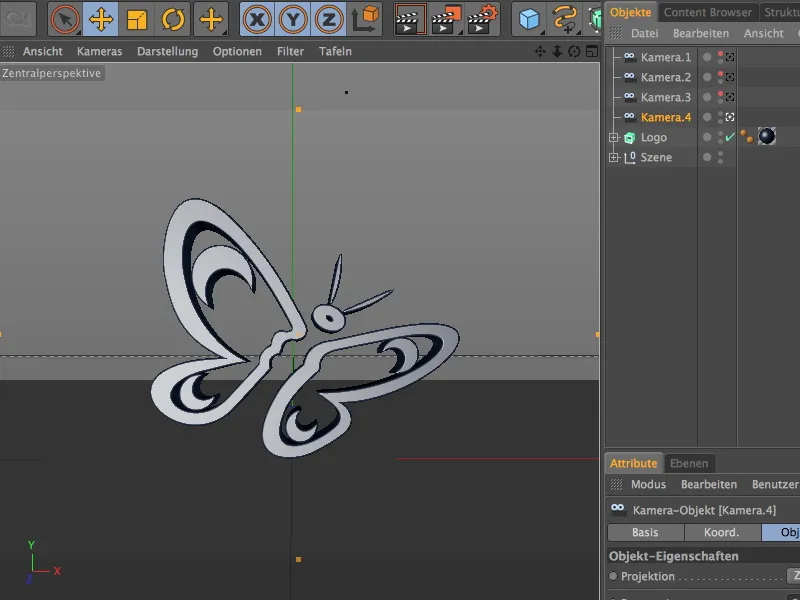
The fourth camera perspective "Camera.4" is also the final image of our short animation. The logo is in the center of the image and is captured almost frontally.
Creating the camera morph
Now that all cameras have been integrated into the scene, we can create the desired camera morphing from these four camera objects.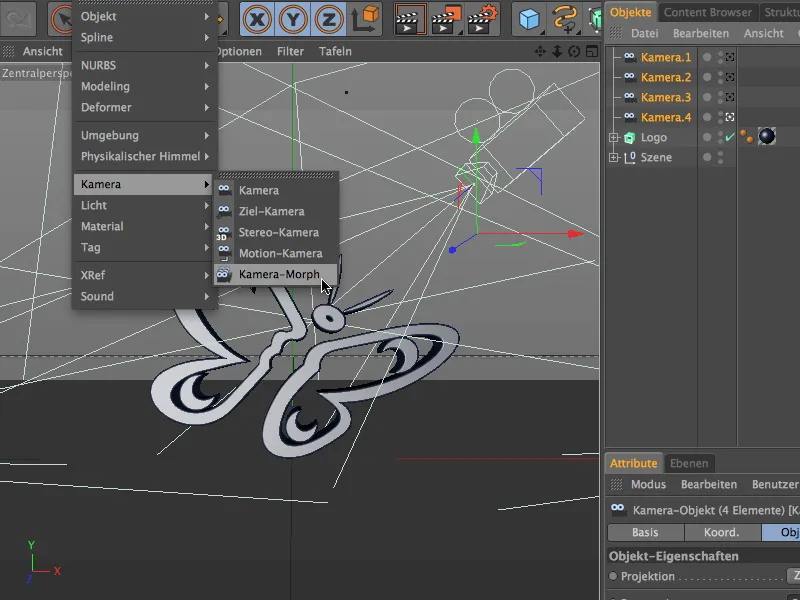
To do this, first select all four camera objects via the Object Manager and then call up the Camera Morph command from the Create>Camera menu.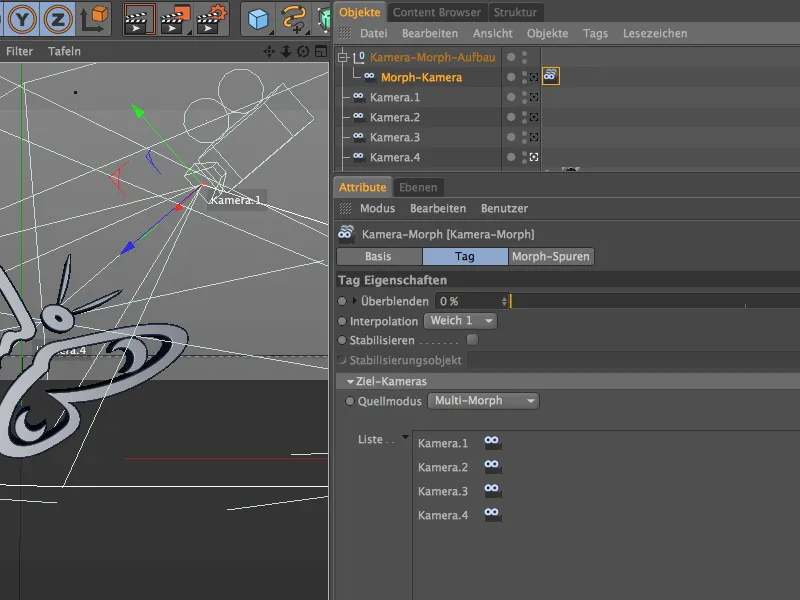
This action creates a new, additional camera object called "Morph camera" together with a camera morph tag. This tag contains all four camera objects that we have created and set up in a list. The order in this list also determines the order in which the camera morphing is processed. As our four cameras have only been incorporated as links, we can still edit these cameras or animate them without any problems, which in turn is reflected in the morphing of the cameras.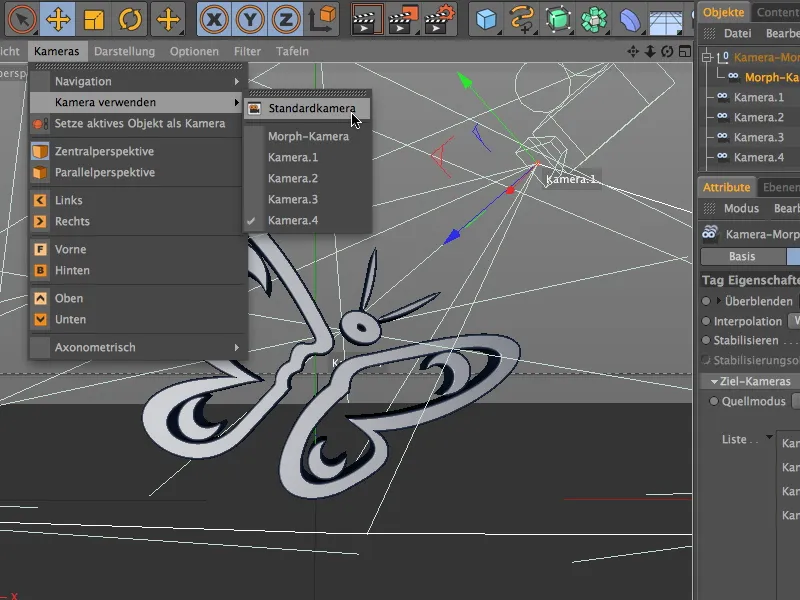
In the Cameras menu of the Editor view, we can also find the newly created morph camera in the Use camera submenu. Let's switch briefly to the standard camera so that we can examine the camera movement created by the camera morphing.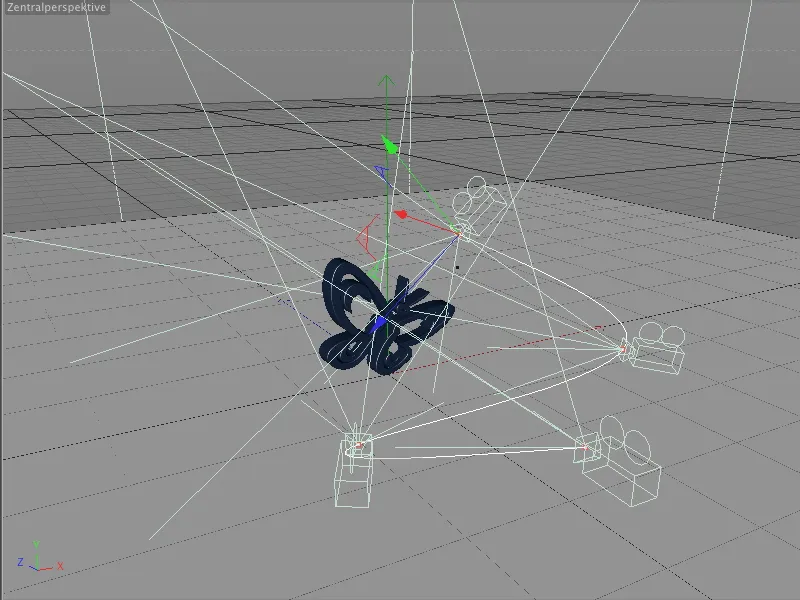
All four cameras we have set up are connected by a path. This motion path ensures that the camera moves from the first to the last camera perspective.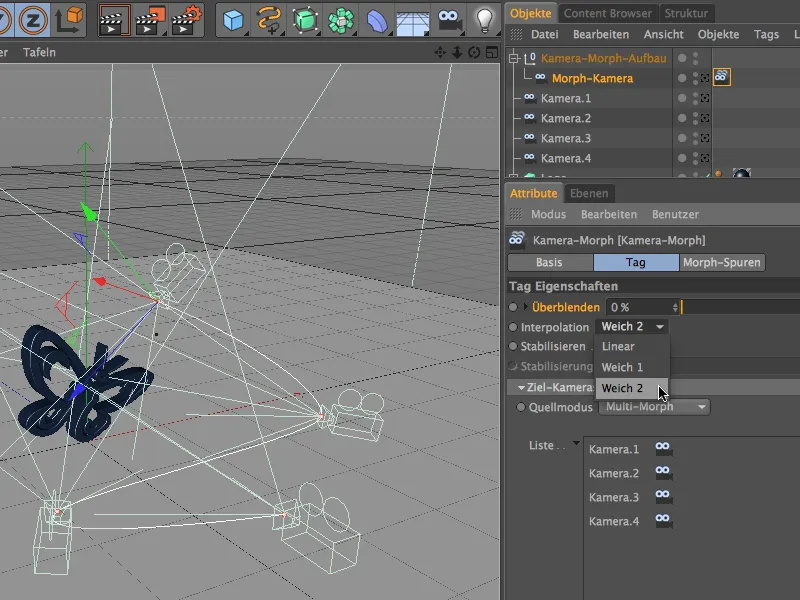
In the settings dialog of the camera morph tag, we can choose between three types of interpolation for the motion path. Soft 1 corresponds to a cubic spline path, which tends to overshoot, soft 2 to an Akima spline path, which may be a little hard under certain circumstances. I have opted for the Akima variant.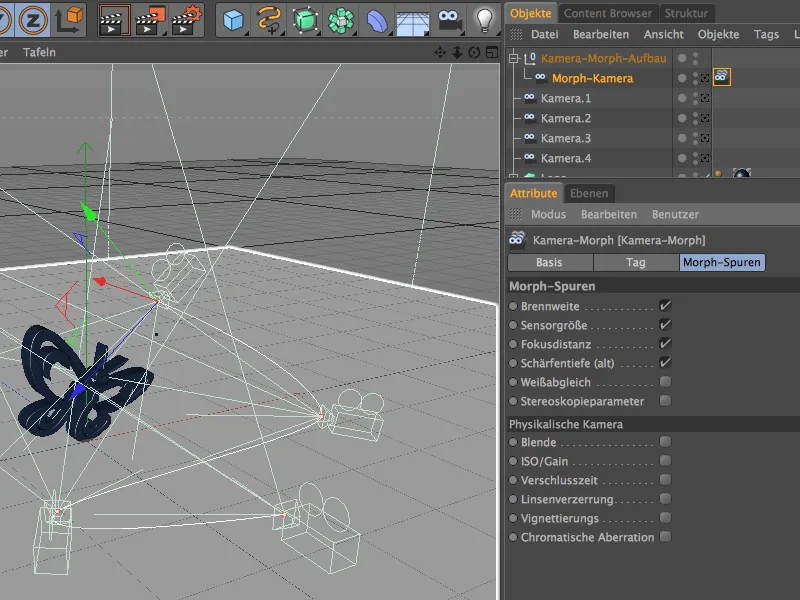
On the Morph Tracks page of the settings dialog, we find the photographic properties of the cameras that the camera morph tag should take into account when morphing. As we have not made any special settings to our camera objects at this point, the standard options are completely sufficient.
Animation of the camera movement
The order of the cameras is set, the movement path has been created by interpolation - now we just need to animate the decisive parameter to create a camera movement.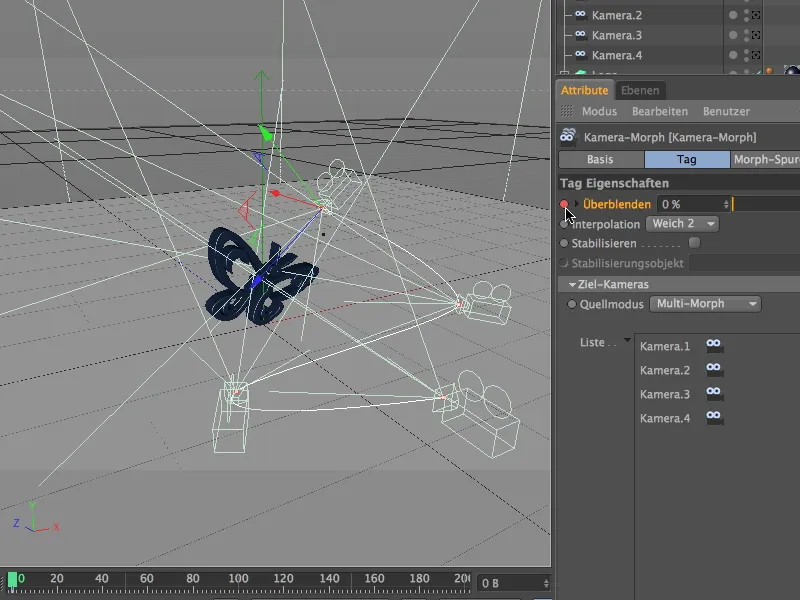
This is, of course, the Fade parameter from the settings dialog of the camera morph tag. Make sure that the time slider is set to frame 0 (or 1) and create a keyframe for the fade value 0% by holding down the Ctrl key and clicking on the parameter circle.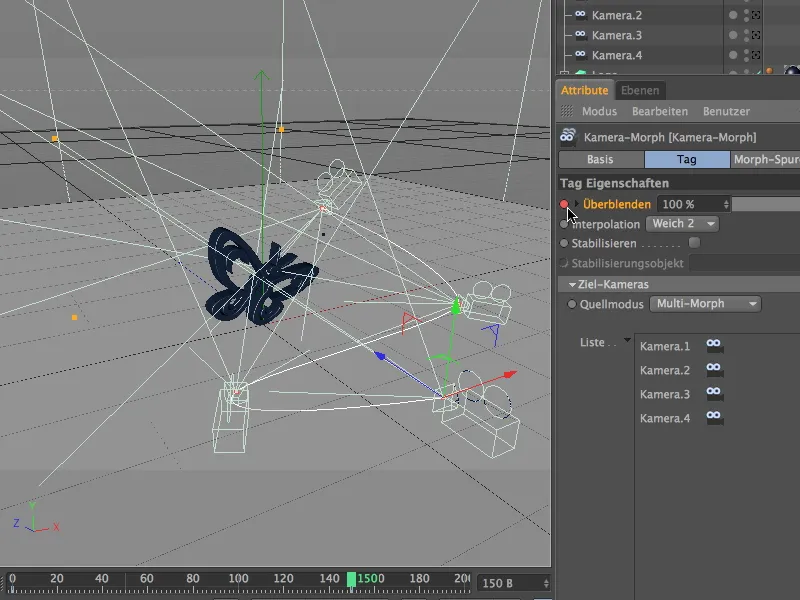
Then move the time slider to frame 150, set the crossfade value to 100% and create another keyframe for the crossfade parameter by holding down the Ctrl key and clicking on the parameter circle. At a frame rate of 25 frames per second, this results in an animation duration of 6 seconds.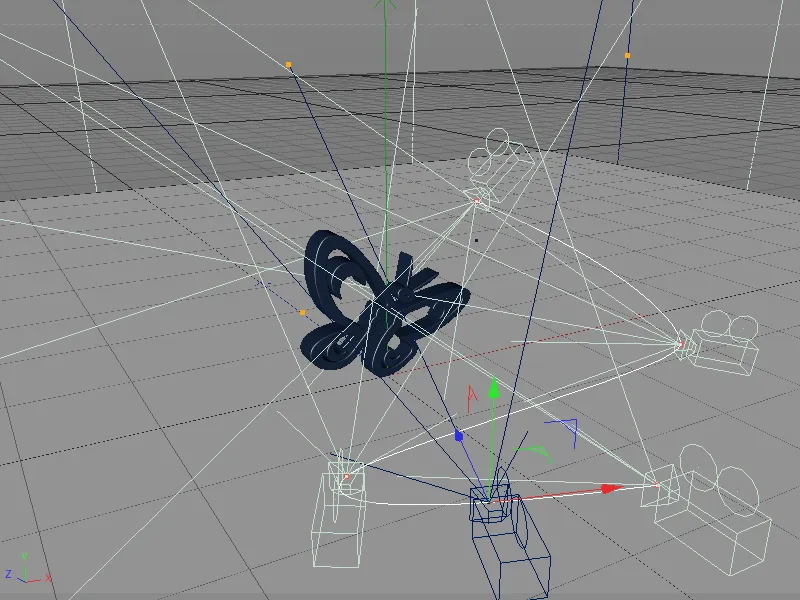
After clicking on the play button, we see the morph camera in action. It can be recognized as a blue camera object in the editor and moves from camera to camera along the interpolated movement path as desired.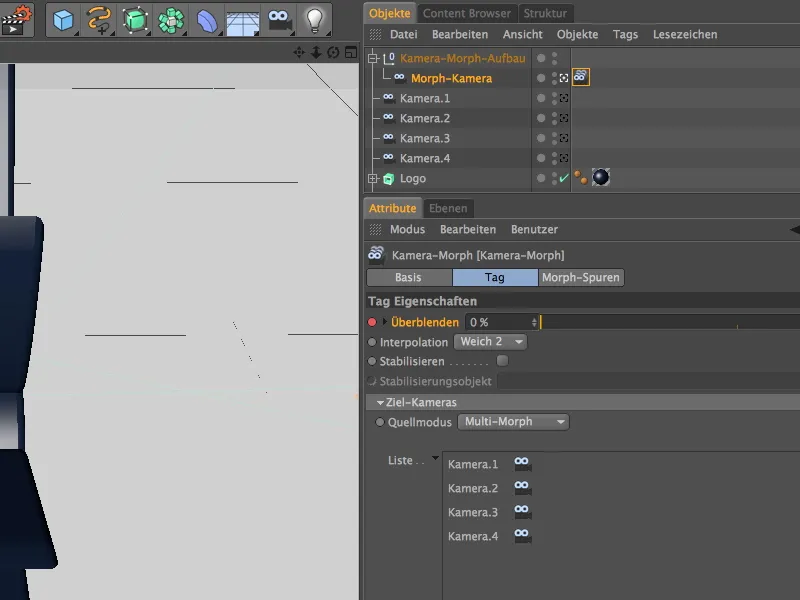
Now is the time to switch to the morph camera in the Object Manager in order to experience the camera movement from the perspective of the morph camera.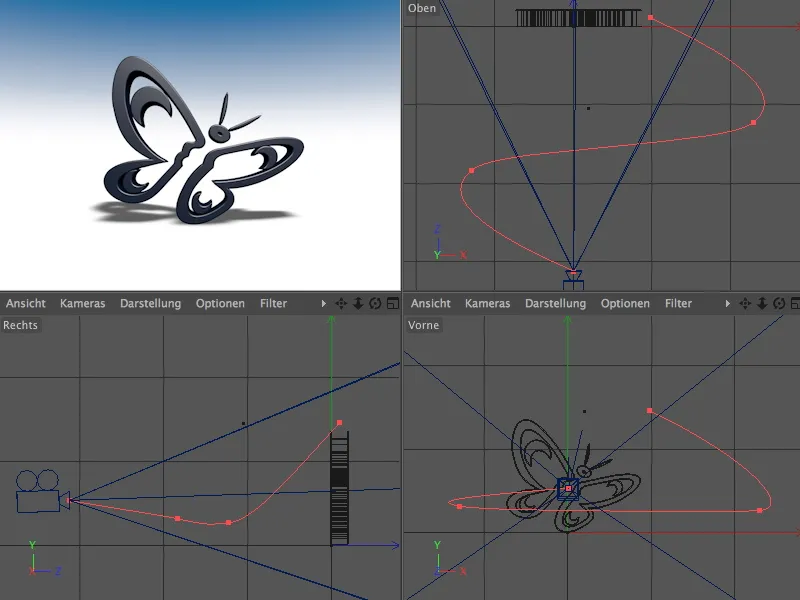
In order not to lose the overview between the many cameras, it is a good idea to make the individual cameras invisible using the traffic light switches in the Object Manager. The blue morph camera and the corresponding red movement path provide sufficient information about the course and the support points of the camera movement.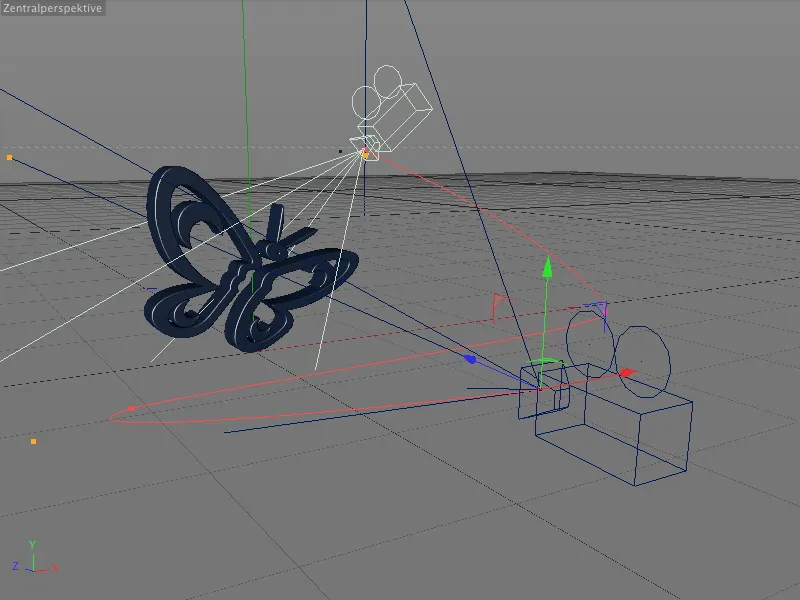
This means that a single camera can be selected and edited quickly - the effects on the resulting camera movement are immediately recognizable via the red movement path.


