Delete contained points when deleting polygons
This function, which was changed in Cinema 4D Release 20, has certainly caused problems for many. Let's first take a look at what we had to consider in the previous versions when deleting polygons. First, we created a selection in polygon editing mode and removed it by pressing the delete button.
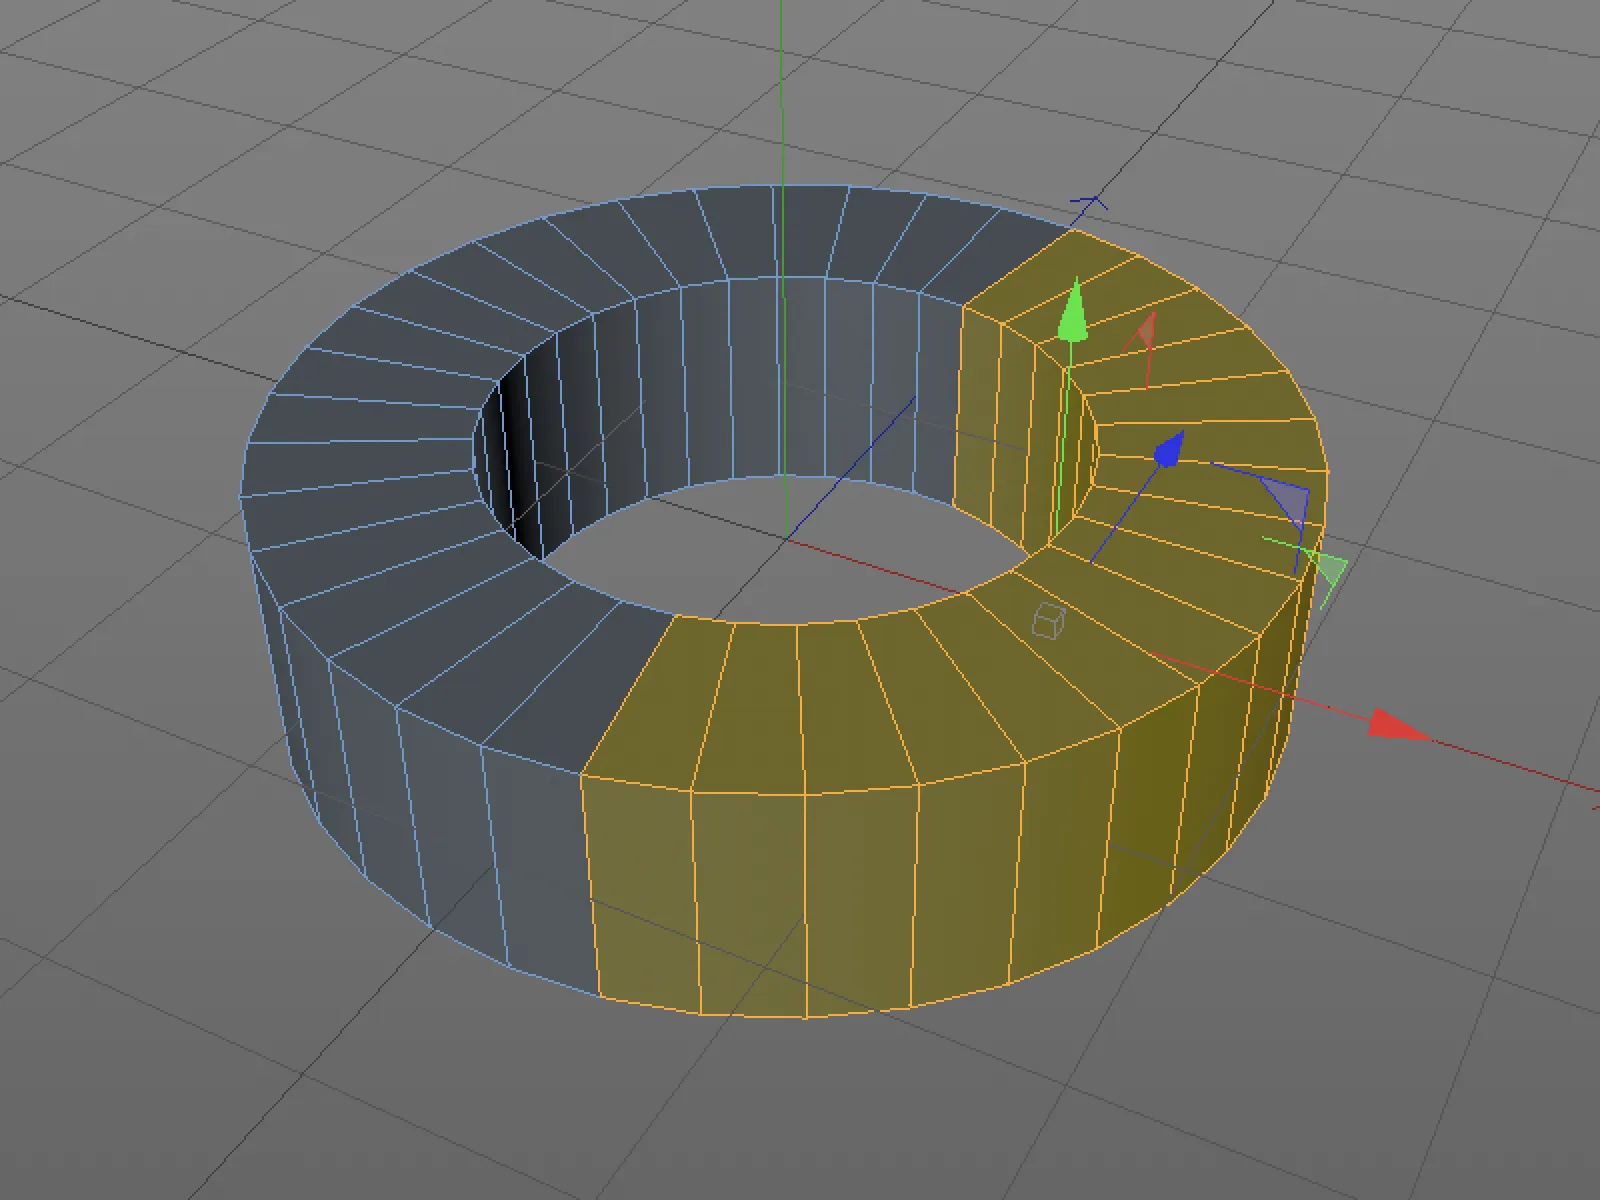
As long as we were in polygon edit mode, everything was visually fine.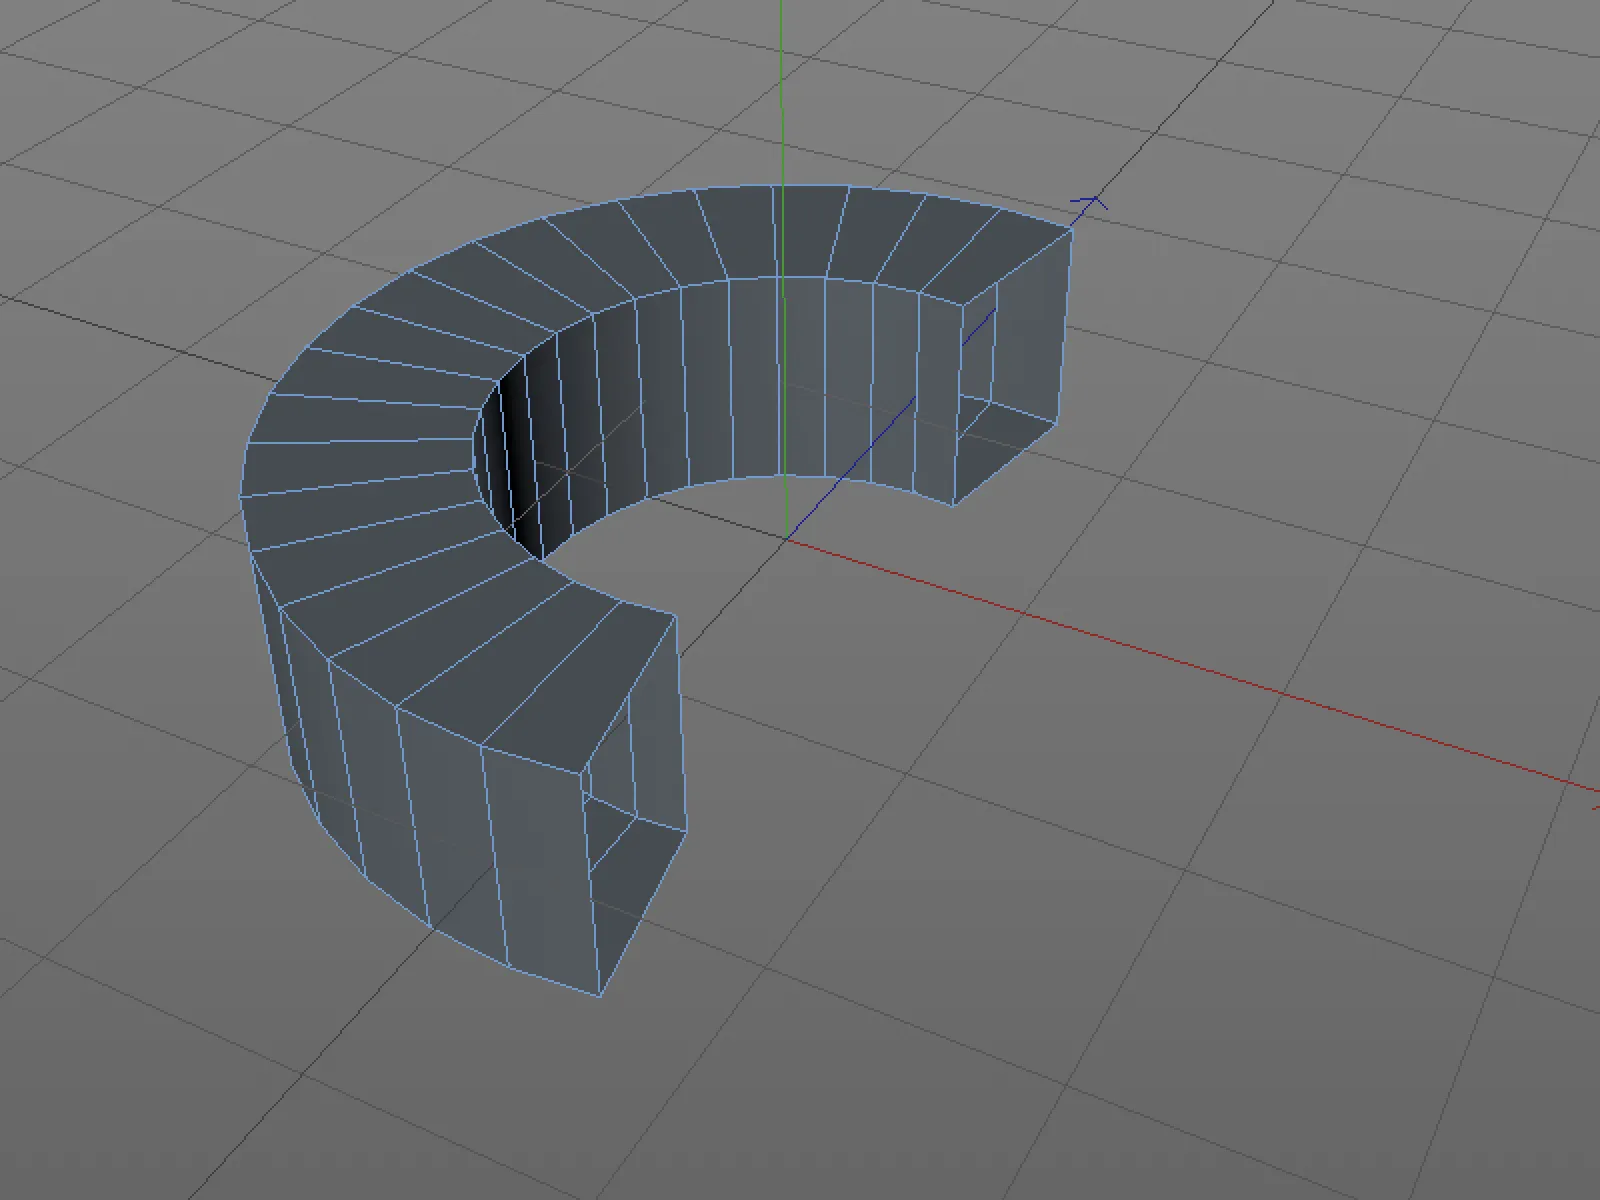
However, when we switched to point-edit mode, we noticed that only the polygons themselves were deleted, but not the associated points. The problem is immediately apparent in the illustration below, but of course it is not always obvious with a more complex object.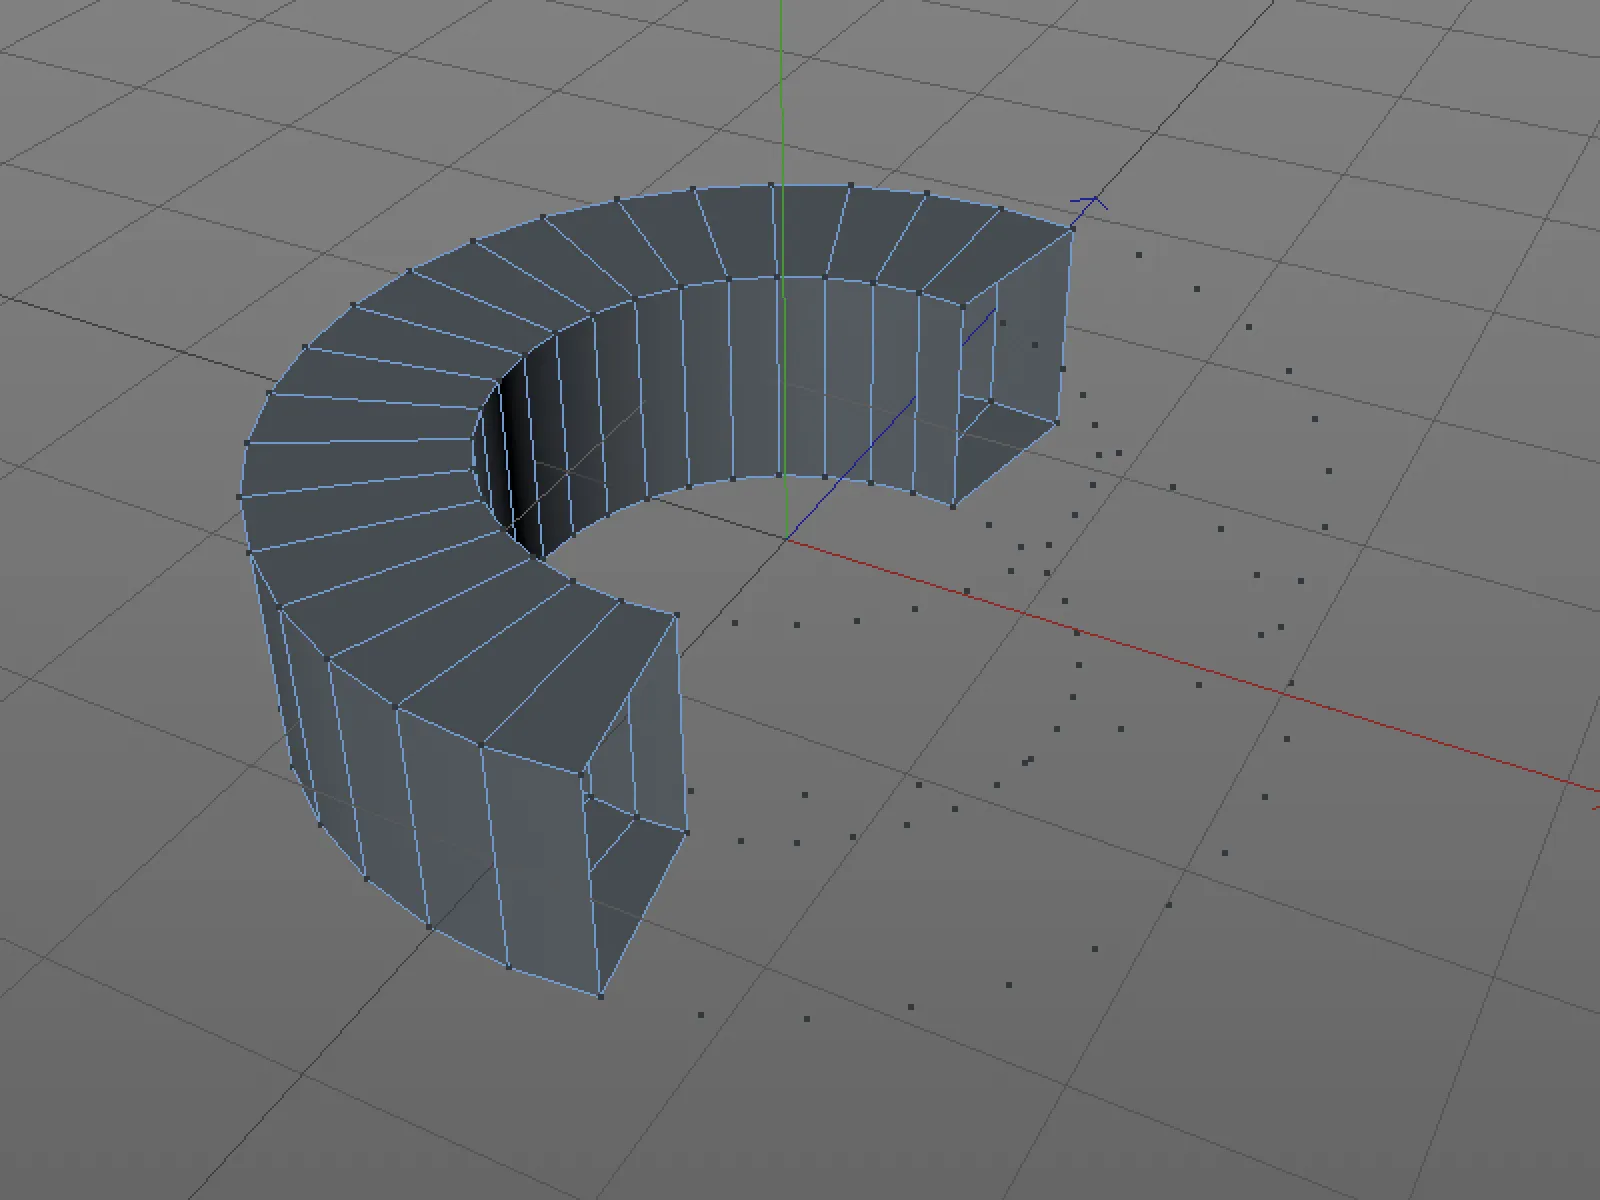
The new default setting in Cinema 4D Release 20 is now that the unconnected points are also removed when deleting. We can switch this setting on or off in the program preferences under Modeling/Sculpting.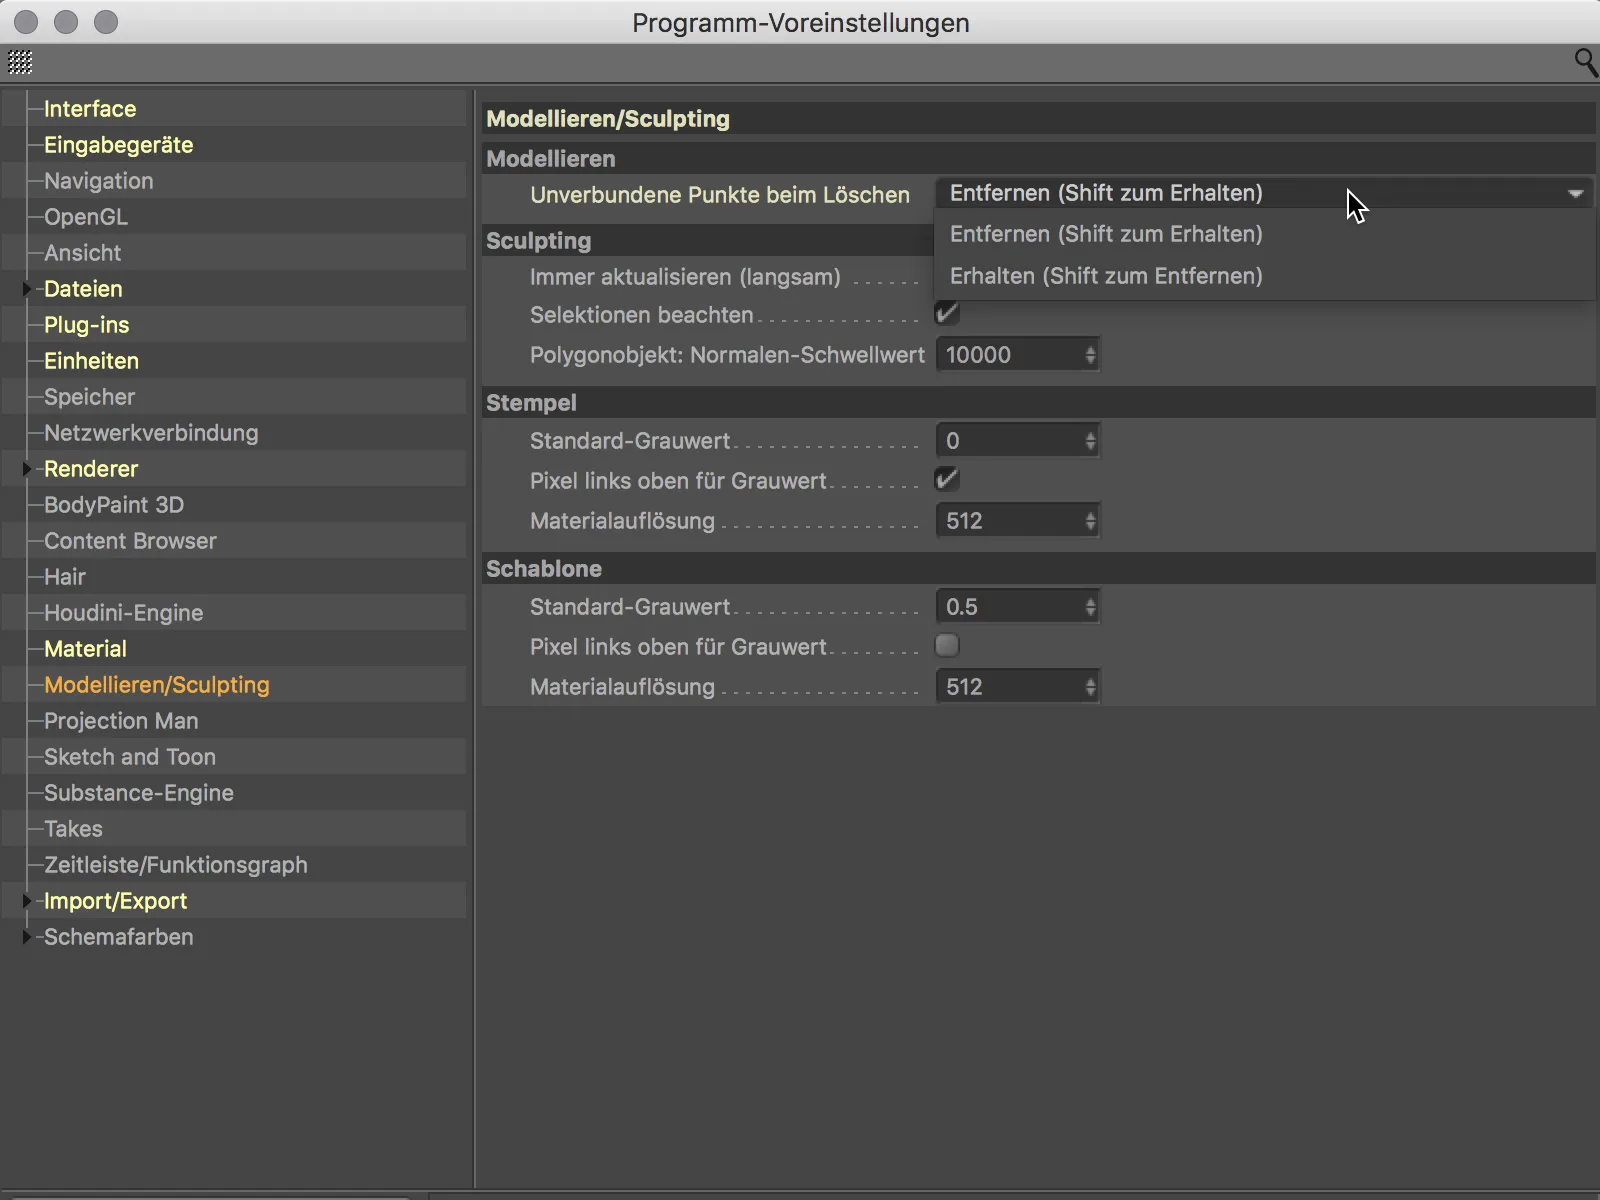
However, because in the vast majority of cases the associated points should also be removed when deleting polygons, I would recommend leaving the default setting as it is and simply adding the Shift keyin individual cases if the points are to be retained.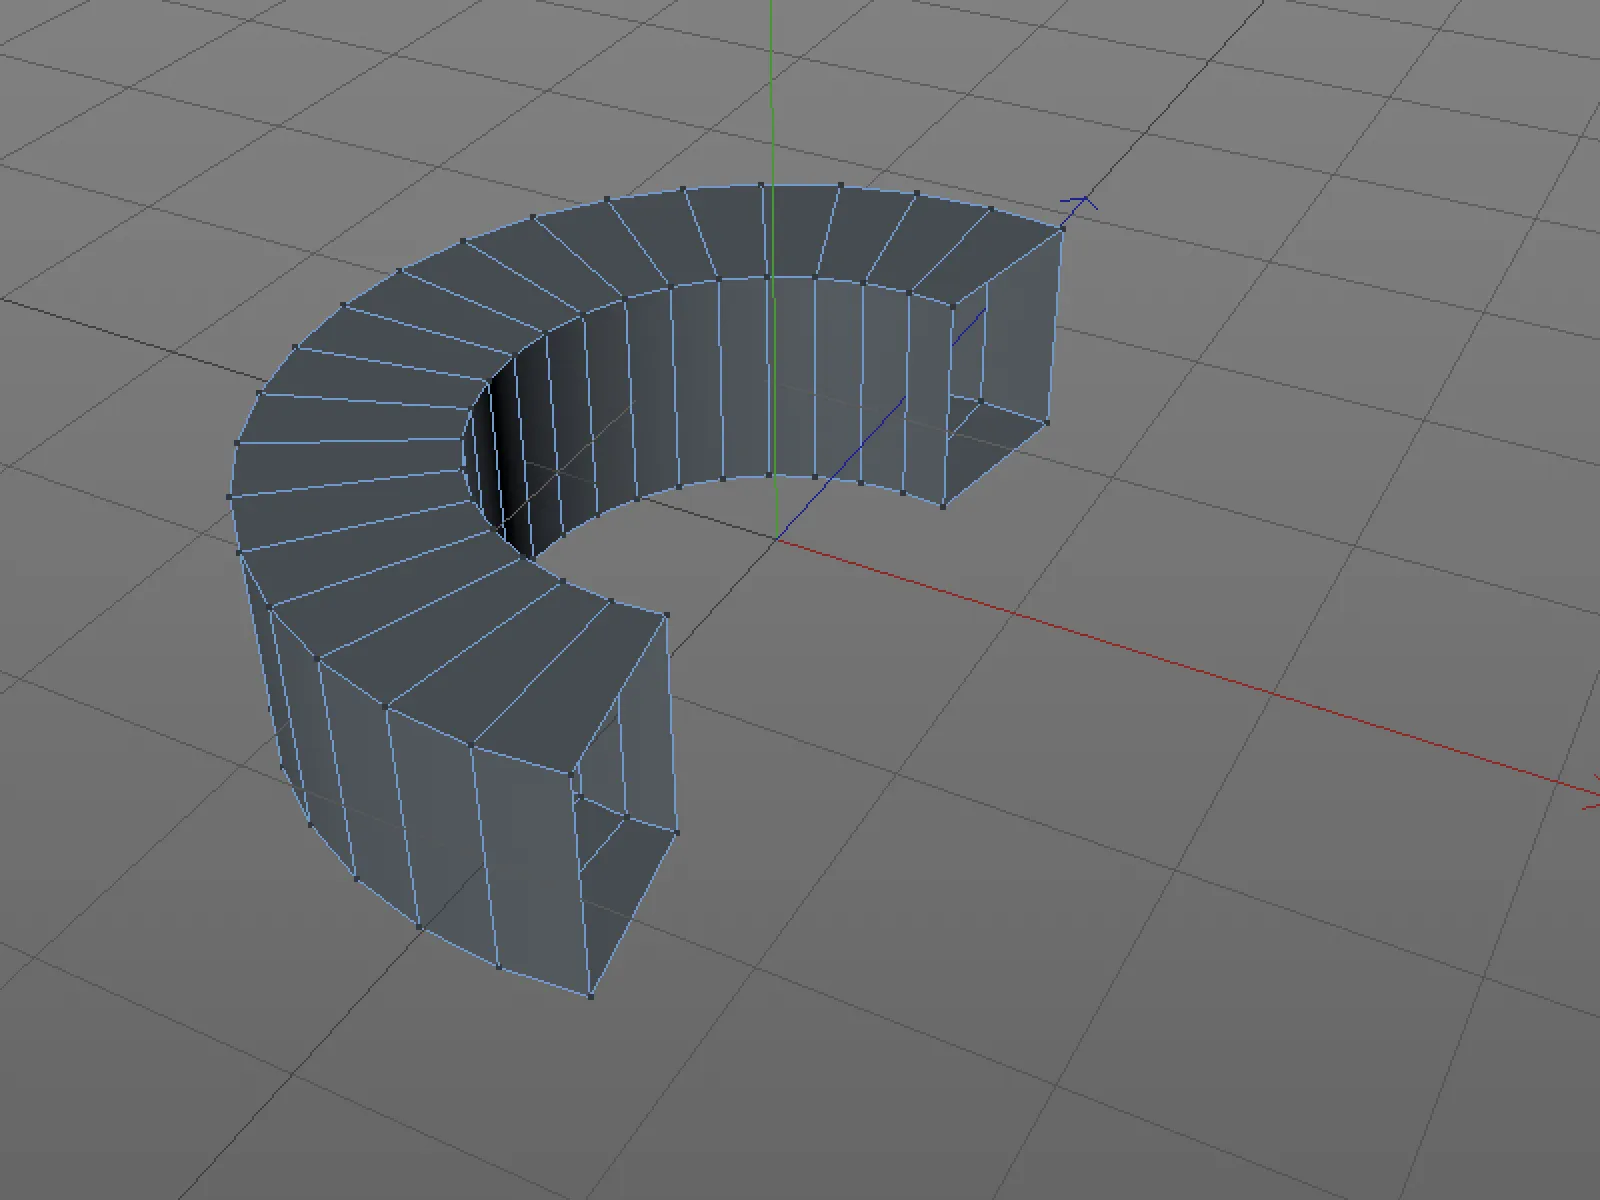
Exporting objects individually
If individual objects from a Cinema 4D scene are to be saved separately, this is usually associated with unnecessarily high effort.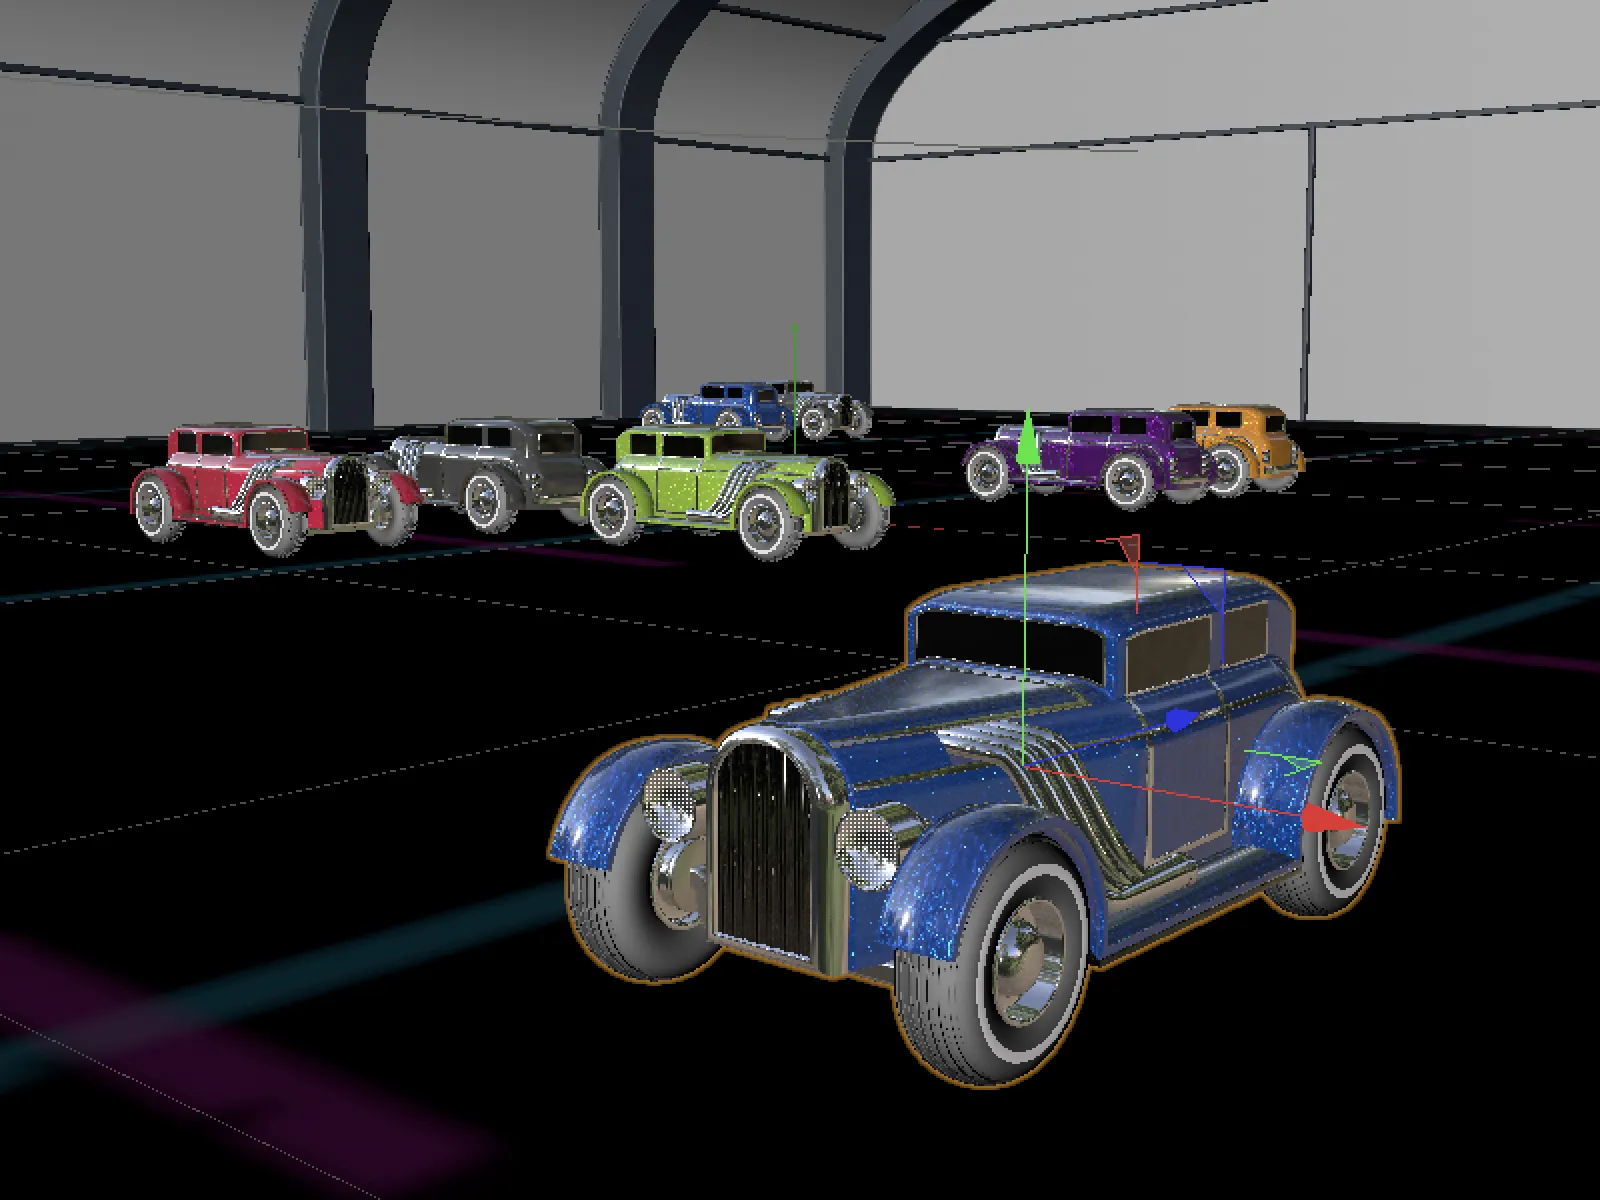
After all, we first have to remove all other objects in the scene. This is much easier in Release 20. We select the object(s) to be exported in the Object Manager...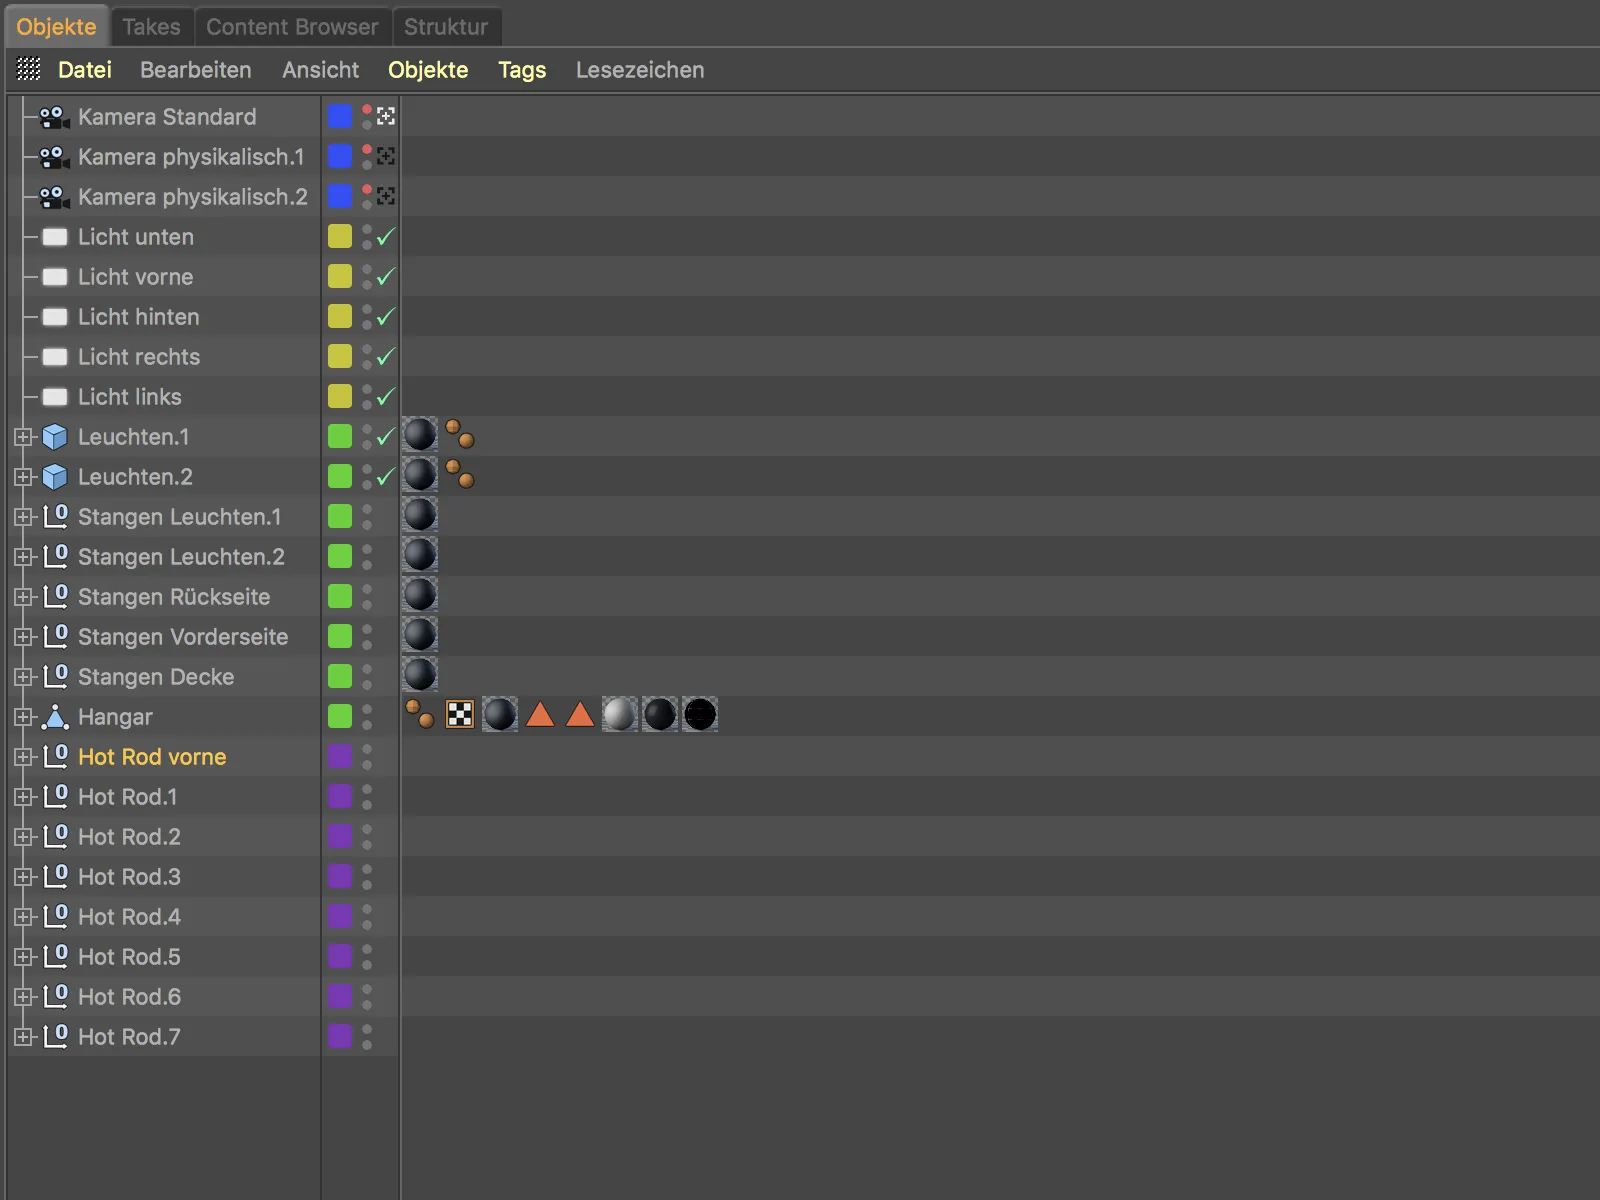
... and call up the new command Save selected objects as... in the File menu.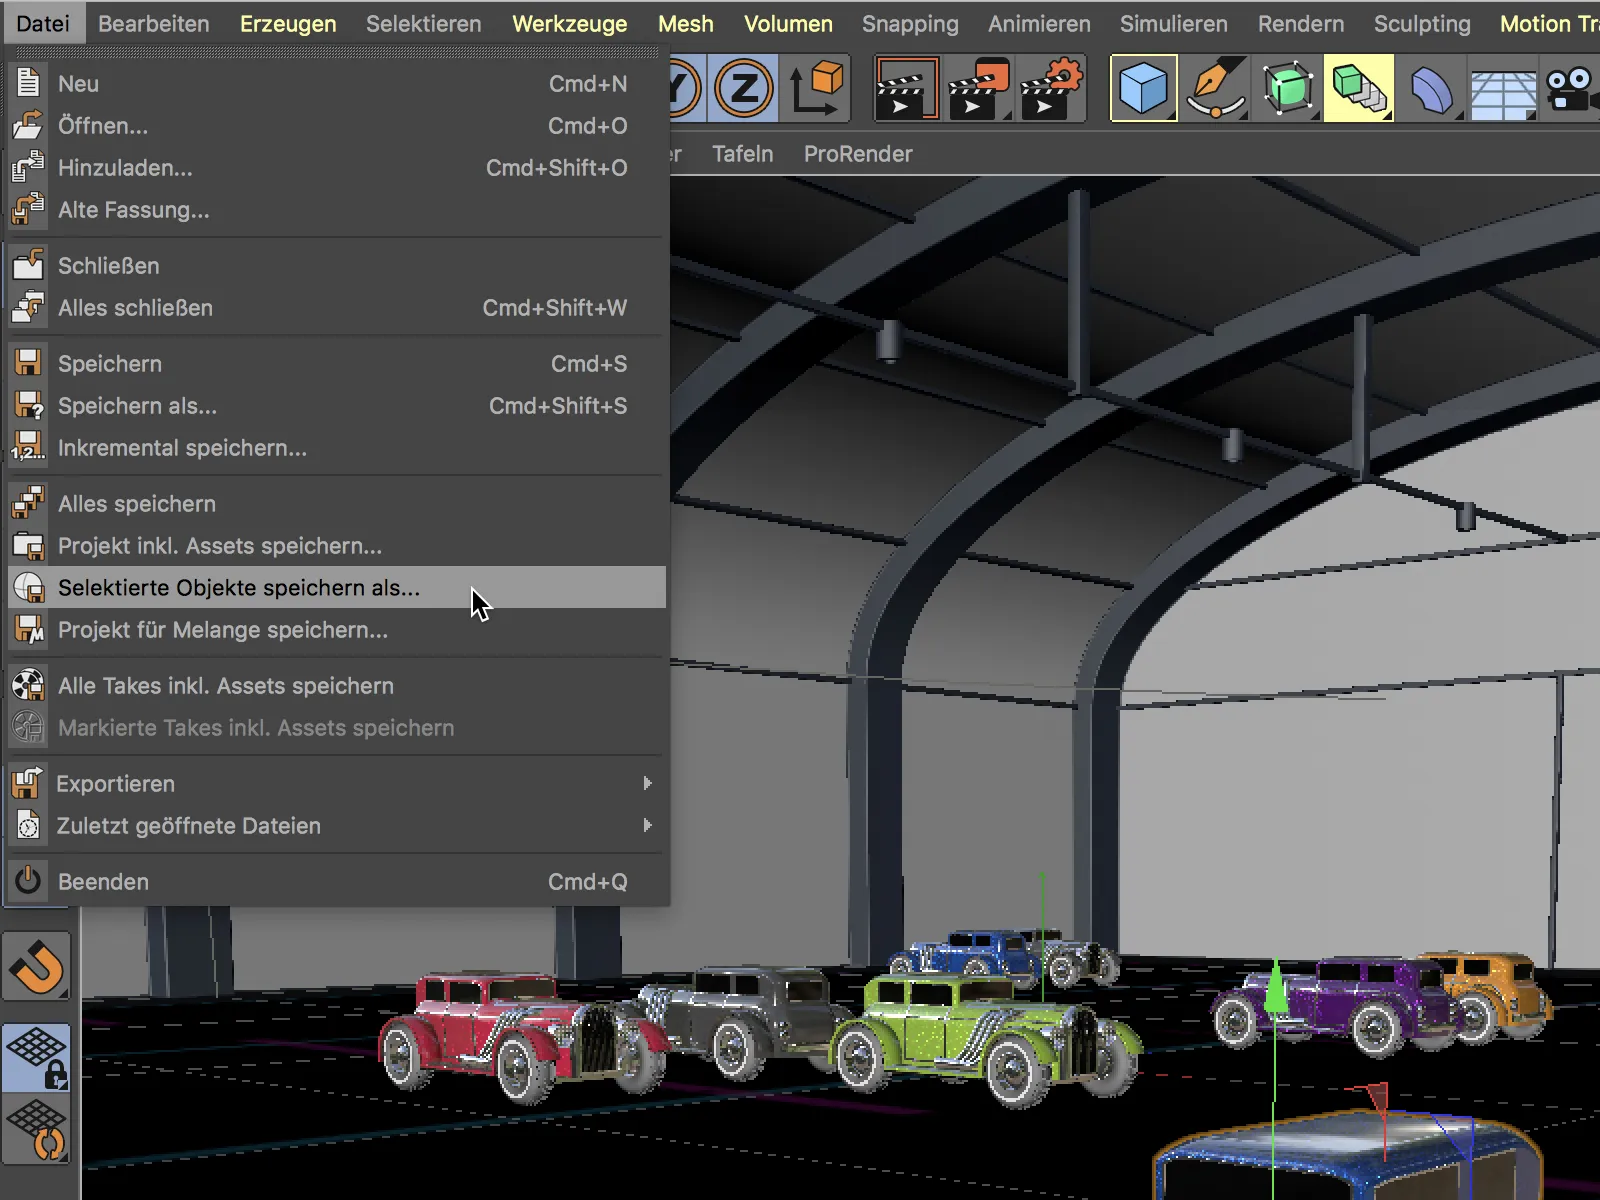
After saving and opening the newly created Cinema 4D document, we may still need to set the position, size or orientation to the desired original value.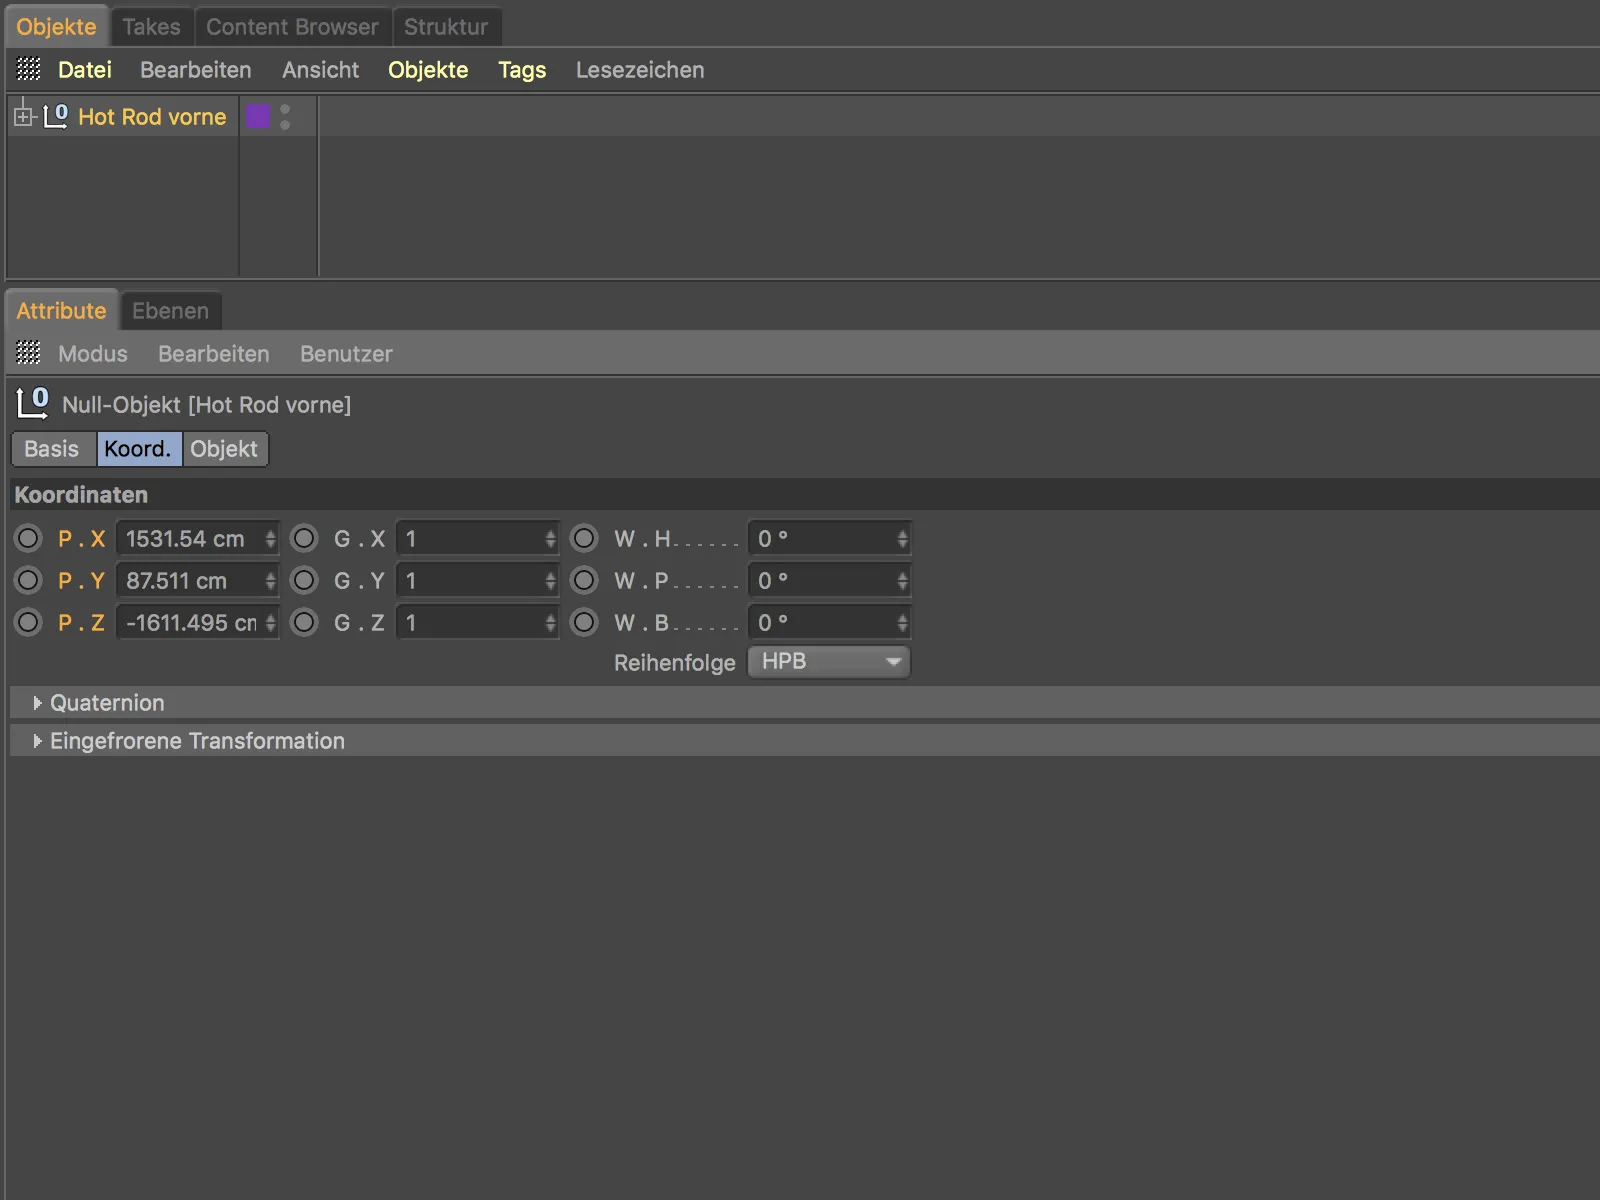
Otherwise, in addition to the successfully exported (sub)objects, the additional information associated with them, such as materials, layers, etc., has also been transferred.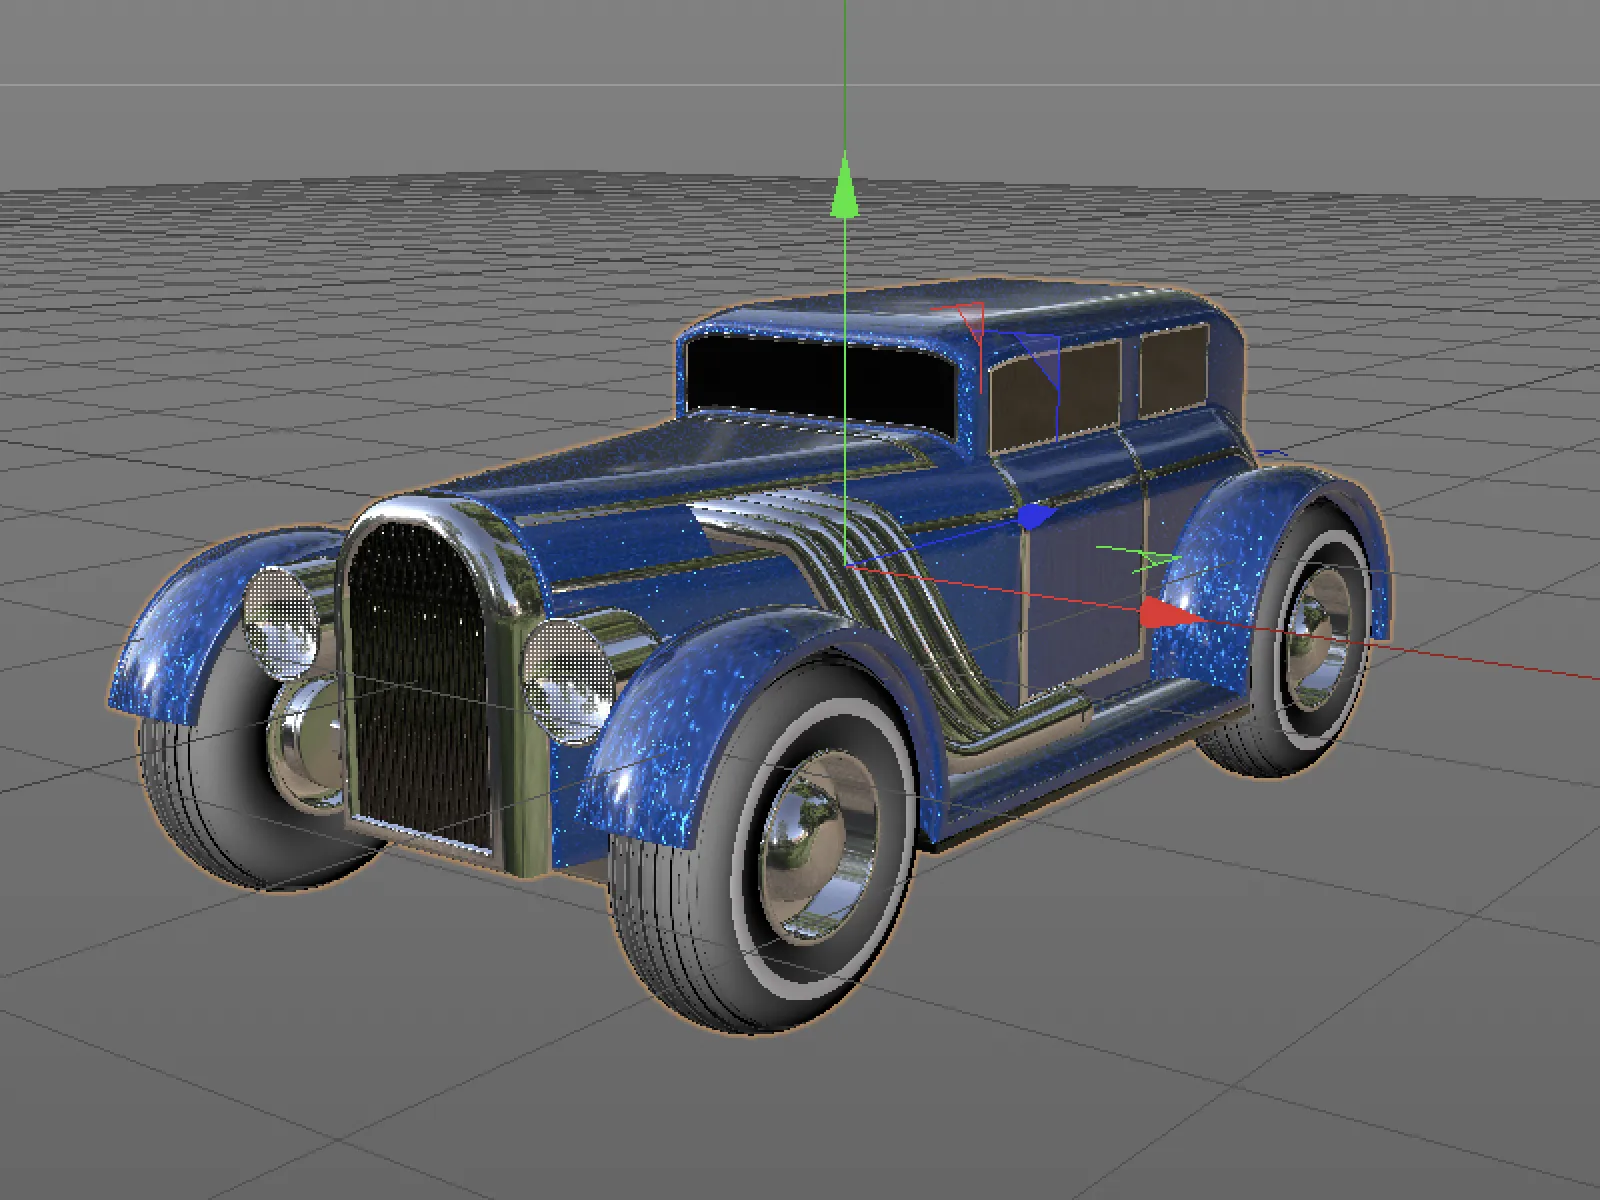
Save current view as image
A quick way to save the content of a view as an image file is provided by the new Send to Image Managercommand from the View menu.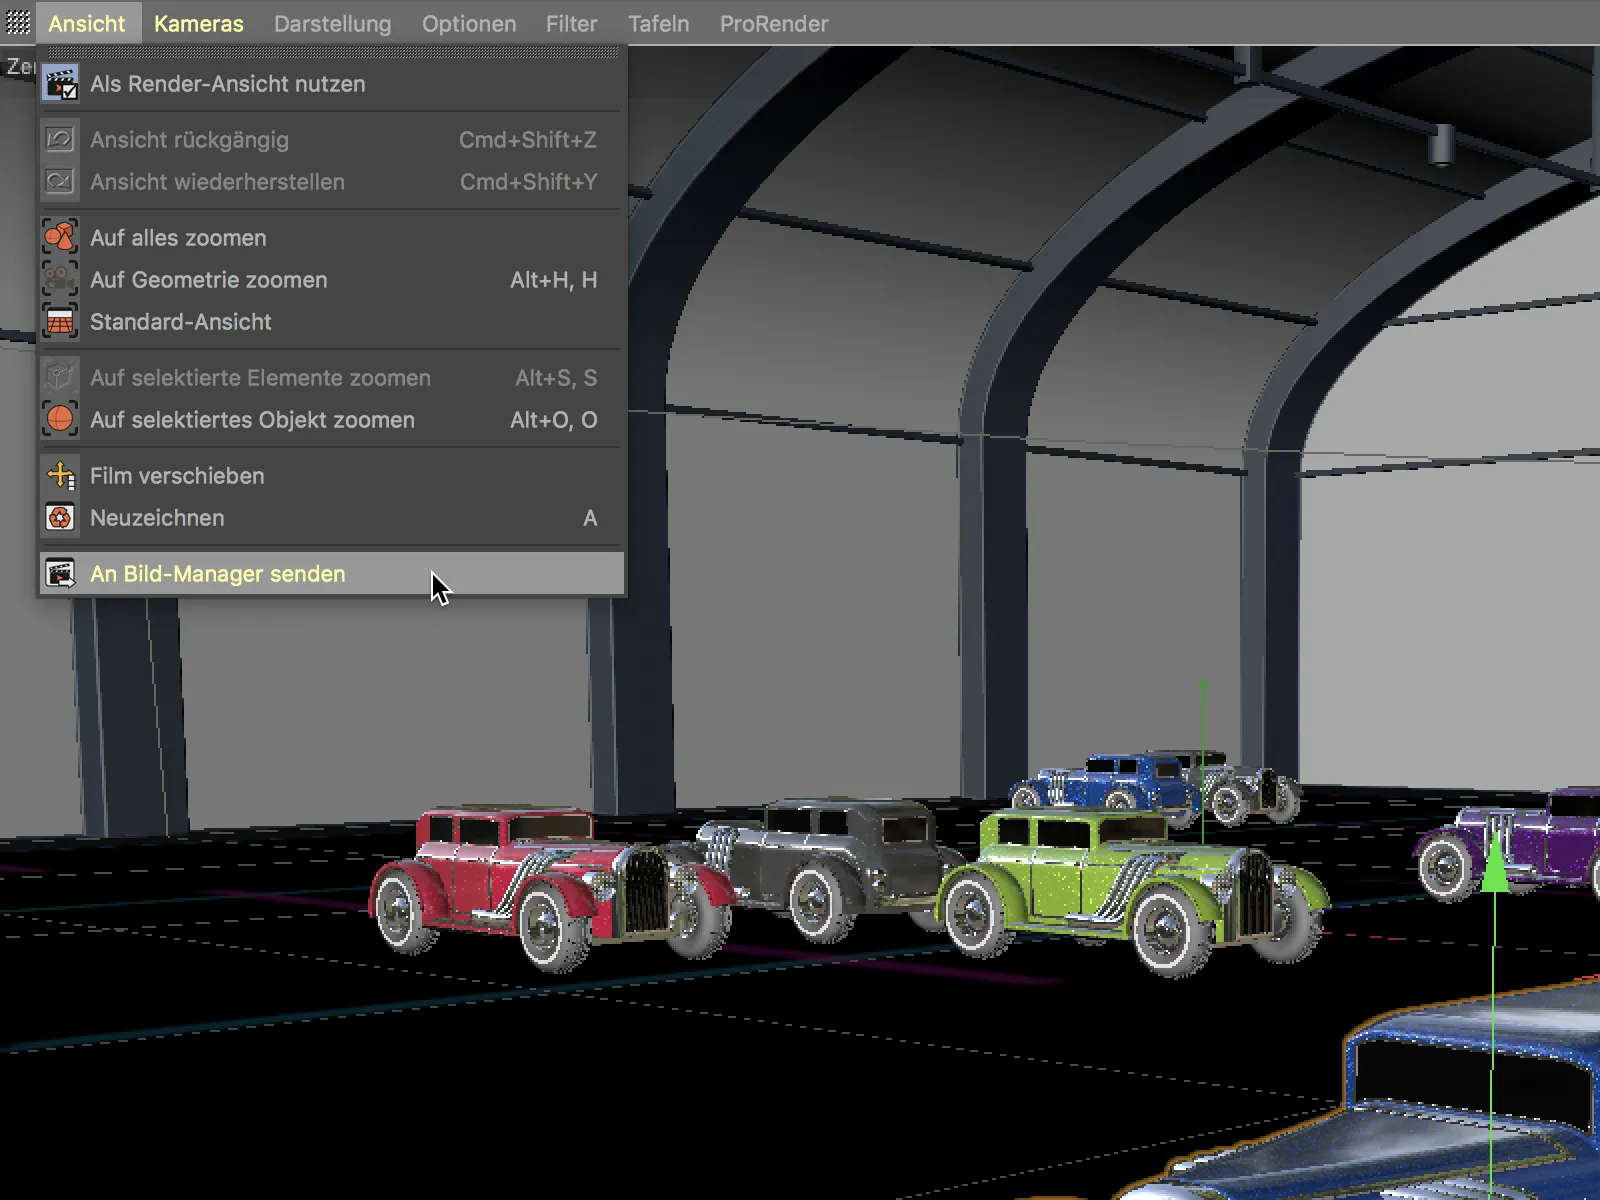
After calling up the command, the Image Managerimmediately opens with the image of the view. The Save as... command from the File menu can be used to save the image just as quickly.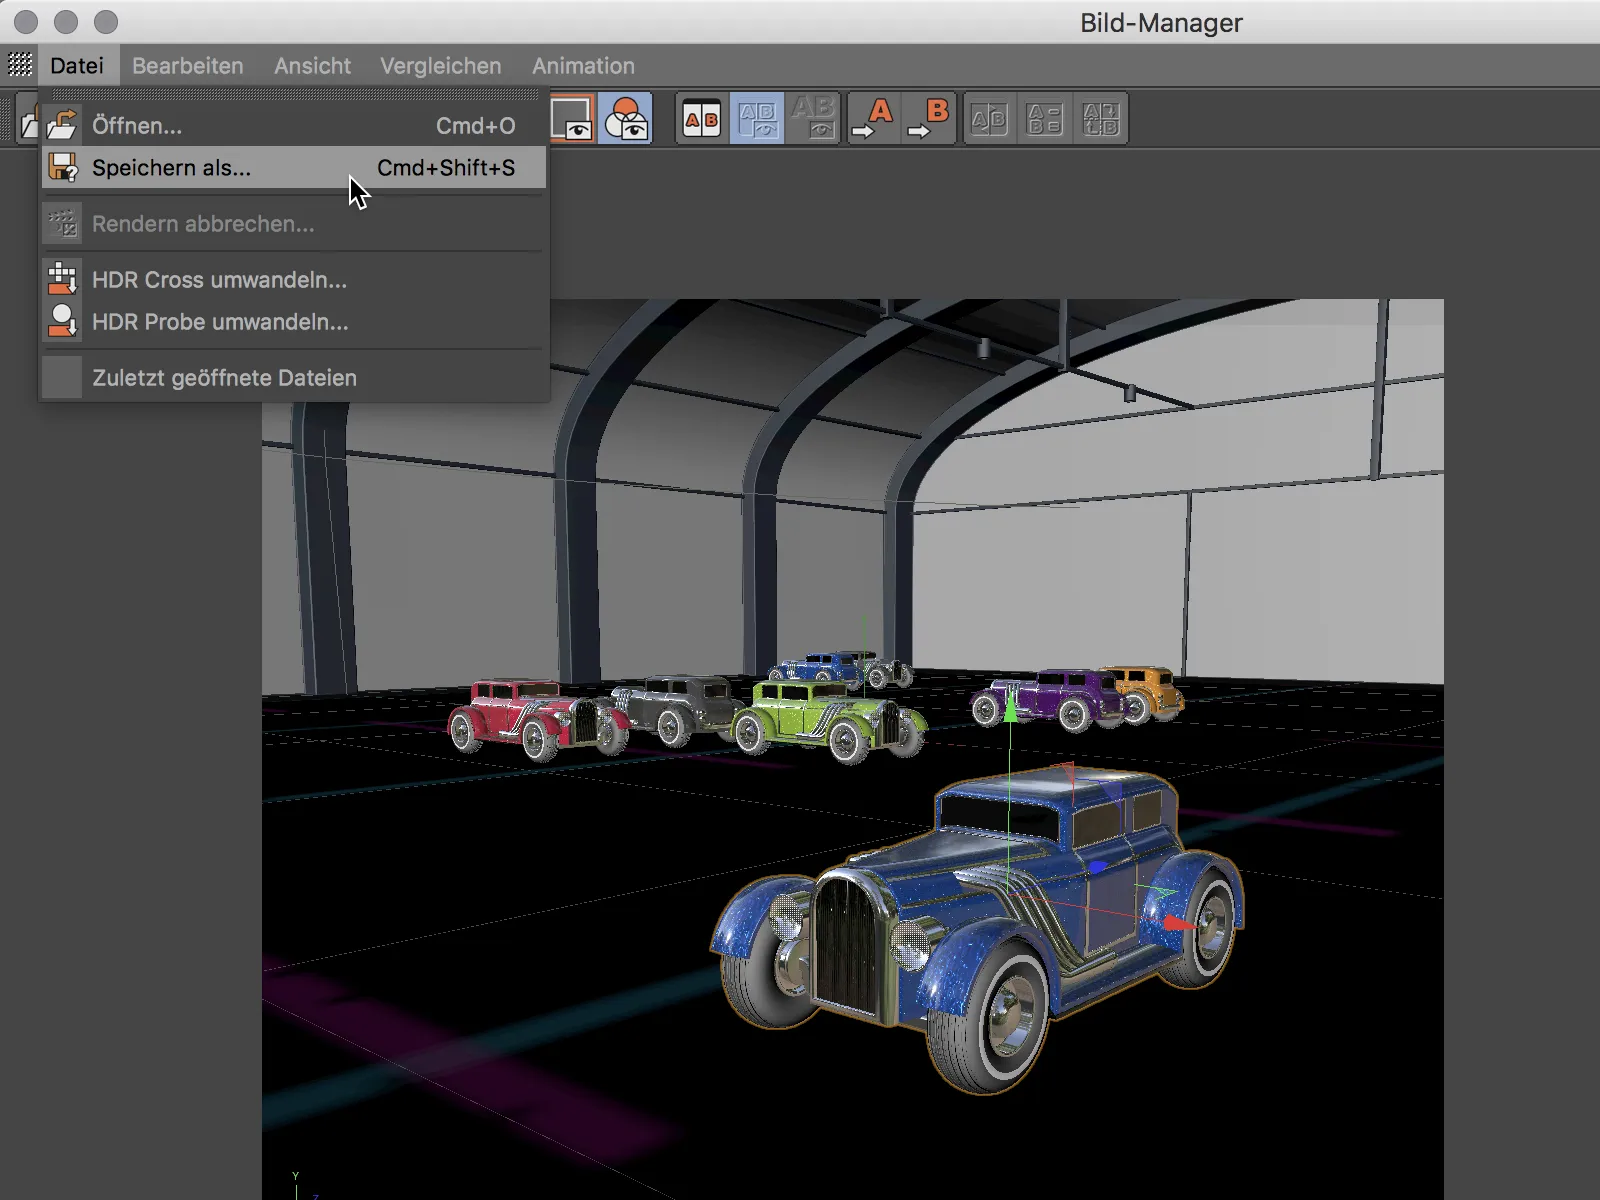
New color gradient
The color gradient appears in many places in Cinema 4D and is an important tool for precisely controlling not only textures but also areas of effect. We will take a look at the new functions of the color gradient using a color gradient shader used as a texture as an example.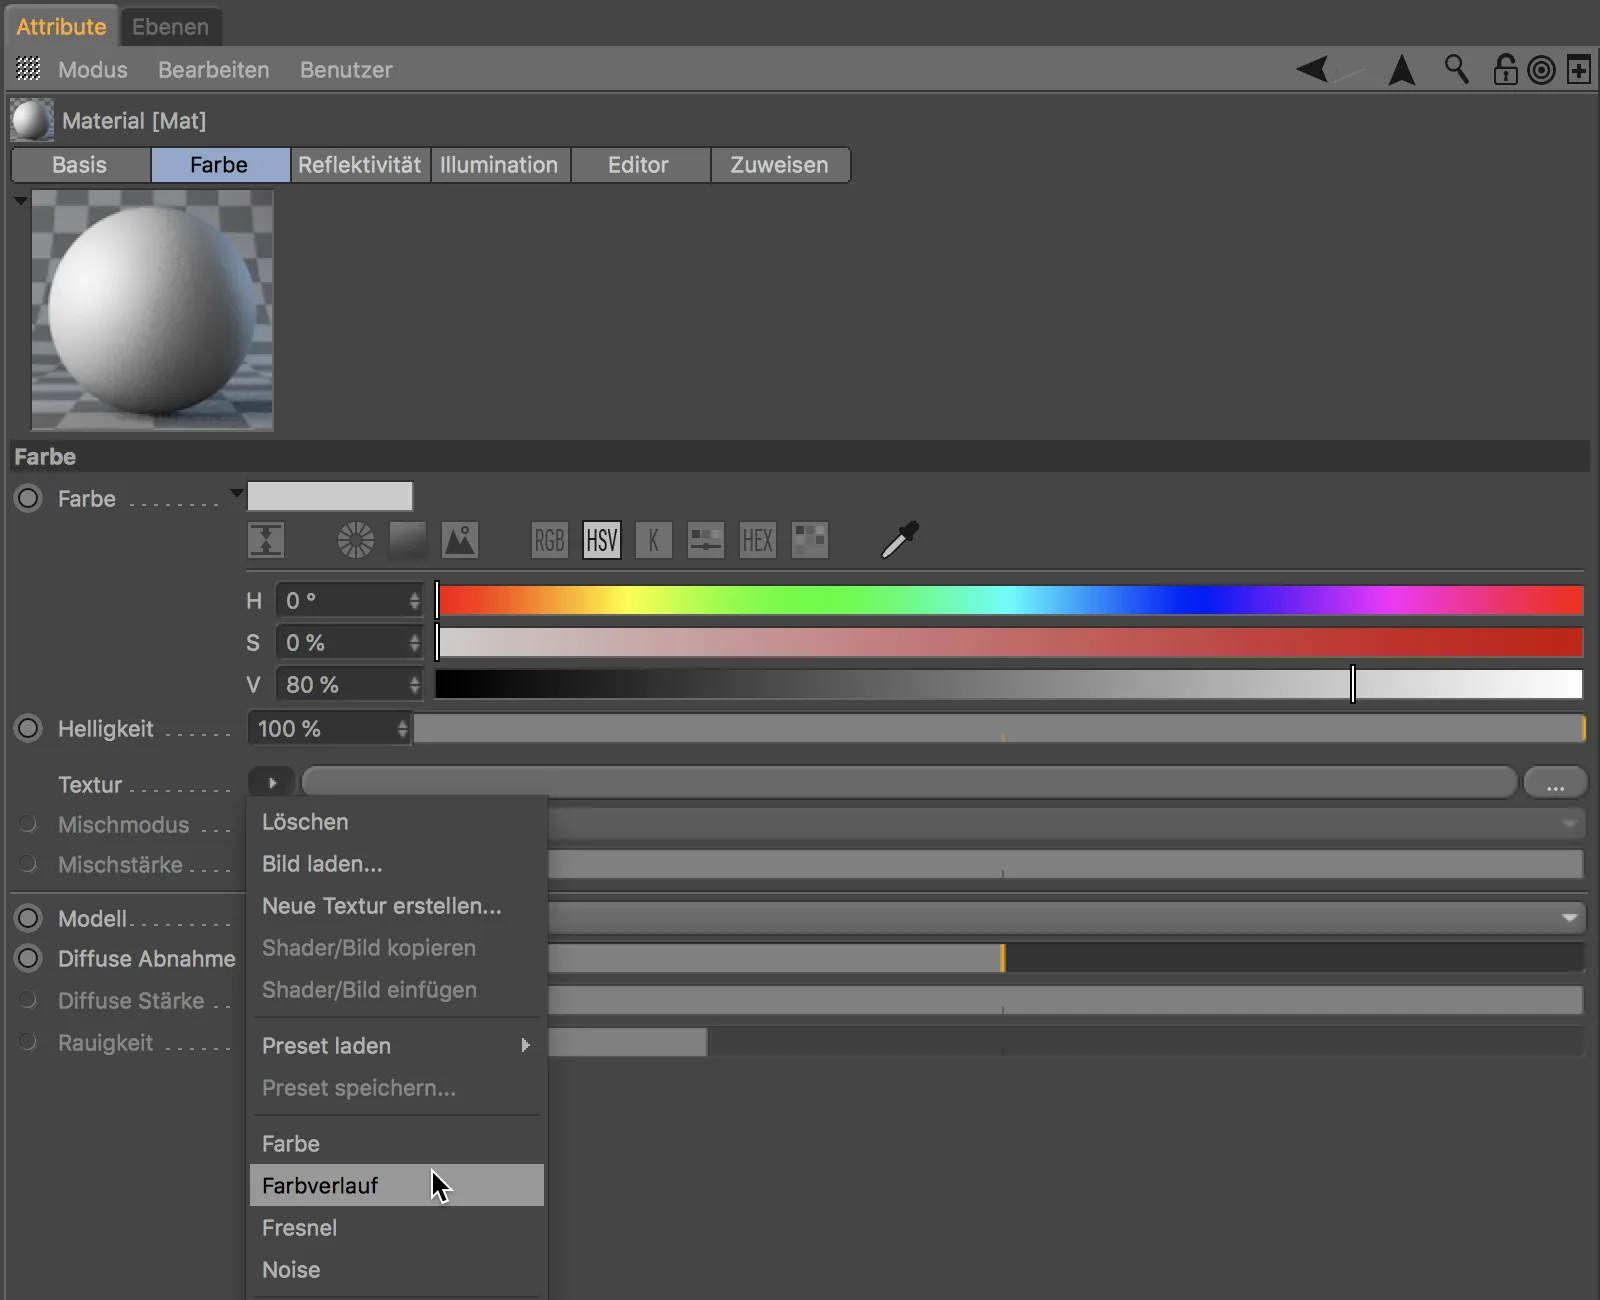
In the gradient view, we can now use the view tools button 2 or button 1 to enlarge or move the view of the gradient.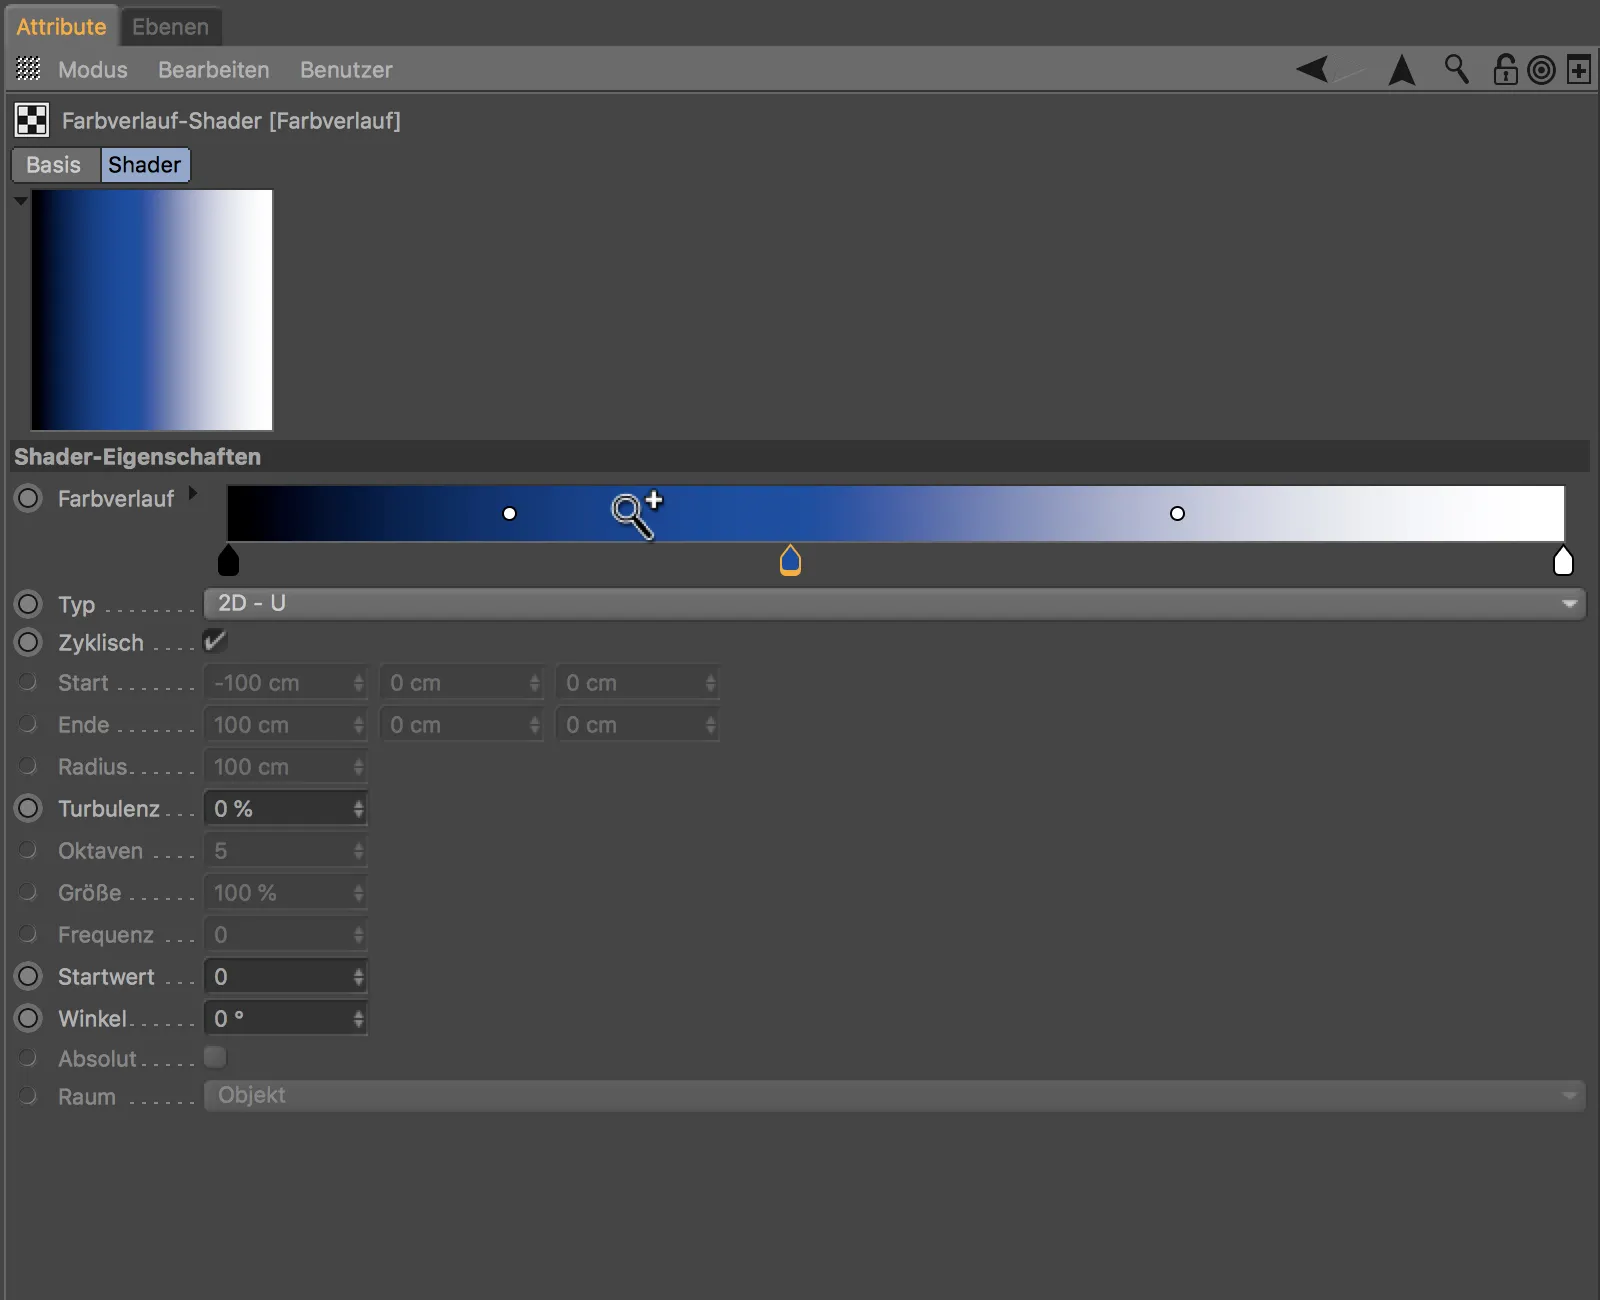
We can return to the standard view using the H key or by clicking on the small brackets visible at the edge of the gradient when the content is hidden.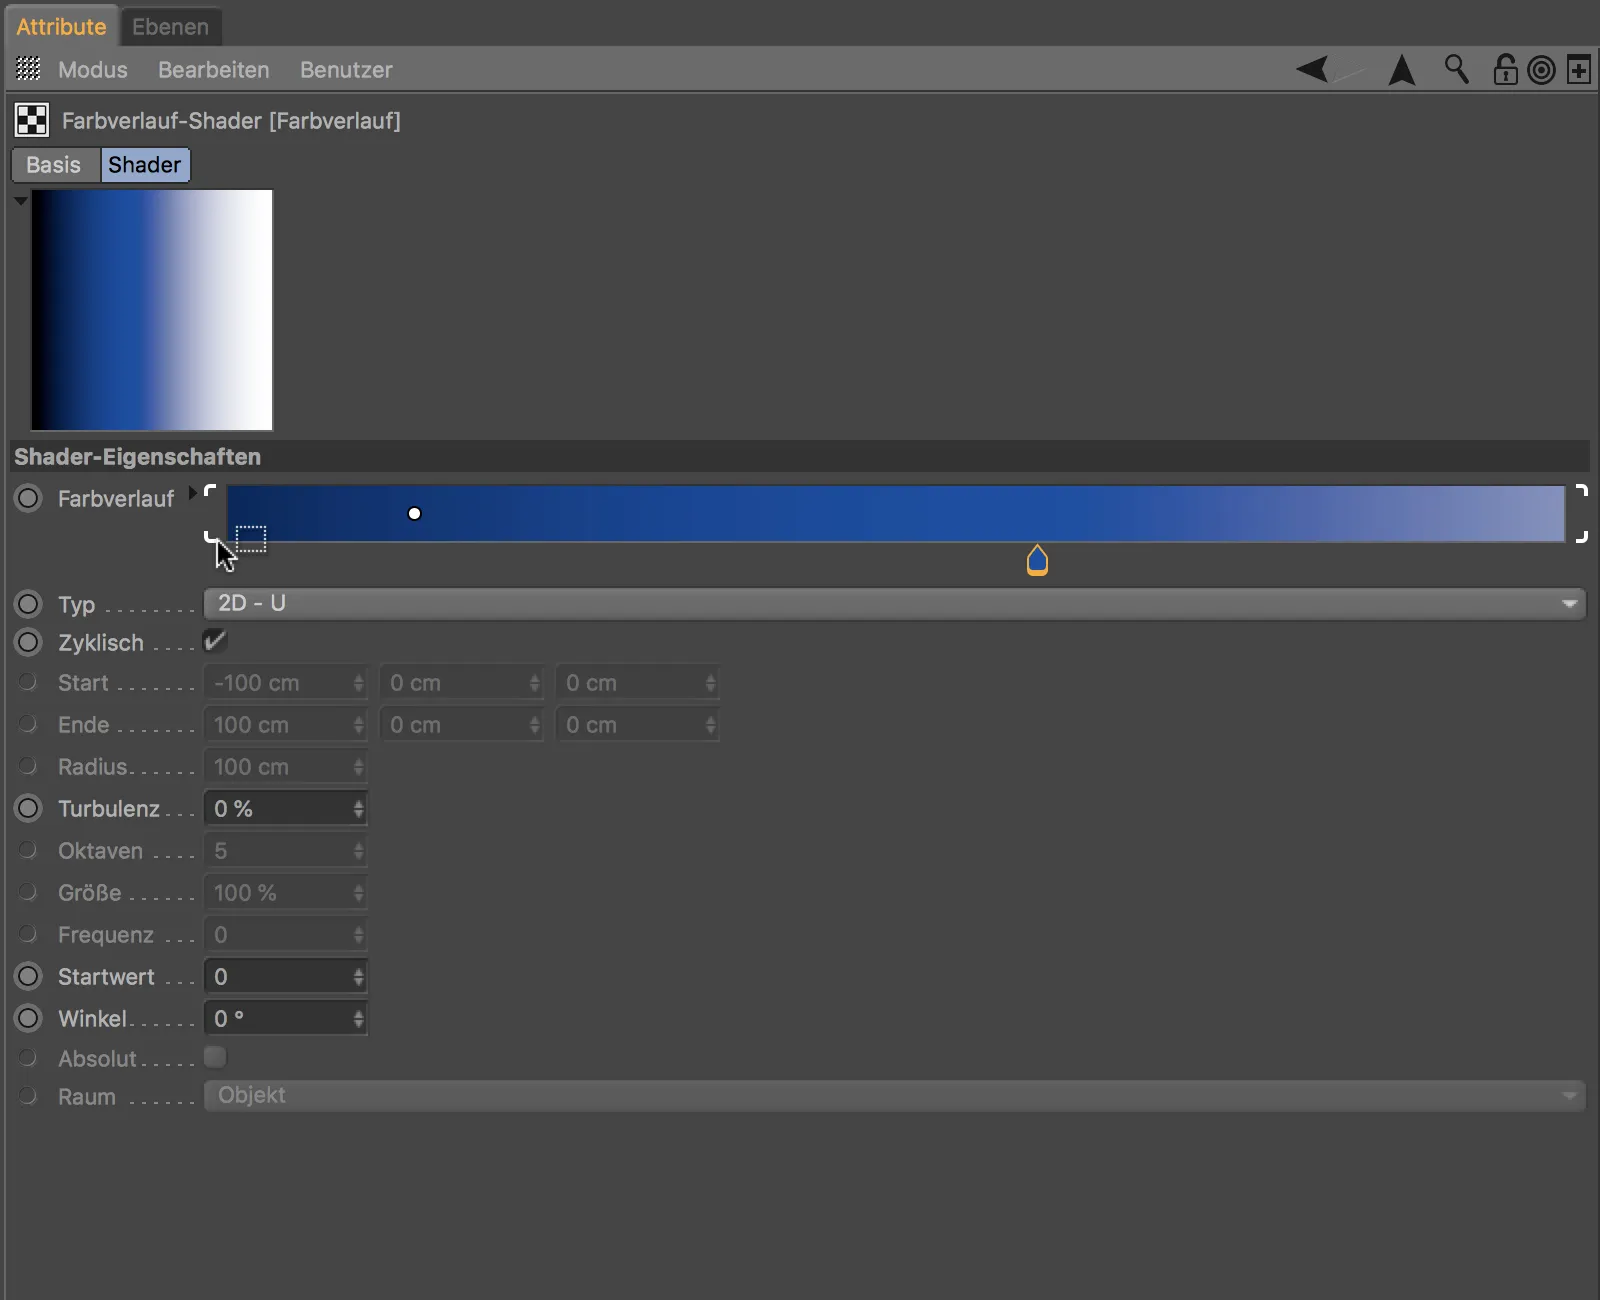
The practical small brackets are also visible if several gradient grippers are selected. The selected grippers can then be moved together by holding down the mouse button.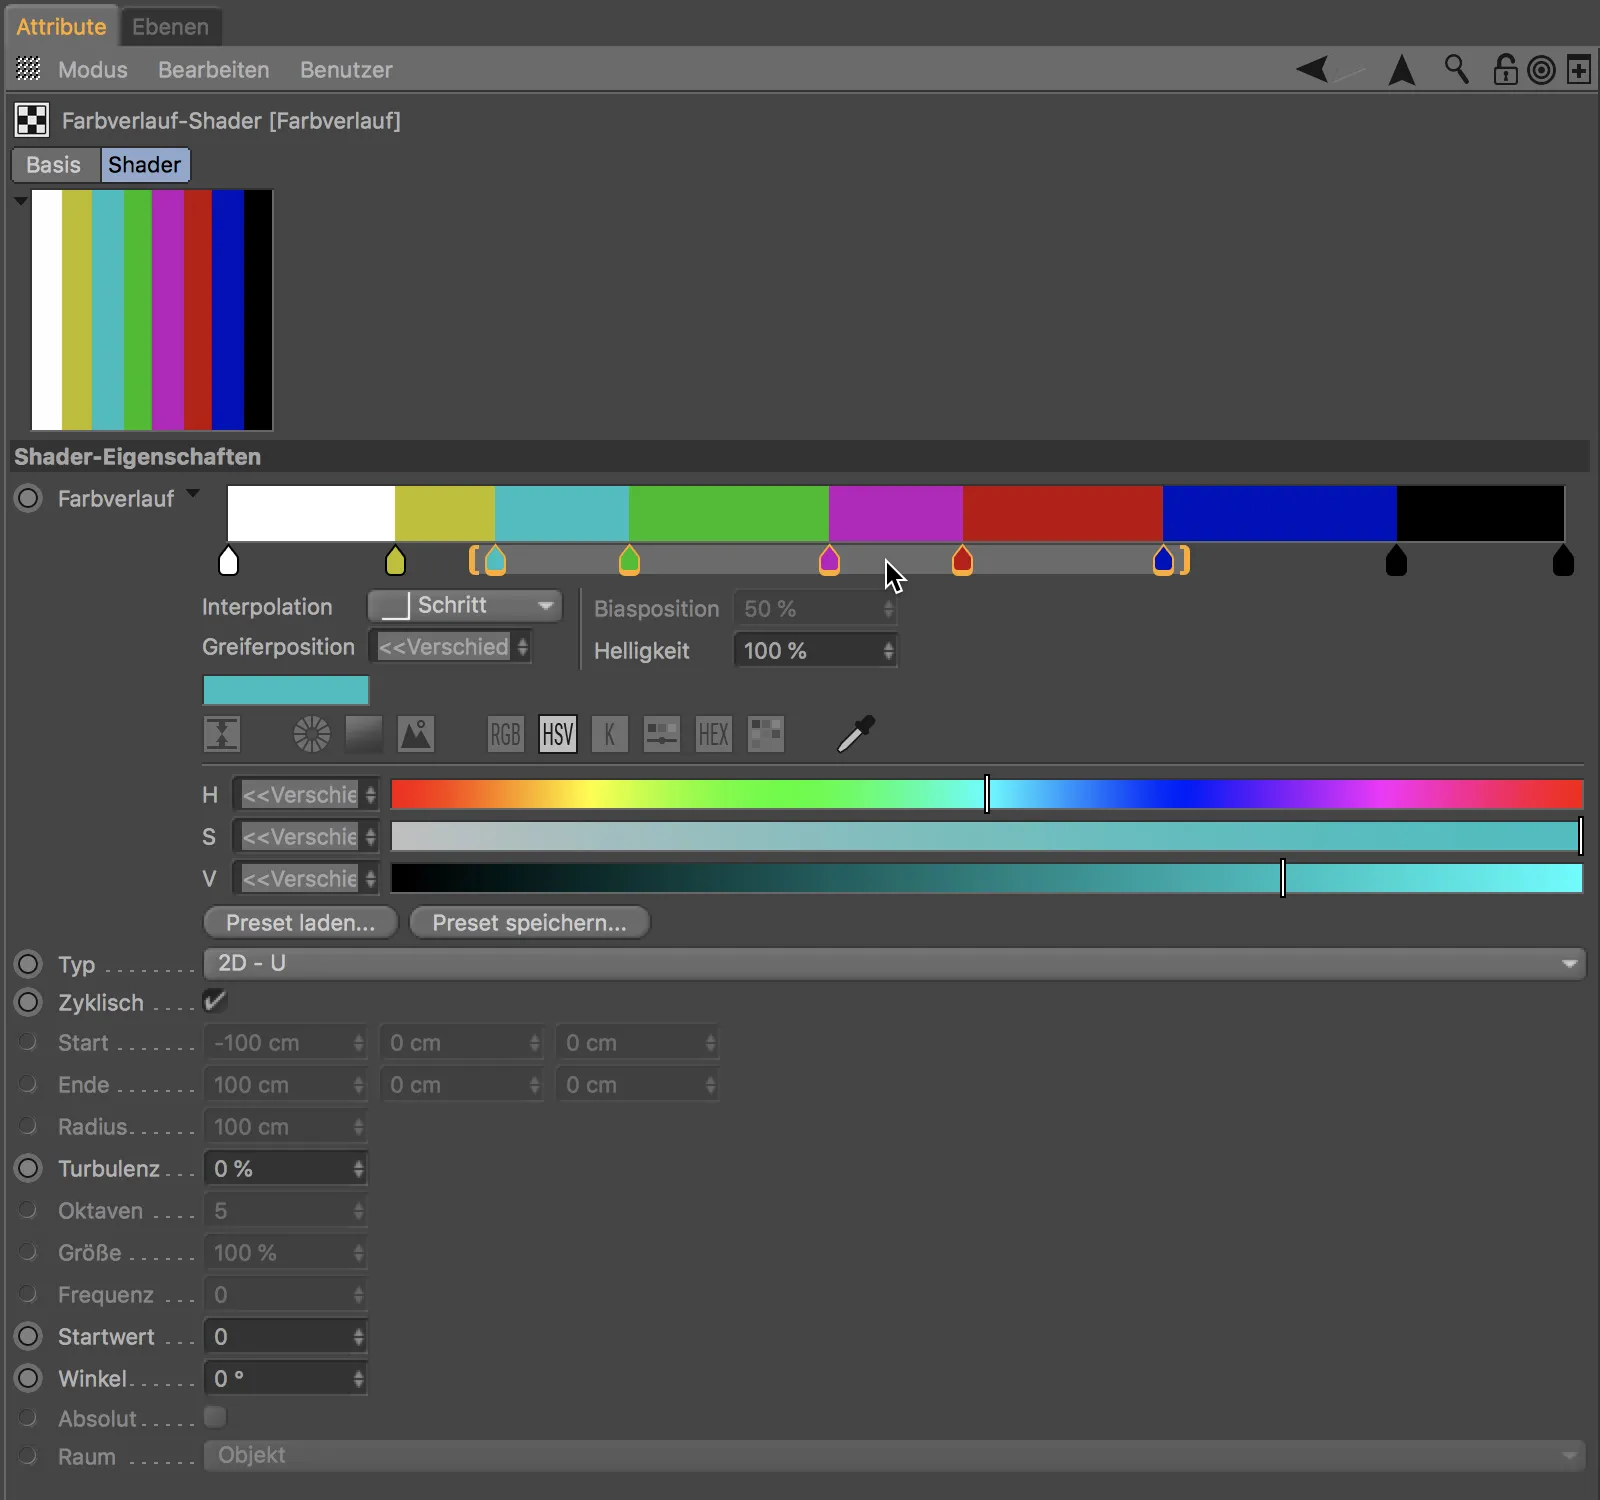
If, on the other hand, we drag one of the two brackets, we compress or stretch the selected gradient grippers and the content defined by them.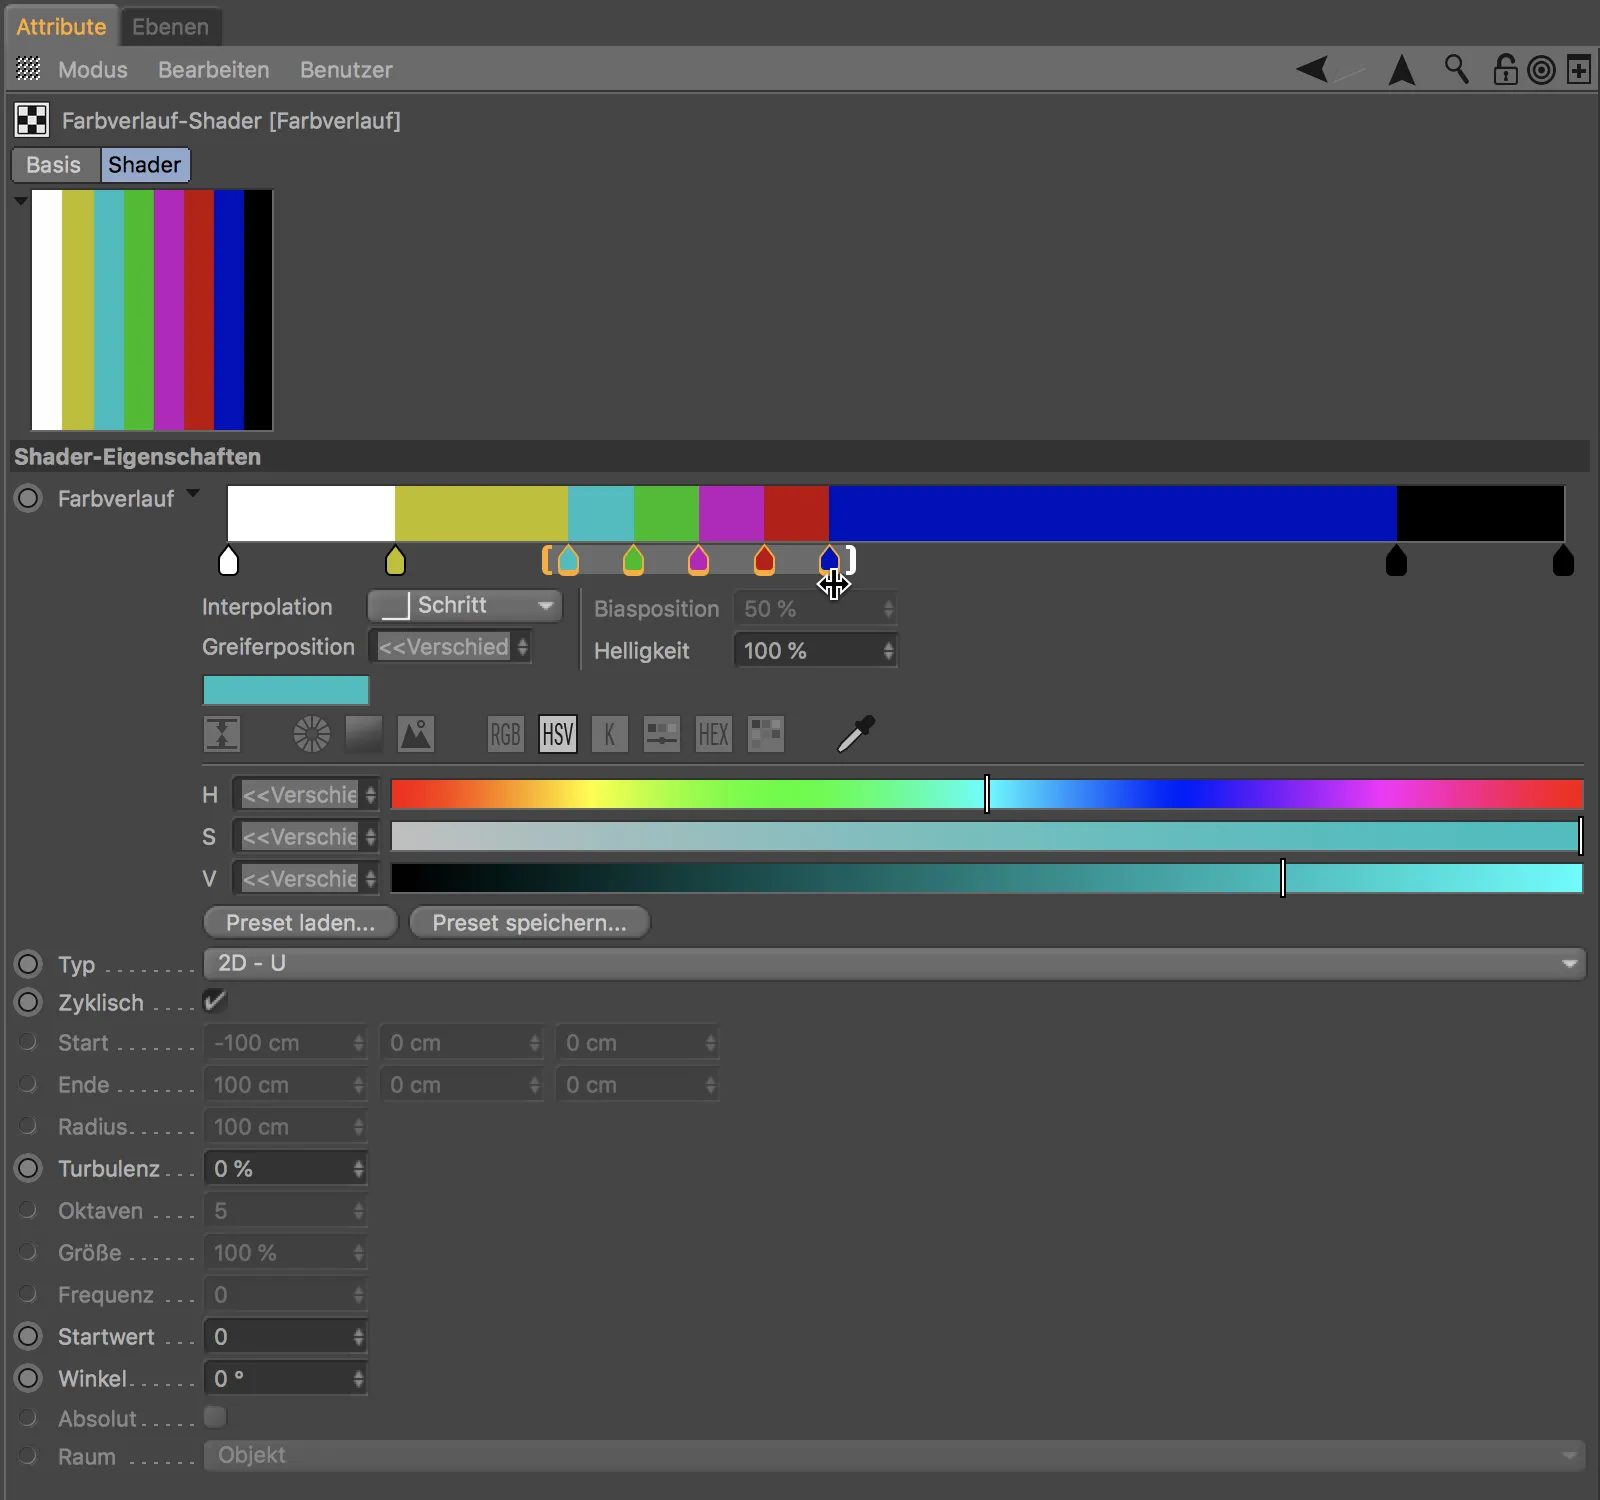
To generate a gradient from some selected colors of the color palette, we only have to create and select them in the color palette ...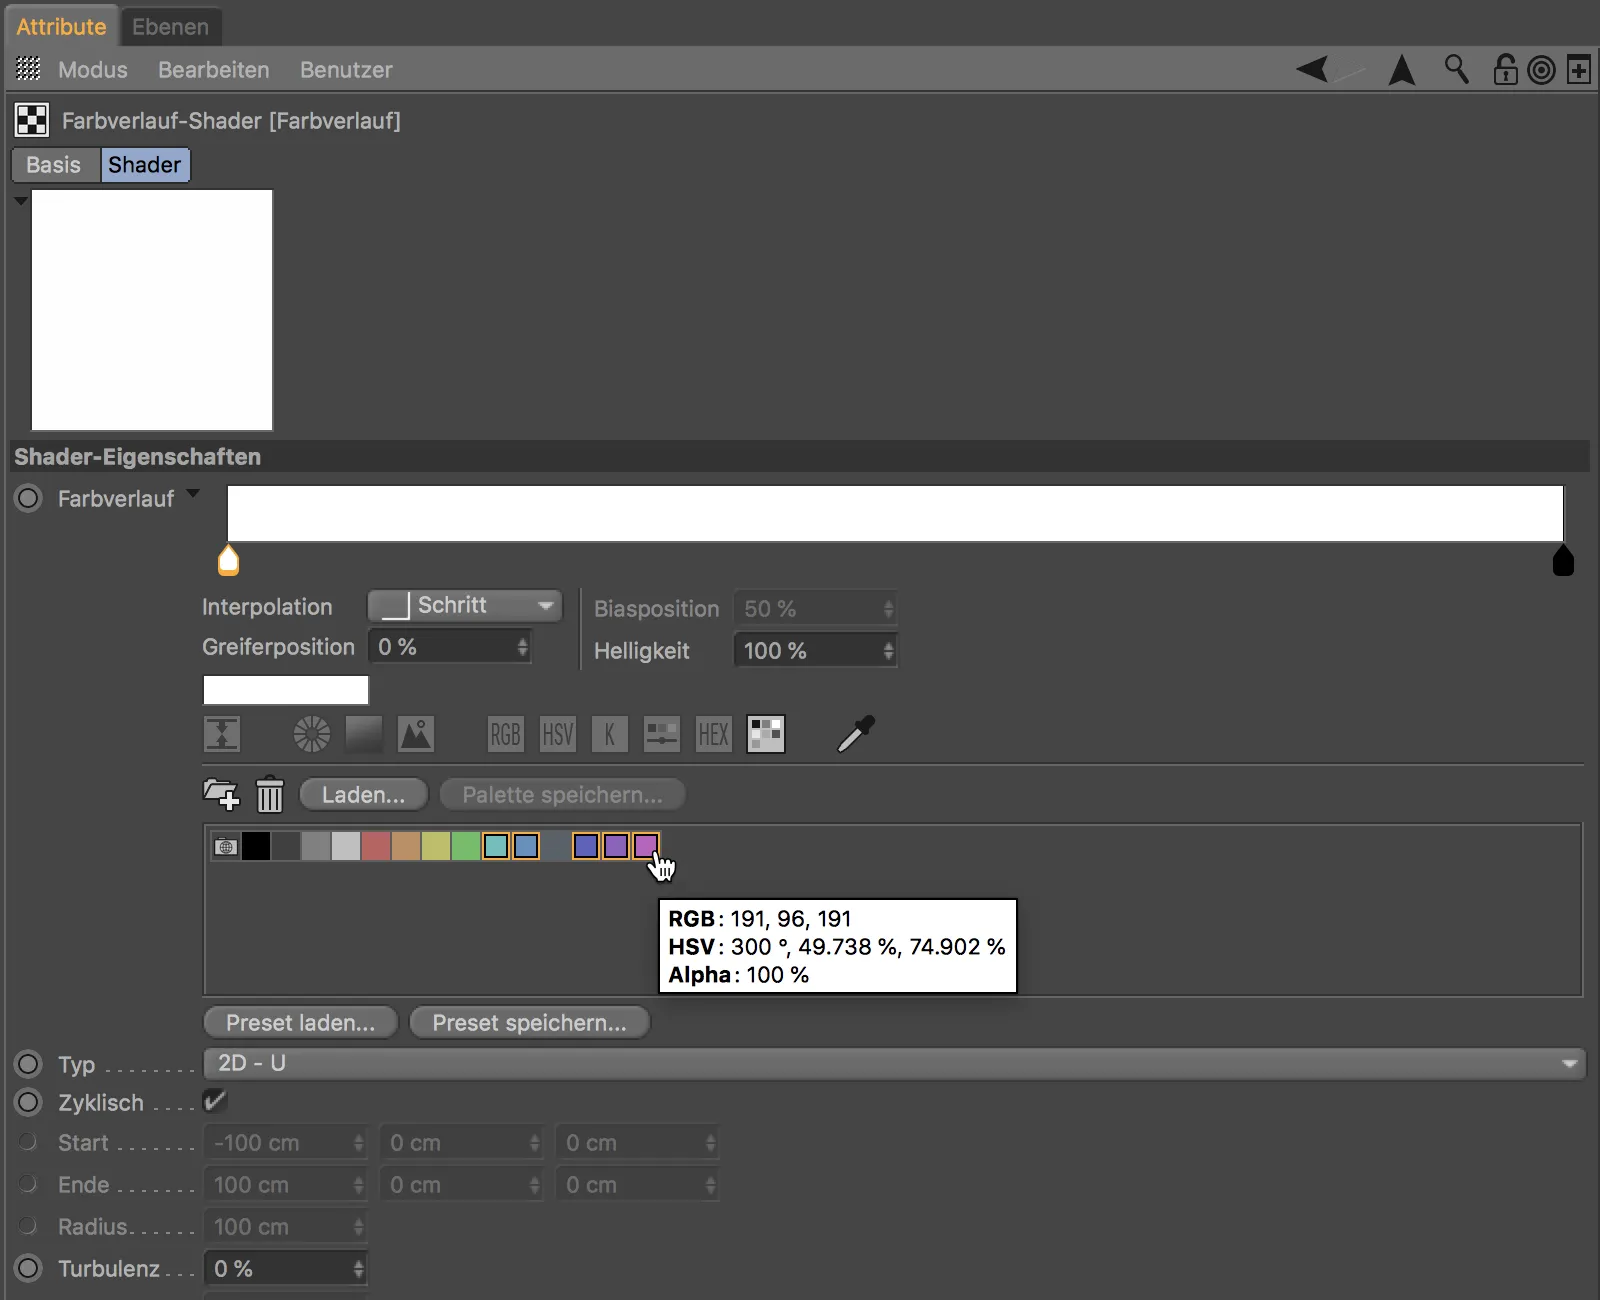
... and then simply drag and drop them into the gradient window. The selected colors are then distributed evenly in a newly created gradient.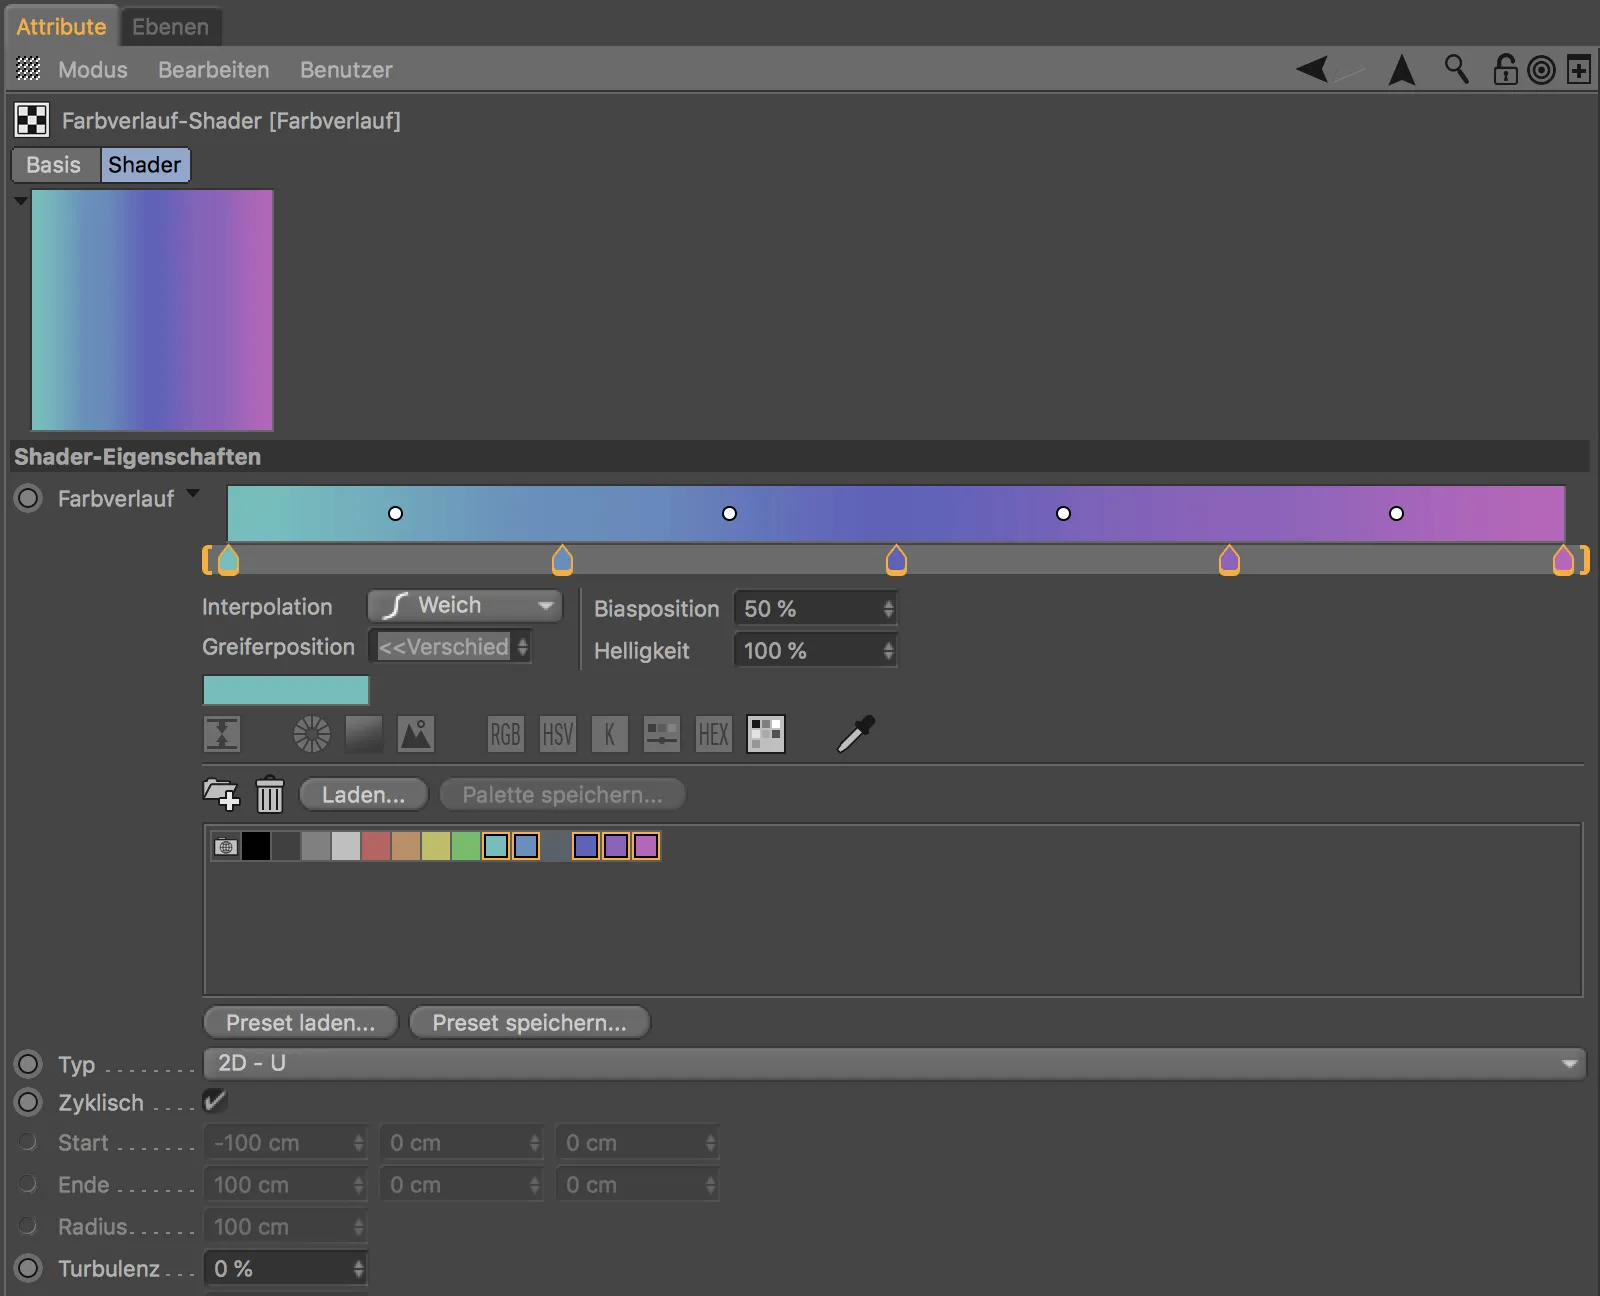
For each gradient grab, we can conveniently select the desired transition between two colors via the Interpolation menu.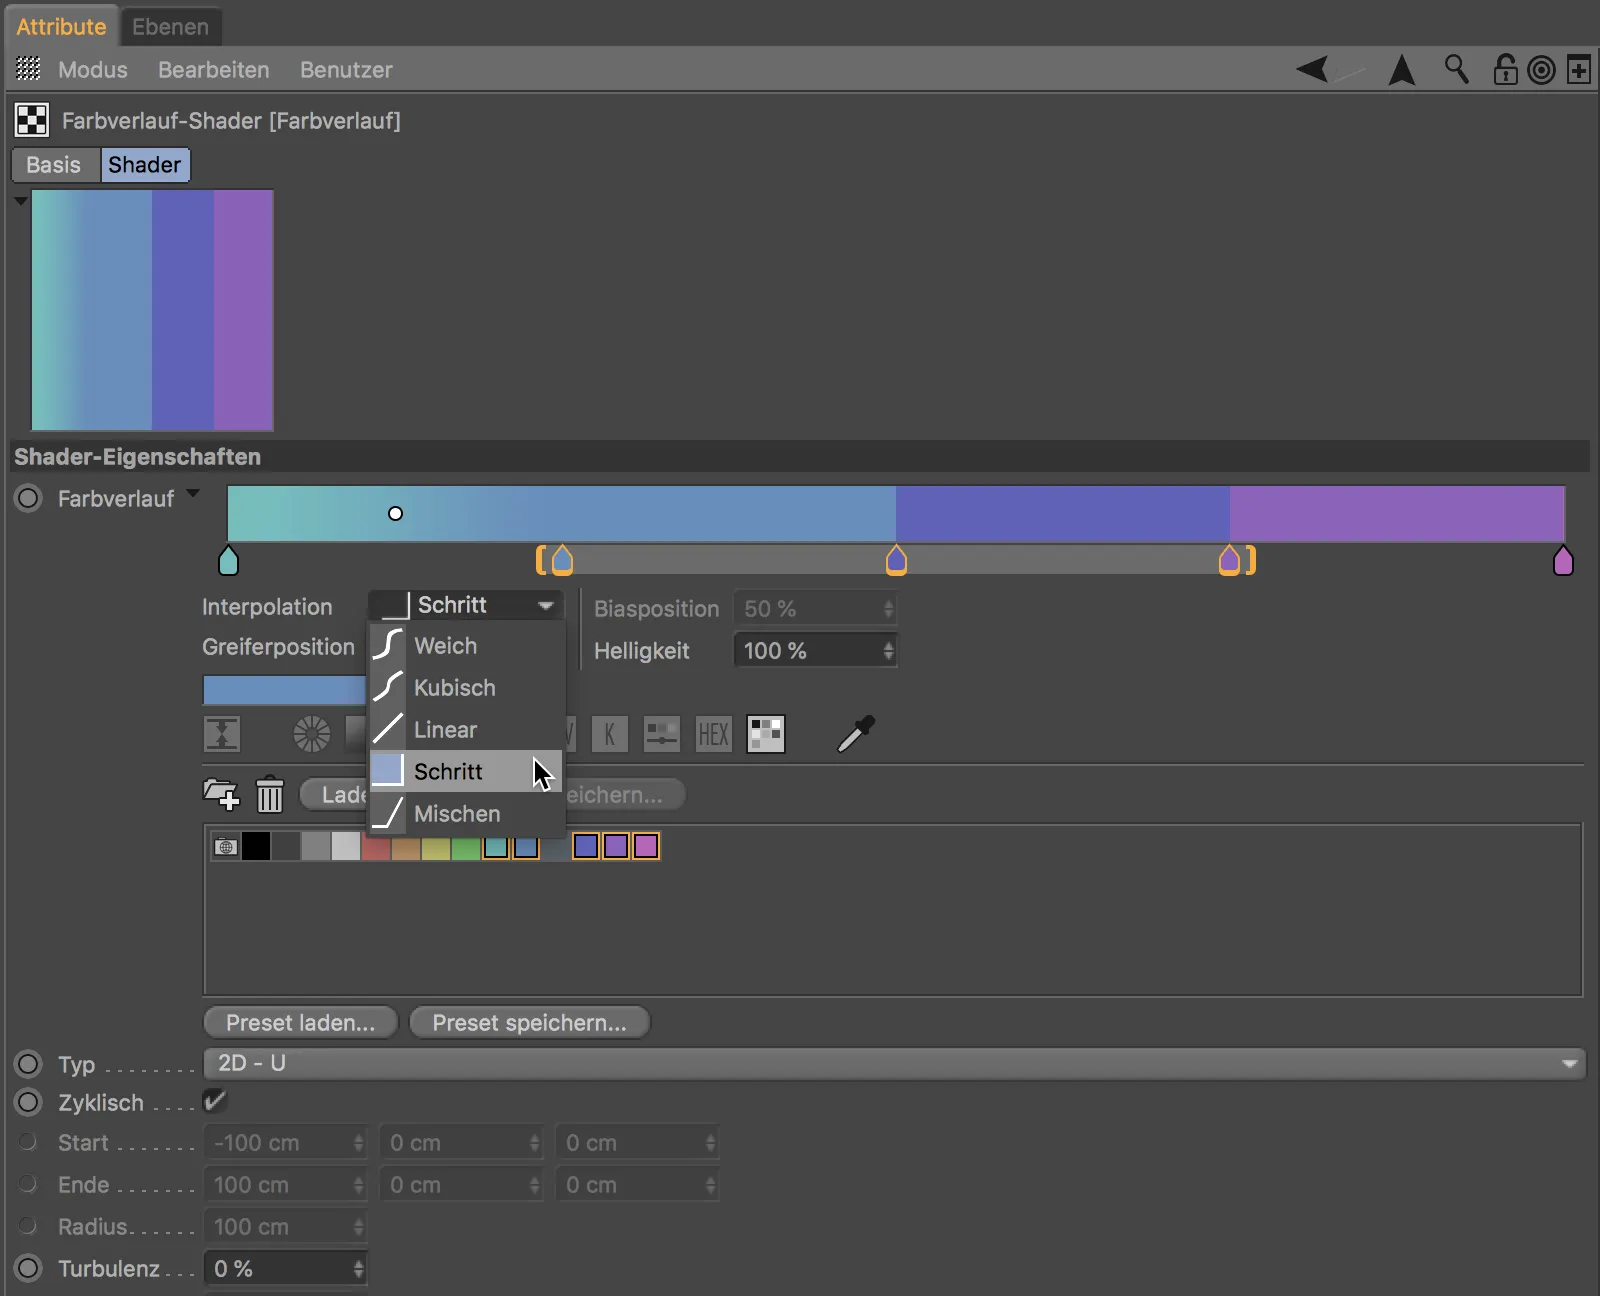
The context menu, which we call up with the right mouse button, also offers some practical functions. This allows us to invert gradient gra bs or the entire gradient, duplicate or distribute grabs and set the size of the gradient view.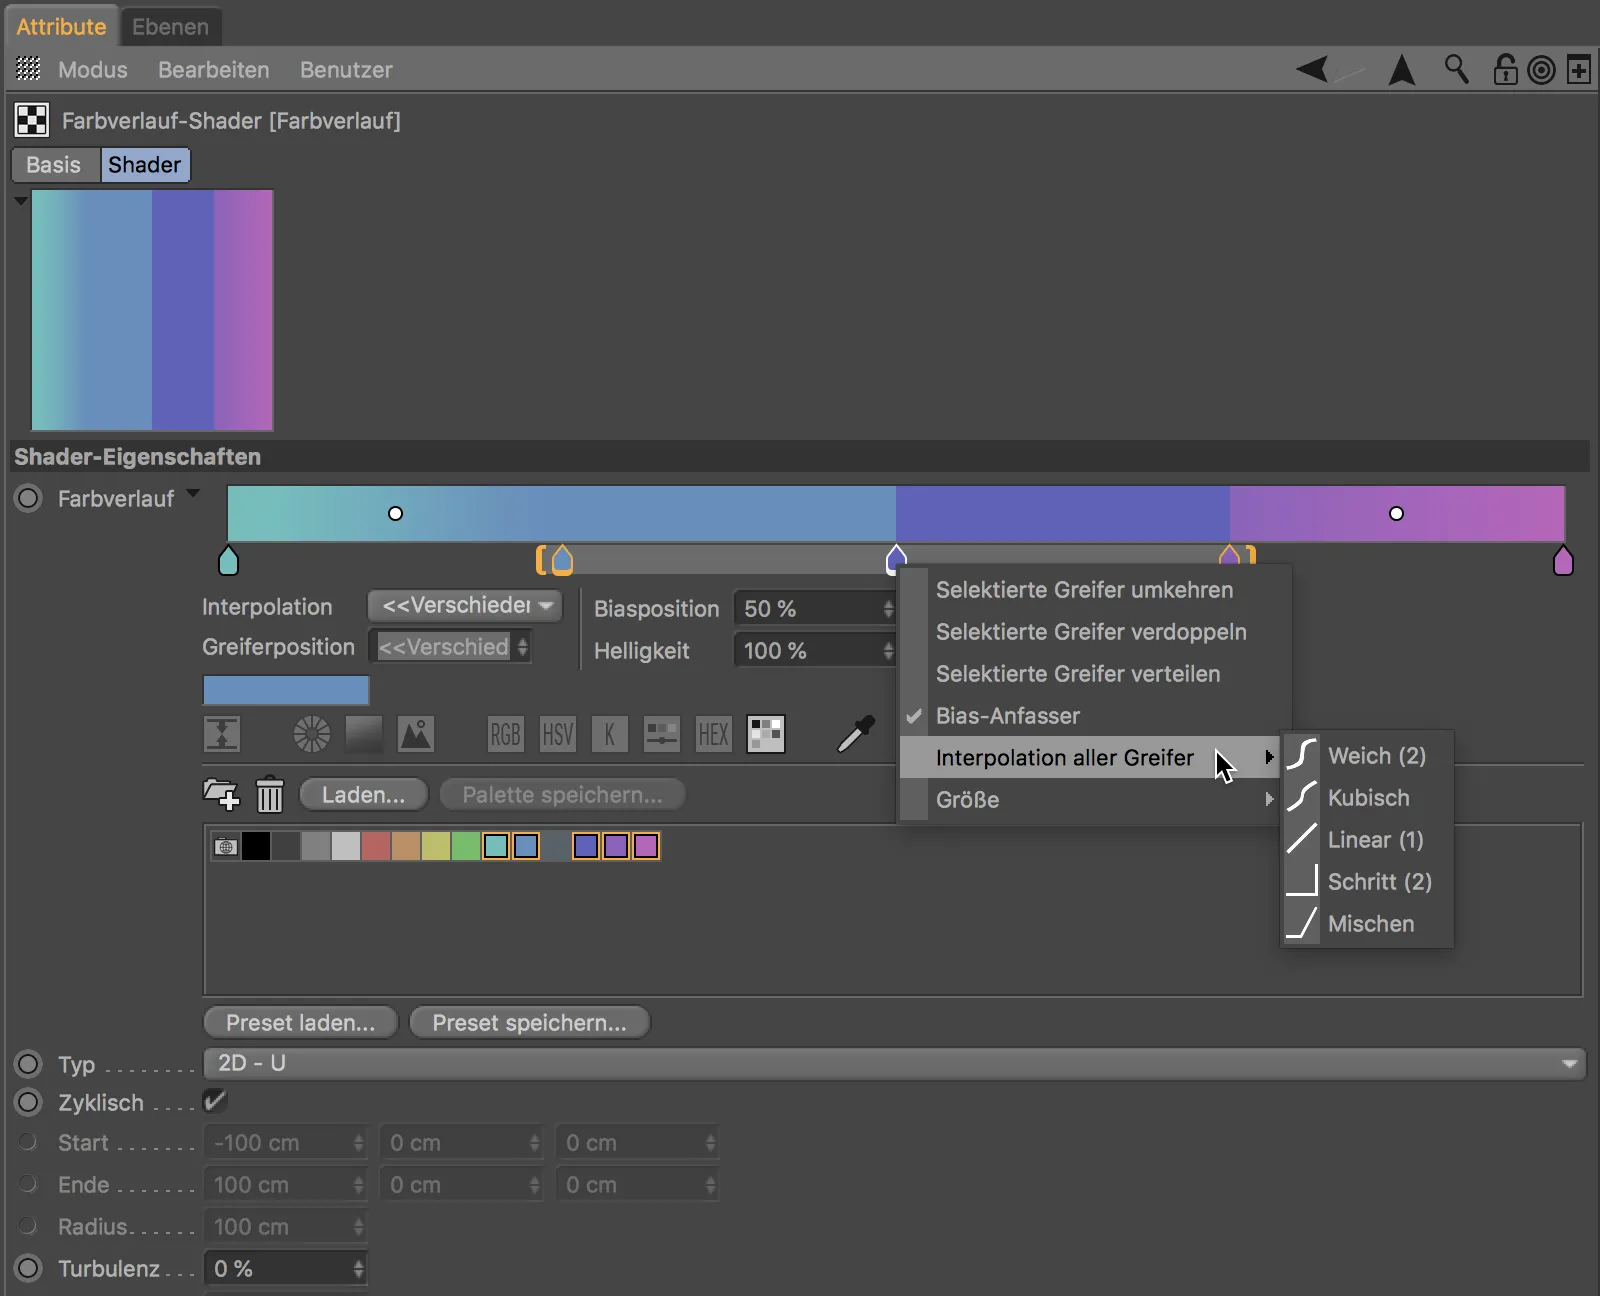
Projection display in the texture tag
If you want to edit the texture of an object in Cinema 4D Release 20 in the usual texture editing mode, you will be pleased to see the reduced display of the texture geometry.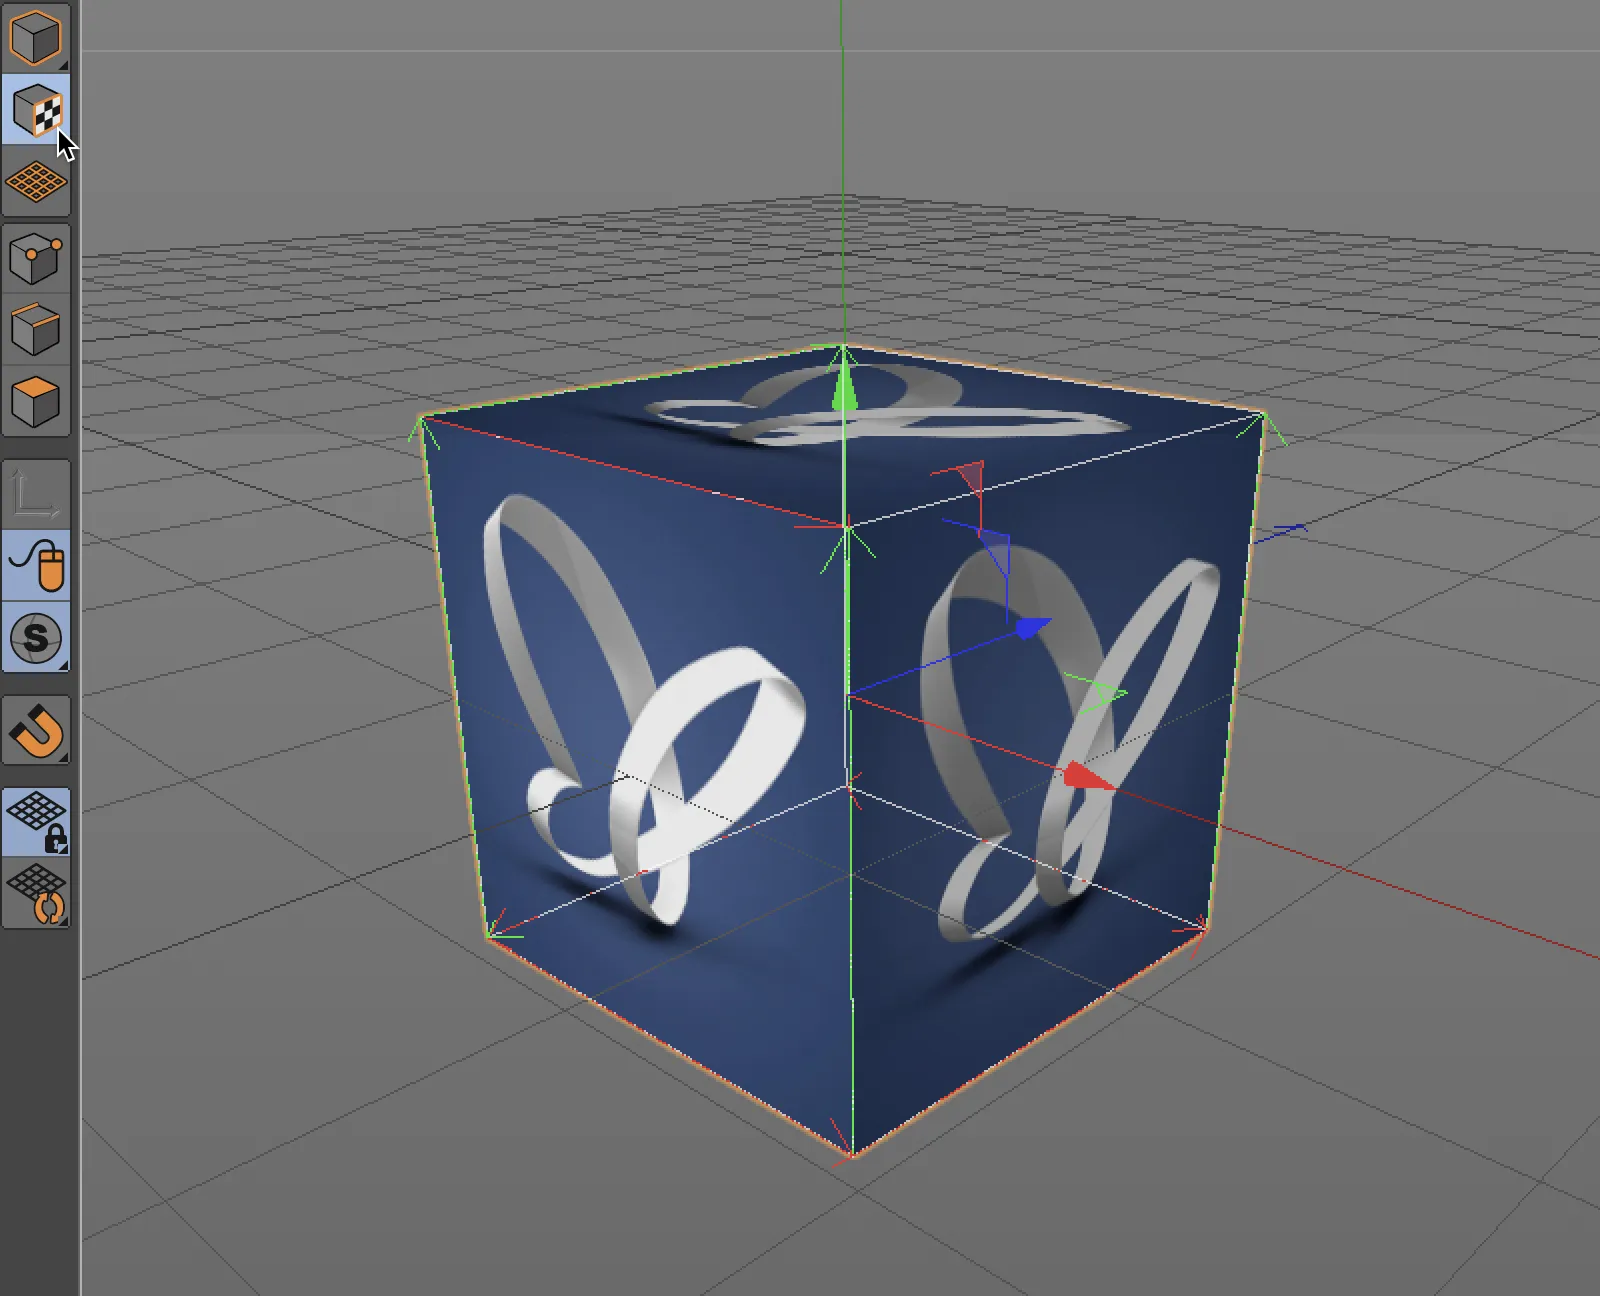
We owe this to the preset option Simple of the new projection display in the settings dialog of the texture tag.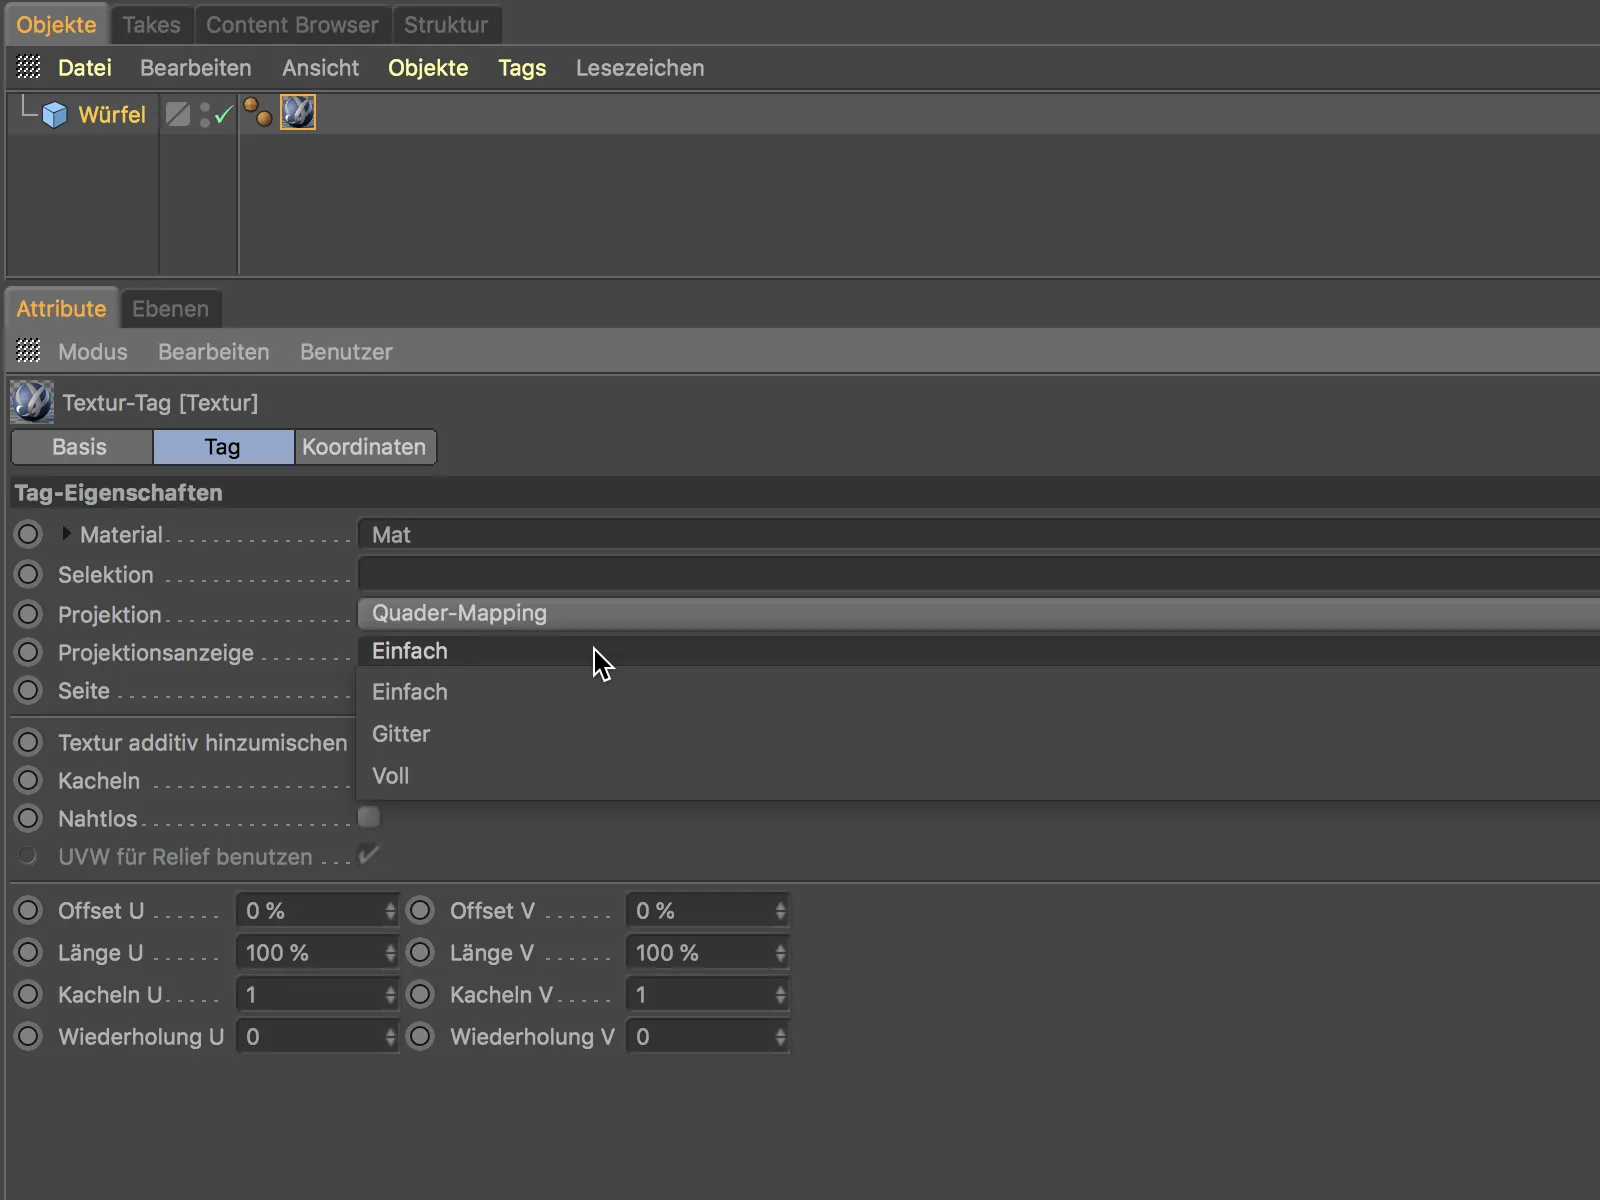
The Grid setting known from the previous versions still exists, of course, but is now rarely used due to the really poor overview.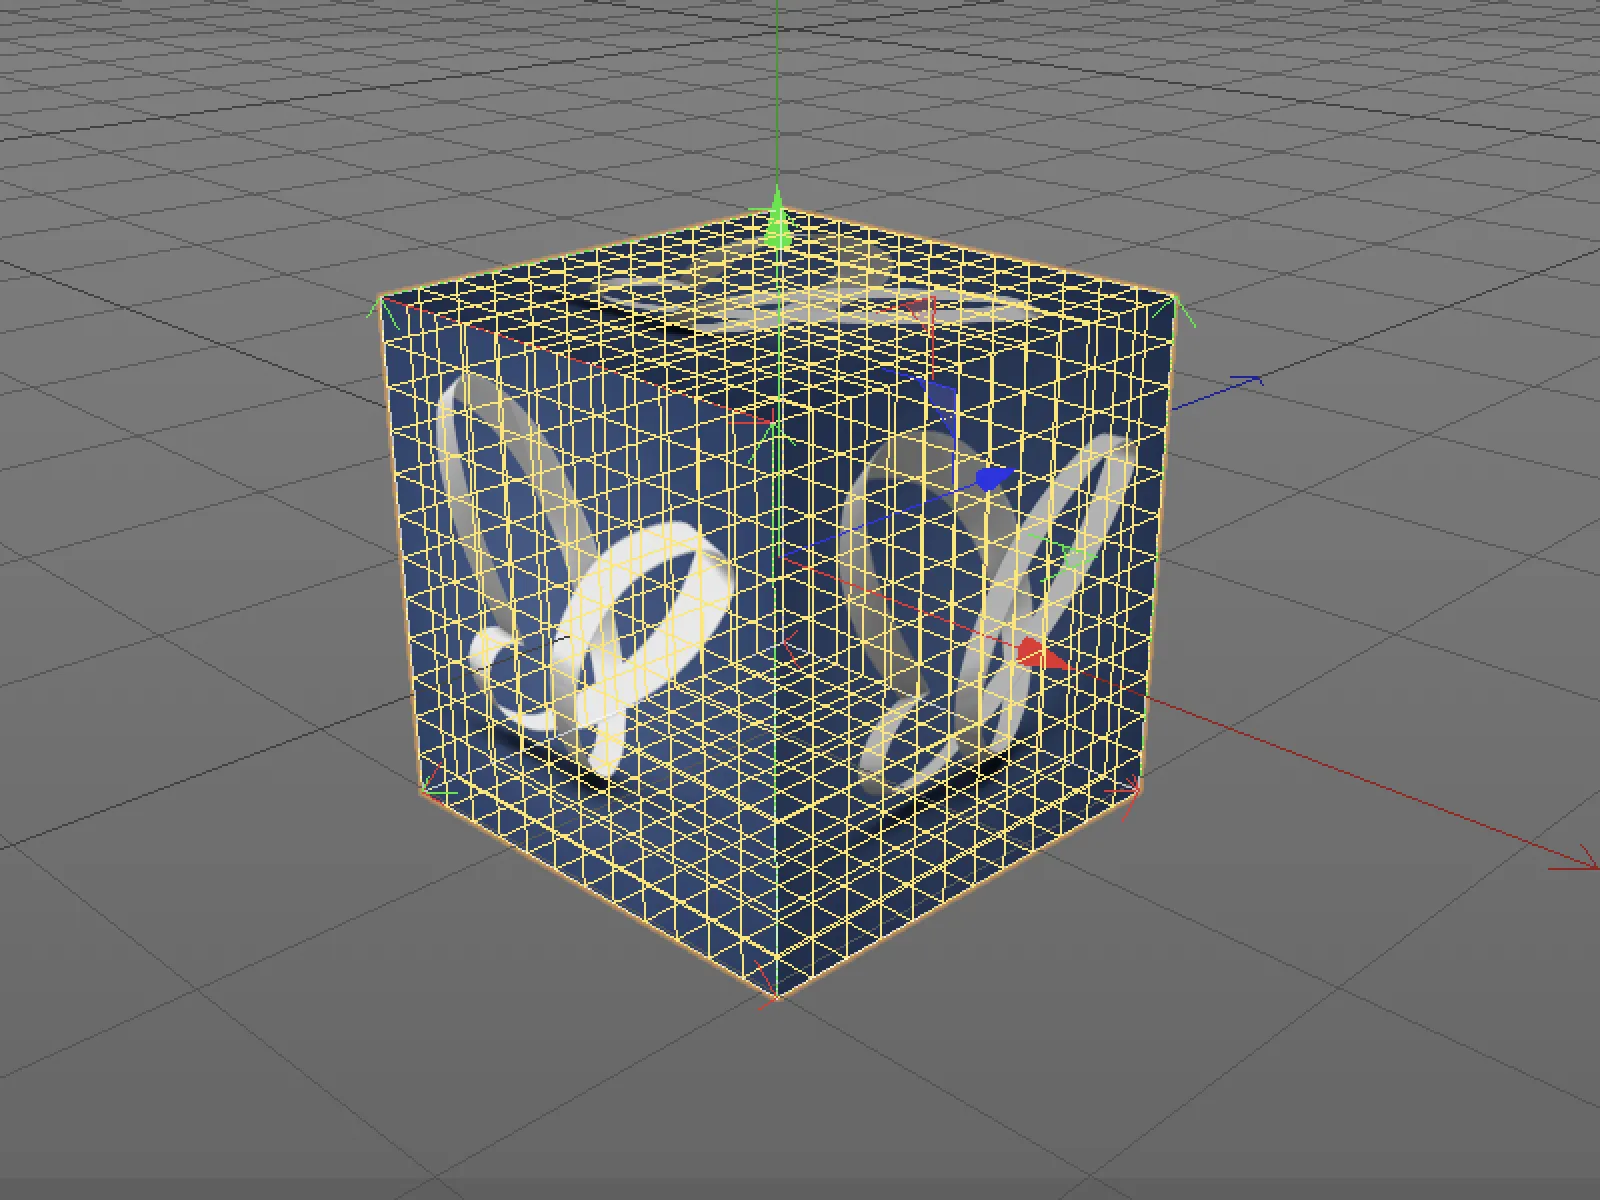
The Full setting proves to be much more practical, as it displays a numbered UV map in addition to the existing texture.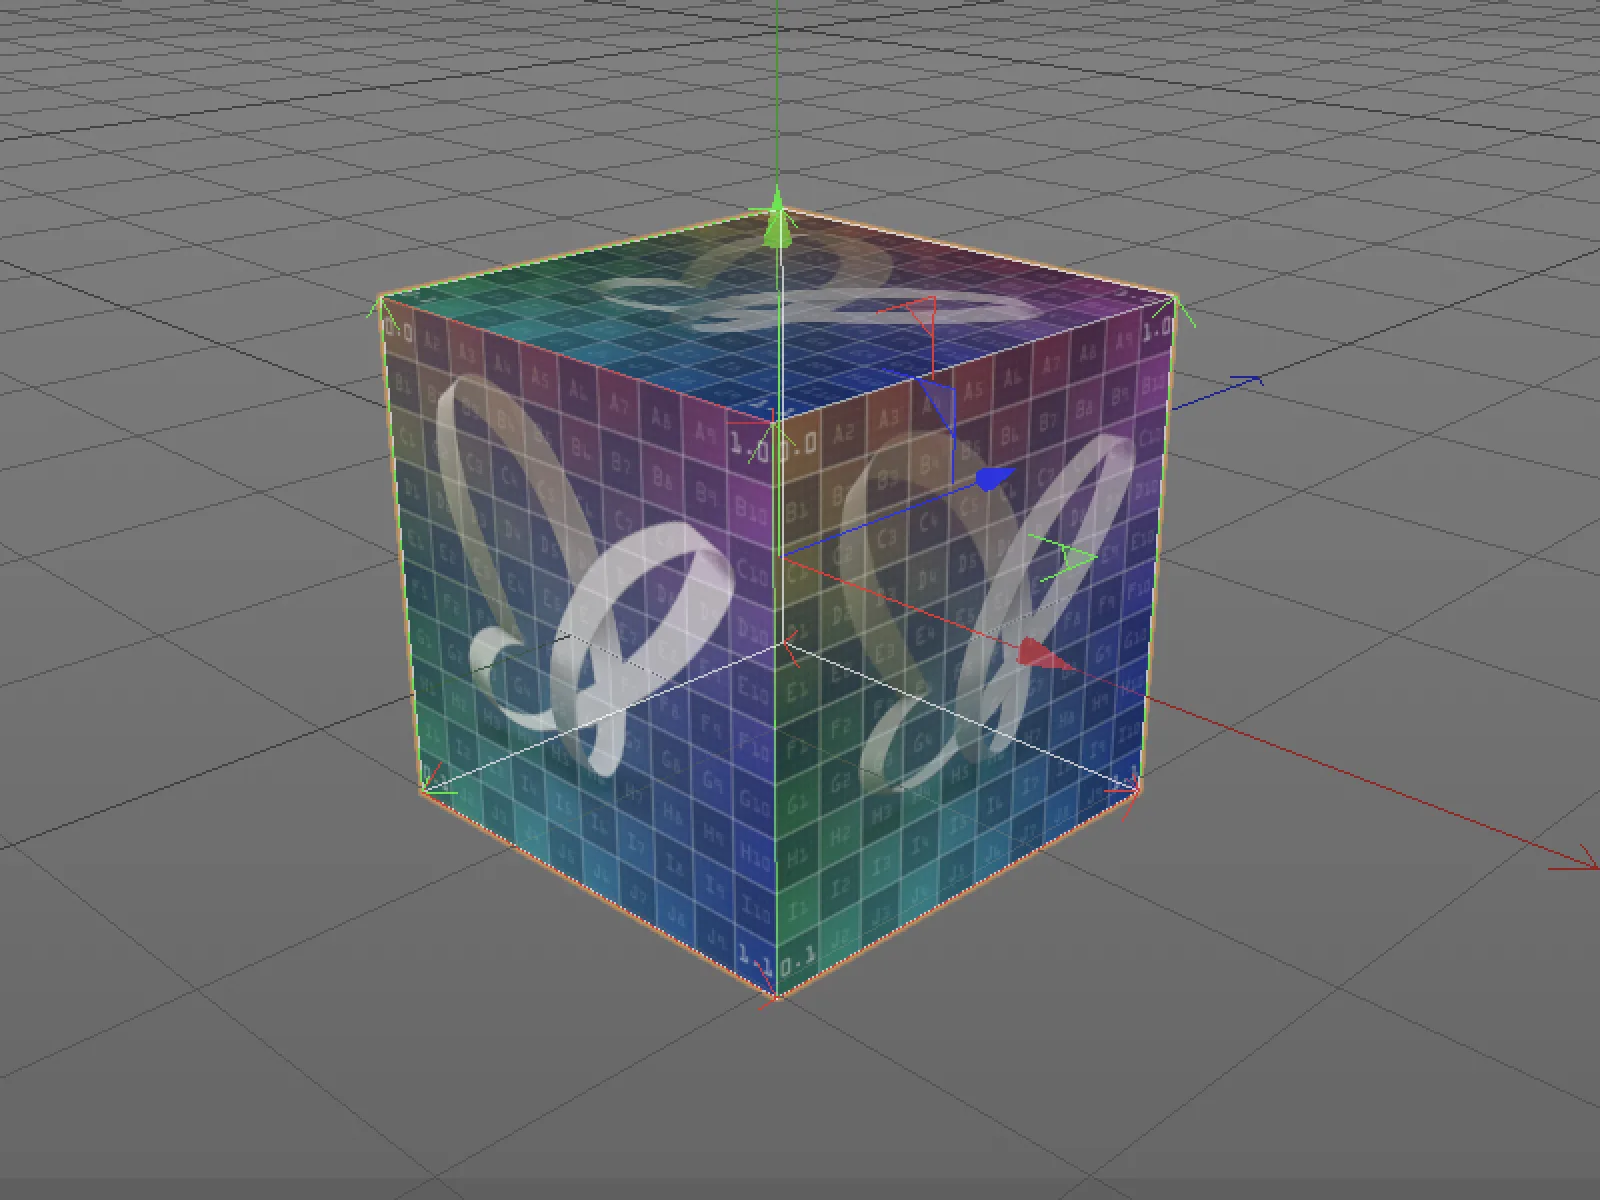
Definition of paths
In Cinema 4D Release 20, the handling of paths has also been better structured. In the program preferences under Files>Paths we find separate path lists for file paths (search directories for textures and assets) and path lists for databases (assets for the Node Editor), which we can freely define.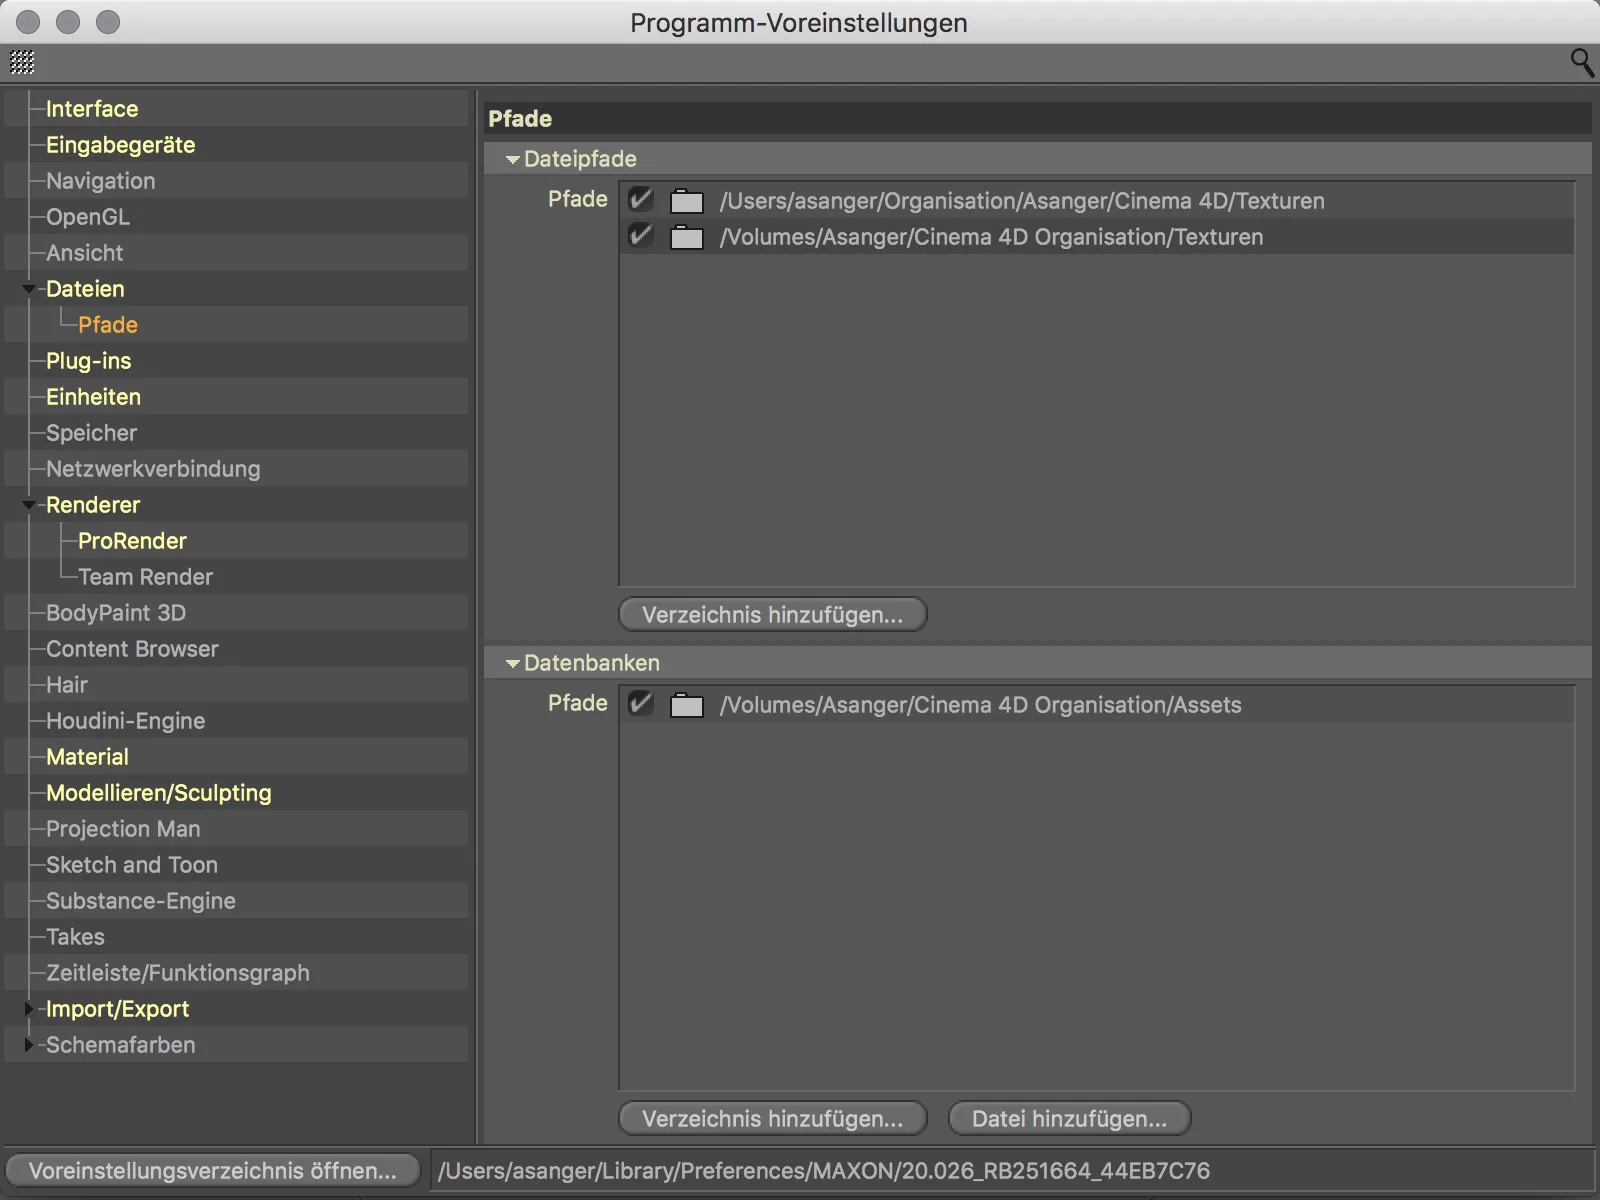
A new addition to the program settings is a separate path list for the plug-ins. As soon as the plug-ins for version 20 have been fully adapted, they no longer have to be located in the program directory.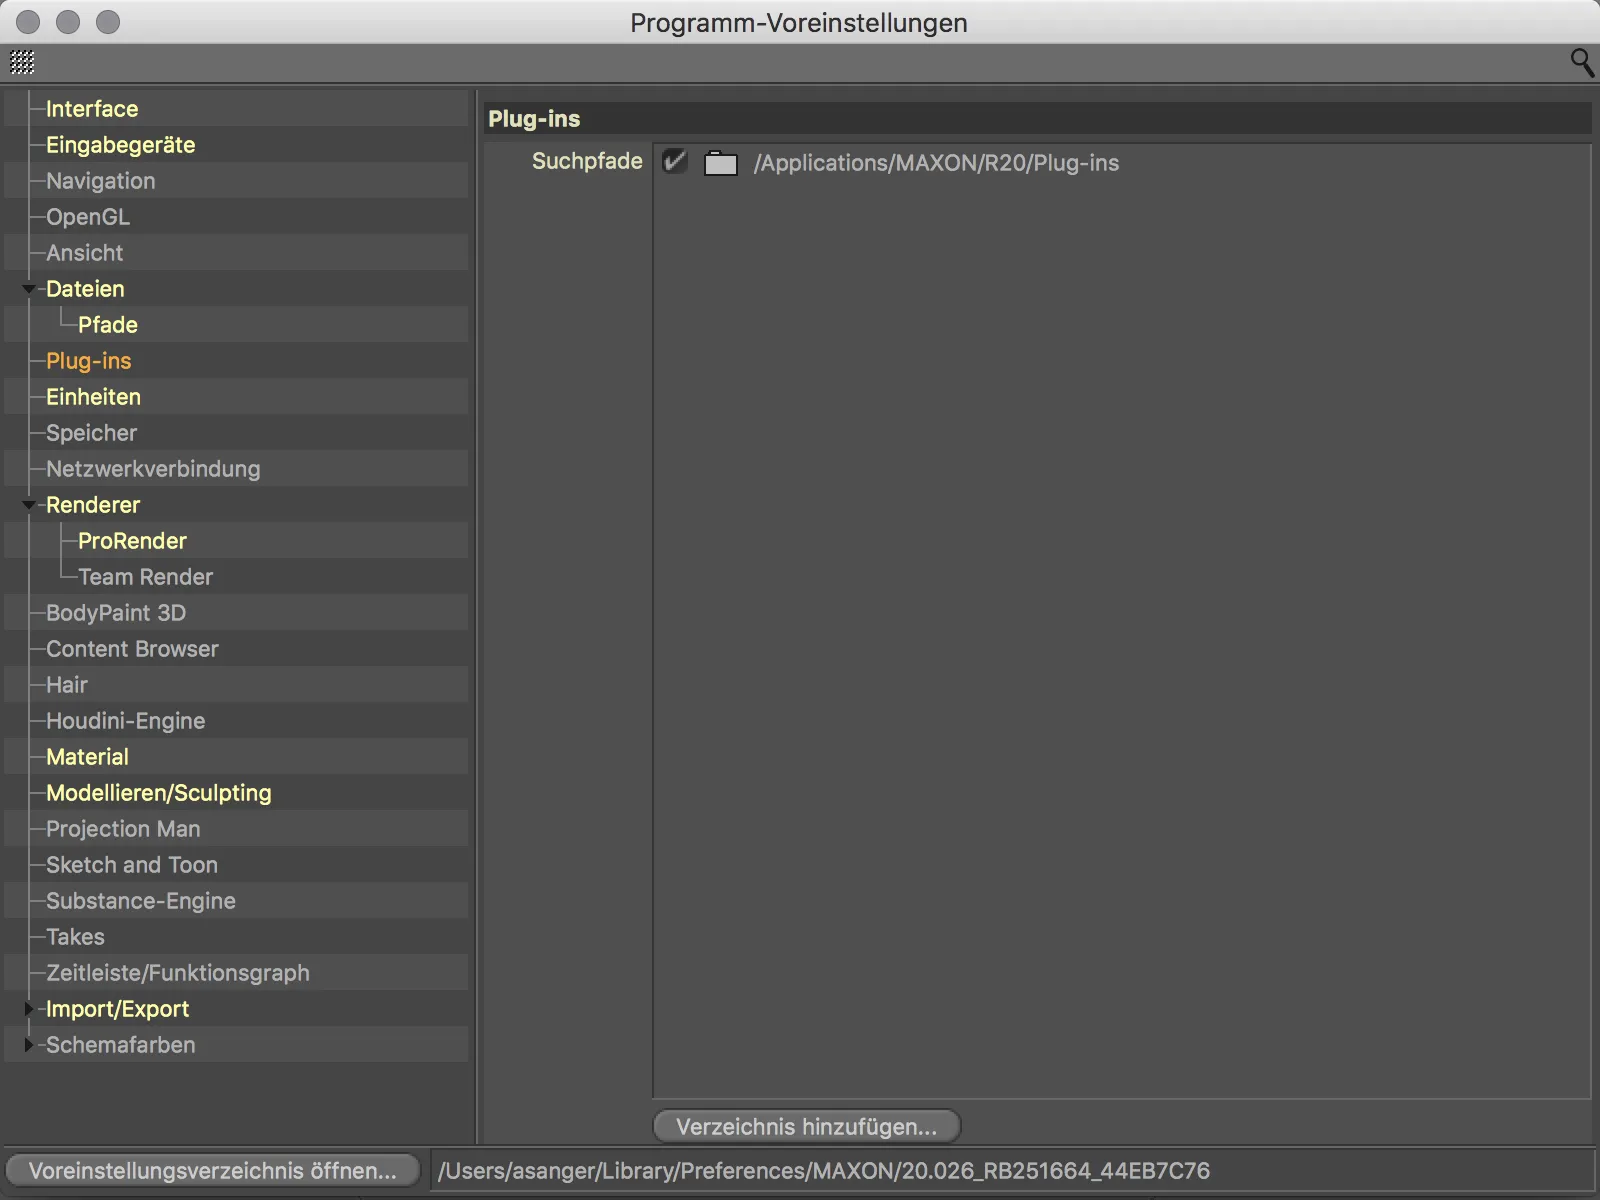
CAD import (Visualize and Studio)
Owners of the Visualize and Studio versions can look forward to the direct import of CAD data in IGES (.igs or .iges), Step (.stp, .step, .p21), JT (.jt), SolidWorks (.sldprt, so that, .slddrw) and Catia V5 (.catpart, .catproduct, .cgr) formats in Cinema 4D Release 20. Splines and instances of the source data are retained, while polygon meshes are converted with adjustable quality.
A CAD file can be loaded using either the Add... or Open... command from the File menu.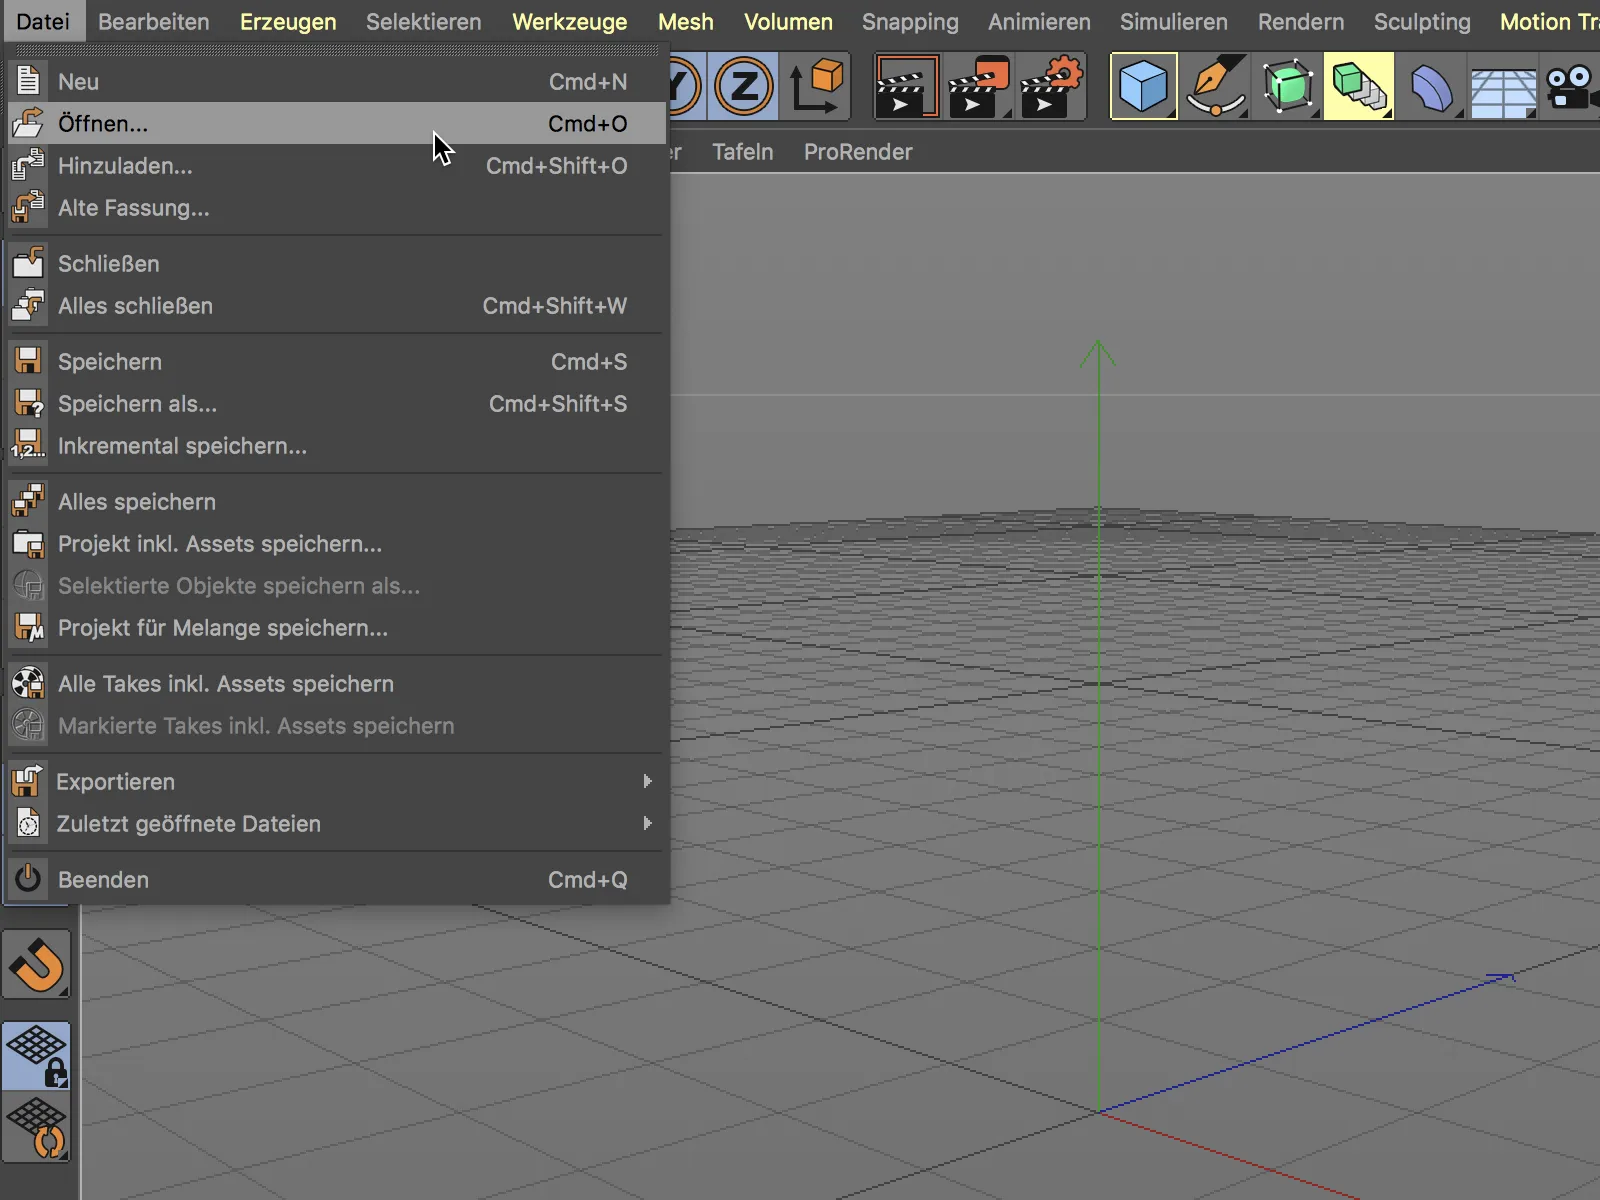
We then select the CAD file to be opened in the file selection dialog.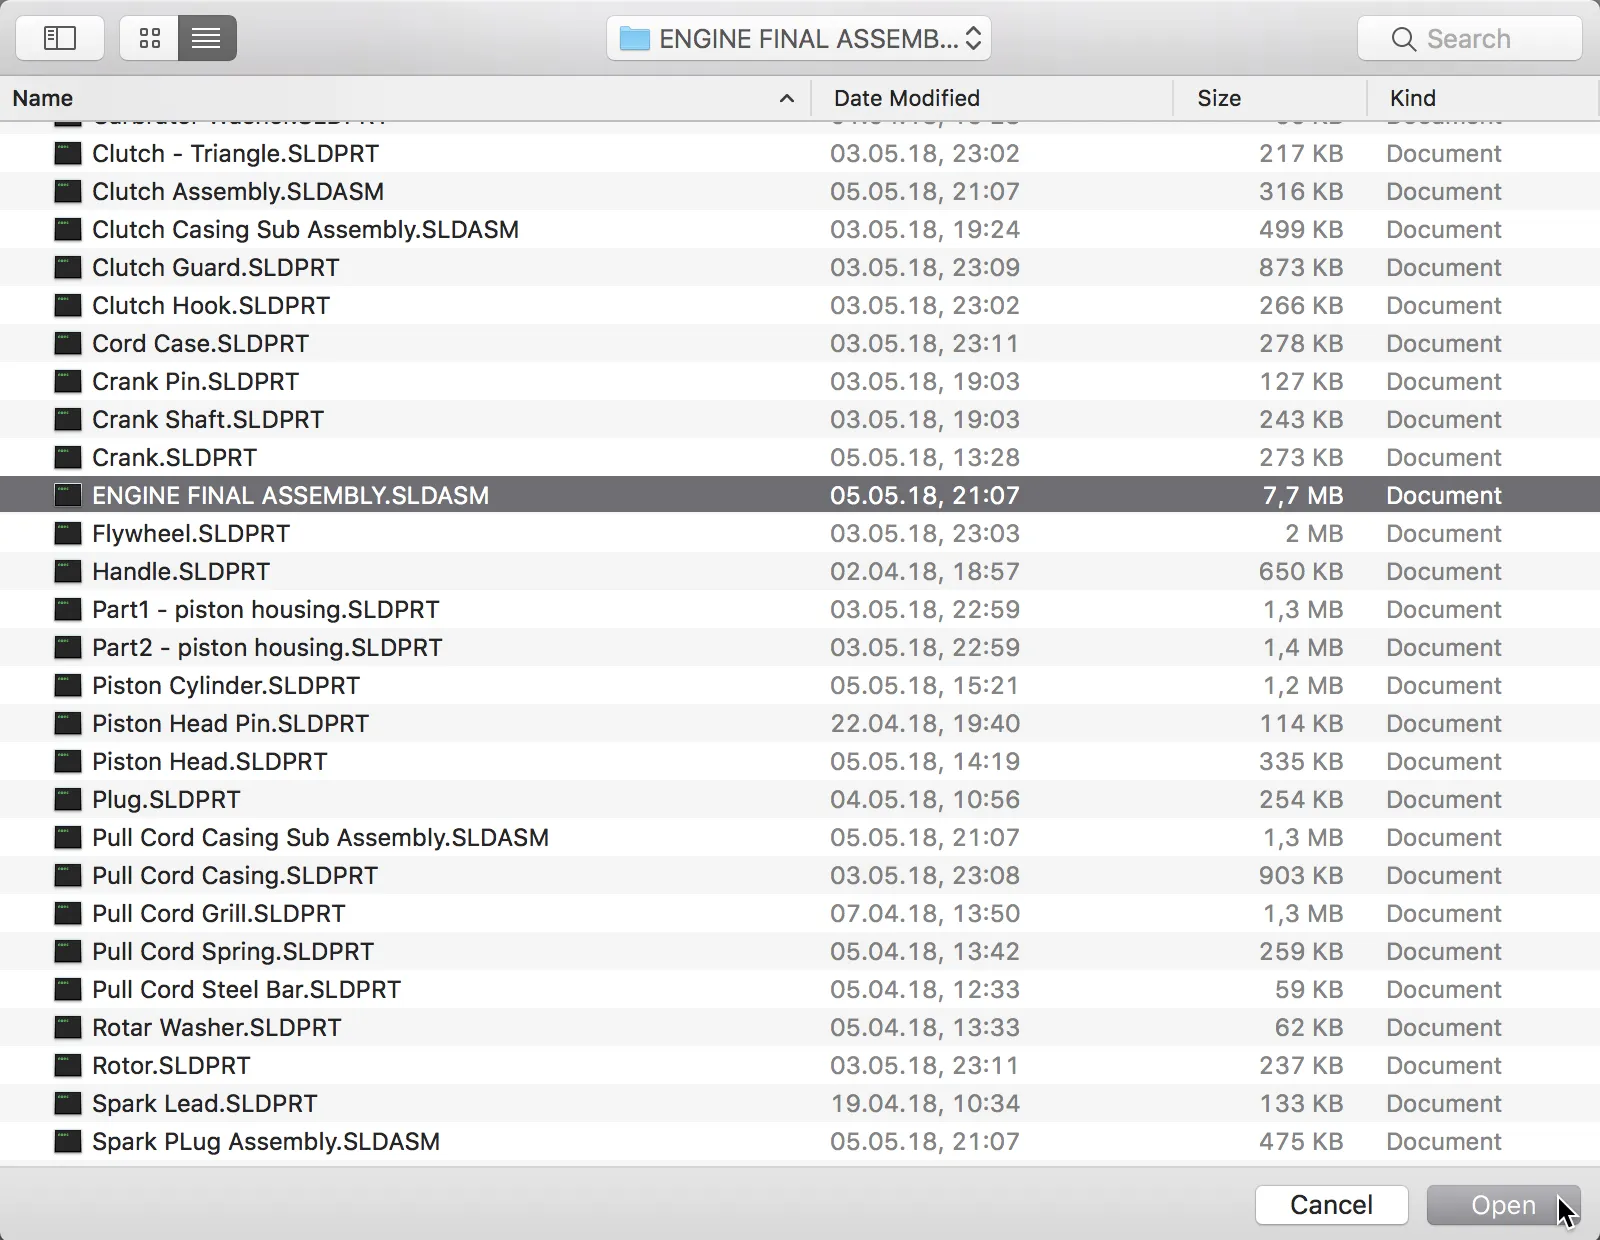
Before each import, we are shown the respective import settings for the CAD data format. Here we can determine which elements are to be imported or converted. For the first attempt, we stick with the default settings.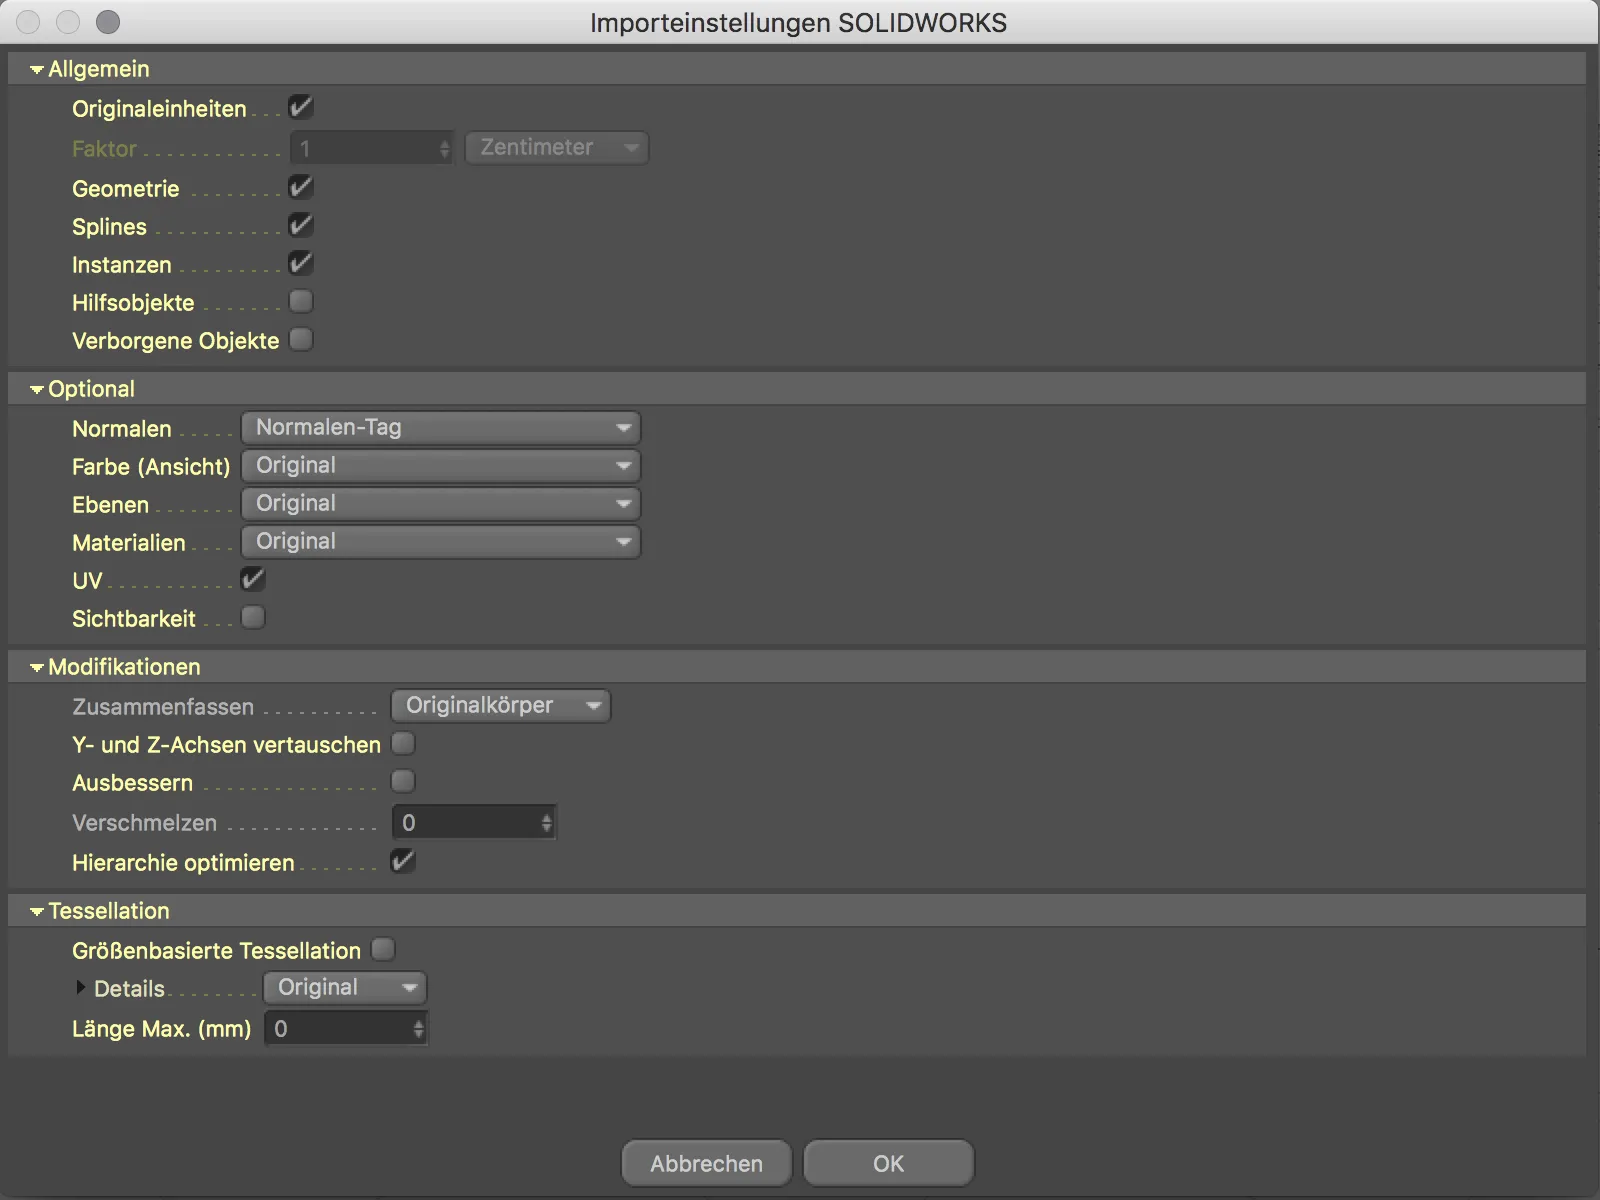
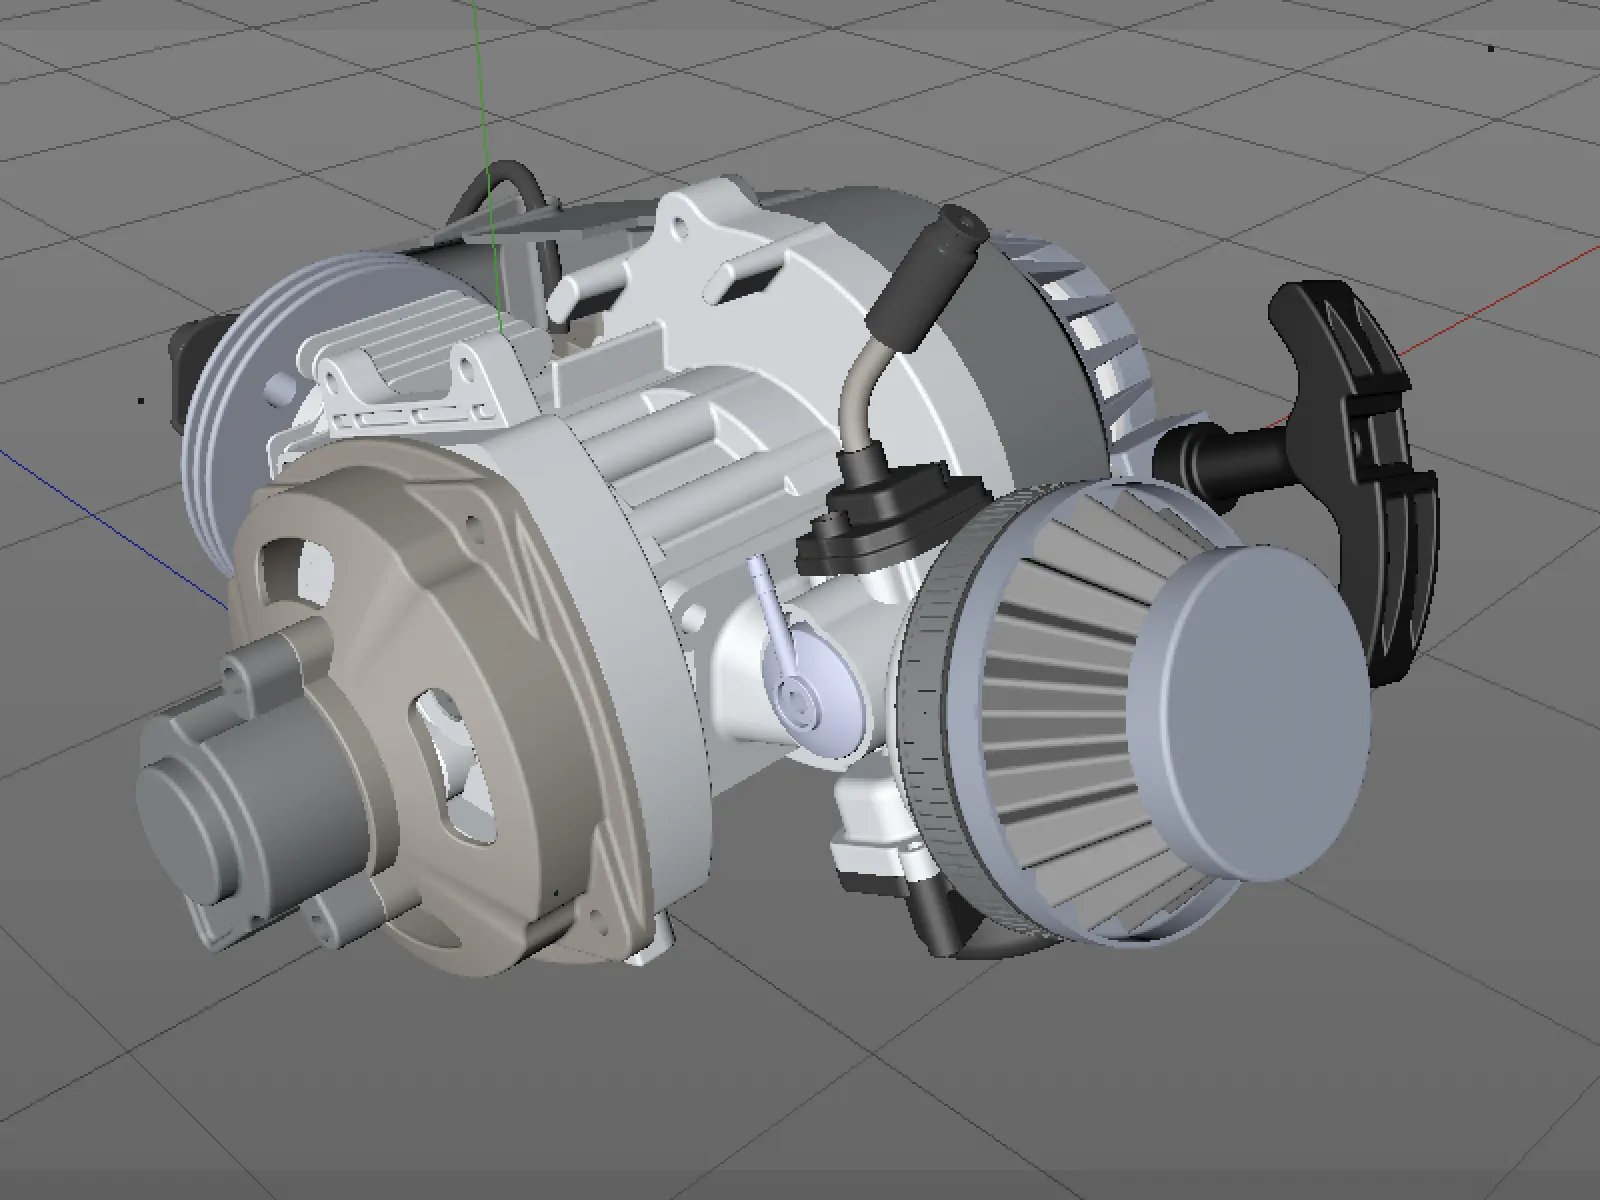
And this first attempt doesn't look bad at all. The imported 2-stroke engine is misaligned, but this can be fixed quickly.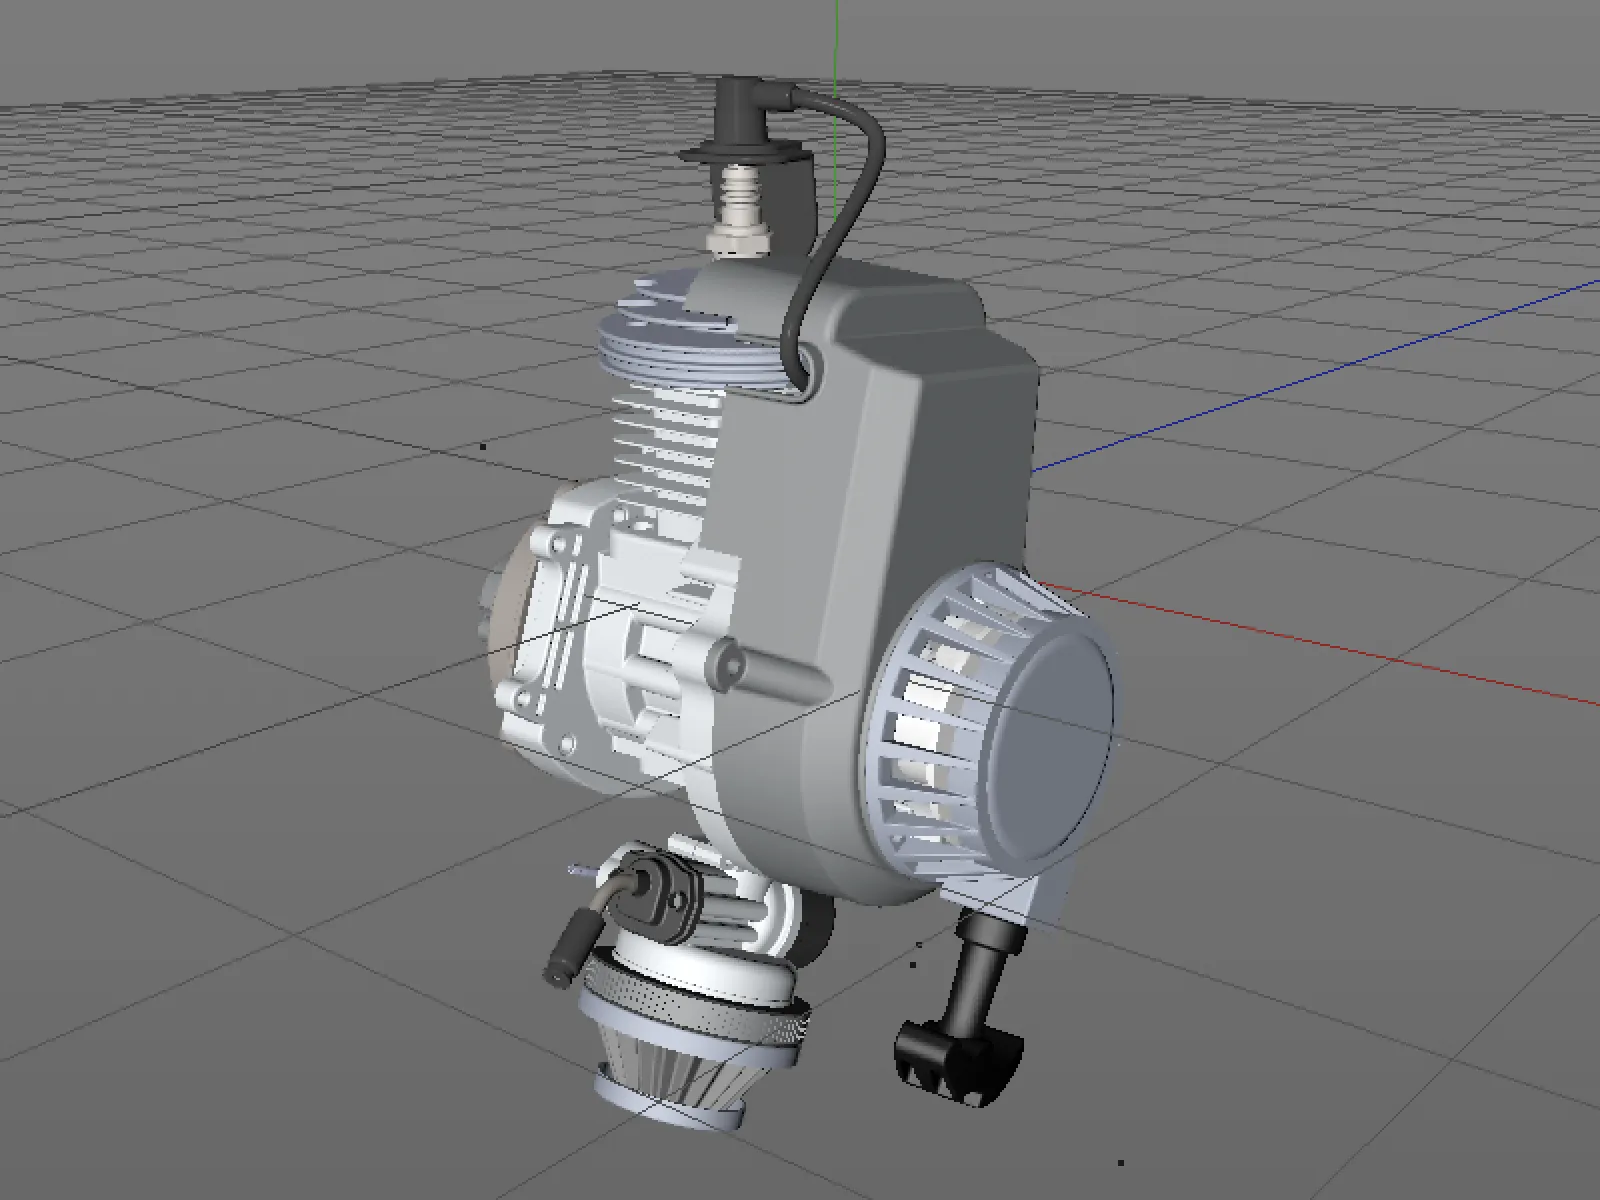
A look at the Object Manageralso shows that the imported individual objects have not simply been transferred in an unsorted manner. Existing assemblies have been retained and an instance can also be discovered.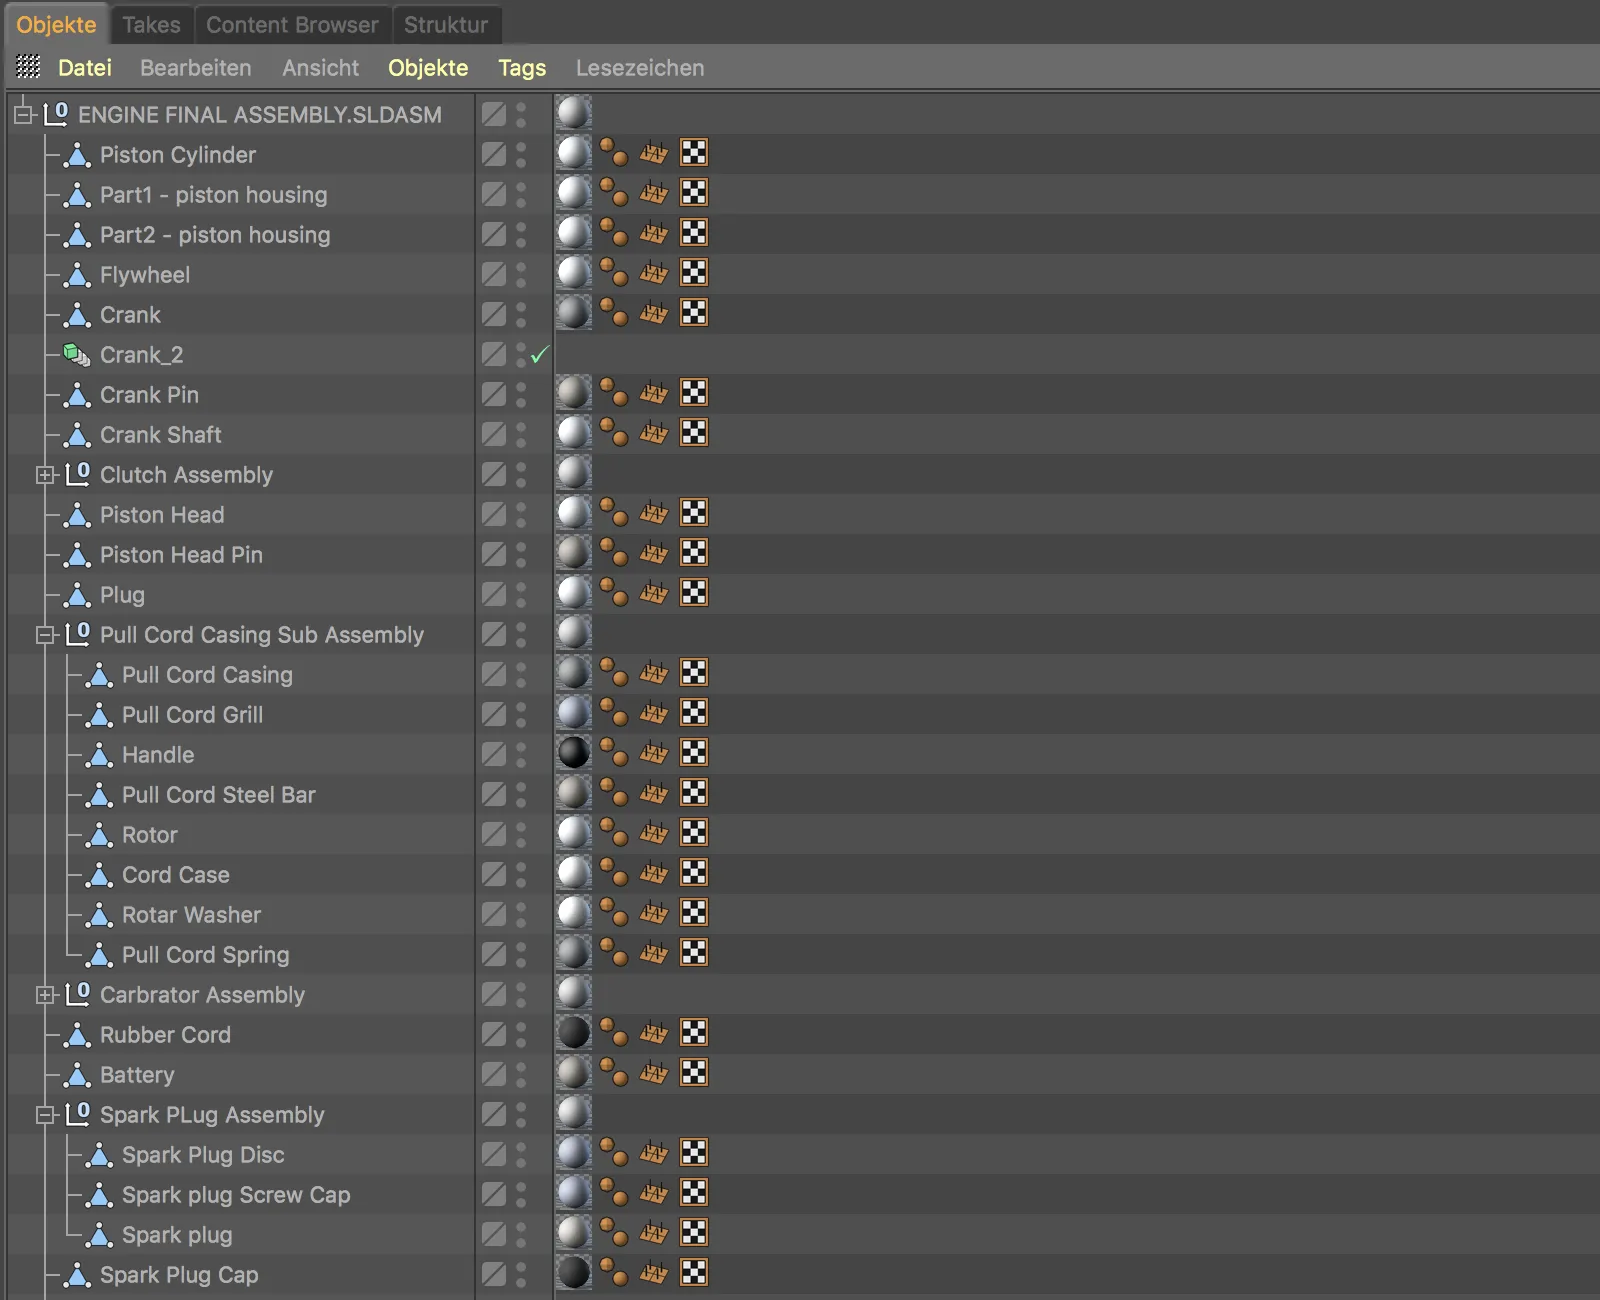
If we zoom in a little closer to the objects in the editor view, we immediately recognize the somewhat poor subdivision at the curves. So there is still room for improvement here too.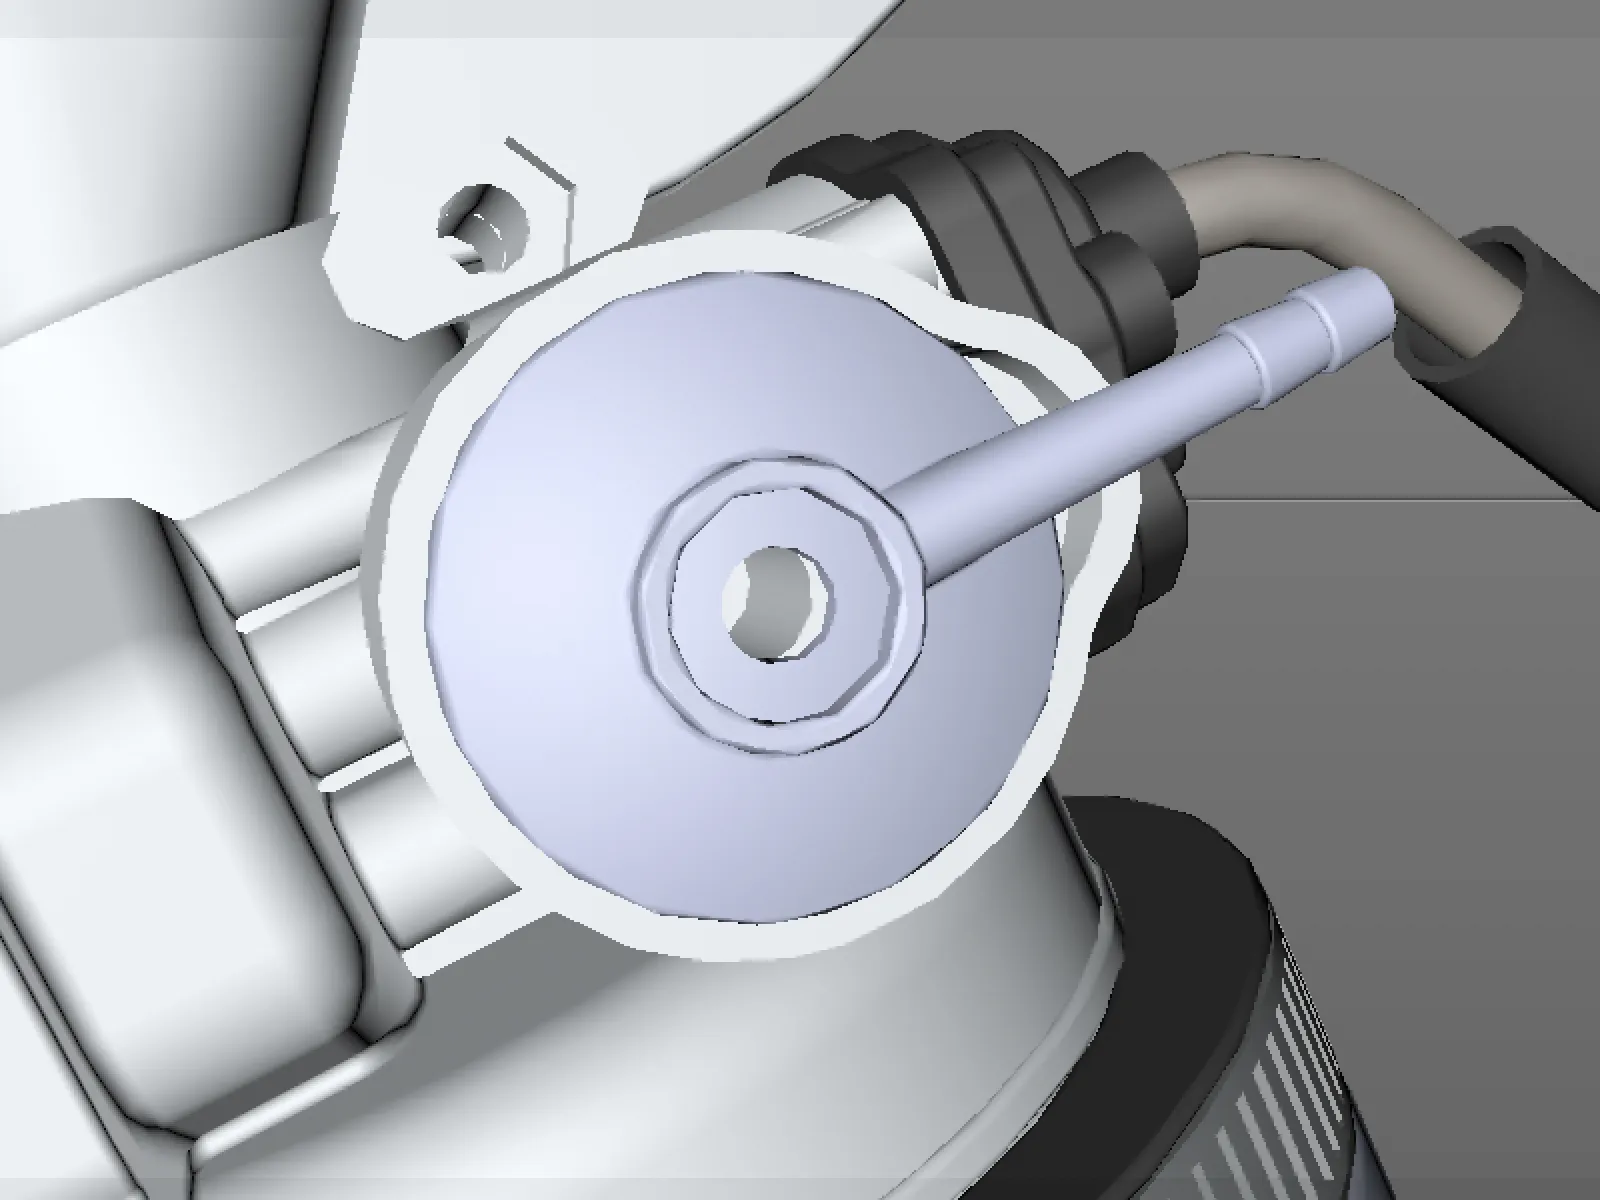
We try again and set the details to High in the Tessellation section of the import settings. This should fix the very angular curves. We can also take this opportunity to activate the Swap Y and Z axes option in the Modifications section to correct the incorrect alignment.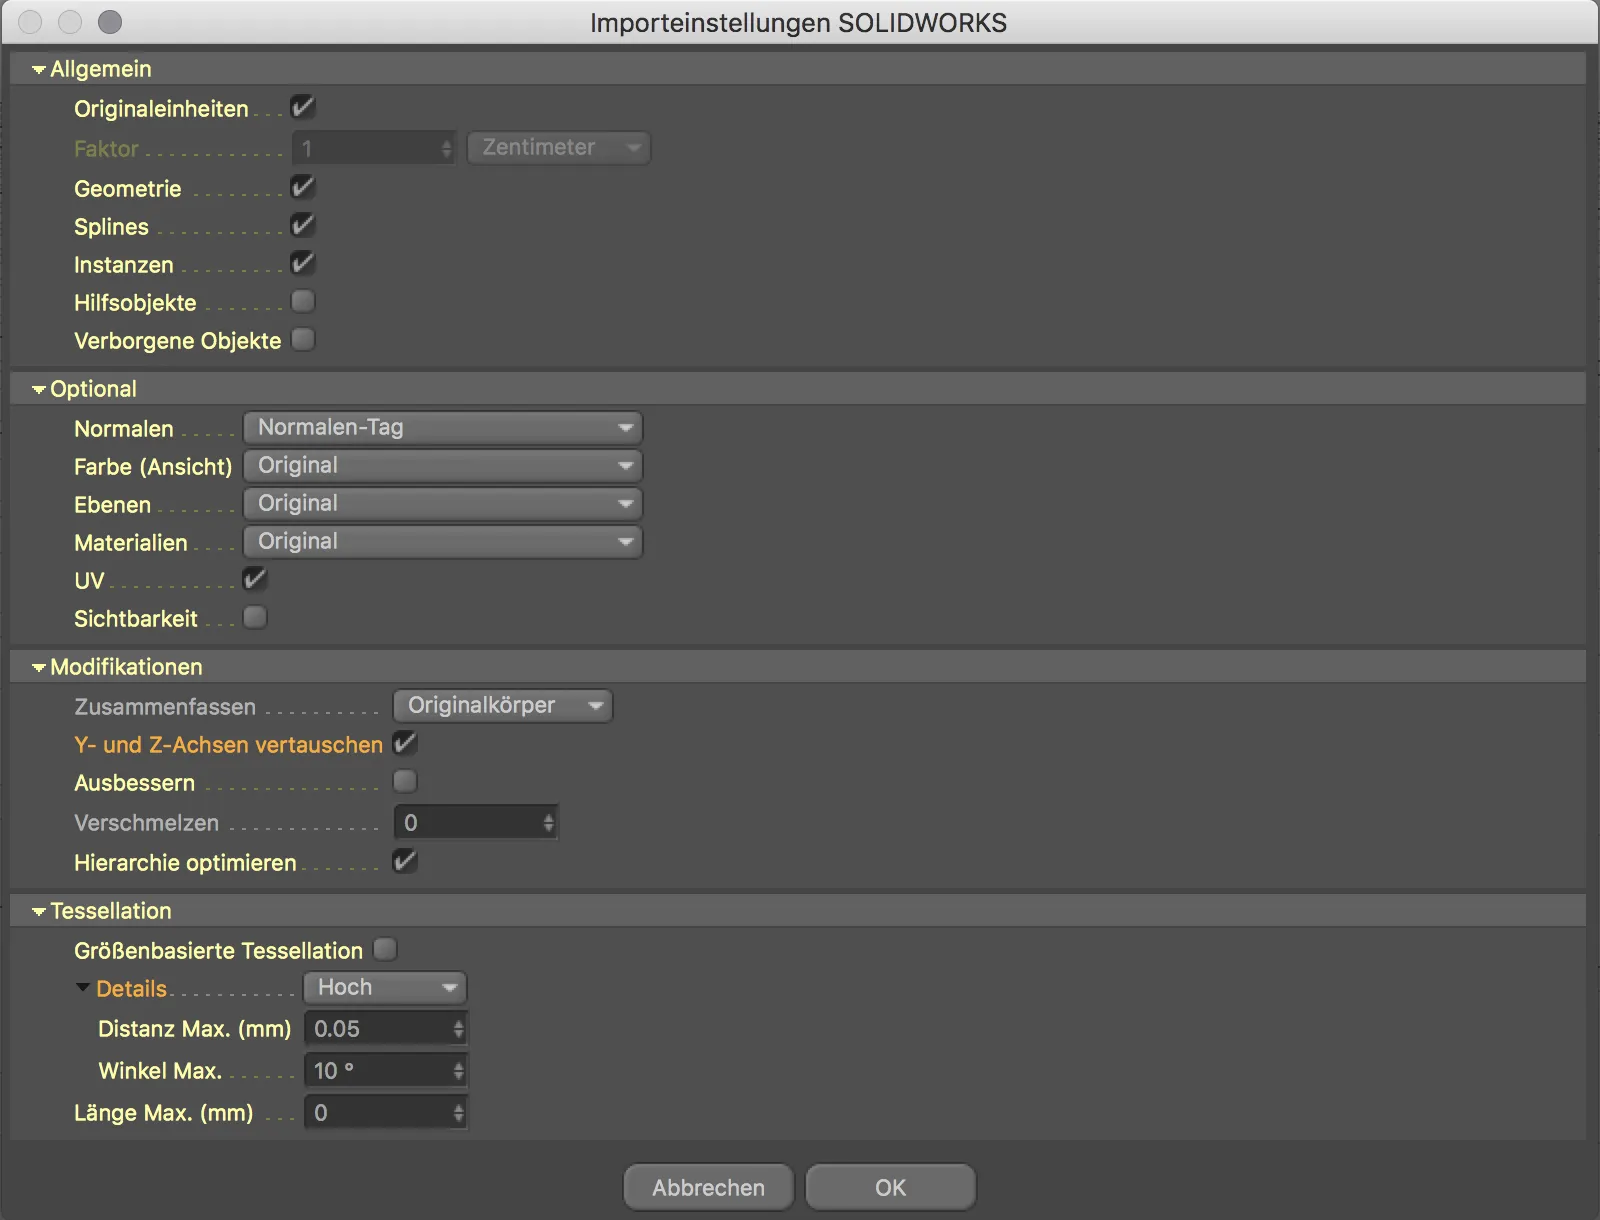
The curves now look much better thanks to the higher tessellation.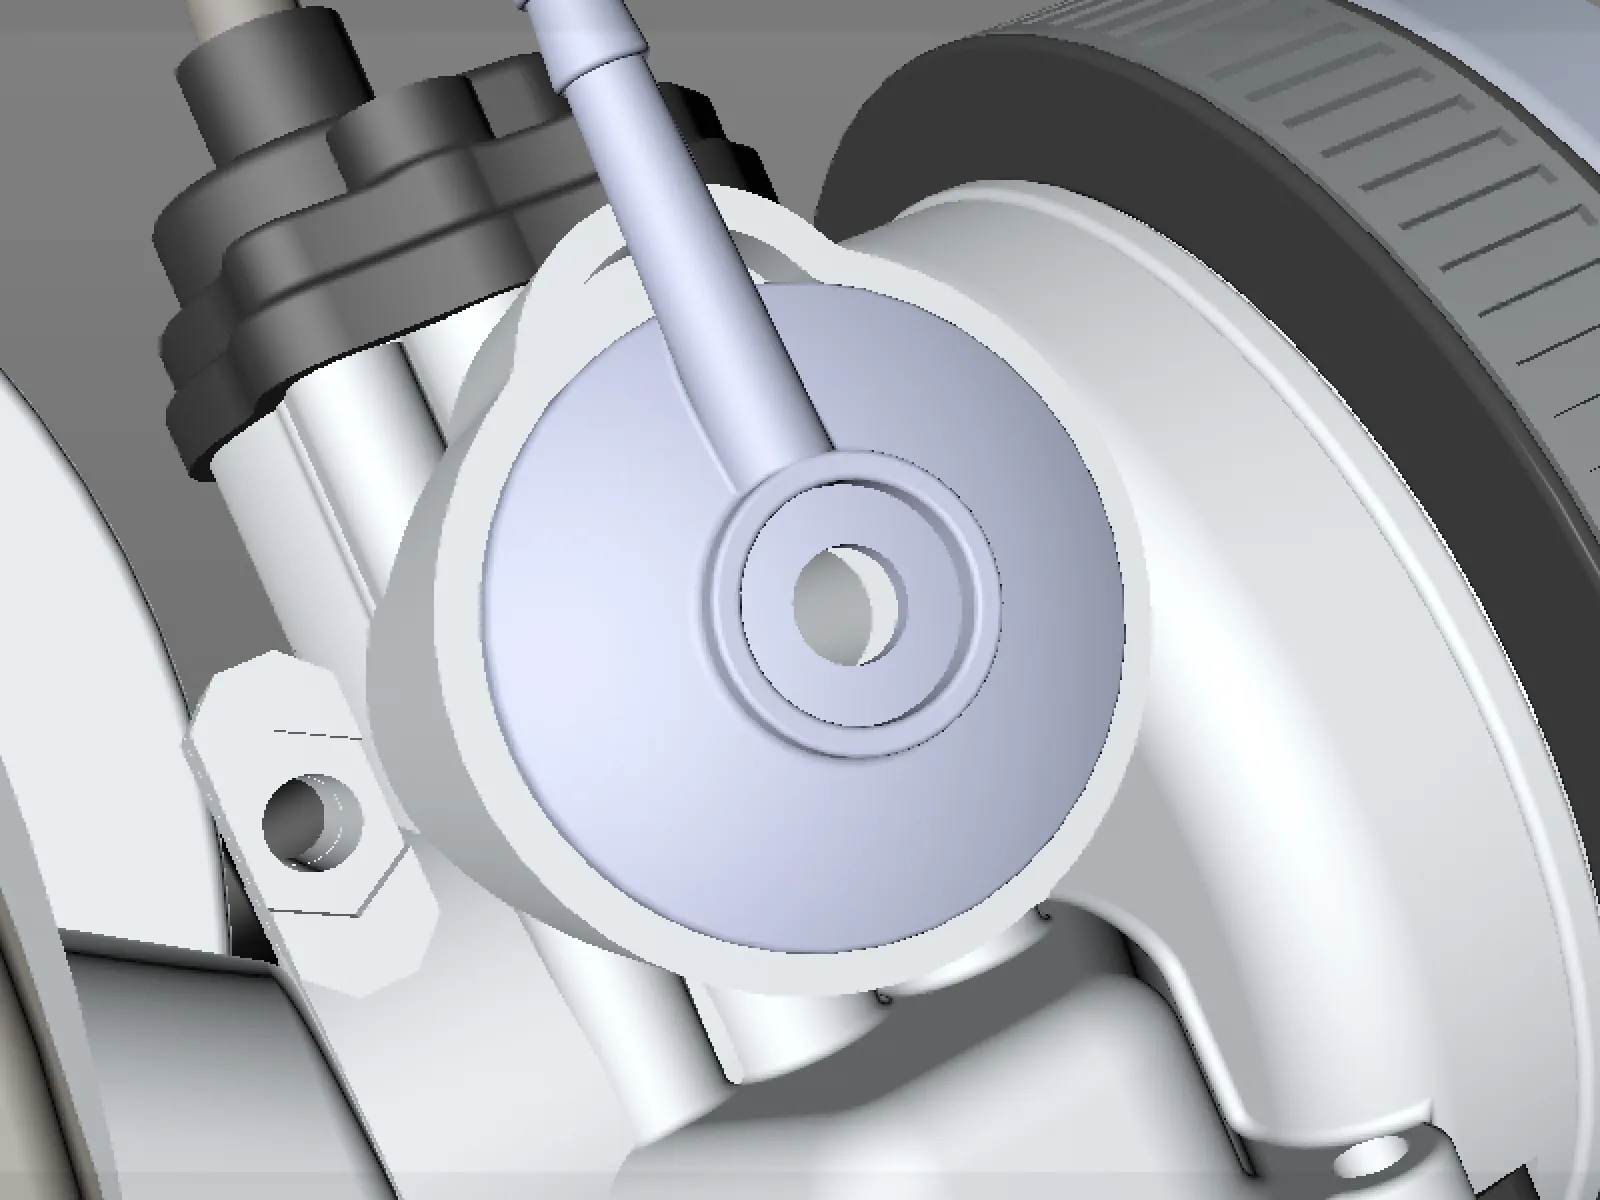
The alignment of the imported CAD object is now also correct. In fact, data transfer from CAD programs has never worked as well as it does in Cinema 4D Release 20.