Part 01 - Introduction: Animal motif - beastly good!
Part 02 - The right equipment
Part 03 - The main problems: light & sharpness
Part 04 - It's all about the detail!
Part 05 - Shooting preparations and planning
Part 06 - Dog photography
Part 07 - Cat photography
Part 08 - Horse photography
Part 09 - Small animal photography
Part 10 - Indoor shoots - studio photography
Part 11 - Outdoor shootings
Part 12 - Image editing
Part 13 - Various general tips
Part 14 - Reptile photography
The penultimate part of the series will summarize all the useful tips in animal photography and will hopefully be a great support on your way to becoming a professional animal photographer!
- Introduction
- The animal photographer
- Always at eye level
- Sharpness, sharpness, sharpness
- The right light
- Gathering practice
- Mastering tasks
- Be creative
- Image control
- Love and feel the subject
- Equipment
- software
- Books
1. introduction
It has taken a long time, but it seems that I have now written all the parts of this series and I am ending it with this last part. A lot has happened since I started this series two years ago! I'm no longer practicing wildlife photography as a hobby photographer, but have expanded my photography areas and started my own photography studio at the beginning of last year. Photography is my life and I am completely absorbed in my job.
A lot has also changed in terms of equipment and experience, so from today's perspective I would certainly write a few things differently if I were to start the series all over again. It probably won't be any different in another two years. But also in view of the fact that a lot has changed, I will summarize a few points where changes have occurred and which should show you what the daily work of an animal photographer looks like.
2. the animal photographer
If you want to pursue a career as an animal photographer, patience is certainly one of your greatest virtues. Because without patience and, above all, a great deal of love and fascination for our four-legged inhabitants of the earth, you won't achieve much. Even if you only occasionally photograph your own dog or your neighbor's, you will certainly have made a lot of progress with this tutorial series - at least I hope so. Here are the most important tips for you!
3. always at eye level
Most people who photograph animals for the first time or even only rarely make a classic mistake ... they photograph the model from above. If you want to take beautiful photos of your four-legged friend or a cat lying in wait in the grass: Get down to eye level! That's the ultimate!
Even if that means you have to stand on a step for a large horse because you yourself are very small. So it's quite simple. You photograph a horse standing up, a running dog crouching down and a sleeping cat lying on the floor, of course. Then you'll have your exercise class right behind you and you'll know why your clothes are going into the laundry in the evening.
Here our model Francis shows you a bit of gymnastics! Very nice ...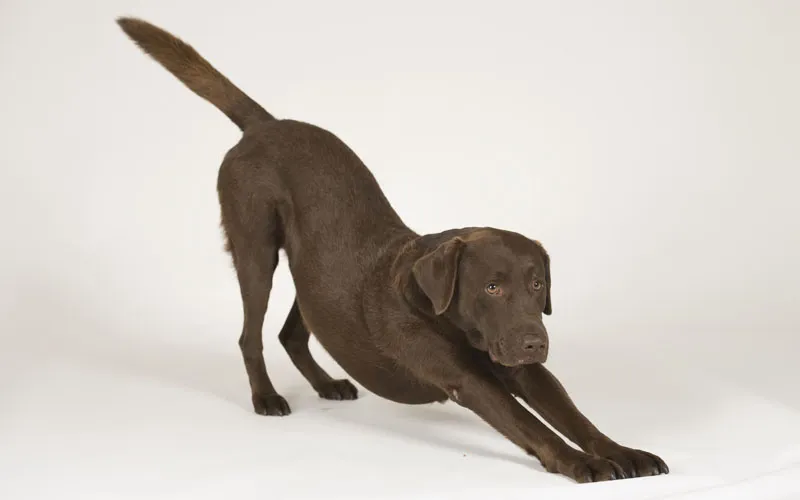
When I'm shooting outdoors all day and have to deal with different people and their pets every hour, I often say: "You can testify later that I arrived here with clean clothes!" Because in the evening I'm usually dirty and covered in breadcrumbs like a piglet. Especially in the sand or damp grass, my clothes quickly get soiled.
But taking photos at eye level is the most important thing of all. The same applies if you are working in a studio. A large dog that is sitting or standing is photographed by me sitting on the ground. If he is lying down, I lie flat on his stomach. Sometimes I am even a little lower with the lens than his eye line.
4. sharpness, sharpness, sharpness
Many photos, especially motion shots, fail because the camera settings are not sharp enough. It doesn't matter whether you choose the wrong exposure times or the focus point is on the tip of the tail instead of the eyes ... If you have the focus under control, then you are always on the safe side and half the battle is won. Of course, this also applies to people photography.
You should therefore familiarize yourself with using the focus in your camera at a very early stage and use it! Many people focus once in the middle of their pictures or leave the work to the camera. NO! With a little practice, adjusting and aligning is child's play and from now on you decide what is in focus and what is not. Because a blurred picture goes straight into the wastepaper basket. At least that's your goal.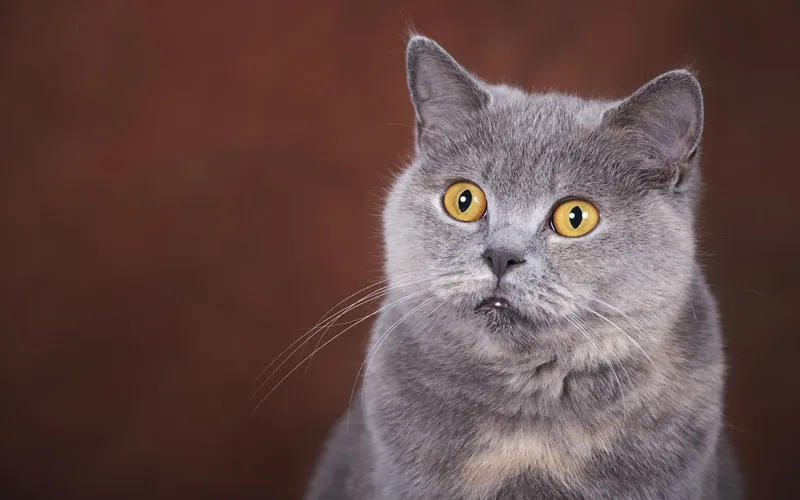
5. the right light
Choosing the right location and handling the light are also important elements in low-light photography. You need to bring your model to life. Make sure you find a suitable background or build a suitable set in the studio. The character of the animal must be shown to its best advantage. Whether indoors or outdoors. The light is important. It brings your picture to life ... Bring light into the eyes of your animal ... Then your model will also come alive in the pictures. The eyes must shine and glow.
That's why you should never take photos at midday in summer. If the sun is too high, the light is always unfavorable because the eyes are then half in the shade. Therefore, always ensure that your models are well lit. Especially where the eyes are concerned.
6. collect practice
Now comes the next important tip, which actually applies in all areas of photography or even in all areas of life: Practice makes perfect. You shouldn't expect to achieve outstanding results on your first shoot with a furry friend.
First concentrate on working with your SLR, the right camera settings for one area, e.g. pure portrait photography, and then gradually feel your way around the manual mode of your camera, working in RAW format and photographing dogs and horses in motion, even in poor weather conditions, and also learn to approach the limits of what is technically possible. Of course, this is highly dependent on your equipment. Nevertheless, you can always achieve more ... Don't be too critical of your pictures and always seek constructive advice from other photographers.
However, it's best to ask photographers who also do a lot of wildlife photography. They are simply two different worlds and I think many a professional photographer would have despaired of my animal models. It doesn't matter whether a powerful jump has left a meter-long crack on the photo cardboard or the cat fixates on something on the opposite side of the room for minutes, folding its ears back to look as unphotogenic as possible.
If we had a video documentary in our studio showing how we humans often make a fool of ourselves, making funny noises, jumping around or waving our arms excitedly ... We would certainly be number one on YouTube.
Don't let it get you down. Practice and practice and, above all, don't let anyone tell you that your pictures are bad! Don't be too hard on yourself and praise yourself for good work from time to time. Be happy about little things. And if you do get bad-mouthed in a forum or photographer network: This should only spur on your ambition even more.
As already described in my other tutorials, you can gain practice in the field of animal photography anywhere. So many people will be delighted with your pictures. Why don't you write to a breeder or a riding stable and ask if you can test their animals? If you send them some great photos later as a thank you, I don't know who would turn you down!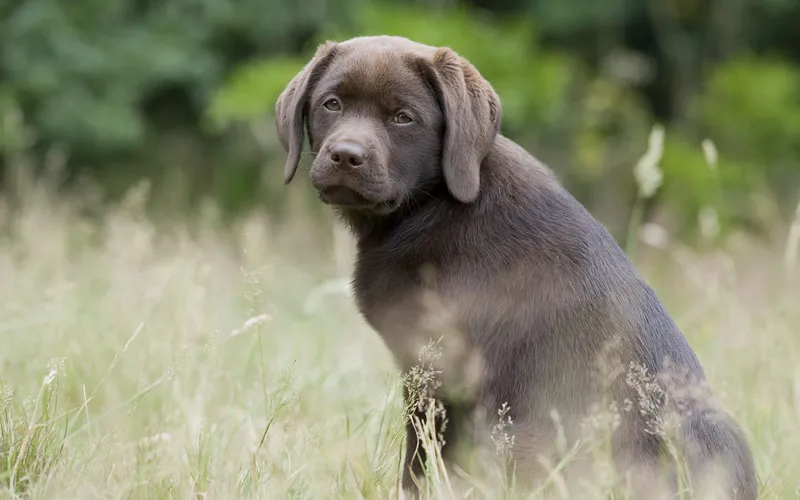
7. mastering tasks
If things don't go as planned, make the best of it. In your work as an animal photographer, you will quickly see that planning and implementation do not always go hand in hand. Animals are not always as cooperative as we would like them to be and sometimes they are not prepared to realize our photo idea as we or their owners had imagined.
Take it with a smile and just as your four-legged model offers. There are always people who would like to have certain photos of their four-legged friends, but fail to realize the motif. Always approach things without too much expectation and you must also explain this to the owner of the furry friend.
In time, you will be happy about every animal that cooperates! Because this is not a matter of course. And sometimes we don't even want that. We want our model to be natural and if a clown is a clown, then that's how we photograph it. For example, there are many dogs that lie on their backs in a playful way, even though they are supposed to make room.
How many pet owners have freaked out about this because they "only" want a nice place photo. Well ... isn't this picture much more amusing than a boring place photo?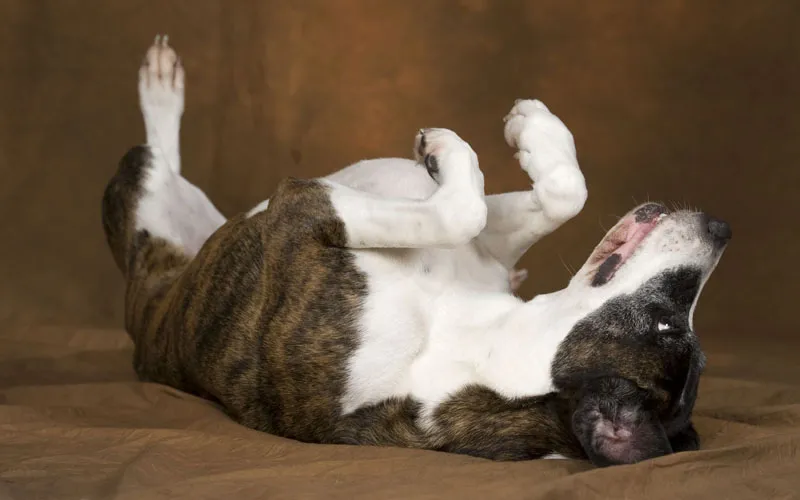
So, the important thing is not to get discouraged, to take the situation as it comes (even if we have planned it differently) and to have never-ending patience. If the pet owner becomes nervous or hectic - steer against it and take a break if necessary. Always keep an eye on your model to make sure they are still comfortable during the shoot. I have described several times in the previous tutorials how you can recognize the signs of stress in your photo candidates.
But other things also count under the heading of mastering tasks ... Because it's not just the model that plays a decisive role, but also the weather, surroundings and strangers you may encounter during your shoot. In other words, you must always be prepared for everything. Check the weather forecast every day before your shoot and, if possible, move the shoot forward or backward in time.
Bring important or moving shots forward in the shoot before it gets too busy later on and you then have a problem with the realization. You should also always bear in mind that you may encounter people during your shoot who make it difficult for you. If you are taking photos in public places, passers-by may walk through your beautiful chosen background or suddenly there is a car in the place where your shoot normally takes place and the stone or tree trunk you usually use so often is blocked.
Simply reschedule, implement new ideas or work around the obstacle. There are also people who are not animal lovers and could react negatively to your shoot. There are also passers-by who prefer to be exactly where you want to take your photo. Take it easy and simply look for a new spot. Just be prepared for obstacles and you'll be able to deal with them twice as well. Which brings us to the point "Be creative"!
8. be creative
As a photographer, you are creative anyway. I don't need to tell you that. Why am I mentioning this point anyway? Because you must never unlearn this and no matter what stage of photography you are at, no matter how much theoretical knowledge and practical experience you have, never get stuck. Try out things that you have never dared to do before.
Just go crazy with your camera and try out different settings. Make a resolution to take a new picture every week. A sunset, a butterfly, a forest motif, a waterfall ... and work your way up to new motifs bit by bit. Well, and the same goes for wildlife photography: google wildlife photography and take a photo of what you find particularly appealing and creative next week. You'll probably get completely different results (and yay, we want that), but without breaking new ground and perhaps inhaling ideas from others as a little nudge, you'll only ever be treading water.
So make a note in your calendar: next week - dog in the fall leaves! Or make a resolution to photograph a horse in the snow this winter! Be creative. Or photograph details. Dog paws, cat eyes, horse manes ... there are no limits. So open yourself up to creative photography. These lines also apply to me, because the daily stress and routine of photography often paralyze me and I have to keep telling myself that I want to move forward and not stay in one place!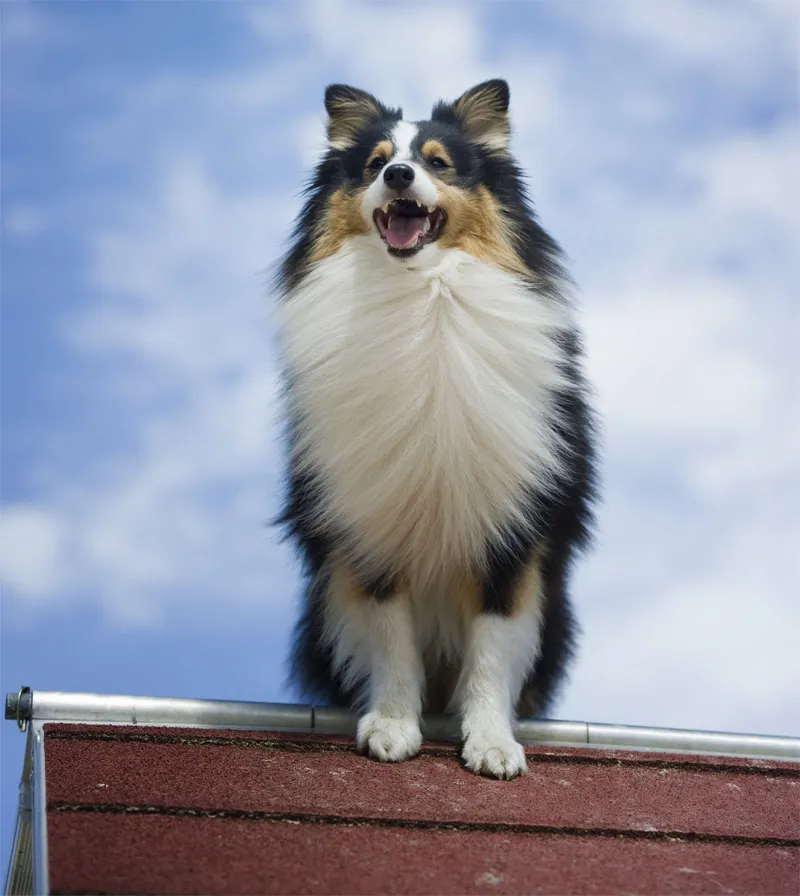
9. image control
Check yourself constantly. Never fall into a fixed pattern, an automatic workflow that leaves you blind. Always try to improve yourself. Don't just check your pictures later on the monitor, when it may already be too late to save anything, but always check them again after a series on your camera! This will help you to prevent any problems in good time.
Pay attention to every little detail. Hair, dirt, nasal discharge, etc. ... All this can make a lot of work easier for you later on. If there are people in the picture, pay meticulous attention to clothing, hair, dirt stains, etc. If you eliminate everything in advance, you won't have to go to the trouble of photoshopping it later. It often happens to me, too, that I only see later on the PC that Fiffi has a thick thread of drool hanging down on him (especially if you are constantly waving the treat in front of your nose, not uncommon) ... The series is useless if not edited. This is unnecessary.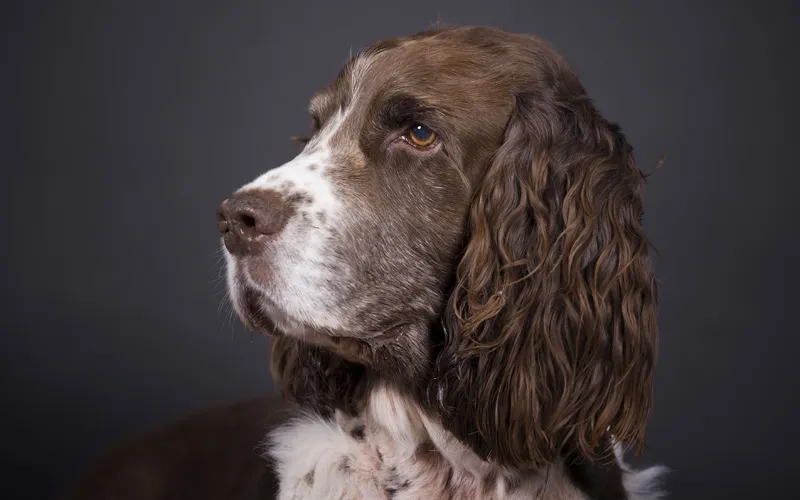
10 Love and feel the subject
I've already told you about feeling for your subject in another tutorial ... It's also about the unique character of the dog or cat you're portraying. If you have animals yourself, then you know how different every four-legged soul is. And like us humans, they have very special characteristics, special features or even a certain expression that makes them so special.
When you look at the picture of your pet and say: Look, typical... Then it's exactly as you would like it to be. And as a pet photographer, it's not just your job to capture the animal in a way that corresponds to its breed or to portray it in such a way that it stands out nicely from the background in terms of color and contrast ... no! Try to capture the soul and expression of your model.
It's difficult if you don't know the animal! But by talking to the animal's owner and also through your powers of observation (which every photographer has), you can quickly get into the mood of your model. Observe the subject and see what they show you of themselves. Only if you are really enthusiastic about animals and have your heart set on your subject will you be able to capture them properly! Fascination and respect for your model play a major role here. Always remember this.
Both pictures reflect the character of the dog.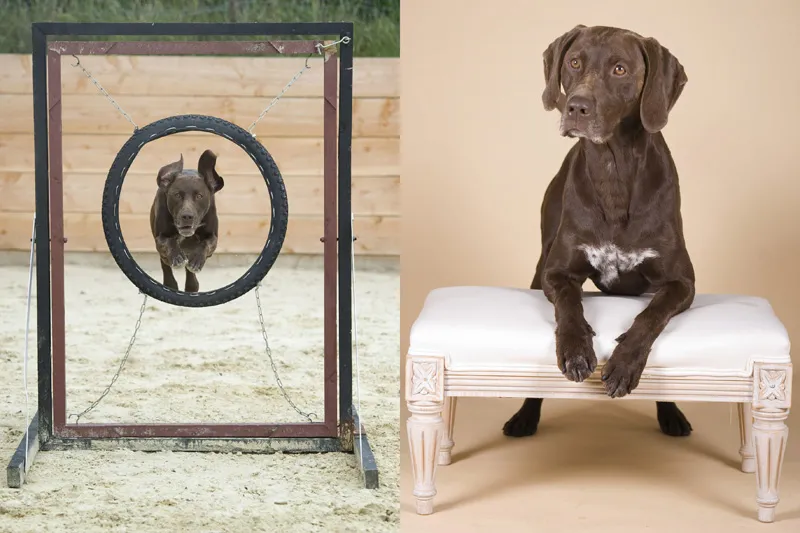
Boisterous and bucking across the meadow ... That's typical of this handsome gelding.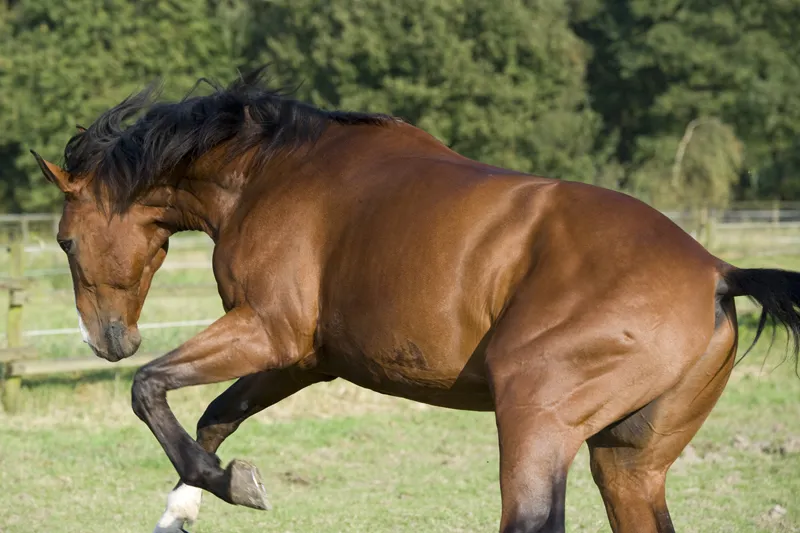
Like all Labbies, this male is completely in his element here!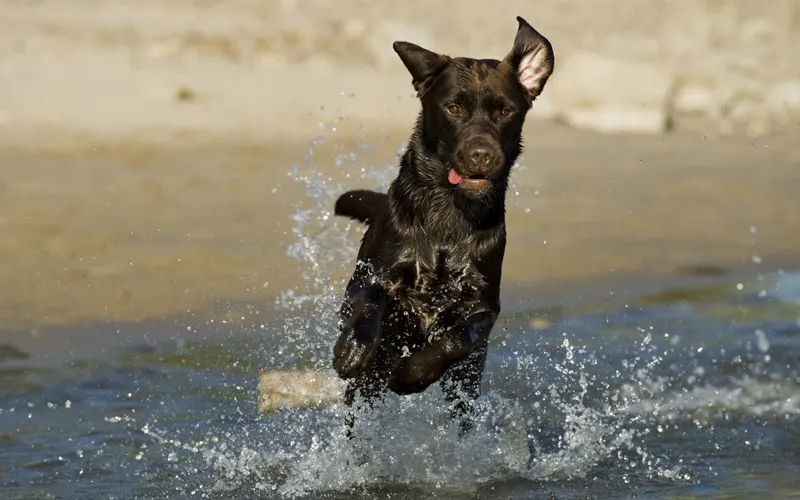
Well, not quite typical for the breed, but definitely for this crazy bully dog!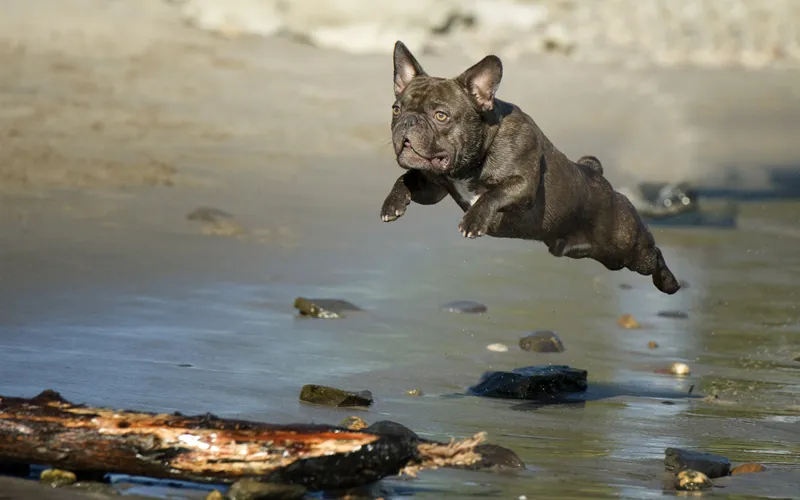
Franjo the cat in his favorite spot in the kitchen ... Typical!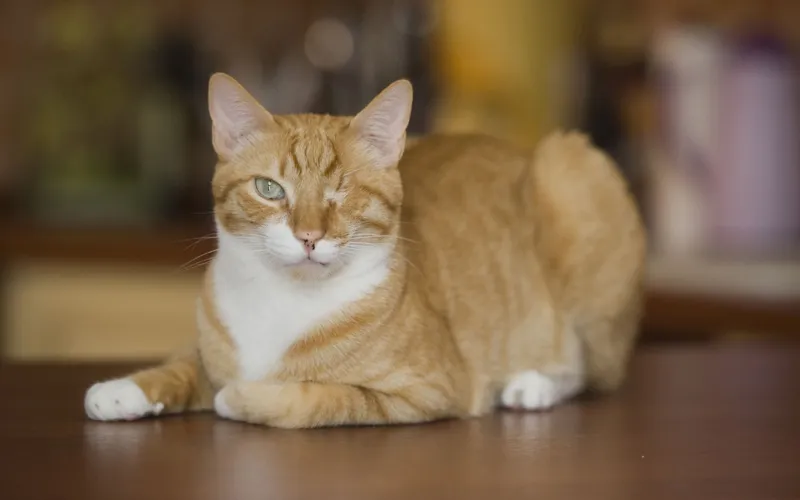
Certain lying positions are also usually typical for an animal!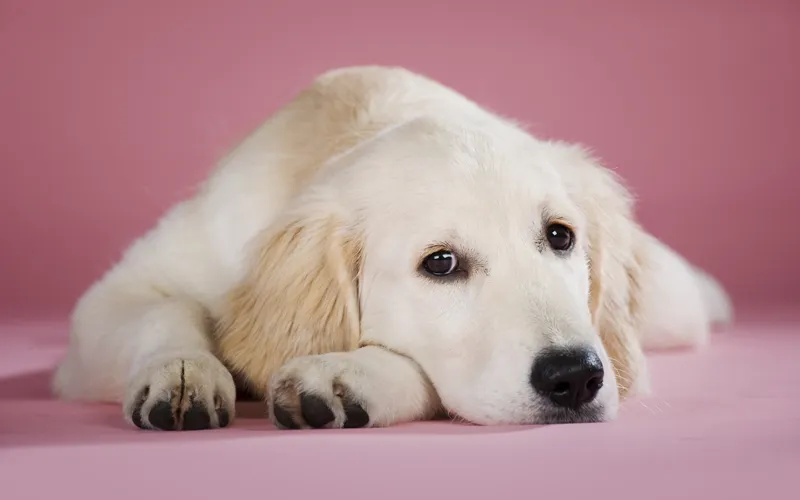
You can also capture the deep bond between humans and animals in the picture! You may remember these two from the horse tutorial. My friend Vanessa with her gelding Nepi in Holland this year. A snapshot of a perfect dream team ...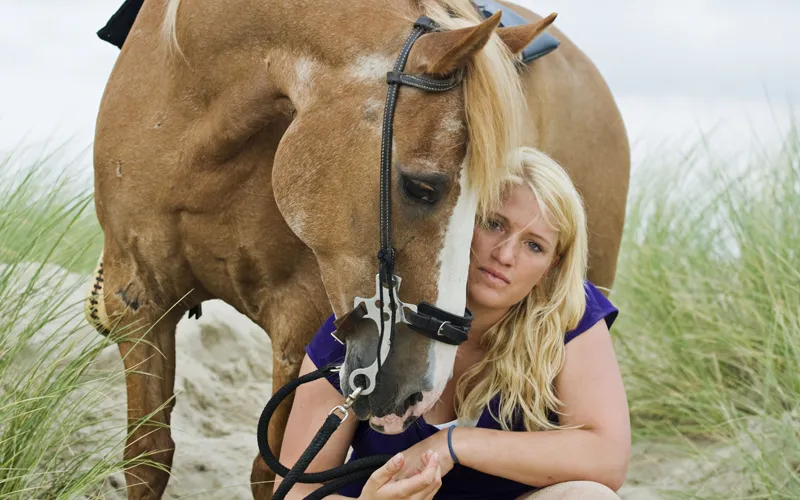
11. equipment
I started out with a Nikon D40 and a Sigma zoom lens! So today I can say that technology is a great help, but if you can take photos, you can do it with the smallest of tools! If you have the eye and the heart for photography, you will captivate everyone with your pictures ...
There are only a few photographers who have this in their blood. But I bet they take better pictures with any simple camera than some other photographers with years of experience and high-end equipment. I think there are people who learn photography and there are people who live photography. I would also put myself in the first category ...
For us mortal photographers, whether amateur or professional, technology is of course an essential part of our work and we want to constantly expand and improve it. A macro here, a new fixed focal length there and why not even a fisheye.
When I think about how long my list is and which lenses I've already owned and returned after 2-3 tests ... I've come a long way and now shoot with the Nikon D3s and two Nikon lenses, simply two all-rounders that cover everything that is important for my daily work. A 24-70 mm 2.8 and a 70-200 mm 2.8 lens. My D700 only serves as a backup camera for emergencies. However, the pictures shown here were all taken with the D700 or with the D90, the predecessor model.
The market is developing fast. There is now better and better technology at better and better prices. Will this soon be the final end of the professional photographer? We don't know. But no matter what technology you work with - never lose sight of the most important factors of good photography.
Never buy a better body if the lens is bad. Optics are the be-all and end-all. Get good advice and advise yourself beforehand. It couldn't be easier these days. Look up everything you need on Google. Test reports, forums for photographers, etc. - you can get all the information you need.
You will definitely need fast technology for wildlife photography, but a mediocre body for around 300-500 euros and a Sigma or Tamron 70-300 mm lens will suffice to start with. This is a good choice for practicing and testing when starting out as a wildlife photographer. If you then want to gain experience in the studio, buy an inexpensive studio system for your home, e.g. from Walimex. That's it!
All together maybe 1,000 euros and you can gain experience across the board. As you get better, you can gradually add more! But I write about this in detail in the equipment tutorial. Please read it if you are interested.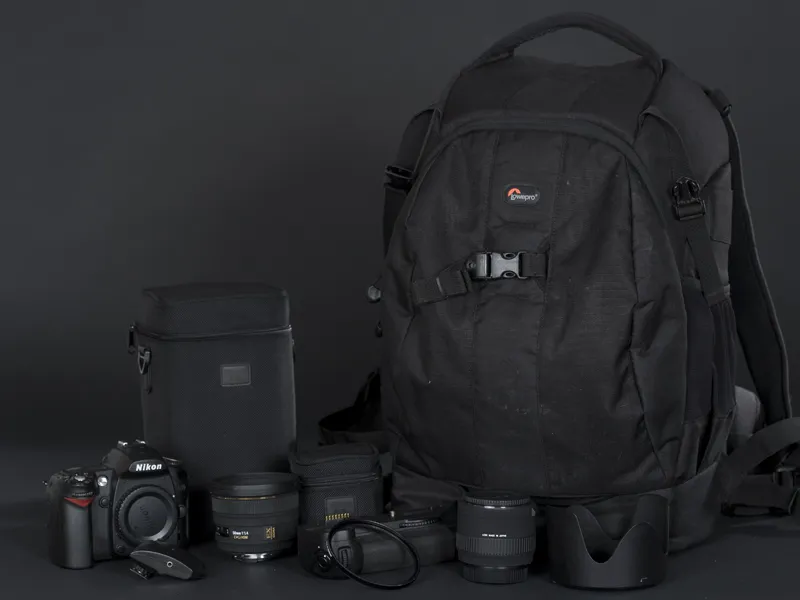
12. software
As already described, I work exclusively with Photoshop CS4, Photoshop Elements 8 and Bridge. I also have - see tutorial image editing - some additional programs for Photoshop that I work with in addition to the PSD-Tutorials.de features.
Unfortunately, I can't give much information about Lightroom and other image editing programs. I personally think that you will need some time to familiarize yourself with each one. There are many useful books on all editing programs and I'm sure everyone will have their own preferences later on. However, Photoshop Elements is a good price point to start with and you certainly won't go wrong with the big Photoshop! Whether you use Lightroom or Bridge is also a matter of taste. Just like the question of Canon or Nikon ...
However, as image processing plays a very important role in photography, you should familiarize yourself with the relevant software sooner or later and images taken in RAW format in particular require the appropriate programs. So make friends with it sooner rather than later and see photography and image editing as ONE.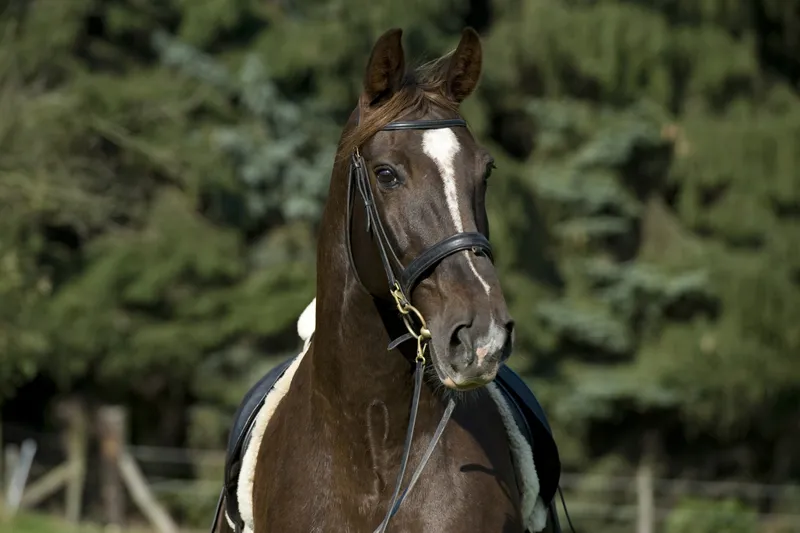
13. books
Unfortunately, there is not a lot of up-to-date reading on the subject of pet photography. On the one hand, there is a series by photographer Jana Weichelt "Hunde digital fotografieren" and "Katzen digital fotografieren". There is also the practical book "Hundefotografie" by Jochen Becker and "Haustierfotografie" by Paul Walker.
However, you can visit some wonderful pet photography websites that really have it all. Great photographers who really know their craft! I would really like to recommend these links to you. I'm sure you know a few that you might want to add to the comment list.
http://www.editionboiselle.de
http://www.slawik.com
http://www.cat-passion.ch
http://www.sabine-rath.de
http://www.photo-kathrin-jung.de
http://www.rb-tierfotografie.de
http://www.tierfotograf-berlin.de
That makes you want more, doesn't it?
That's "typical" Betty, by the way!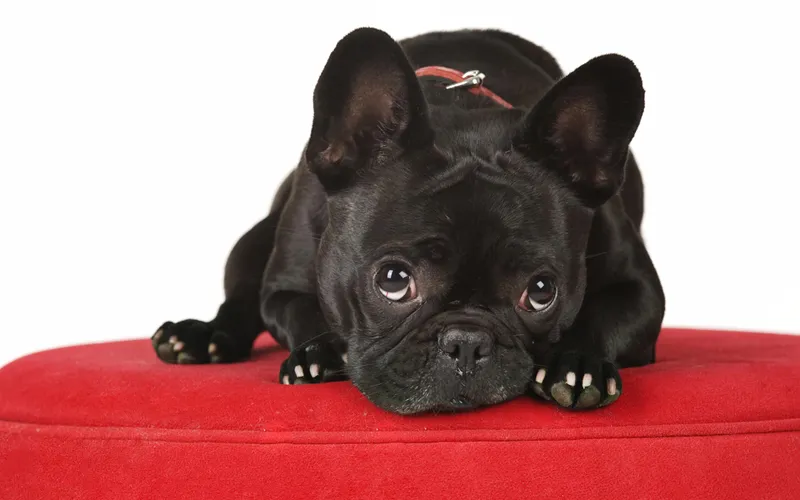
I hope you've enjoyed reading this tutorial series and that you've gained some knowledge too! I had a lot of fun writing the series and was delighted to receive so much positive feedback.
Kind regards
Nicole Schick
www.tierfotografie-mit-herz.de
(You can also find me on facebook!)
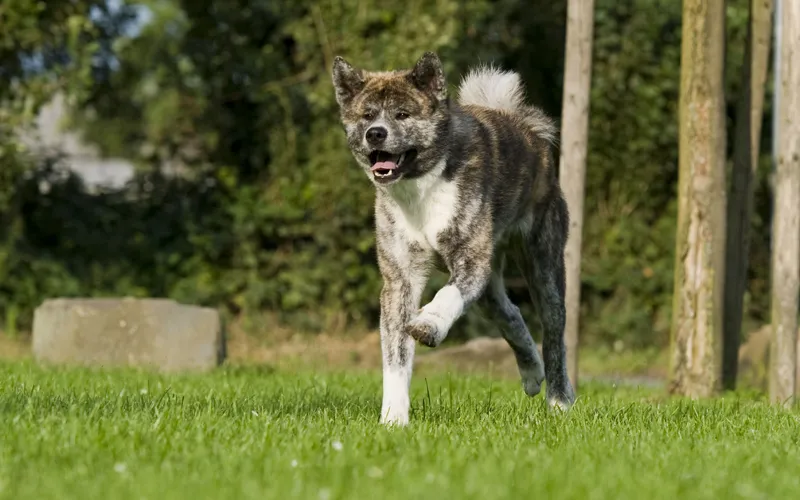
And one more thing! Do you still know Kenji? The Akita Inu puppy? This is what he looks like today: