Part 1: Introduction
Part 2: The right equipment
Part 3: The happy photo shoot
Part 4: From baby bump to teenager
Part 5: Taking photos indoors
Part 6: Outdoor photos
Lighting tips
Designing with focal lengths
Look for calm or monochrome backgrounds
Always on the move
Part 7: Family life
Part 8: Tips and tricks (I)
Part 9: Tips and tricks (II)
Part 10: Archiving, editing and presenting children's photos
Text: Jens Brüggemann
Photos: Jens Brüggemann (147), Leonie Ebbert (44), Elli Bezensek (61), Radmila Kerl (26), Ramona Prosch (5) and Kay Johannsen (4)
Sketches: Jens Brüggemann (27)
Part 6: Outdoor photos
Most people find it easier to take photos outdoors, as the problem of finding the right lighting - apparently - does not occur during the day. In addition, unlike photos taken indoors, there is plenty of space outside and you don't have to be so careful with the framing. Both views are right and wrong at the same time.
Lighting tips
If you want to take photos that stand out from the mass of photos of children, it is not enough to be satisfied with the prevailing lighting conditions alone. If these are ideal, it would certainly be fundamentally wrong to intervene with the help of lighting aids. The use of lighting technology is not a matter of principle, but solely a matter of improving the shooting conditions if possible in order to achieve the optimum (a very good photo)!
However, we rarely have "ideal conditions"; the sun is usually too clear and the resulting contrasts too strong. Then we have to intervene!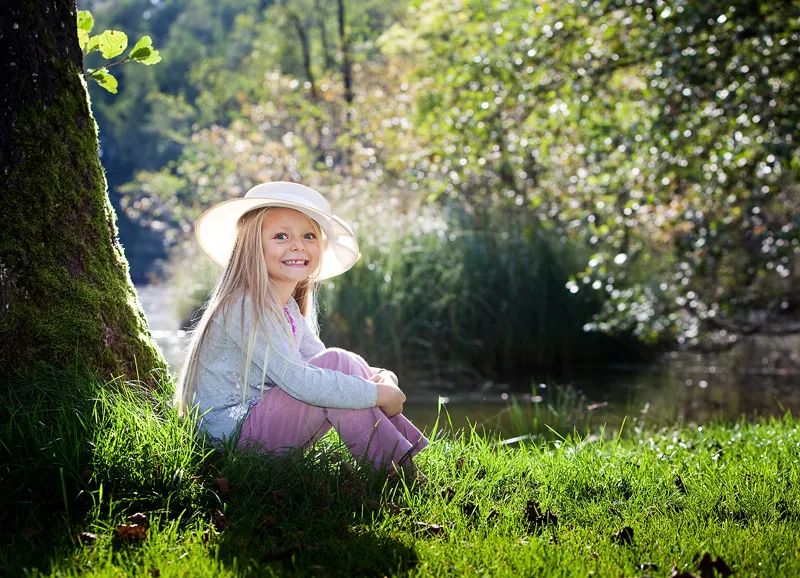
(Photo: Radmila Kerl)
But what are ideal conditions when photographing outdoors? Well, unfortunately there is no general answer to this question. There are no ideal conditions that apply equally to all shooting situations. Which light is perceived as ideal by the photographer depends, among other things, on the specific situation, the task at hand and, last but not least, the individual taste of the photographer.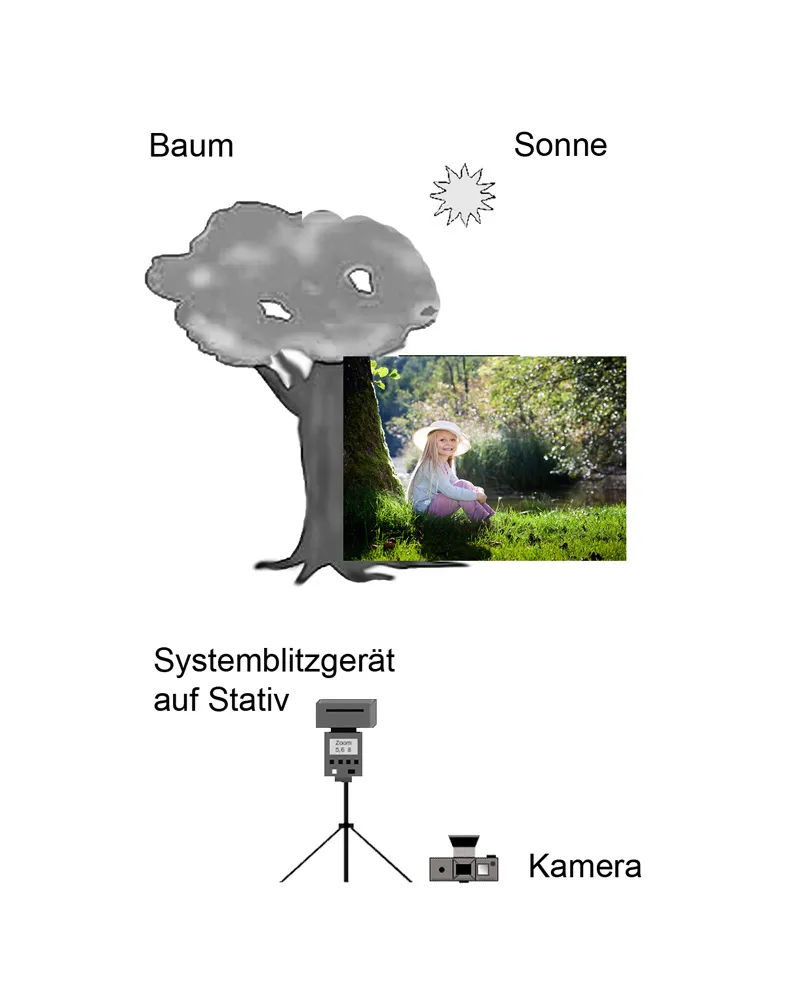
(Sketch: Jens Brüggemann)
Some love the strong side light, others the diffuse low morning light from the front, others the atmospheric backlight. You can take great photos under almost any conditions, but it's much easier with the help of flash units, battery-powered flash systems, reflectors and/or diffusers!
Very natural and soft lighting without harsh shadows is created when the sun has disappeared behind a cloud (or cloud cover), or even in high fog. This diffuse light is ideal for child photography, as we photographers don't have to worry about corrective measures. It always "fits". I took this photo with my Nikon D200 and a 1.8/85mm lens (ISO 100, aperture priority at Blender 7.1).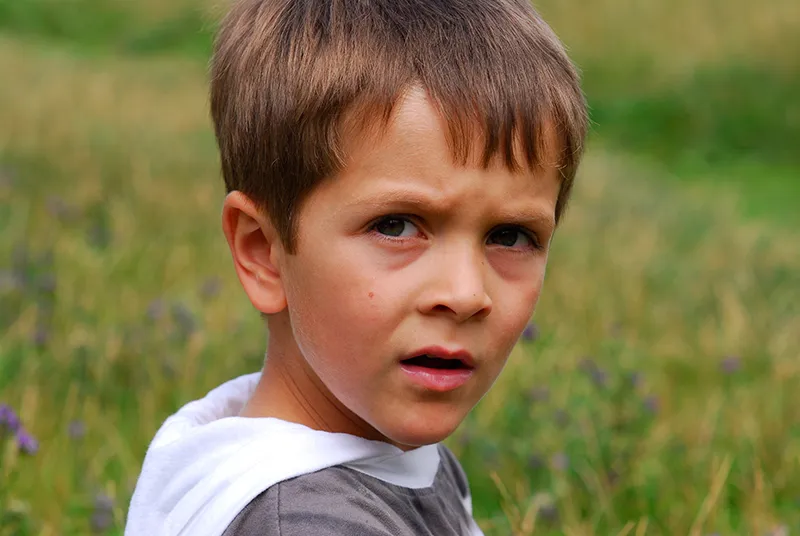
(Photo: Jens Brüggemann)
This kind of natural, soft lighting is also ideal for photographing children because - regardless of the direction in which we are photographing - the same lighting conditions always prevail, without strong contrasts and without the risk of the model coming out of the shadows into direct light. The children can move freely, you are not restricted. The ideal light for agile children who romp, run, jump, hop, crawl, crawl, etc. (Nikon D3 with Nikkor 2.8/300mm at ISO 1250; 1/1250 sec. at Blender 4.5).
In diffuse light you are not tied to a predetermined spot.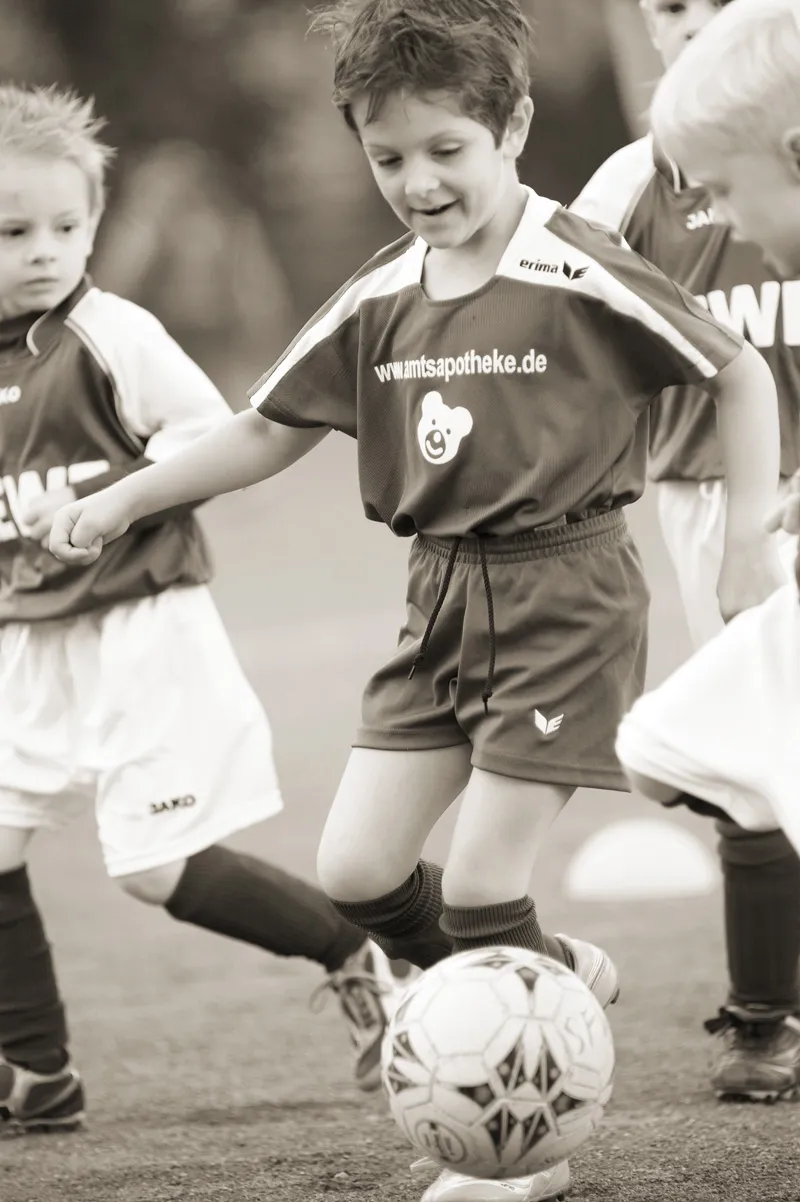
(Photo: Jens Brüggemann)
The situation is different, however, when strong sunlight makes our work more difficult. "Where there is a lot of light, there is also a lot of shadow" is a well-known saying that unfortunately also applies to photography. If you take photos in direct sunlight, you have to accept that either the highlights will be blown out (i.e. the finished photo will have no pattern) or that the shadows will have no pattern (i.e. they will run black).
This can be countered by using a flash to brighten the shadows, as was done in this photo (the sun was shining steeply with harsh light from above). The photographer used a Canon EOS 5D Mark II with 2.8/24-70mm at ISO 200 (1/200 sec. at Blender 11.0) and system flash with ETTL automatic flash.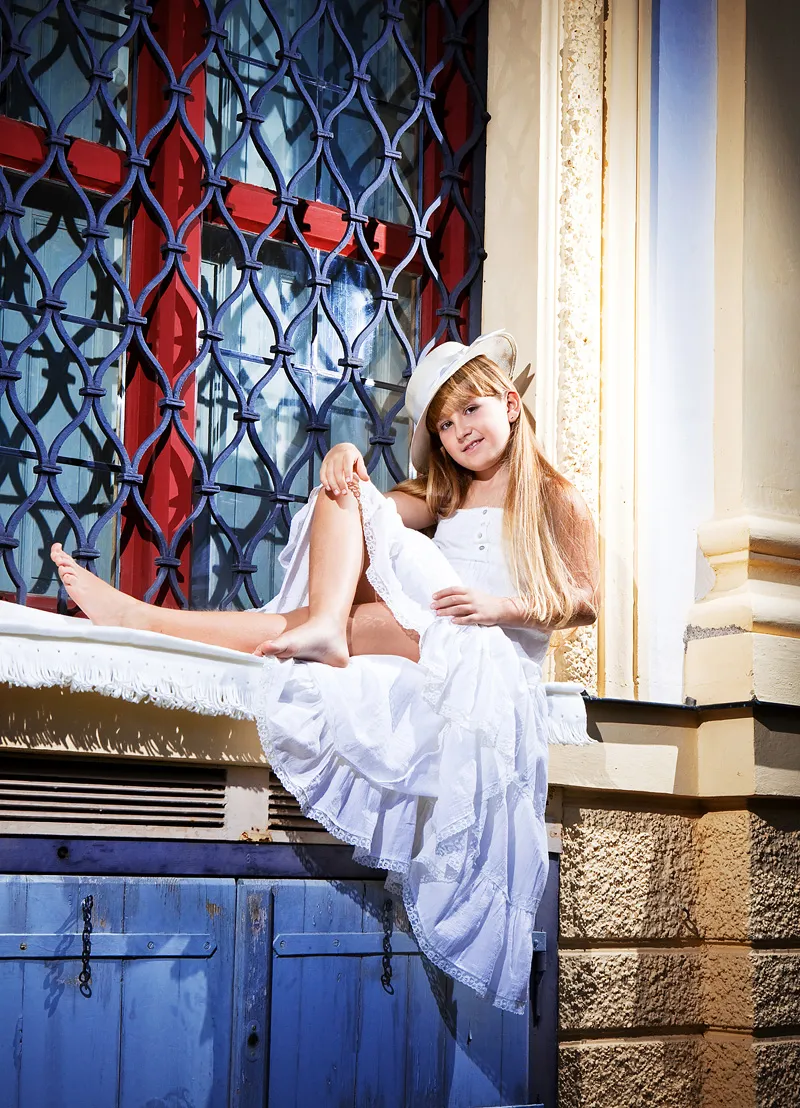
(Photo: Radmila Kerl)
The beautiful additional effect is the bright colors that result when flash is used in addition to the existing lighting. This effect can be further enhanced by slightly underexposing the background.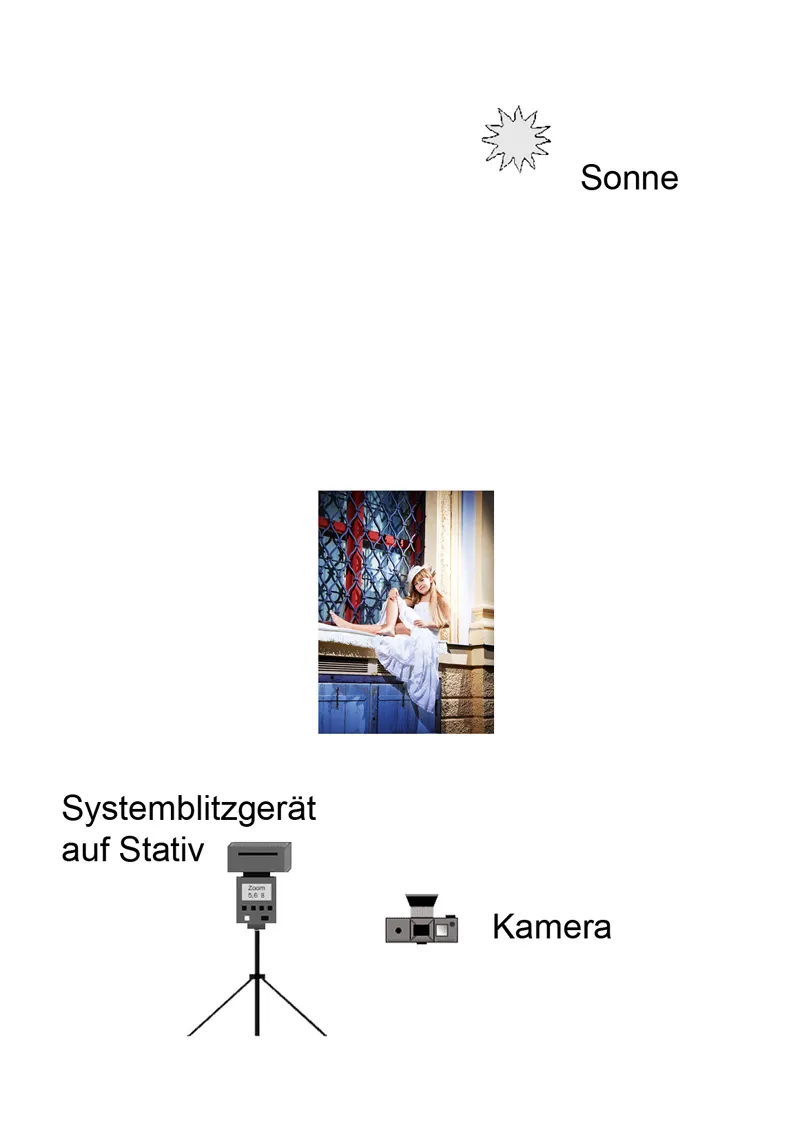
(Sketch: Jens Brüggemann)
If you want to use softer light instead of the (direct) flash, you can use the system flash unit (swiveling reflector provided) against a brightener (here: from California Sunbounce) so that the light reflected from it appears somewhat softer and more natural and, above all, does not fall on the model from the front but slightly to the side, as this shot in the backlight of the setting sun shows (Nikon D2X with 2.8/105mm at ISO 200; 1/60 sec. at Blender 4.8).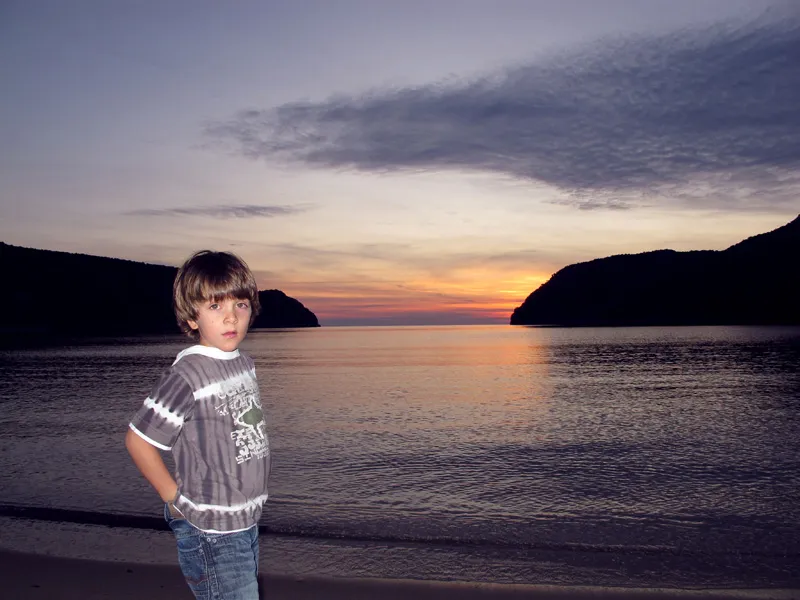
(Photo: Jens Brüggemann)
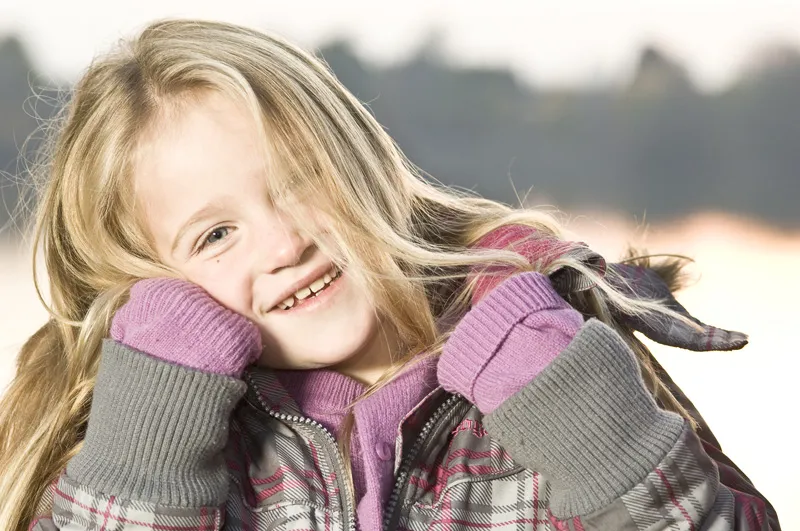
(Photo: Elli Bezensek)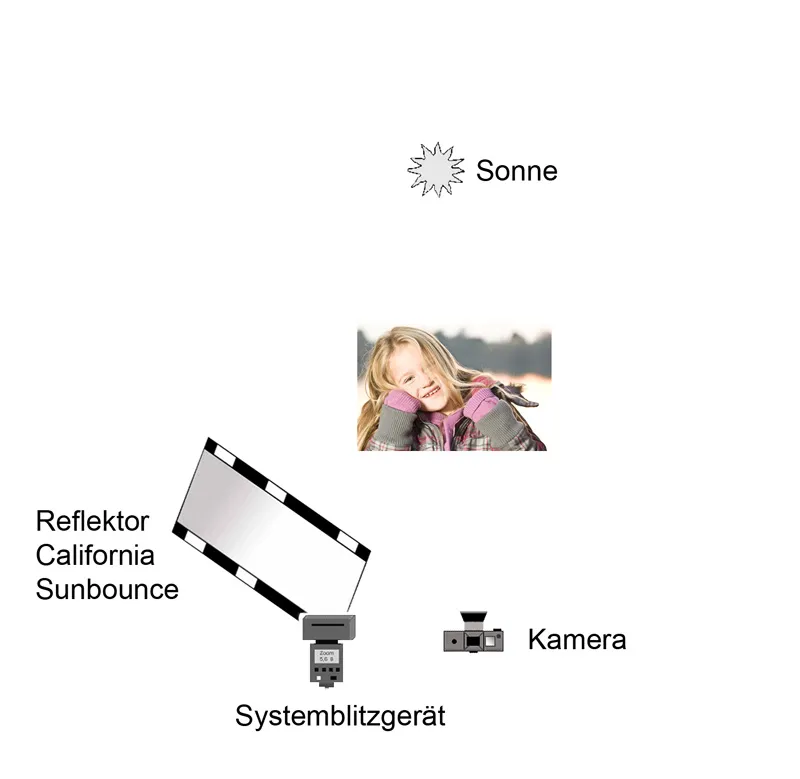
(Sketch: Jens Brüggemann)
You can achieve even softer light if you only use (one or more) fill lights. In this photo, the already slightly diffuse light in the shadows of the trees was used to brighten the daughter and mother, which gives a very nice soft impression and goes well with the friendly mood of the picture.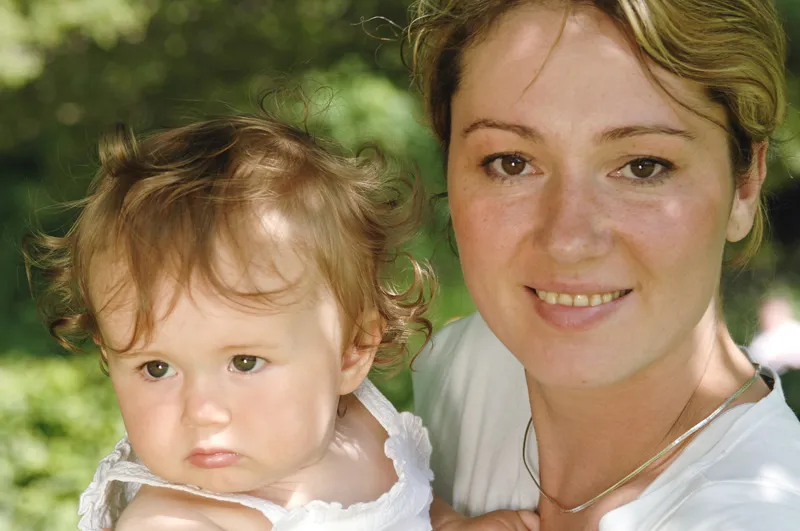
(Photo: Elli Bezensek)
The practical thing about the brighteners is that there are already very inexpensive solutions, so you can actually always leave one in the trunk of your car. And if none is available, then white flat fabrics or other materials such as polystyrene sheets etc. are also suitable. Be creative! Even white house walls or the white T-shirt of a companion (parents are often present at the shoot) can serve as a reflective surface! (Just try it out, it also works perfectly to reflect the flash towards the child model).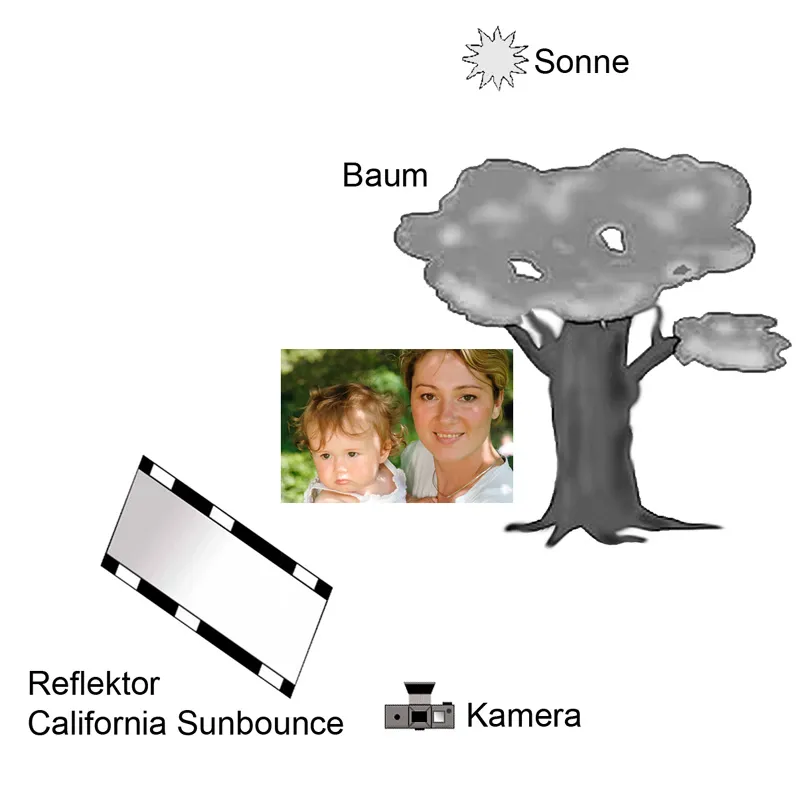
(Sketch: Jens Brüggemann)
Designing with focal lengths
Unfortunately, many photographers use different focal lengths exclusively to bridge distances or to photograph the child at a wider angle without the photographer moving. This is a perfectly legitimate, but unfortunately very "lazy" way of taking photos of children, and it fails to recognize the possibilities offered by different focal lengths.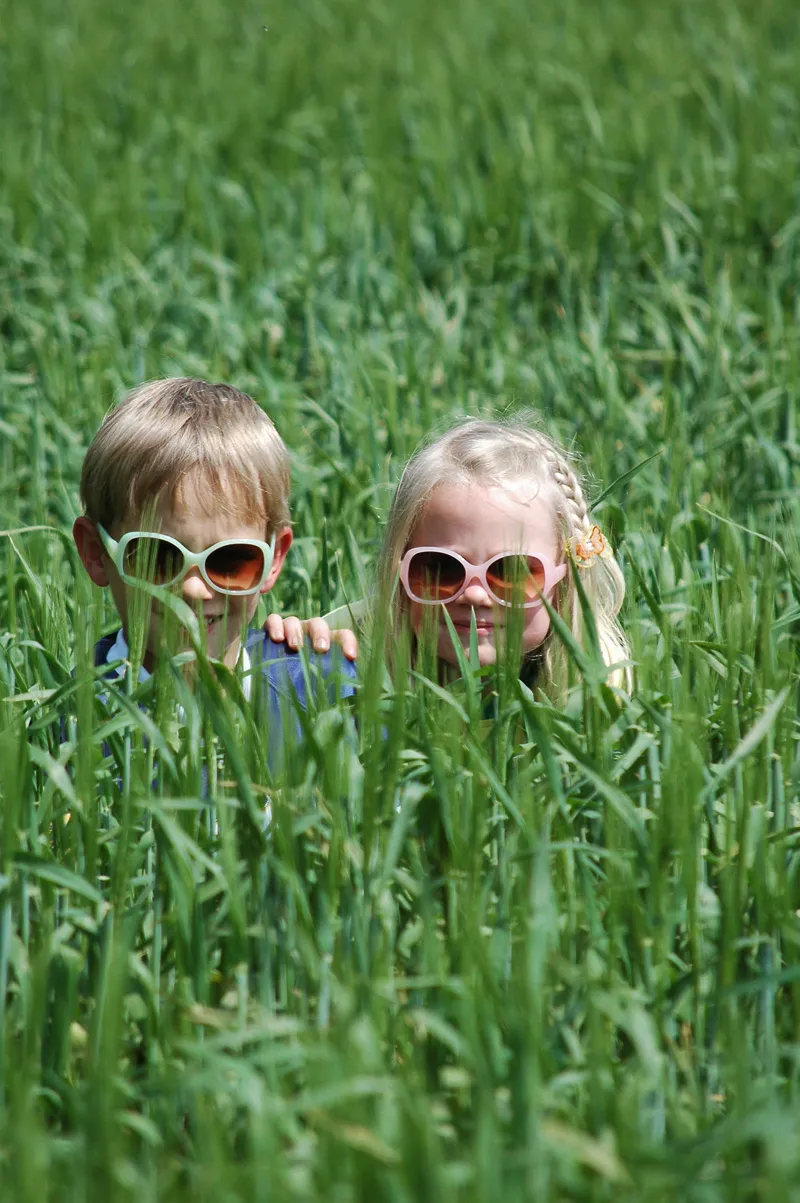
(Photo: Leonie Ebbert)
Telephoto lenses are often used to blur the background of the picture. Ceteris paribus, the longer the focal length, the more open the Blender is selected and the more blades the aperture of the lens has, the better this works. The further away the background is from the model, the stronger the effect. For this photo I used a 2.8/70-200mm on my D2X (ISO 200; 1/250 sec. at Blender 4.0).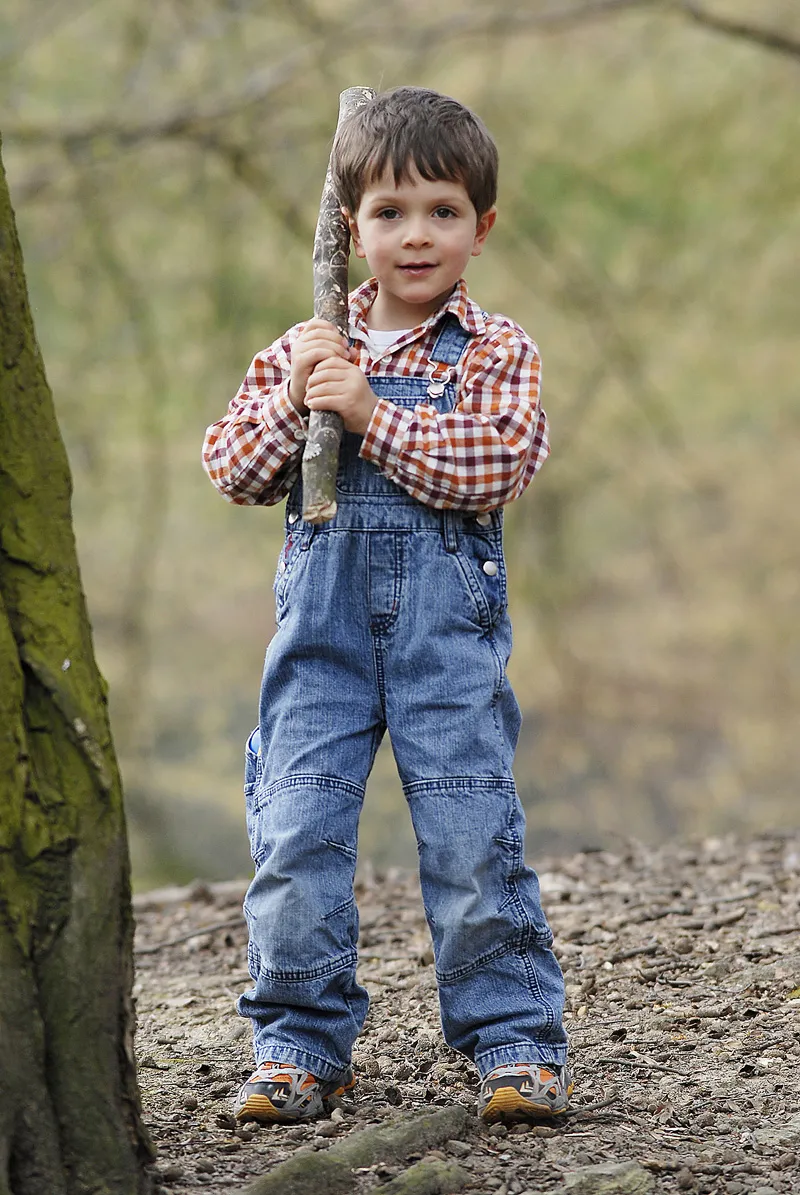
(Photo: Jens Brüggemann)
Wide-angle lenses, on the other hand, are often used to show that you are "close to the action". They are particularly suitable for photos with a reportage character due to their large depth of field.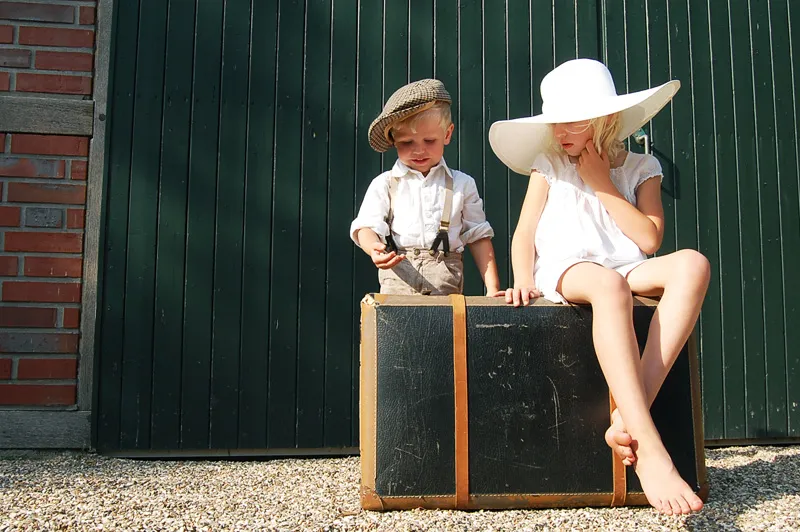
(Photo: Leonie Ebbert)
Wide-angle lenses are also the first choice on vacation. Due to their wide angle, they capture a lot of the interesting background (ideal for capturing larger hotel complexes), even when shooting in cramped conditions. (Canon G9; ISO 80; 1/320 sec. at Blender 4.0).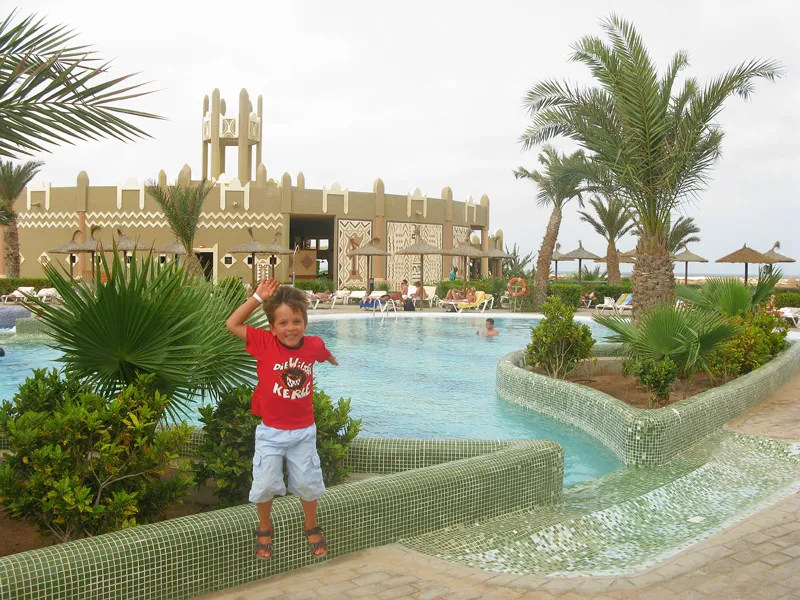
(Photo: Jens Brüggemann)
Be aware, however, that when using wide-angle lenses, distracting objects in the background can easily be overlooked, which then have to be laboriously retouched out later in image processing, as they are clearly and sharply depicted and unintentionally catch the eye of every viewer.
Look for calm or monochrome backgrounds
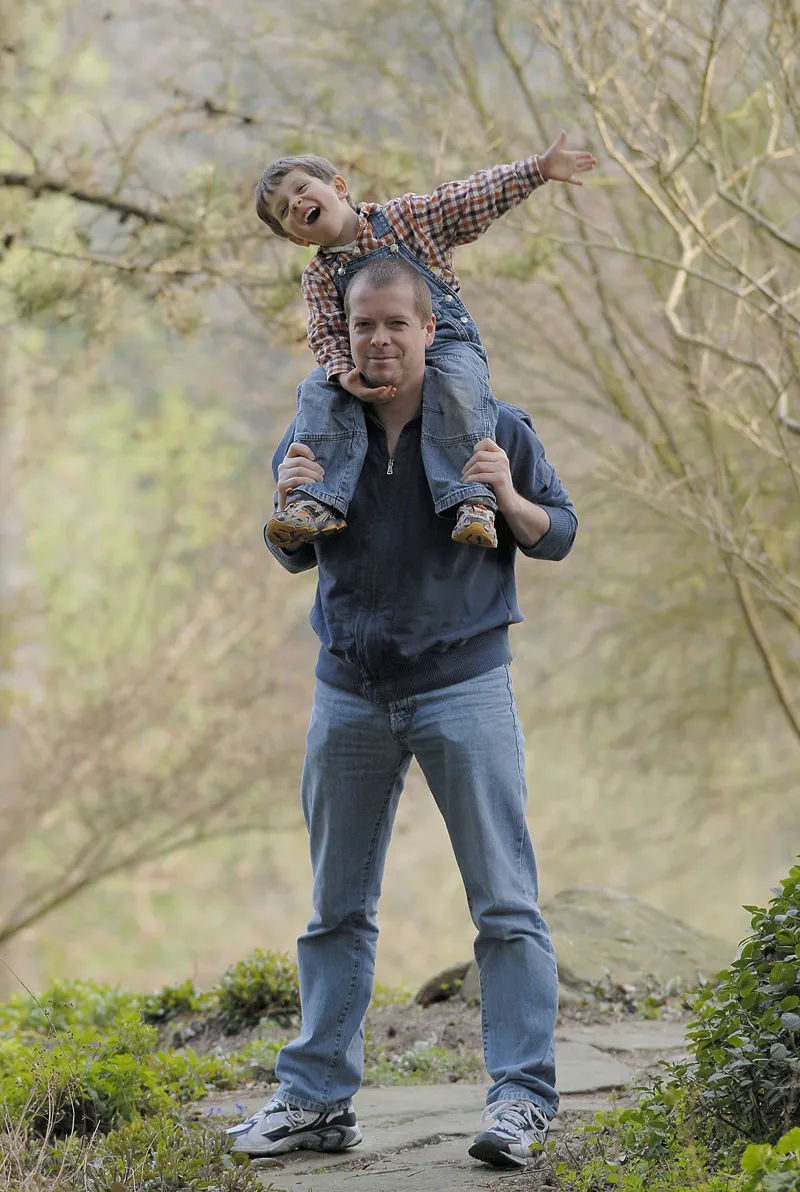
To ensure that the background does not distract too much from our little "stars", I recommend choosing monochrome backgrounds in matching colors, if possible.
Even if you don't have time to look for other backgrounds when taking snapshots, you often have the option of moving a meter to the left or right, even if you're not taking posed shots, in order to take advantage of a new viewpoint and perhaps a more suitable background.
However, this will only be possible when using telephoto lenses. With focal lengths in the wide-angle range, a step to the left or right does not help at all.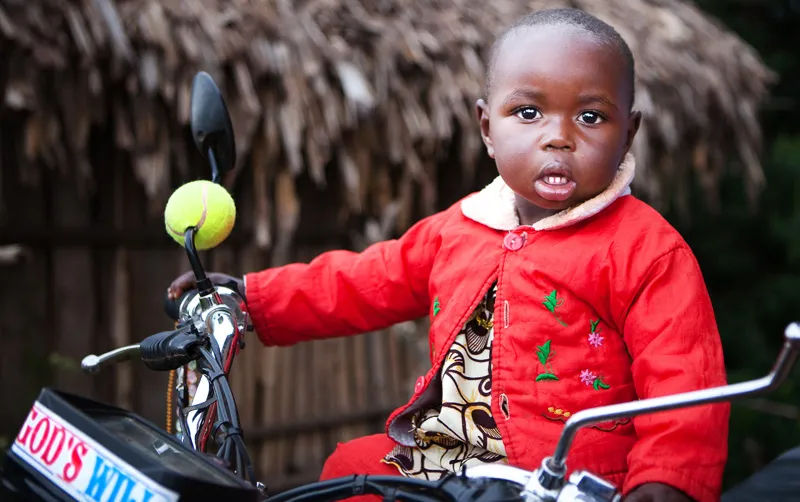
(Photo: Radmila Kerl)
(Photo: Jens Brüggemann)
Sometimes it is not the step to the side that brings the desired success, but a shooting position further from above, or from below from a crouching position.
For this photo, I made sure to photograph my son from a slightly elevated camera position, as there was a dark row of trees (with dark brown tree trunks) behind the soccer field, which I was able to leave just outside the field of view. If I hadn't paid attention to this, the background of the photo would have been cut in half: the green grass at the bottom and the dark brown trunks at the top. (Nikon D3 with Nikkor 2.8/300mm; ISO 800; 1/1000 sec. at Blender 6.3).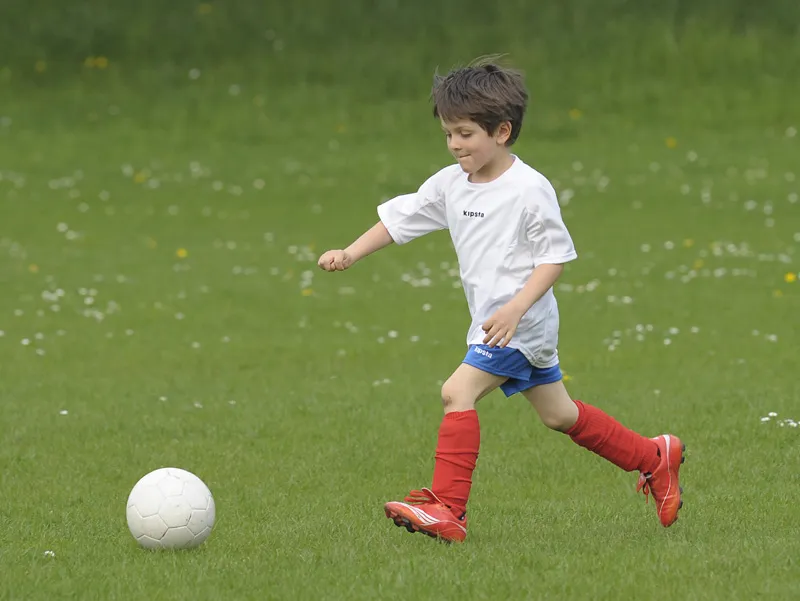
(Photo: Jens Brüggemann)
Always on the move
The little ones run non-stop during games and sports! Or have you ever seen a child strolling slowly while playing? If you haven't dealt extensively with photographing children before, you're simply overwhelmed at first; you don't even know how to follow the little ones, where they're running to, why they're making bends; let alone how best to "ambush" them with the camera while they're playing.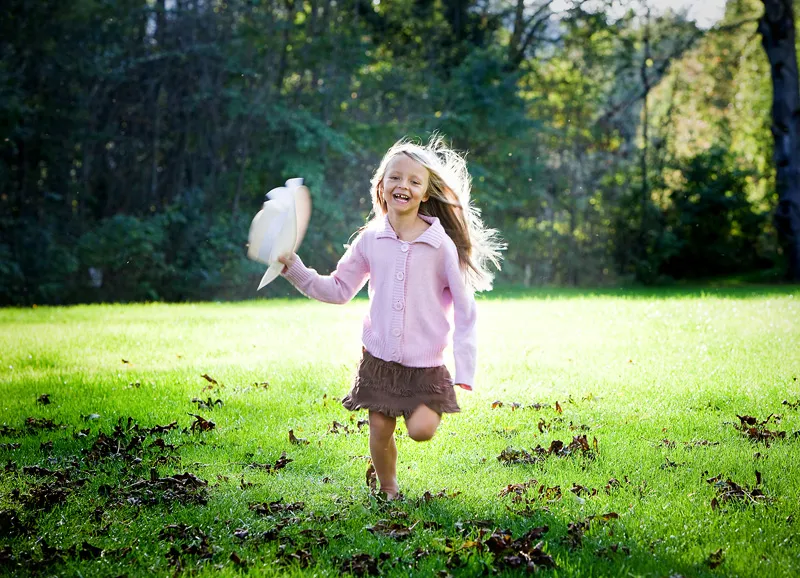
(Photo: Radmila Kerl)
The easiest way to catch the offspring "in action" outdoors is actually to lie in wait. To do this, set your camera to manual focus after finding the best position and focusing (still with autofocus) on a specific point where the little ones regularly pass by. This "focus trap" method is more reliable than any autofocus, you just have to pull the trigger at the right moment. This requires a bit of practice, as you have to press the shutter release just before the little ones reach that point. But after practicing a few times, you're sure to get the hang of it! (Nikon D200 with 1.8/85mm; ISO 100; 1/500 sec. at Blender 7.1).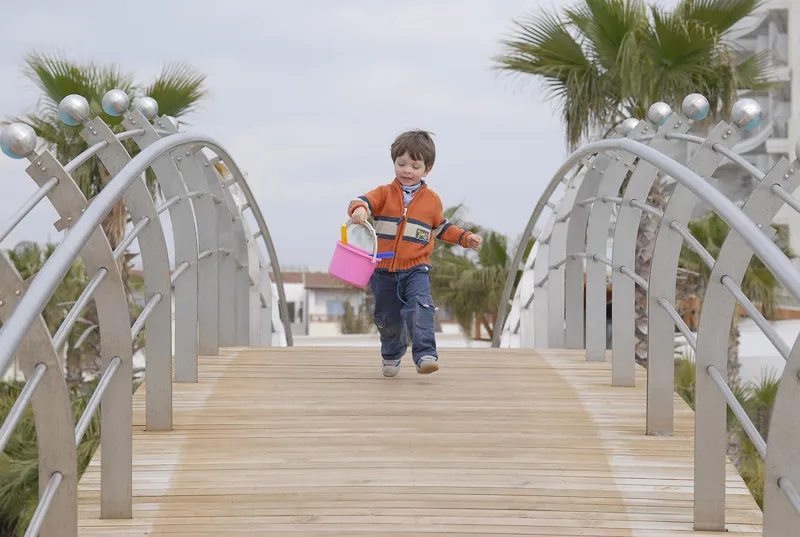
(Photo: Jens Brüggemann)
It is important that you do not focus in a "vacuum", so to speak, but choose a prominent point (such as the apex of a pedestrian bridge in the photo above) that you can easily recognize through the viewfinder.
On a road, for example, this could be a lane marking or an oil stain, in a meadow a molehill or a Stocker. It is crucial that you are able to pull the trigger just before the child reaches this prominent point.
