Welcome to the world of "wedding photography" - In this tutorial series you can expect the following workshop parts:
Part 01: The basics
Part 02: Preparations
Part 03: Equipment and gear
Part 04: Wedding preparations
Part 05: The wedding ceremony (registry office / church etc.)
Part 06: Family and guest photos
Part 07: Celebrations
Part 08: Portrait photos of the couple
Part 09: Inspiration and choice of location
Part 10: Attention to detail
Part 11: Post-processing / image editing
Part 12: Save the Date/Trash the Dress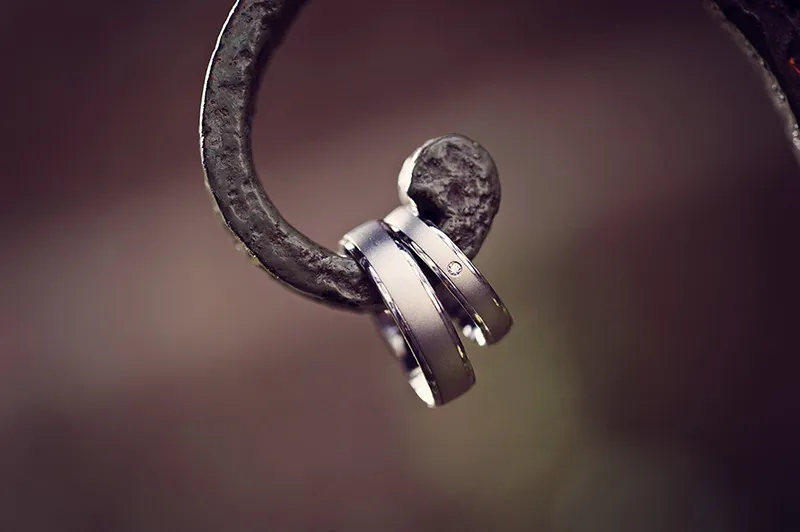
Introduction:
I was also really looking forward to this part, because the little details are one of my favorites at every wedding I attend. Close-ups lovingly round off the package and are often even requested by the bridal couple in the preliminary talk.
You will come across many things at every wedding that require their own shot. In this tutorial, I'll give you a few small suggestions on how you can photograph or stage them and what always gets special attention from me.
This tutorial is divided into the following points:
- Setting the right scene for details
- Wedding ceremony details
- Detail shots of the couple
- Detail shots of rings and bouquets
- Detail shots of the wedding cake
- Close-ups of table decorations
- Other details
1. setting the right scene for details
In general, it is of course important that you have an eye for the small details at a wedding. I think that - with a little attention - every photographer will quickly recognize these things and know what is important.
Of course, you shouldn't overdo it with your pretty detail shots, there should always be a handful of each occasion in your reportage, but there shouldn't be too much small stuff.
I prefer to take the detail shots when nothing major is happening and I have the time to concentrate on them.
It would be awkward, for example, to spend 10 minutes devotedly taking care of the location decorations while the bride and groom are opening the champagne reception or cutting the cake. I think that's probably well known.
But the question is: when is the right time for the little things?
Under the next points you will find a small sentence about when I take the corresponding shots and how they best fit into your wedding program without the bridal couple missing you for important shots.
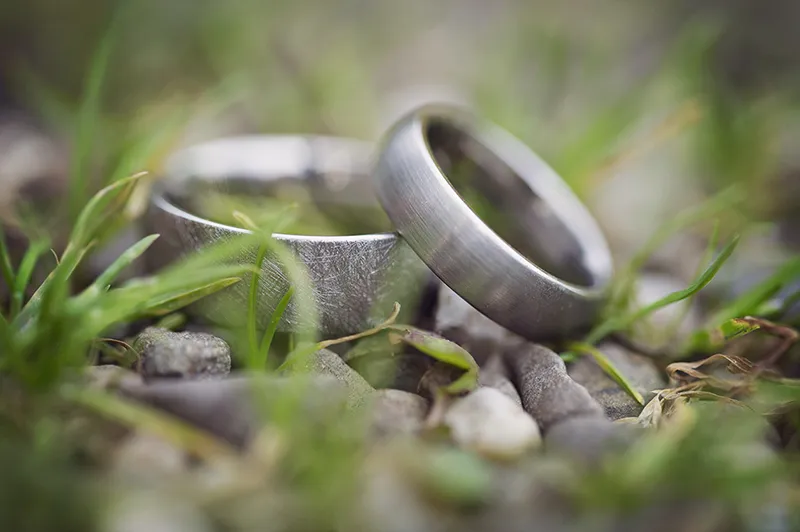
By the way: If I'm going to take pictures of the rings or the table decorations, I'll let the couple know briefly. There's nothing worse than a whole party looking for the photographer while you're lying on your stomach arranging the rings in the grass.
I usually also take detail shots with my 70-200 mm to save time and crop the images a little later. I often use a large Blender to get a lot of blur, but that's a matter of taste.
If I have a little more time, e.g. for the table decorations or rings/bouquets, I sometimes switch to my macro lens. Please remember to use a smaller Blender so that all the desired areas of your detail shot are really sharp. Depending on the distance and focal length, it can otherwise be really too small.
I generally love macro shots. I often use this lens to take a few pictures for myself in private, preferably of Blums! It's fascinating what a shallow depth of field can do to a flower picture! That's probably why I like detail shots at weddings so much.
You won't believe it, but when the bridal couples browse through my albums in my studio or at wedding fairs, it's often the "ring pictures" that make them pause for a moment and comment positively on them. That's exactly what they want to have!
So they are very popular, the little details. And that's why they deserve our special attention!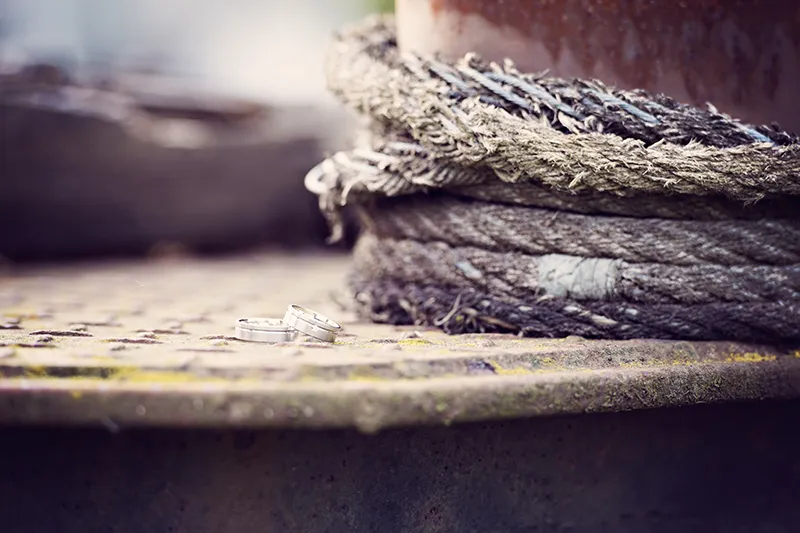
2. detail shots wedding ceremony
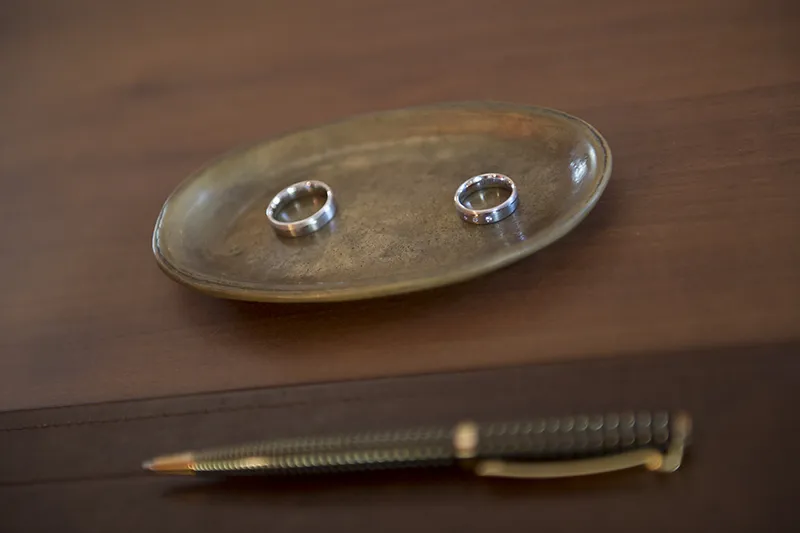
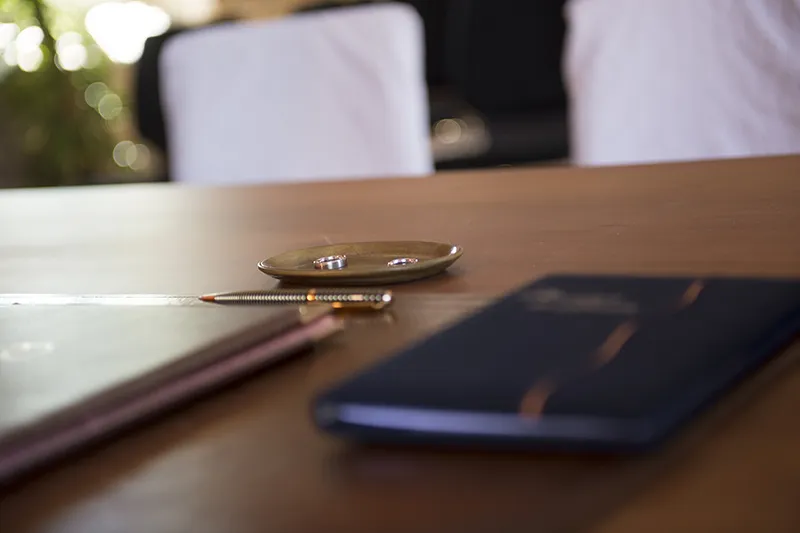
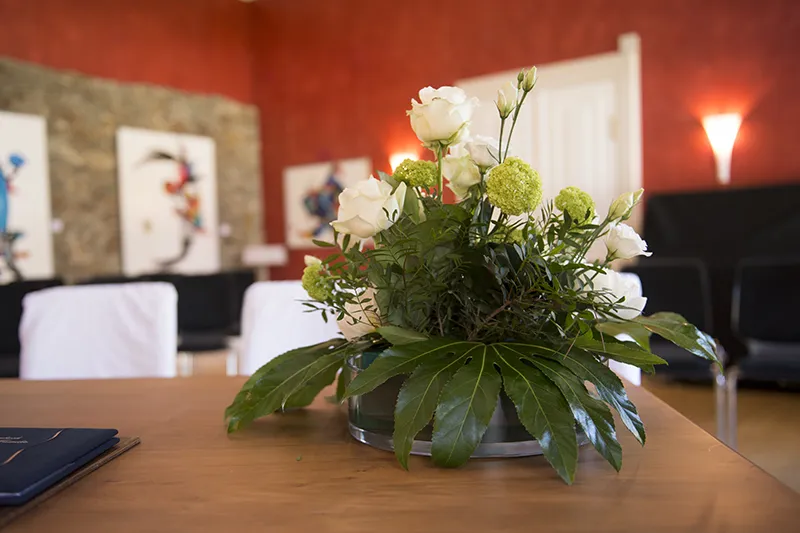
As I already described in part 05 of this tutorial series, I am always in the church or in the registry office room before the bride and groom and take a look around. This also gives me the opportunity to explore everything and take one or two shots.
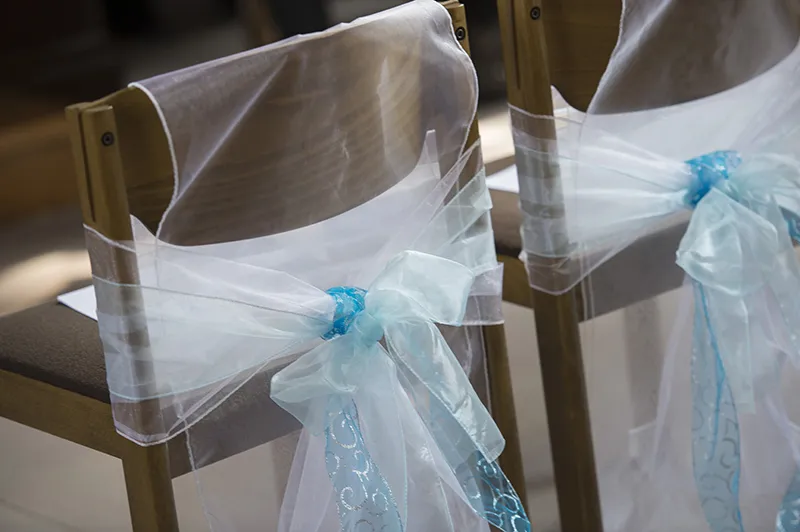
Here I not only use a wide-angle lens for the entire scenery inside and out, but also a telephoto or macro lens for all the small details that are important here. And there are quite a few of them:
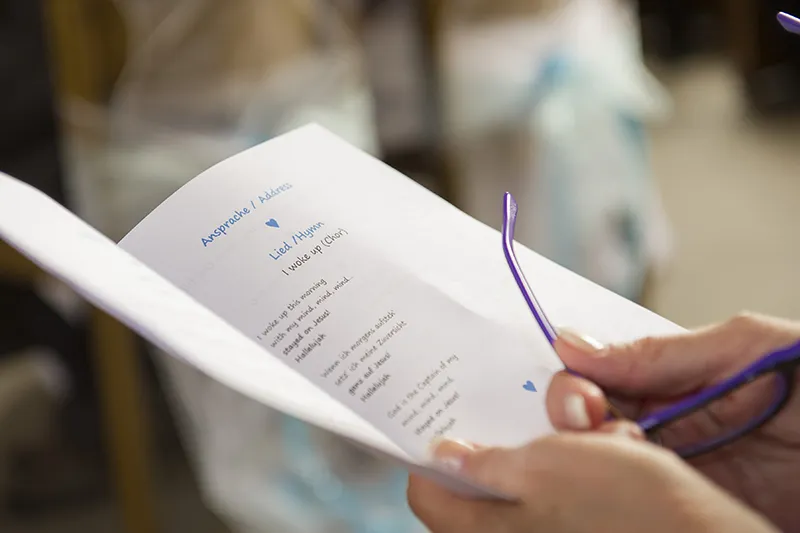
- Church: flower arrangements, church booklets, altar, ring pillow/bowl, candle
- Registry office: register book, table decorations, Blum, ring pillow/bowl
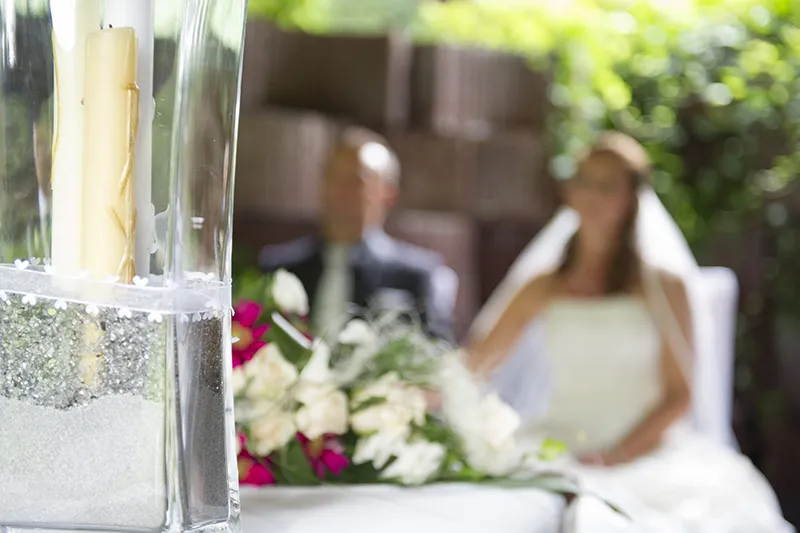
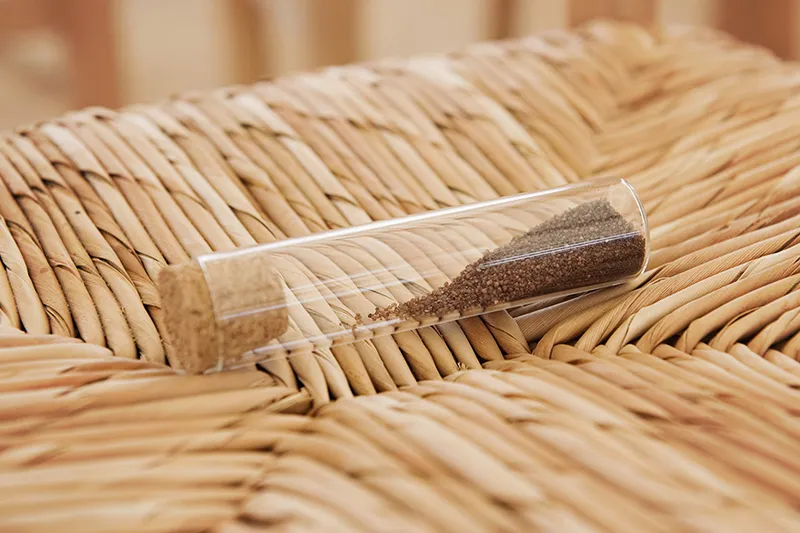
Sometimes, of course, there are special features such as at a free wedding ceremony. Perhaps there will be a ceremony where sand is poured or something similar, so be sure to record this!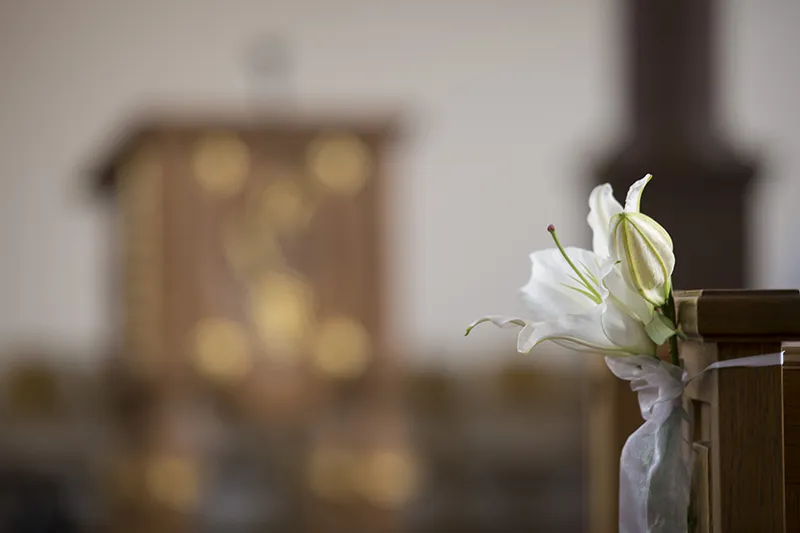
3. close-ups of the couple
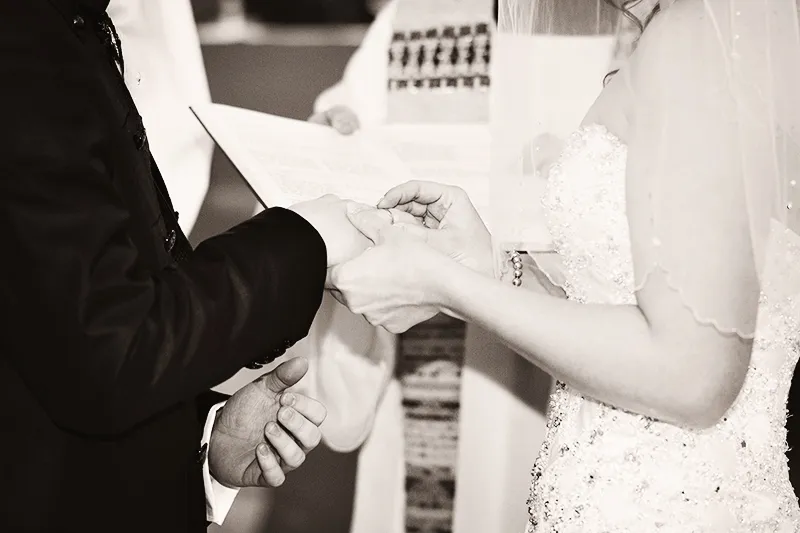
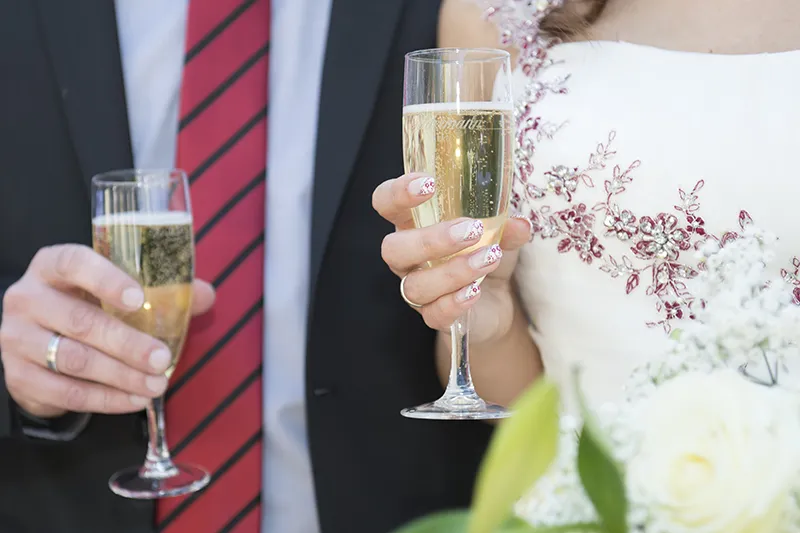
I regularly take close-ups of the couple between my reportage.
Especially of hands, because they say a lot! When the couple hold hands during the ceremony, put on their rings or hold their champagne glasses.
The dress is also worth a close-up here and there. How exactly you get creative here is of course up to you, but every now and then a shot like this should be included!
I usually use the 70-200mm because I can't change lenses or cameras for these snapshots.
Of course, it's a different story with the couple pictures. I like to take the time to change the macro for certain shots. Hands, shoes, dress, ... Here you can let off steam a little more intensively without it getting in the way. Changing lenses is more worthwhile here!
I also like to take some portrait shots with the macro (105mm from Sigma), so it makes sense anyway!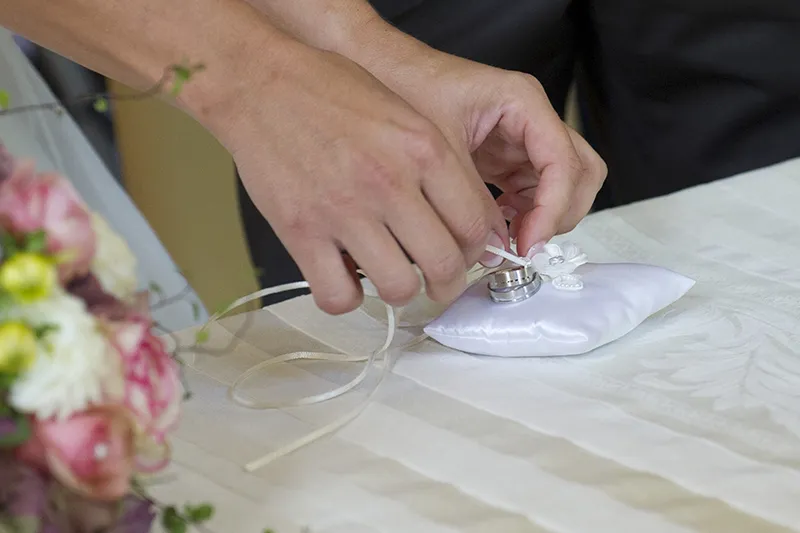
4. detail shots of rings and bouquets
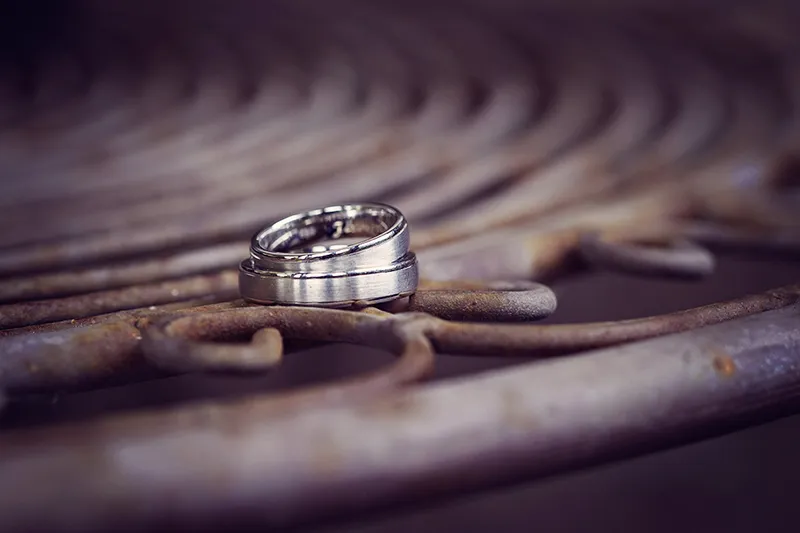
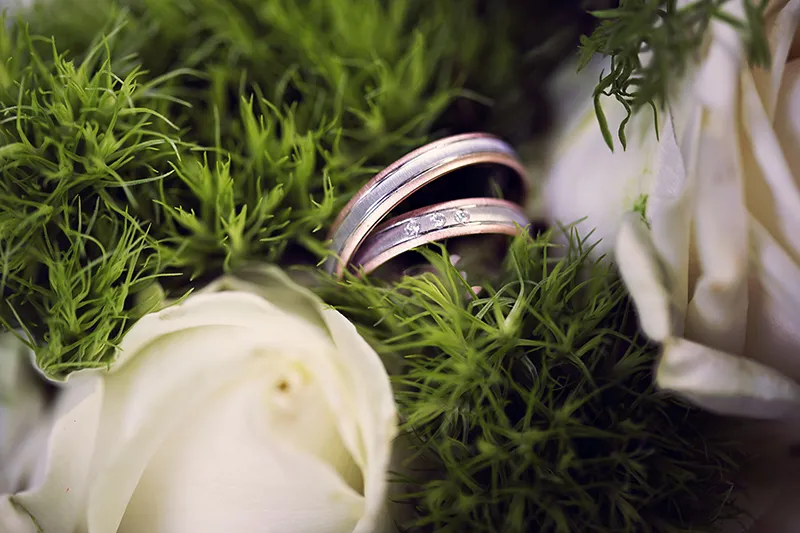
Well, my very special highlight. There is even a gallery on my website with this name! Somehow, over time, it just came naturally that I started to take pictures of the rings or the bouquet to match the respective wedding.
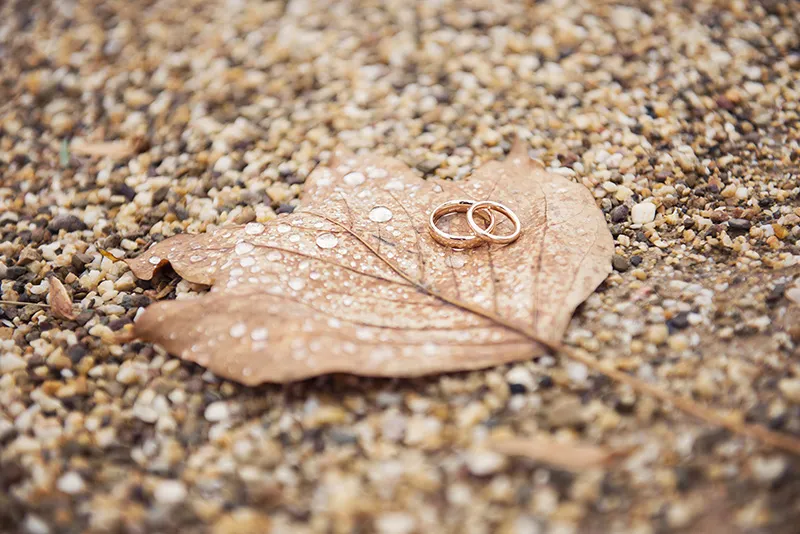
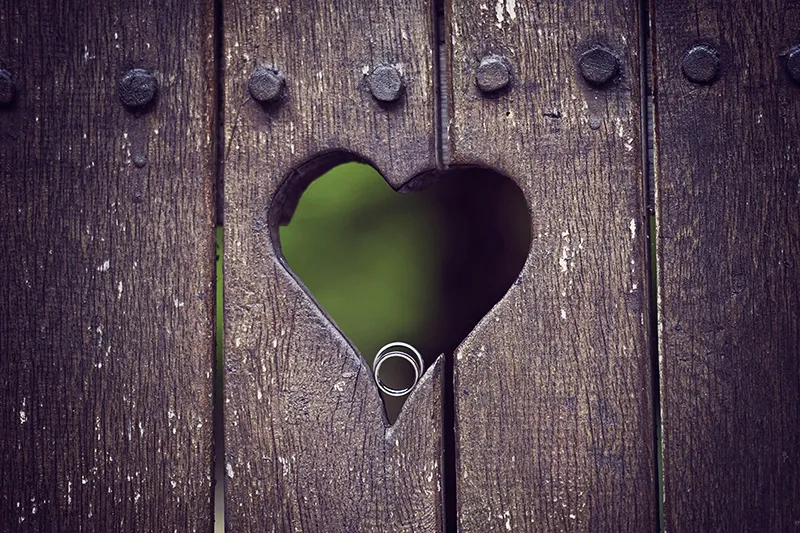
Sometimes it is an object that is typical for the wedding location that serves as a background for the rings or I adapt it to the season (chestnuts, cornfield etc.) - your creativity is also required here. There are often so many possibilities that I have to slow myself down.
There shouldn't be more than 2-3 sets for your rings and bouquet, otherwise it's just too much of a good thing.
It always gives me particular pleasure when I set off on my walk and get to choose something for these details. You are certainly much more inventive and creative than I am. Just give it a try!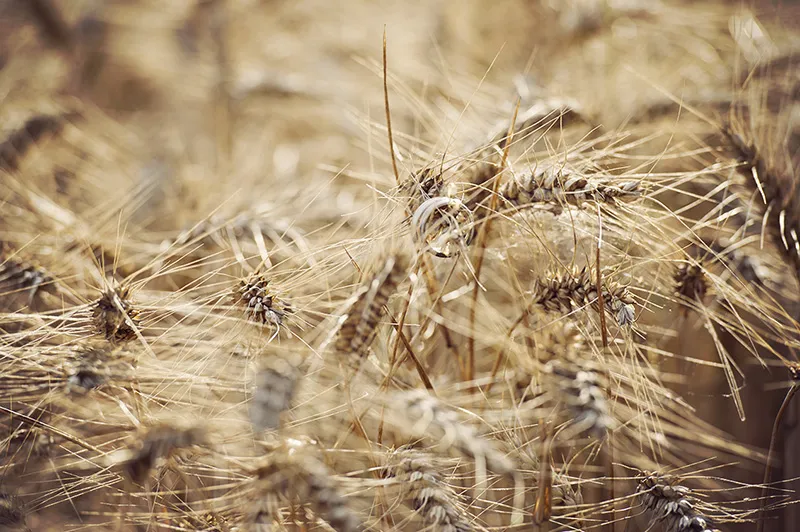
By the way: I like to use an object with a hard or rough surface. The contrast with the precious metal is very nice. I also like dark colors.
Of course, drops of water are also a great idea if it has rained beforehand. If your location offers nothing: Some greenery or a few Blums can be found almost anywhere and make a great backdrop if need be! Otherwise, a wooden table or chair.
You'll always have time for this in between. I prefer to say a quick goodbye with rings and a bouquet when the couple are eating cake or taking a short break and chatting with their guests. You won't be missed here and can steal 10 minutes away.
Otherwise: Do it in between the couple pictures. The couple can then see what you are doing with the things and I much prefer this as a later surprise, but it is still an alternative solution.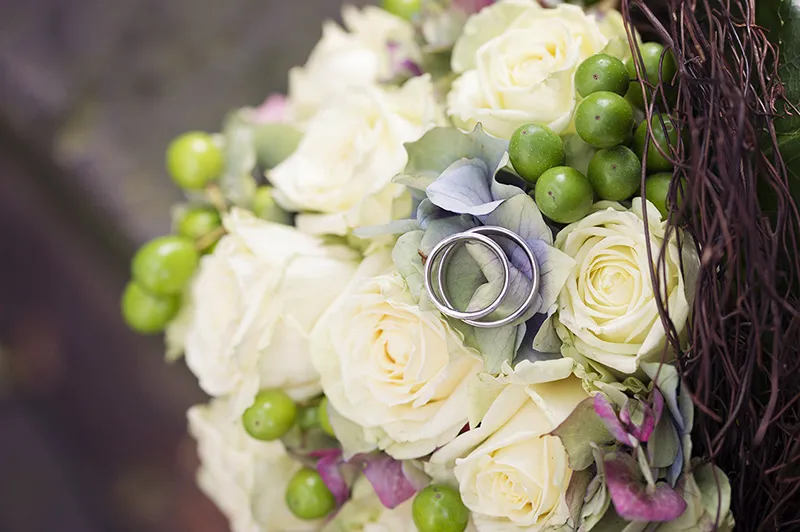
5. detail shots of the wedding cake
Before everyone gathers around the wedding cake, spend a few minutes alone with it, because it's usually worth it!
Of course, it's important that you don't just photograph it in small pieces, but in all its beauty beforehand! I don't usually take that many detailed photos of the cake, as it's nice to be able to read all the text that has been lovingly incorporated. But you are welcome to highlight the cake figures and special elements of the wedding cake individually. I also like to take a close-up of the couple's hands when cutting the cake!
Another tip: the cake is often served festively with sparklers or similar in the hall. Here you don't have time to take detailed shots as it is cut quickly. Sometimes the couple will ask you to take photos of the cake beforehand.
BUT remember that it is almost always in a large kitchen in sheltered corners. I've had the most terrible backdrops here. You may have to look for solutions here. It's best not to let her take a detour through three rooms just for you, because nobody wants the cake to be destroyed just for a photo. But sometimes turning it around or moving it slightly can work wonders!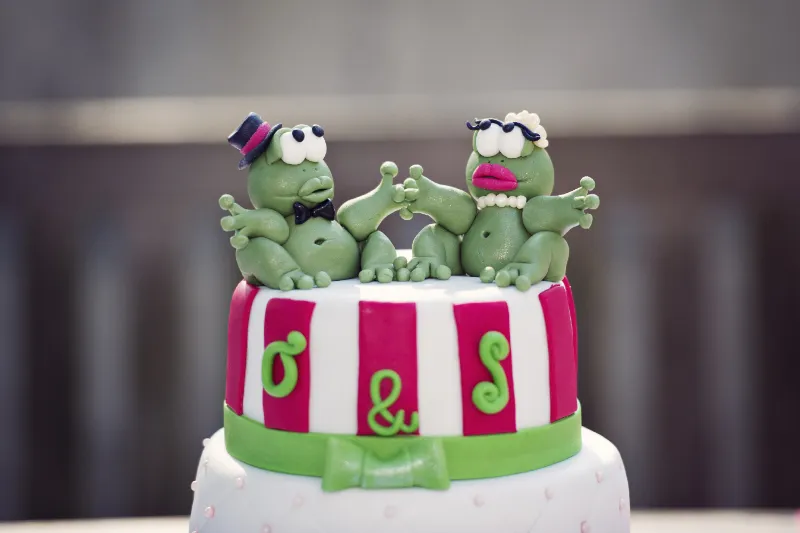
6. detail shots of table decorations
I take a lot of time with the table decorations at the location for my reportages. I know from experience that this is incredibly important to the couple.
In addition to so many things at a wedding, the couple plans every little detail in advance with a lot of love and dedication. The table decorations, the color-coordinated accessories and small gifts for the guests often make up a large part of this.
Sometimes all of this is even created and crafted by the couple themselves and requires special attention.
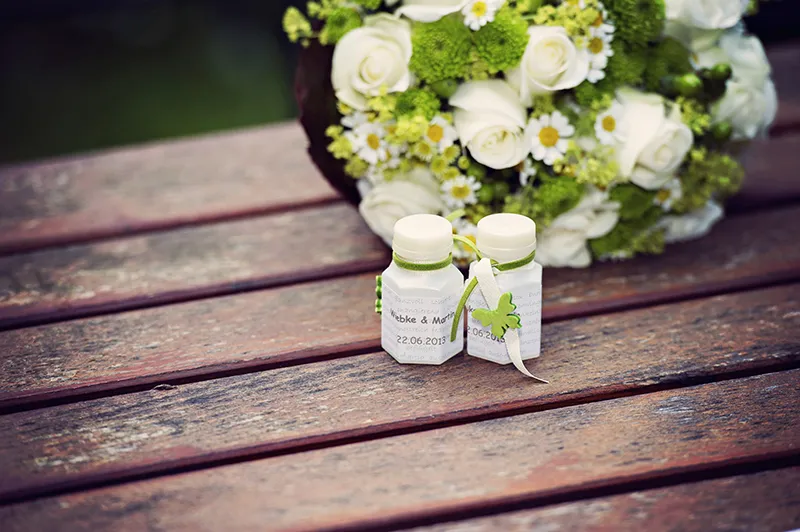
Therefore, please don't just photograph the table as a whole, but also the many little things that are so lovingly waiting for the guests. The menu and place cards, the floral decorations or special highlights. I have brought you some samples here so that you can see what you can expect.
Of course, the whole thing only looks really great when untouched! You should therefore choose a suitable time before the guests "attack" this room or the tables. If this is not possible, you'll have to be quick and photograph everything in its "raw" state. The couple will thank you for it. Don't forget the food either!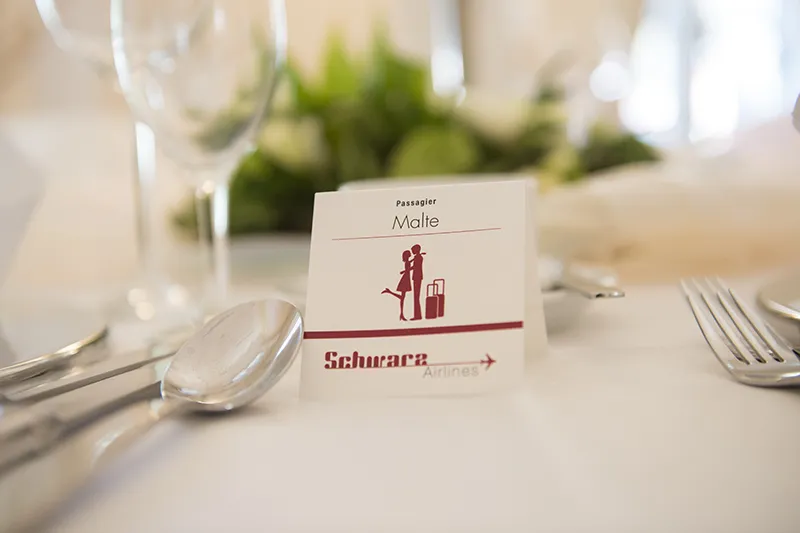
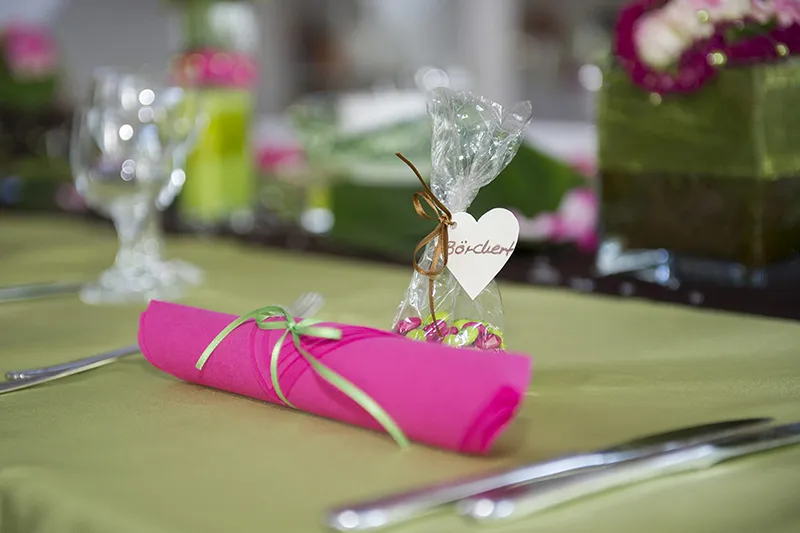
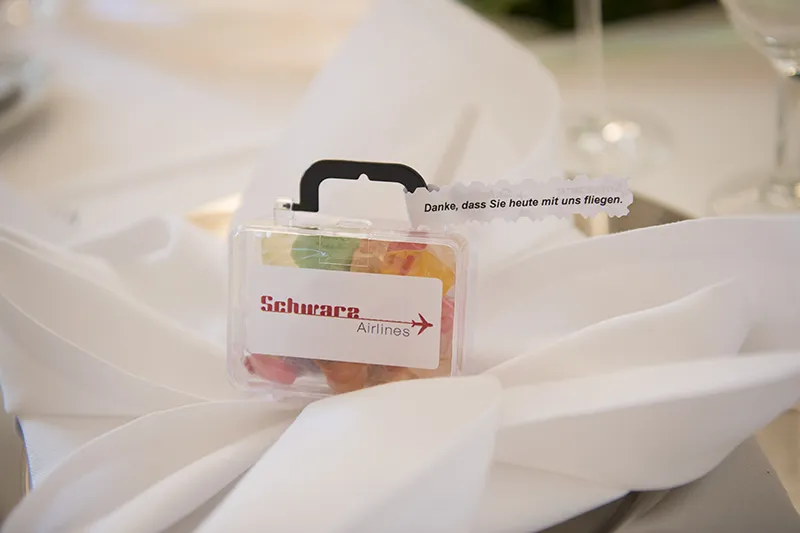
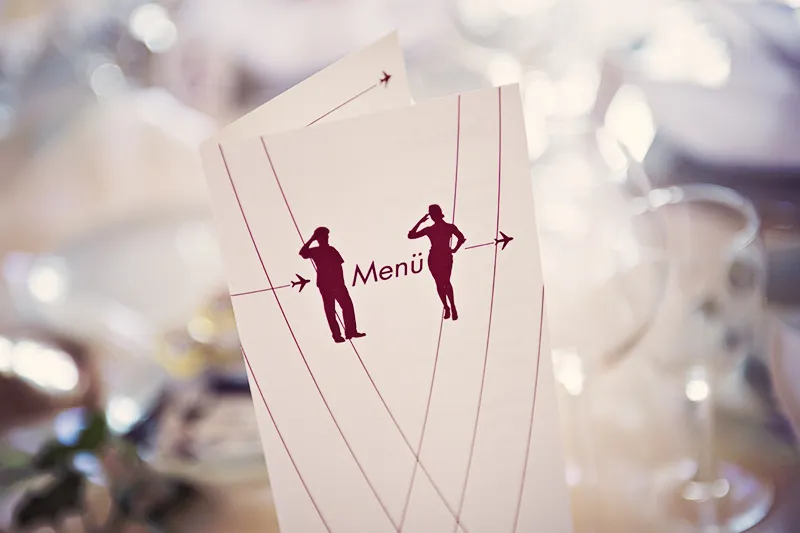
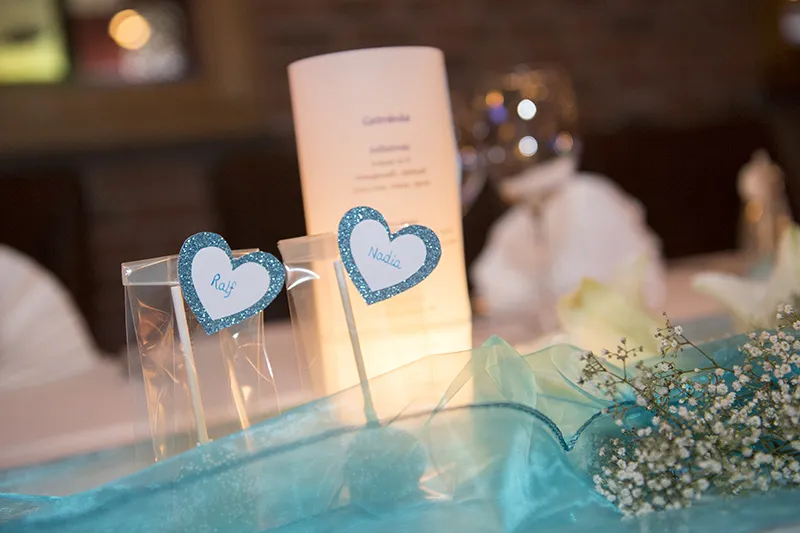
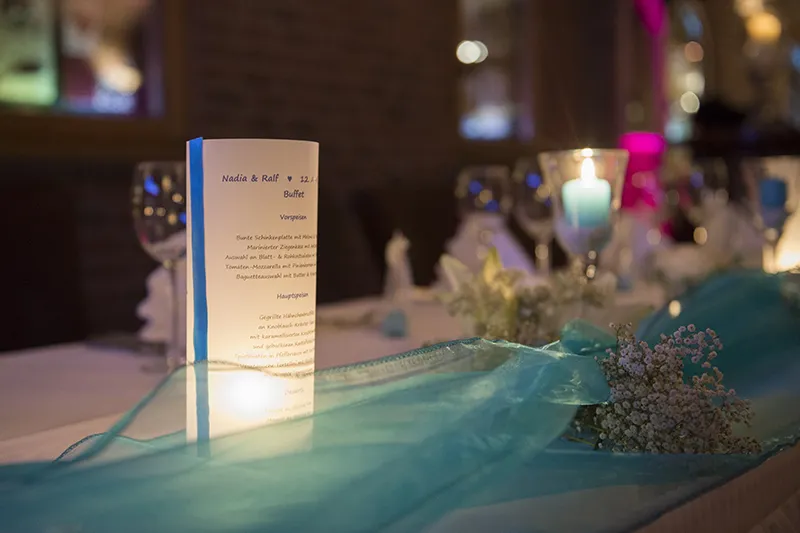
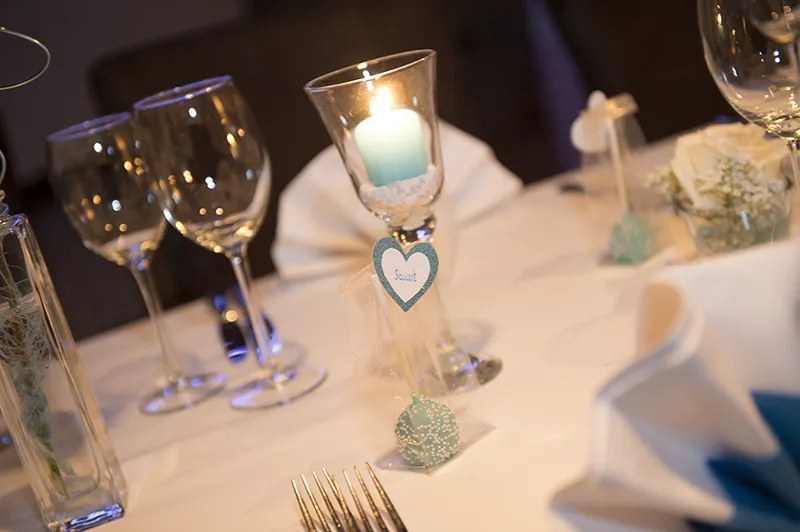
As you can see, I often take photos at a slight angle, I think that often makes it more interesting.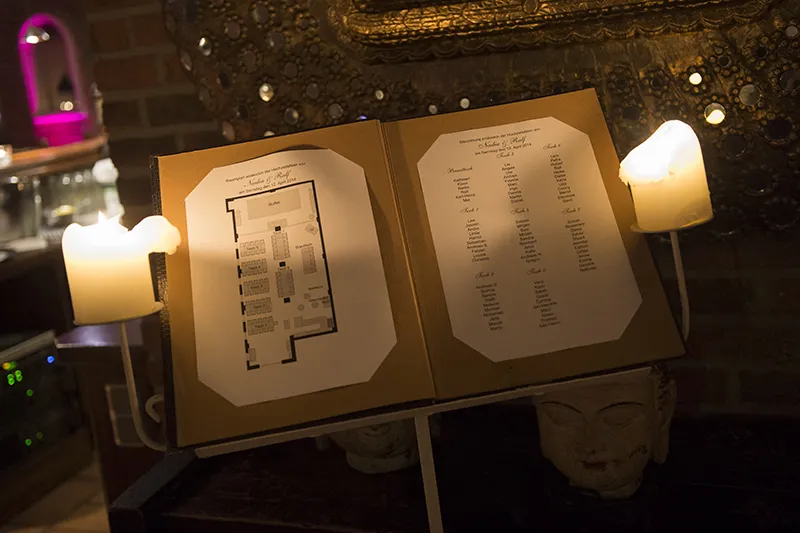
7. other detail shots
Of course, there are many other points that you should pay attention to when it comes to detail shots.
During the preparations, this includes jewelry, shoes or cufflinks, etc. The decorated bridal car is also worth a close-up here and there!
Don't forget the lovingly - sometimes incredibly well-made - gifts that the couple will receive and are eagerly awaiting a photo on the gift table.
Of course, more ideas on this topic will follow soon!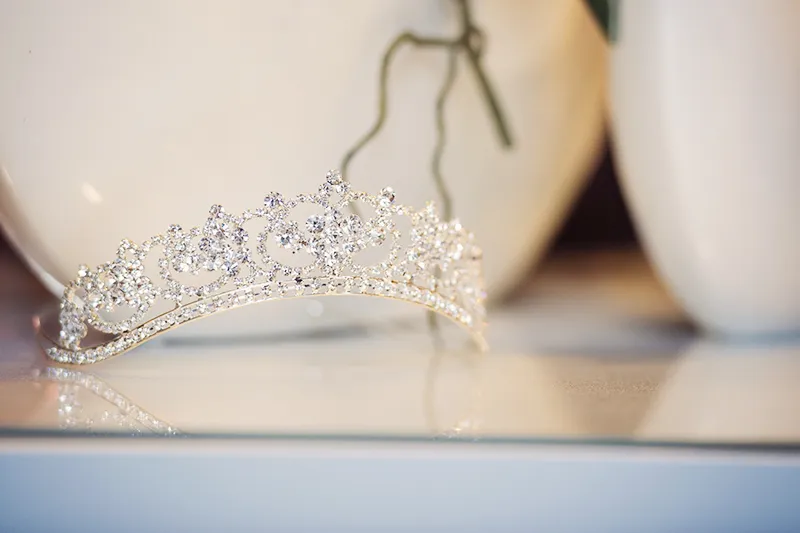
So, that's it for this tutorial. I really hope you enjoyed it and that it has given you some ideas.
The next part contains theory, because it's all about image editing - the finishing touches for your wedding photos. Have fun reading.
Nicole Schick
Photo studio with heart
