I assume that you create an additional HTML file. I save this under the name contact.html. The contact.html is located on the same level as the already known index.html.
In this first part, the basic settings on the form are made. Things like rounded corners, color gradients, etc. will follow in the next tutorial.
Within the contact.html, the form is created. The form is defined within the div area with the class content. Then consider which fields should be created. I have decided to query the following information:
• Name
• Email address
• Comment
Of course, you have to decide for yourself what information you want to obtain. In principle, however, I recommend only querying the data actually needed. Most visitors to websites shy away from extensive forms. So keep it short.
The basic structure of my form looks as follows:
<div class="content">
   <form class="form" action="#" method="post">
   <fieldset>
   <legend>Contact us</legend>
   <ol>
      <li>
      <label for="name">Name:</label>
      <input type="text" name="name" id="name" value="" />
      </li>
      <li>
      <label for="email">Email address:</label>
      <input type="text" name="email" id="email" value="" />
      </li>
      <li>
      <label for="comment">Comment:</label>
      <textarea cols="32" rows="7" name="content" id="content"></textarea>
      </li>
      <li class="button">
      <input type="submit" name="submit" id="submit" value="Submit" />
      </li>
   </ol>
   </fieldset>
   </form>
</div>
The form does not contain any special features at first. A fieldset definition has been applied around the form fields. How to create form fields and the purpose of the label elements has already been sufficiently described. So at this point, full concentration should be on designing the form.
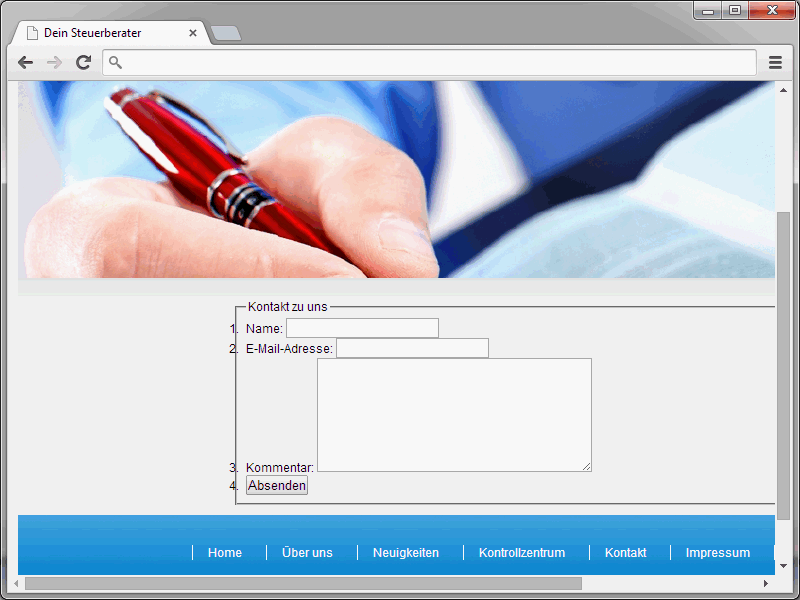
When you view the result in the browser, you will see an initially not very appealing form.
Improvements are certainly necessary here.
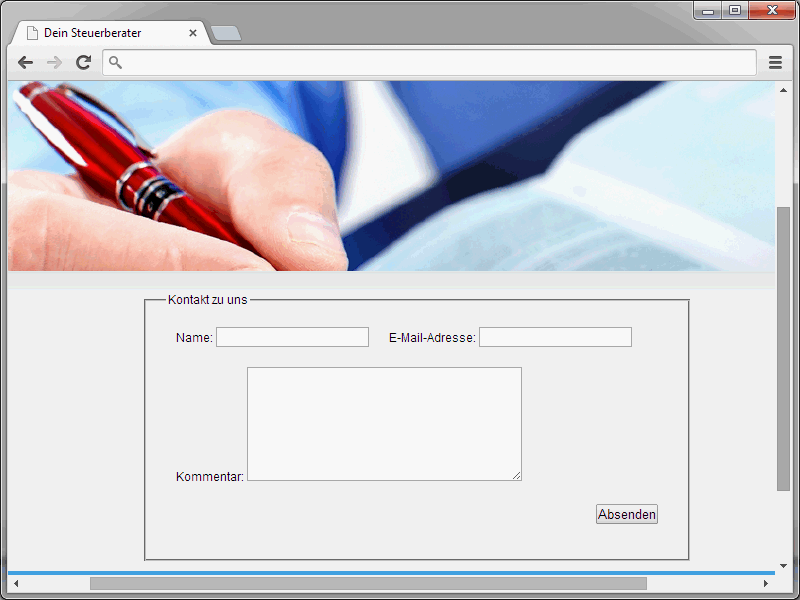
First, basic information about the form is provided.
form {
   padding: 3px 0 0;
   margin: 10px auto;
   width: 550px;
 }
The outer and inner margins are defined here. In addition, a width of 550 pixels is set for the form.
Next up is the fieldset styling.
fieldset {
   padding: 10px 20px 25px;
 }
Here the margins are defined as well.
The form fields themselves are created within an ordered ol list.
ol {
   list-style-type: none;
   margin: 0;
   padding: 0;
 }
To visually disguise this list, list-style-type: none; is used. Additionally, borders and padding are set to 0 each.
Next, the list items are defined. These float to the left and have an inner padding of 10 pixels.
li {
   float: left;
   padding: 10px;
 }
There is a special feature regarding the button at the bottom of the form. It should be right-aligned.
li.button {
   float: none;
   clear: both;
    text-align: right;
 }
The Form Heading
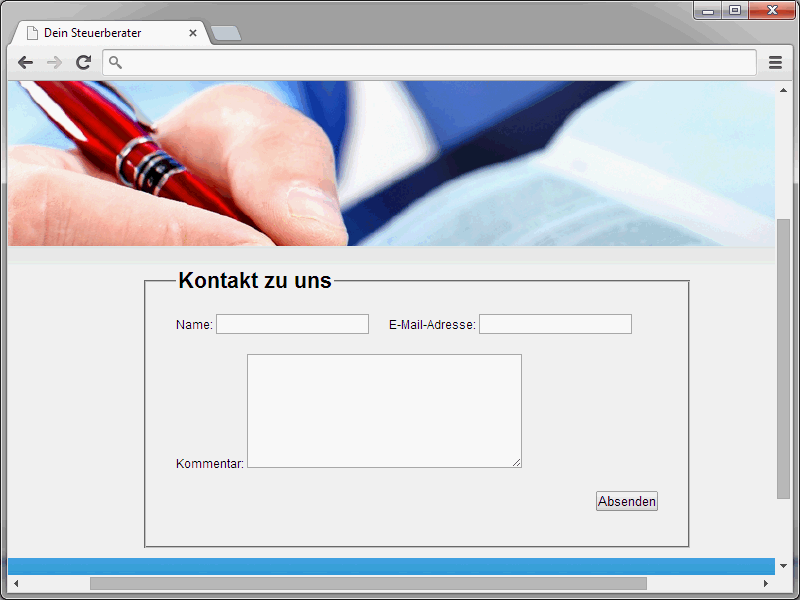
Now let's focus on the legend element. This is used to define the form heading.
The definition for the heading looks as follows:
fieldset legend {
   font-weight: bold;
   font-size: 22px;
   margin: 20px 0 0 10px;
 }
The Labels
You have already encountered the label element in this series. This label element allows for a logical association between field captions and the actual form field. There is a special feature to note regarding the CSS definition here.
label {
   display: block;
   cursor: pointer;
   font-weight: bold;
   line-height: 24px;
 }
I equip the label element, among other things, with a cursor specification. This signals to visitors that the field captions are clickable. If they actually click a field description, the cursor will automatically be placed in the corresponding field.
Styling the Form Fields
Next, the actual form fields are styled. First, general details about input and textarea are provided.
input, textarea {
   color: #3399FF;
   border: 1px solid #3399FF;
   font: 13px Helvetica, Arial, sans-serif;
   padding: 8px 10px;
   width: 190px;
 }
Hier gaat het uitsluitend om ontwerpaspecten. Bijzondere aandacht moet worden besteed aan de kaders. Zodra de cursor in een veld wordt geplaatst, verandert de kaderkleur. Dit is overigens niet alleen een esthetisch aspect. Het helpt de bezoekers daadwerkelijk bij het invullen van het formulier. Zo weten ze altijd meteen in welk veld de cursor zich bevindt.
Er volgen nu enkele specificaties voor het meerregelige tekstinvoerveld.
textarea {
   width: 430px;
   overflow: auto;
 }
De breedte van dit veld wordt vastgesteld op 430 pixels. Misschien lijkt de instructie overflow: auto in eerste instantie een beetje vreemd in verband met meerregelige invoervelden. Deze regel is te wijten aan oudere versies van Internet Explorer. Deze browser toonde namelijk in meerregelige invoervelden ook scrollbars wanneer dat eigenlijk niet nodig was. Met overflow: auto kan dit esthetische probleem worden omzeild.
Het ontwerpen van de verzendknop
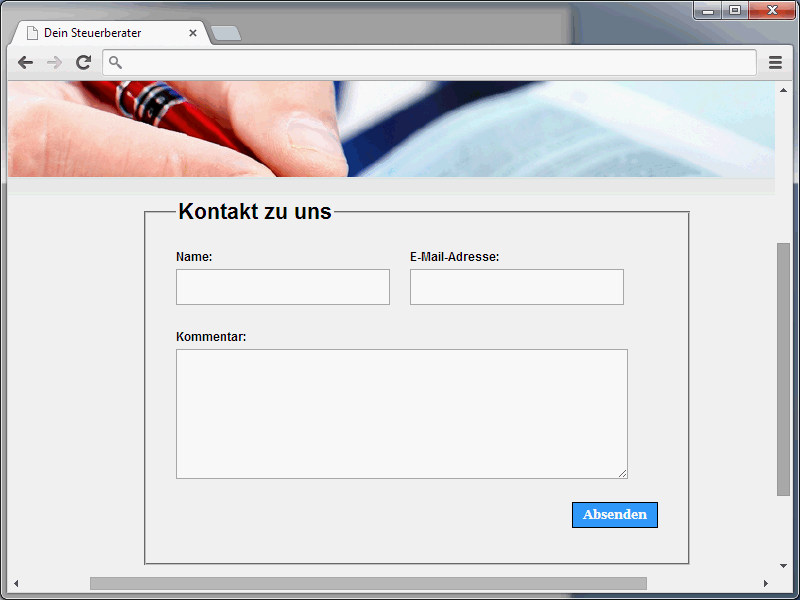
Op dit moment ziet de verzendknop er nog vrij eenvoudig uit. Dat zal nu veranderen. Het resultaat zal er als volgt uitzien:
De knop wordt verschillende eigenschappen toegewezen.
• Achtergrondkleur
• Lettertype
• Kader
• Afstanden
De bijbehorende CSS-syntax ziet er als volgt uit:
input[type="submit"] {
   background-color: #3399FF;
   color: #fff;
   cursor: pointer;
   font: bold 1em/1.2 Georgia, "Times New Roman ", serif;
   border: 1px solid #000;
   padding: 5px 10px;
   width: auto;
 }
Misschien het vermelden waard is hier de specificatie input[type="submit"]. Met deze selector wordt toegang verkregen tot input-elementen die de attribuut-waarde-combinatie type="submit" hebben.


