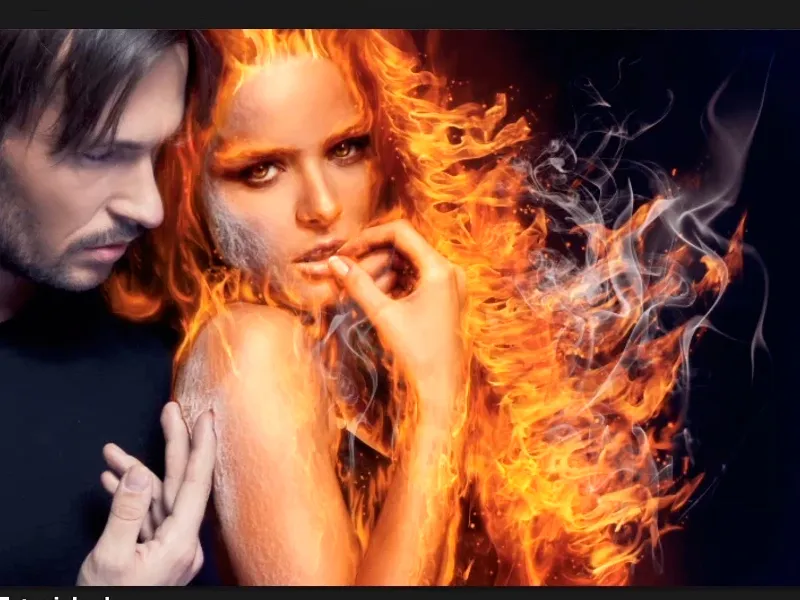
Note : The tutorial "Where there's fire, there's smoke" is a text version of the accompanying video training by Marco Kolditz. The texts may therefore have a colloquial style.
Here we go: Steps 1-11
Step 1
Where there's fire, there's something? Exactly, smoke, and you now want to place this smoke in your image via File>Place or ...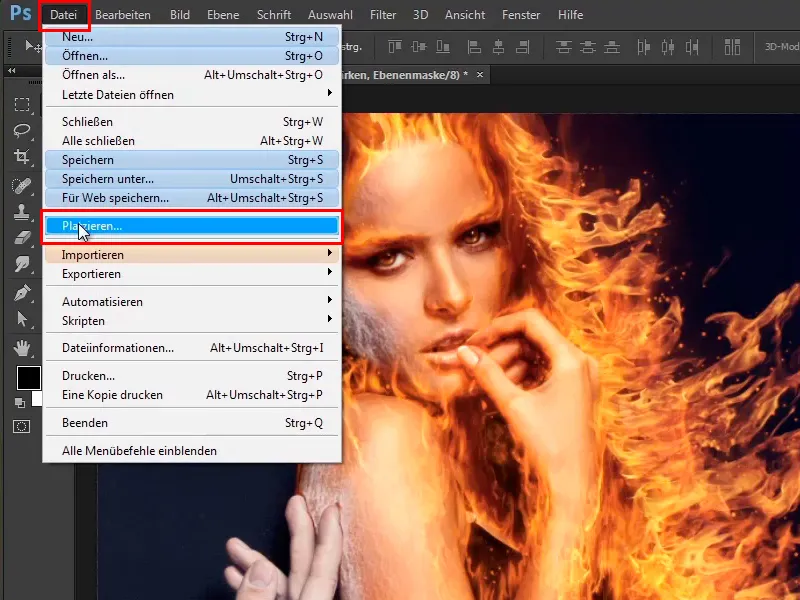
... via a Windows folder, where you then simply drag the image file into Photoshop.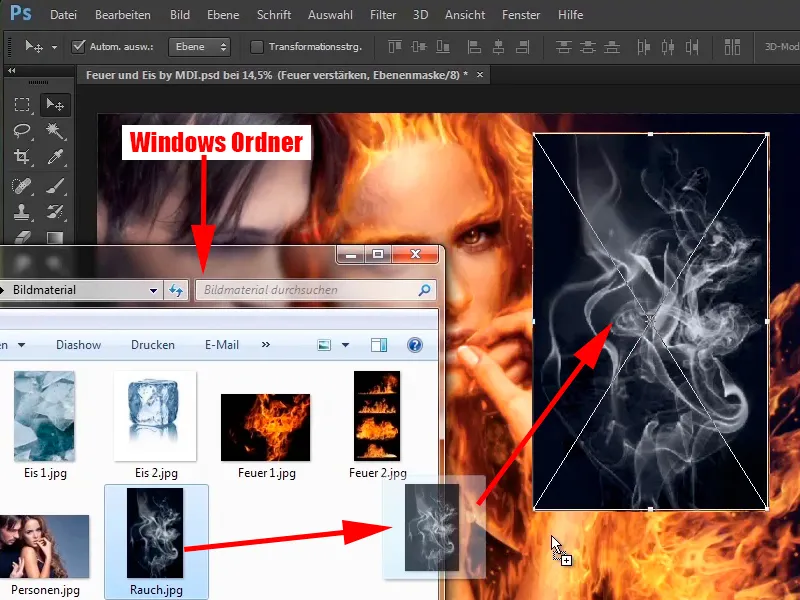
Step 2
Confirm with Enter and immediately set this layer to Negative Multiply mode.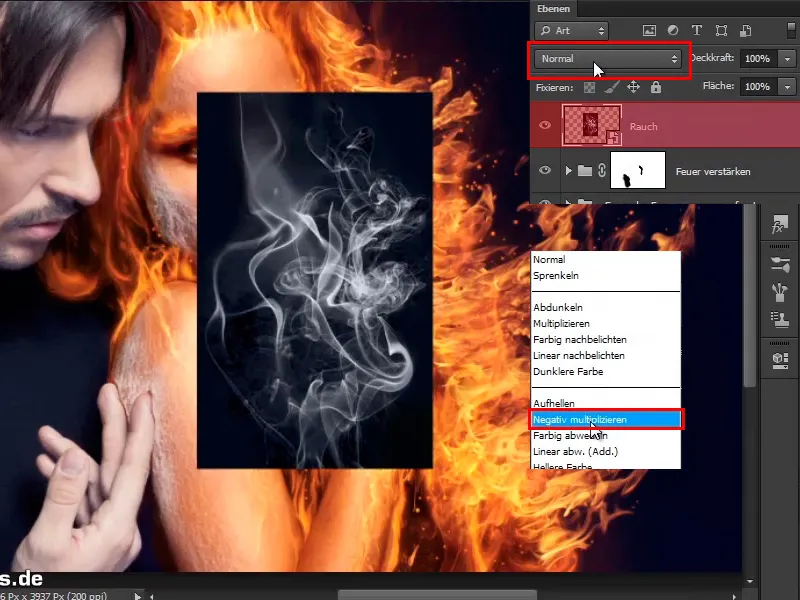
This is what the result looks like: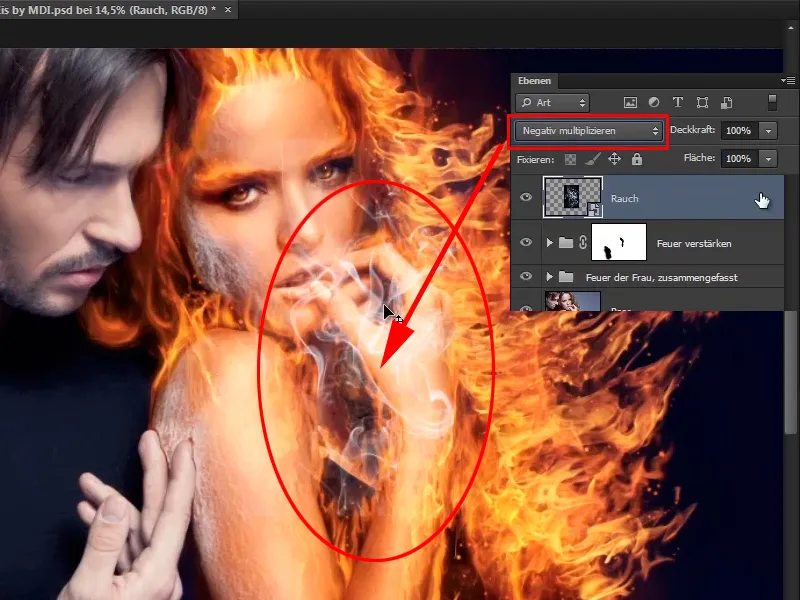
Step 3
The nice thing is that when you place a layer, it is saved directly as a smart object, which means that you no longer have to do this.
As with the fire, the black background is automatically hidden in Multiply negative mode.
In this case, the background was apparently not completely black, but probably had some kind of gray value.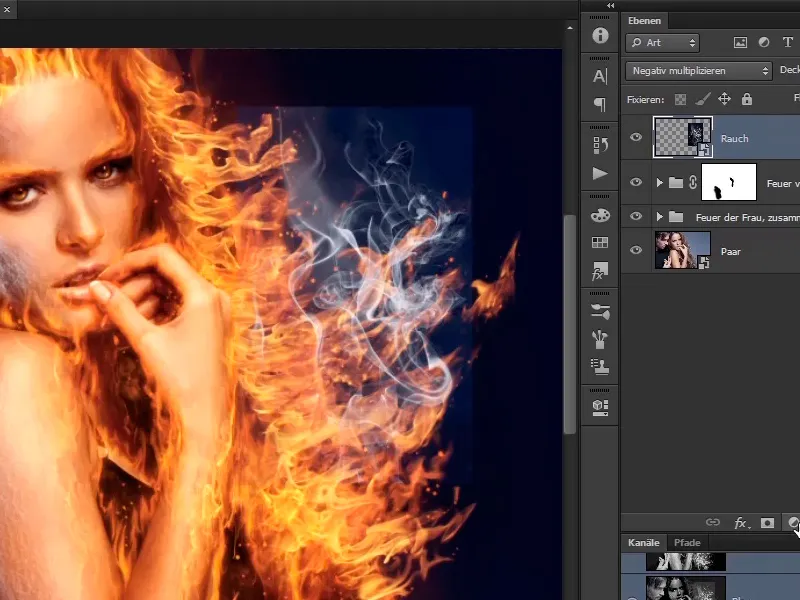
Step 4
However, you can change this by creating a tone correction layer...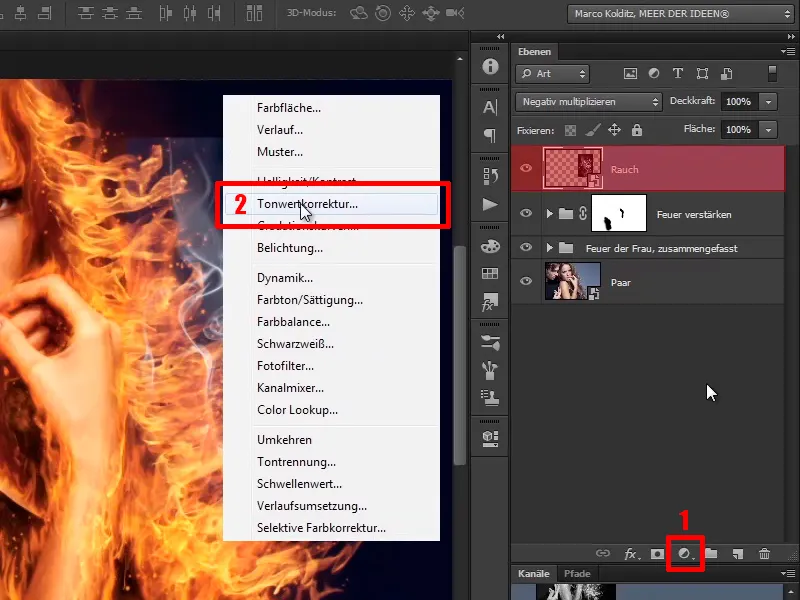
... as a clipping mask.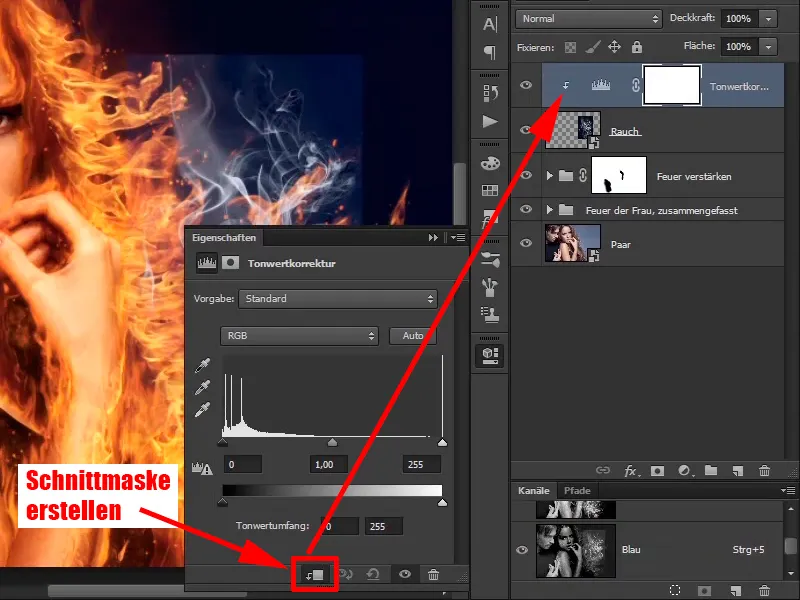
Step 5
Here you will simply drag the black value a little to the right and perhaps the gray value a little too.
Now, with these values, the black area has actually disappeared.
- Black value: 24
- Average value: 0.91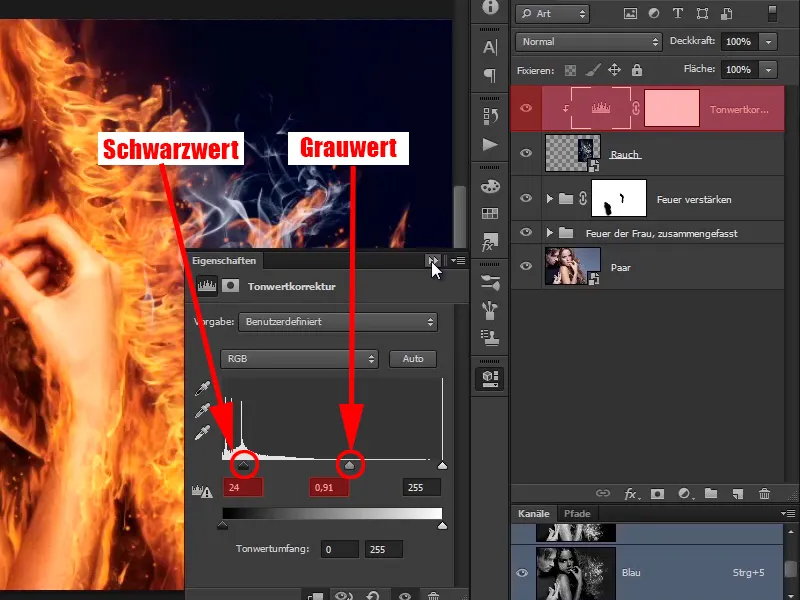
Step 6
You can now enlarge this smoke again with Ctrl+T and then take a look at where you can best place it. You should mirror it, then the fire will look better.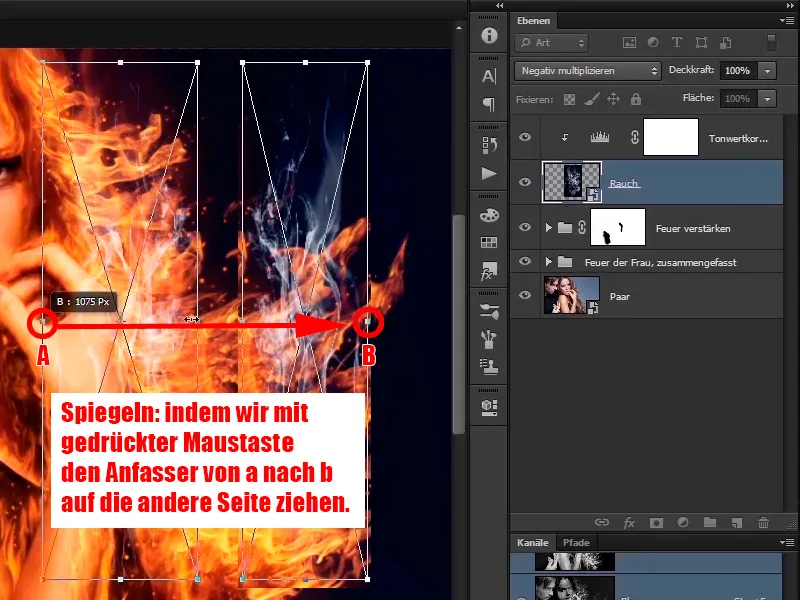
Step 7
You'll also like this better because the smoke flies up into the corner on the right or blows a little. You place again with time until the smoke fits the way you like it.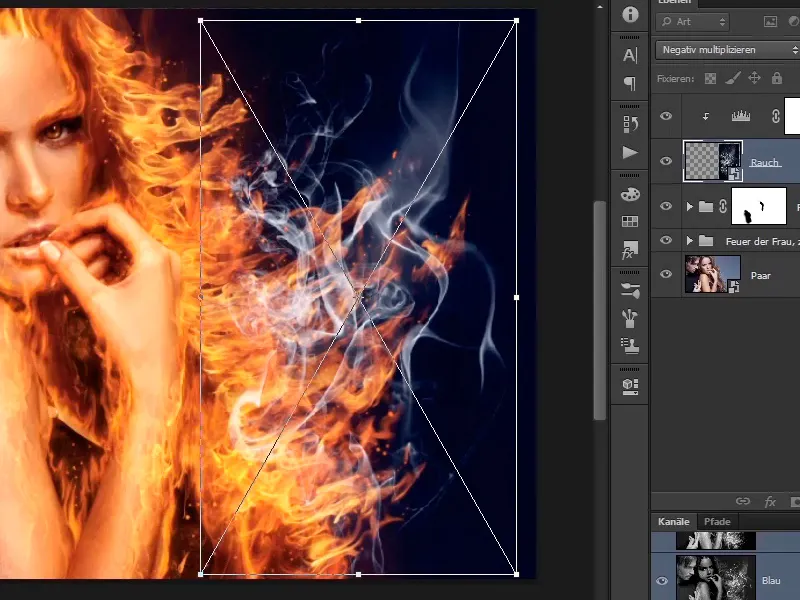
Step 8
Via Edit>Transform>Shape...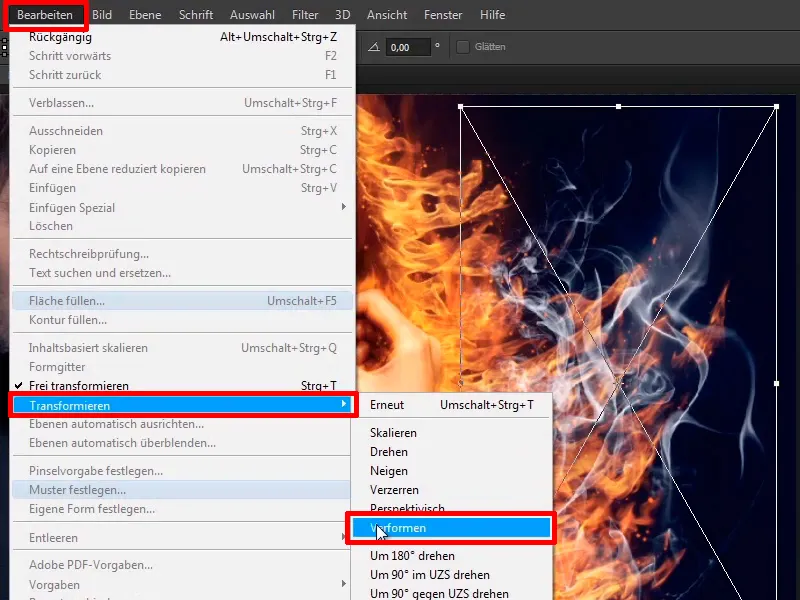
... you can adjust the smoke so that it looks really nice. As I said, you can also take your time here and confirm with Enter.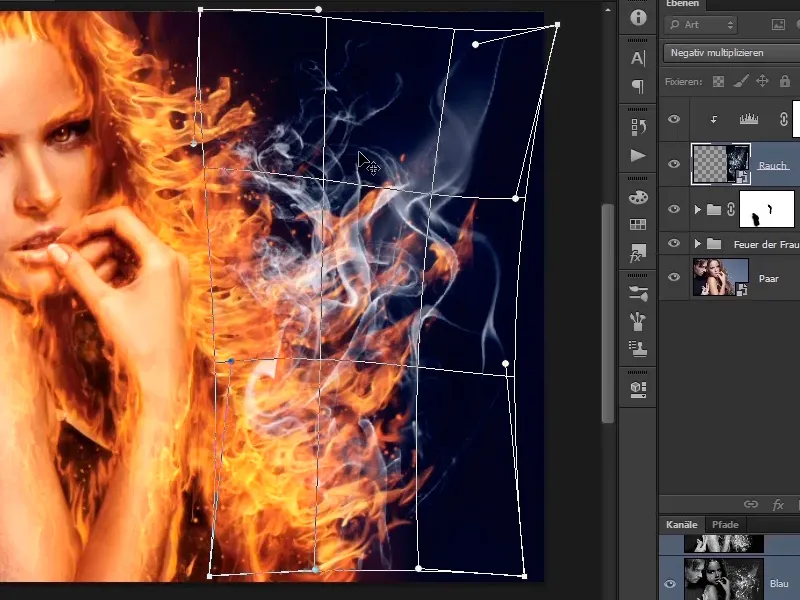
Step 9
Here you can also paint with a layer mask and ...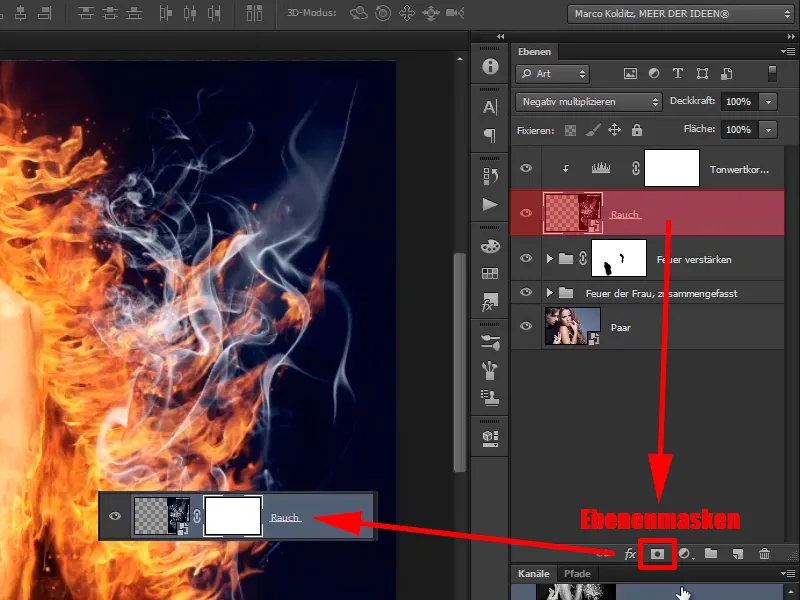
Step 10
... retouch out some areas, such as this area: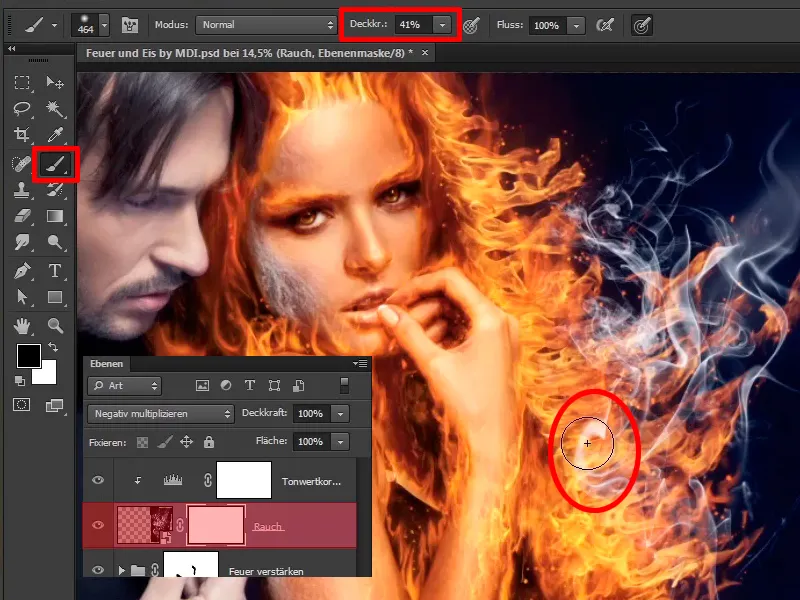
Step 11
You can also soften this area a little with low opacity.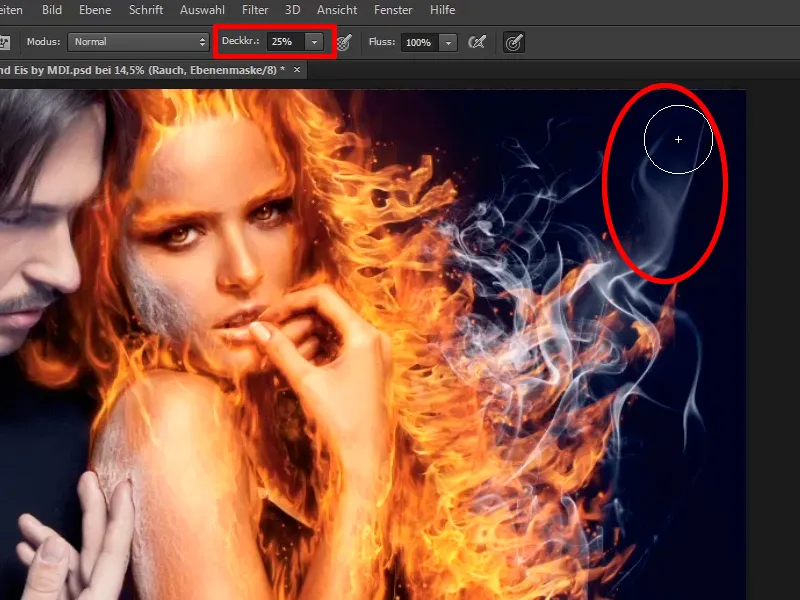
Steps 12-22
Font 12
You can adjust everything the way you want it. There is also fire between the arm and the hand, which means you will also place a little smoke here. To do this, you will duplicate these two layers by holding down the Alt key and dragging them down.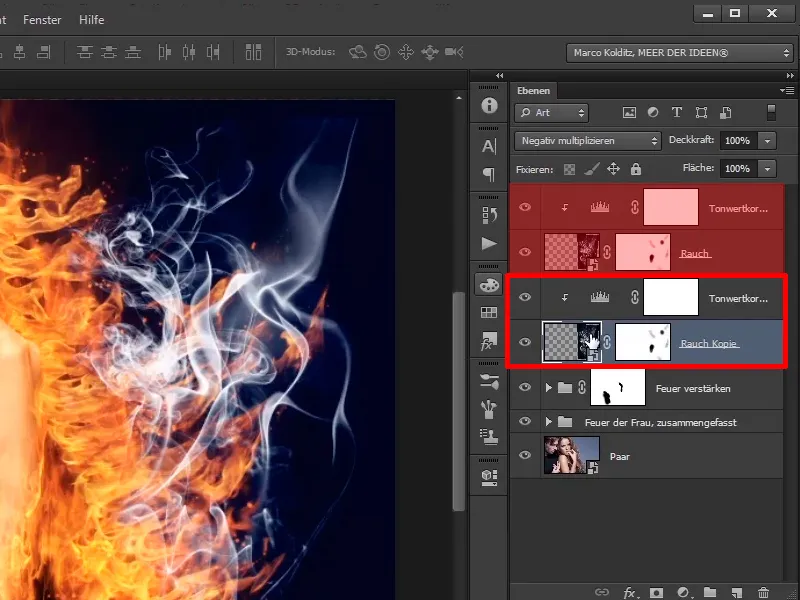
Step 13
Now select the duplicated smoke layer and press Ctrl+T. Wait, you have to remove this symbol ...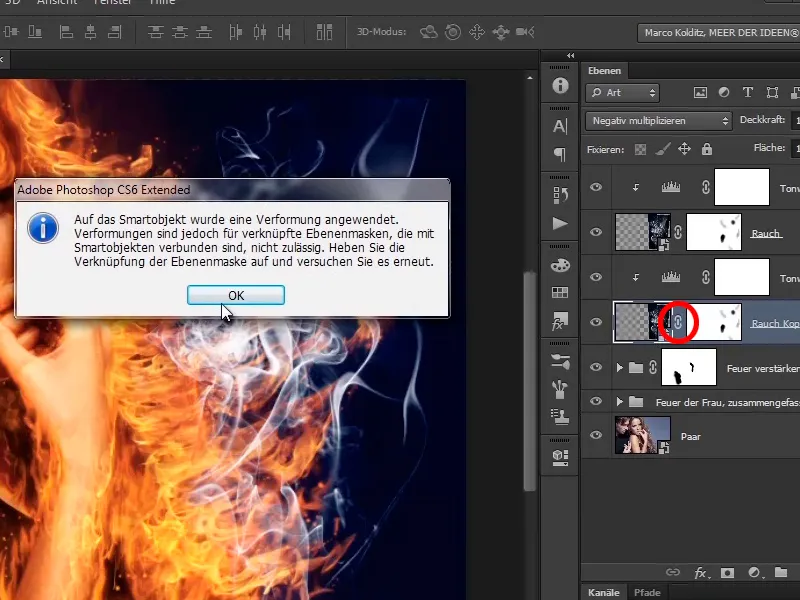
... because you have applied a deform function here.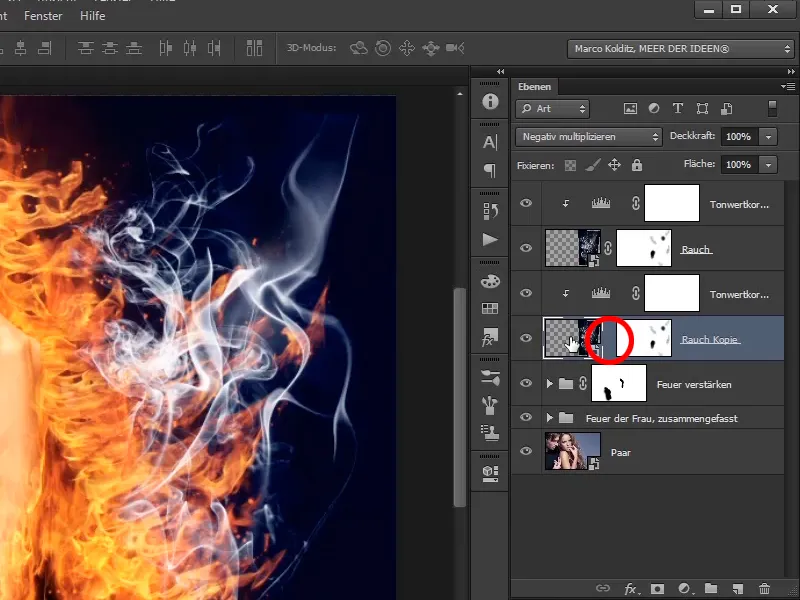
Step 14
Now press Ctrl+T and you can move the smoke. You can make it smaller and place it. Perhaps you should also mirror it again, maybe make it a bit bigger. You'll have to see how you like it. Maybe no mirroring after all, you'll just have to see how you like it best. Again, you can take your time and confirm at this point with Enter.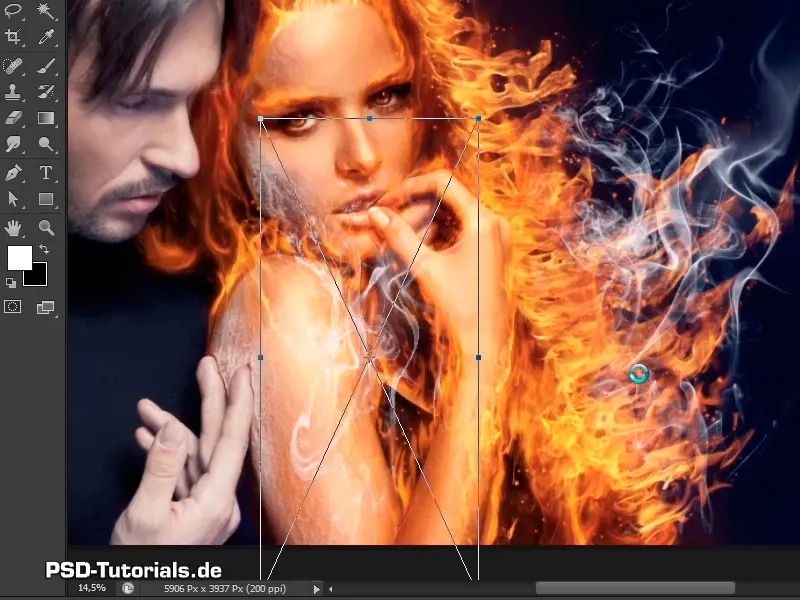
Step 15
You have already corrected the background on the "Smoke copy" layer; you can of course mask out the areas you don't want on the layer mask. This is the whole area on the arm.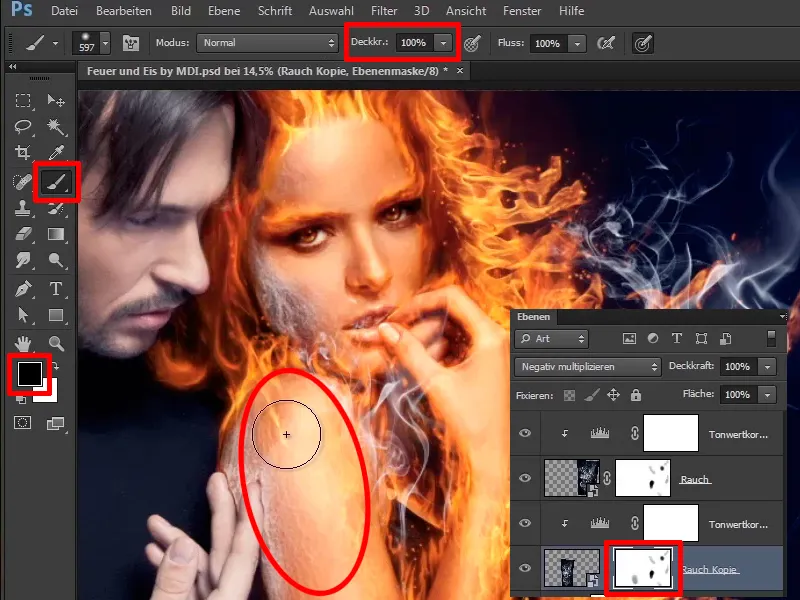
Step 16
Now reduce the opacity a little, because it doesn't have to be on the mouth, of course, but it looks pretty good like this.
Opacity: 36%.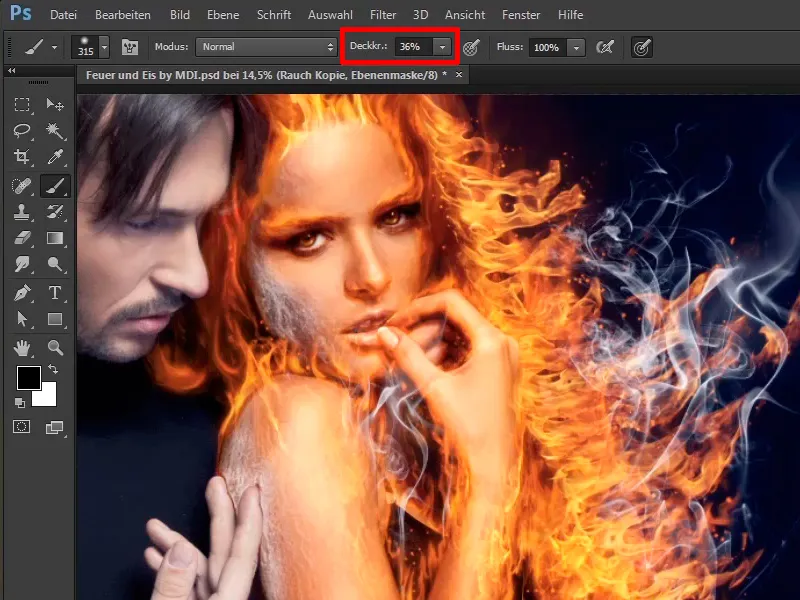
Step 17
Now you can reduce the opacity of the layers.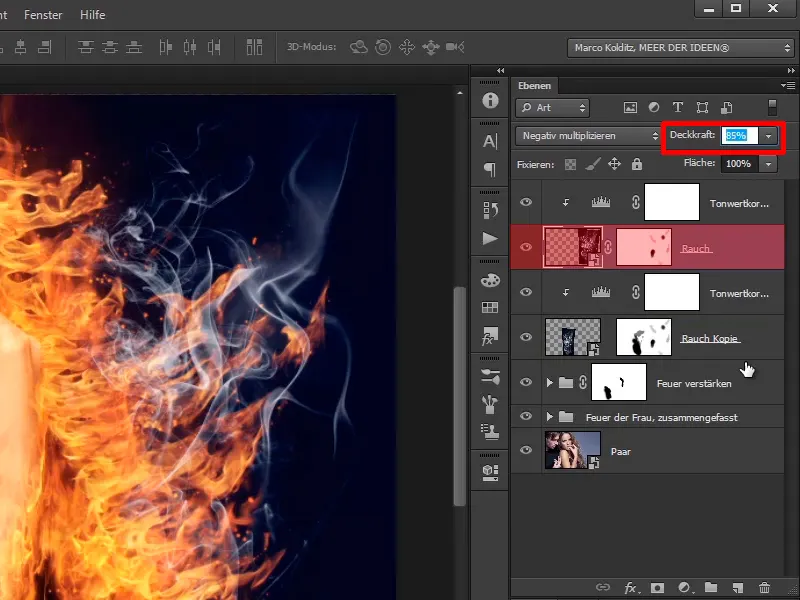
This way you have also placed some nice smoke in the picture.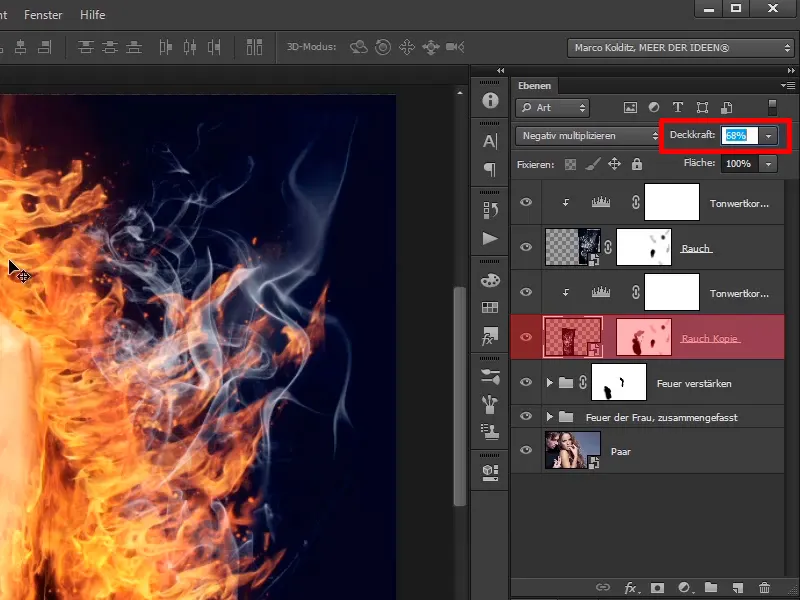
Step 18
What you want to do now: You want a bit more red in the fire, which means you will now select these layers and use Ctrl+G to put them in a group...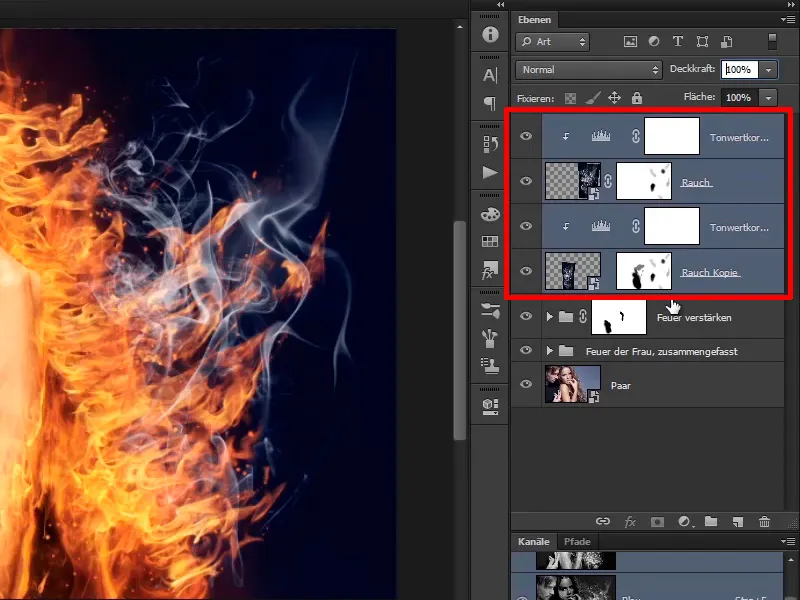
... called smoke: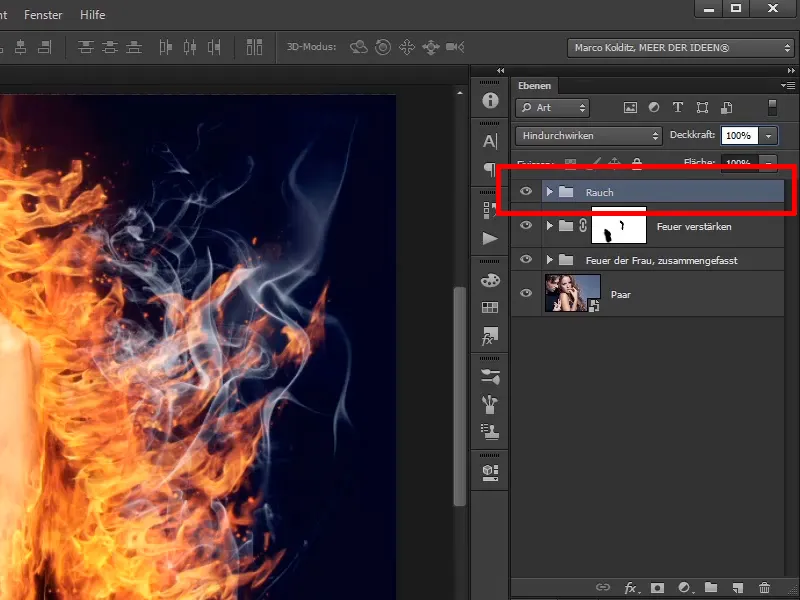
Step 19
And you will now place another layer on top of this, namely a Color Balance adjustment layer.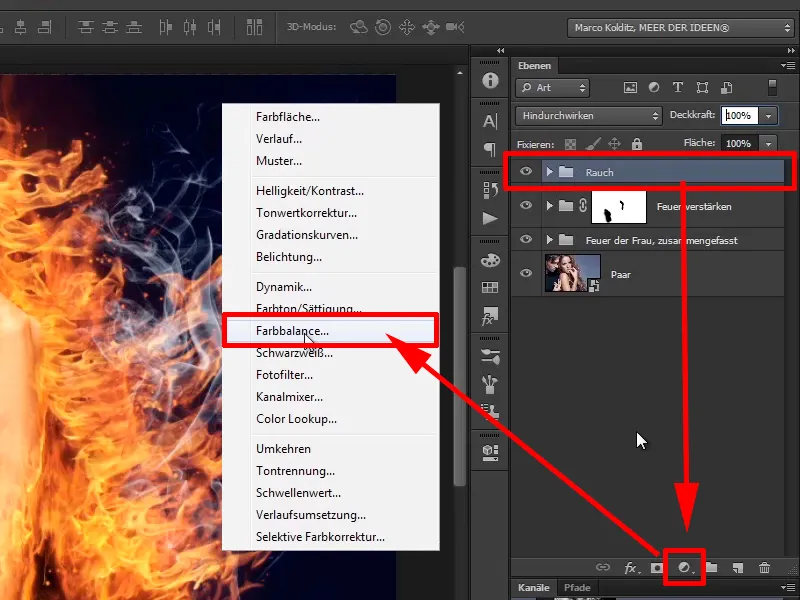
Simply drag the mid tones into the red channel 30 and a little into the yellowish: -20.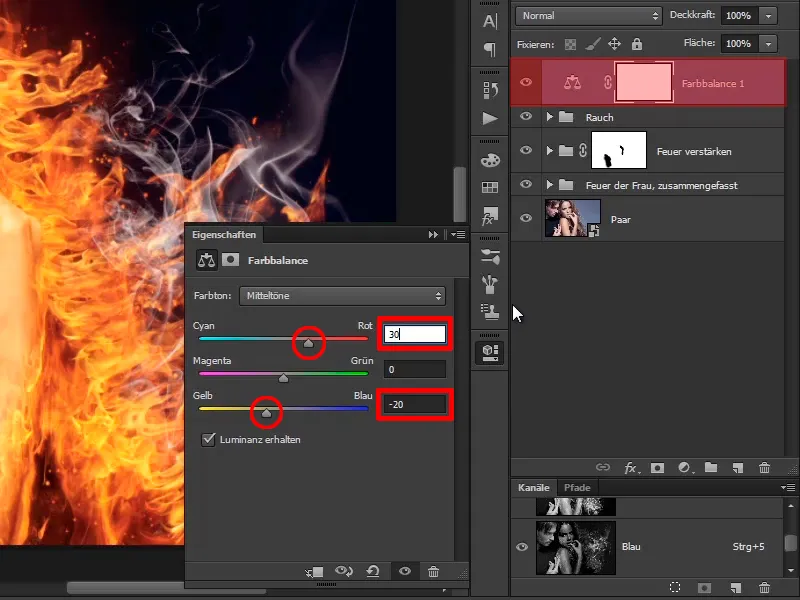
Step 20
As the whole image has become relatively red, you will first invert the mask. You can now use Ctrl+I to paint the change into the image with full opacity and a white foreground brush, but only in the hair area. The red tone also has a slight effect on the bluish background, and that's OK, because the red blazing fire gives off its color to the surroundings.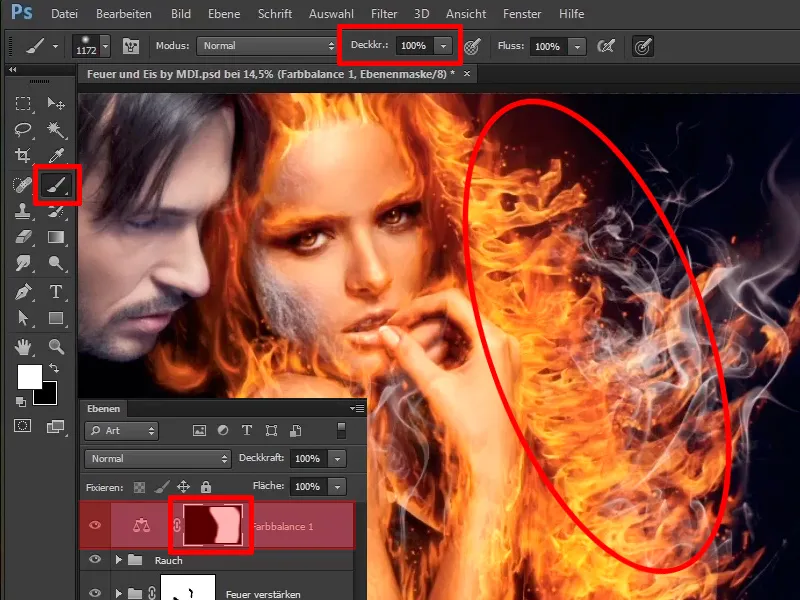
Step 21
It already looks very good. You rename these layers to "More red in the fire".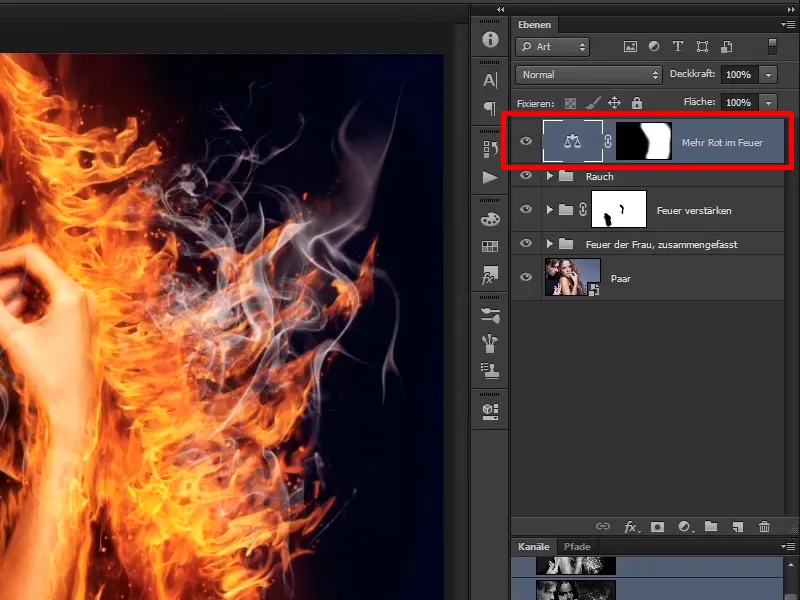
Step 22
You have now completed the woman in this way and the next tutorials will be all about the man, who you will turn into a block of ice.