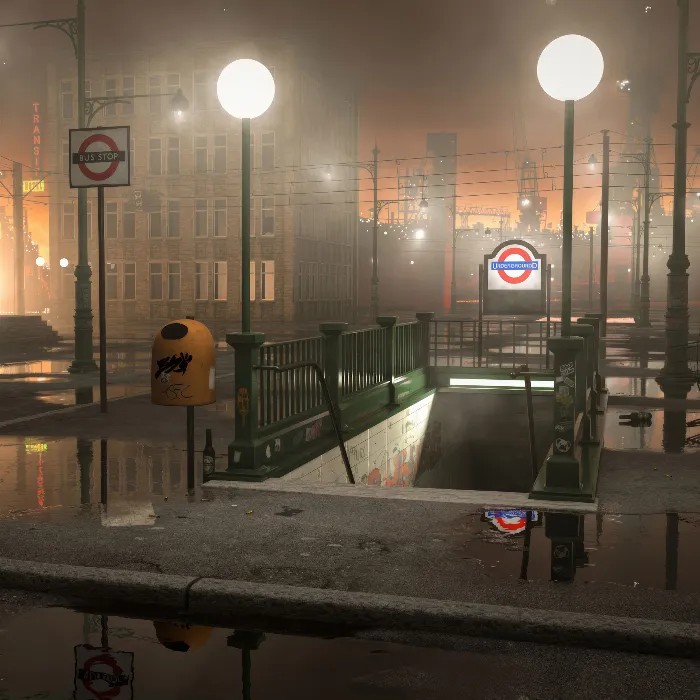
Cinema 4D tutorial "Underground" - from 3D model to rendering
It's simply fascinating how an urban, detailed and atmospherically dense scenery emerges before your eyes. The over five-hour Cinema 4D tutorial "Underground" offers you an exciting workflow, including working materials. Create the 3D models, add textures and light up the city night perfectly. Digital artist Uli Staiger explains how to proceed step by step.
- Cinema 4D tutorial: Build an atmospheric city scene step by step.
- Complete workflow: 3D modeling, texturing, lighting, rendering, fine-tuning with Photoshop
- Release 21 in practice: Learn how to use new functions of Cinema 4D R21 in a targeted manner.
- Including work materials: Participation is the order of the day - so what you learn stays in your head.
- Over five hours of video tutorial on using Cinema 4D by Uli Staiger
- Bonus: E-book with 100 PDF pages on the new features in Cinema 4D R21 by Andreas Asanger
Cinema 4D in practice - grab a truckload of inspiration and know-how and learn methods and techniques that you will soon be incorporating into your own creative processes.
- Usable with:
- content:
5 h Video training,
100 PDF pages
- Licence: private and commercial Rights of use
- Bonus: including working material
Examples of use
To model
Texturing
Light sources
Post-processing in Photoshop
Bonus: E-book on the innovations in R21.
Details of the content
Scene in your head? - Realize it with the help of this Cinema 4D tutorial!
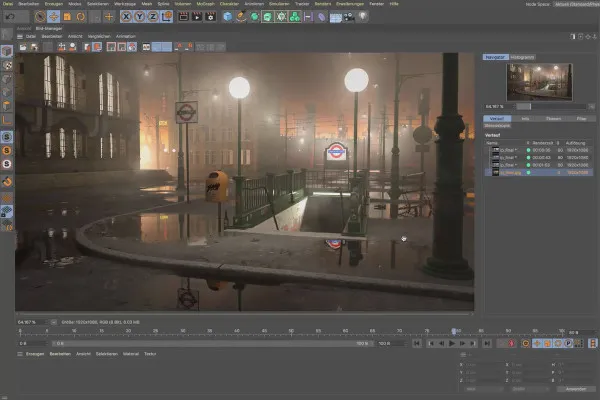
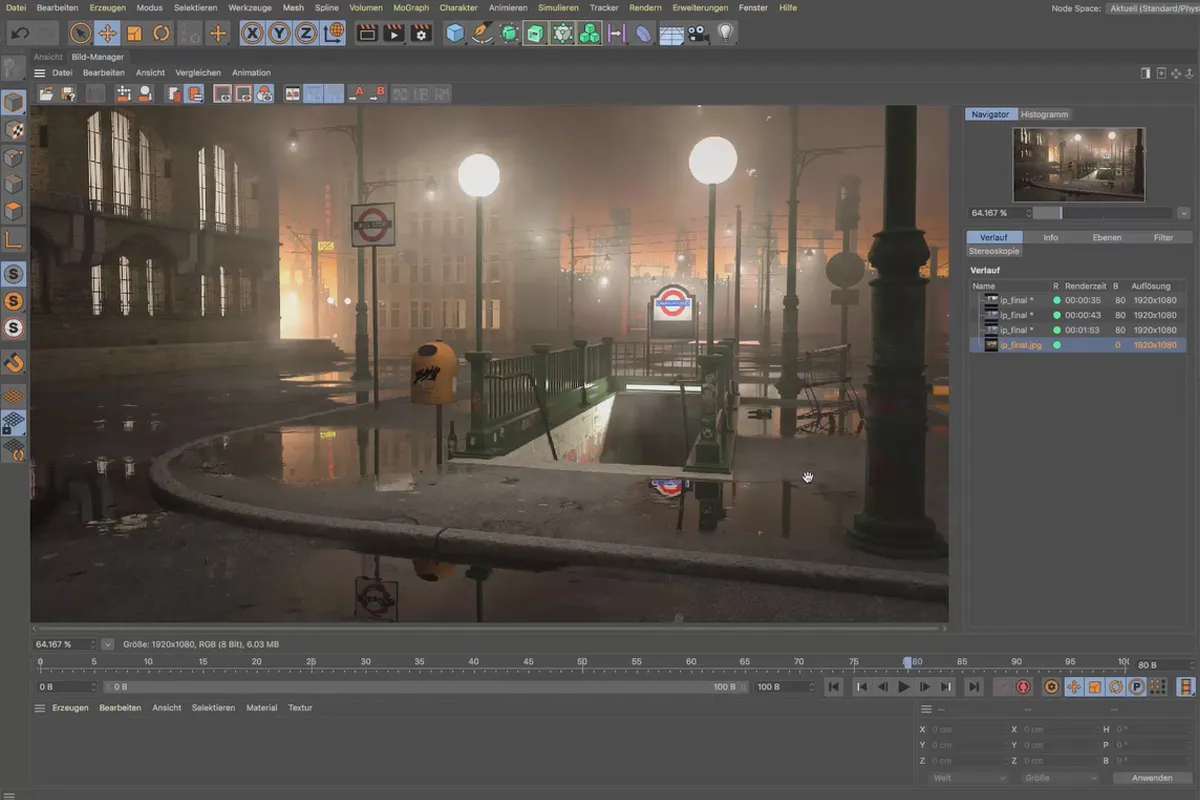
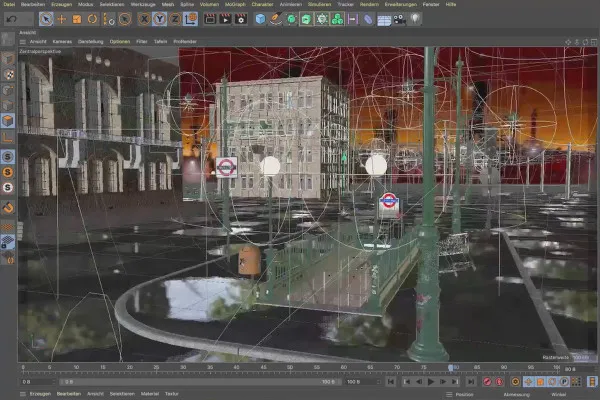
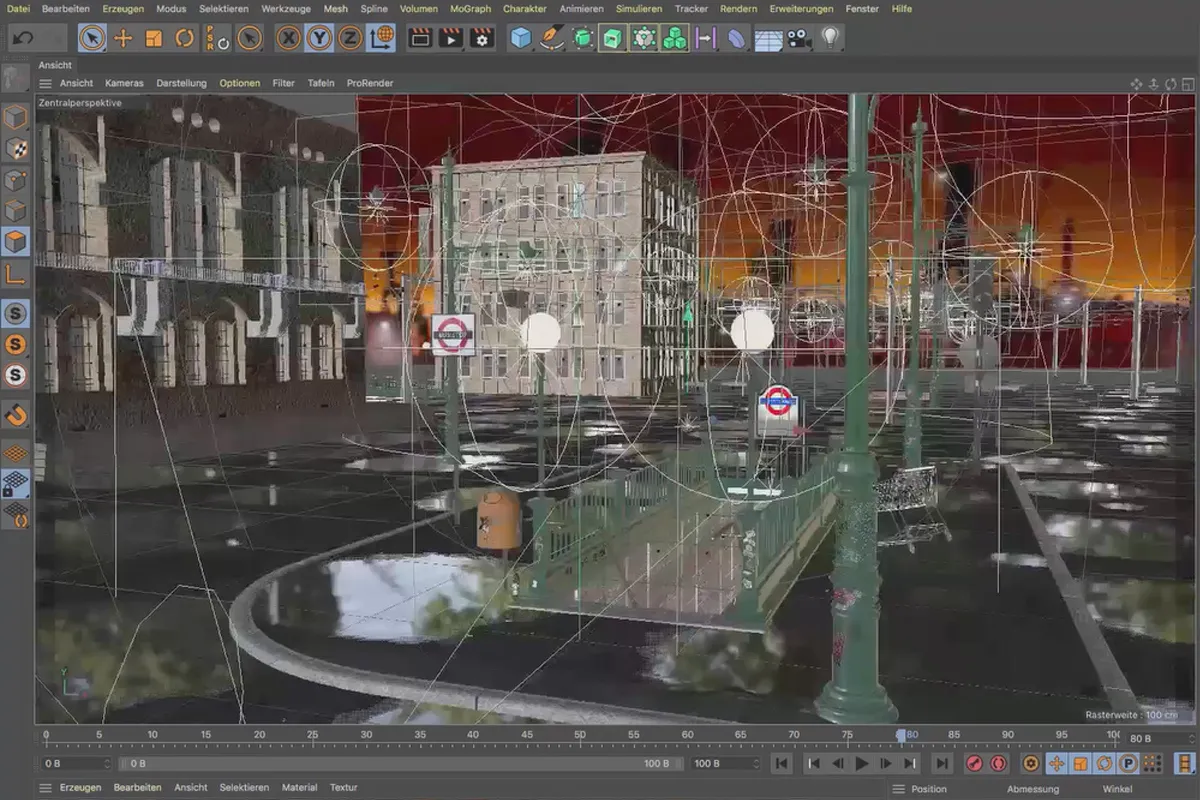
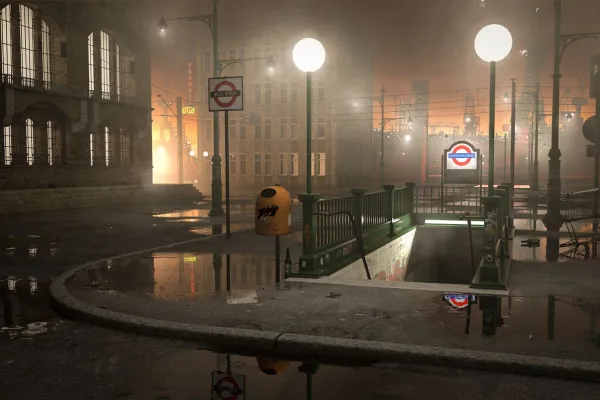
The starting point: You are somewhere in the middle of nowhere. The crowning glory: In front of you is a street corner with a subway station in a lantern-lit night. Until then: create 3D models, apply textures, tweak the overall scenery with light sources. This is what awaits you in the Cinema 4D tutorial "Underground":
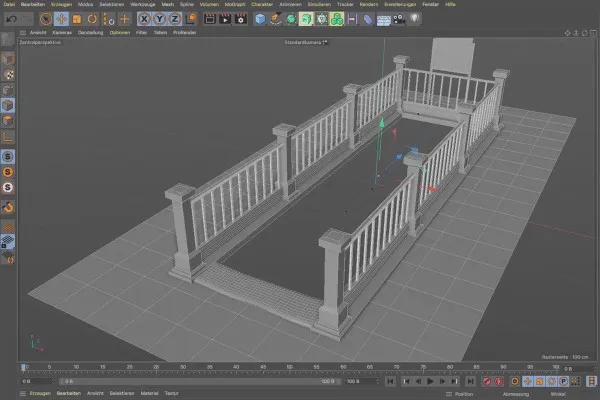
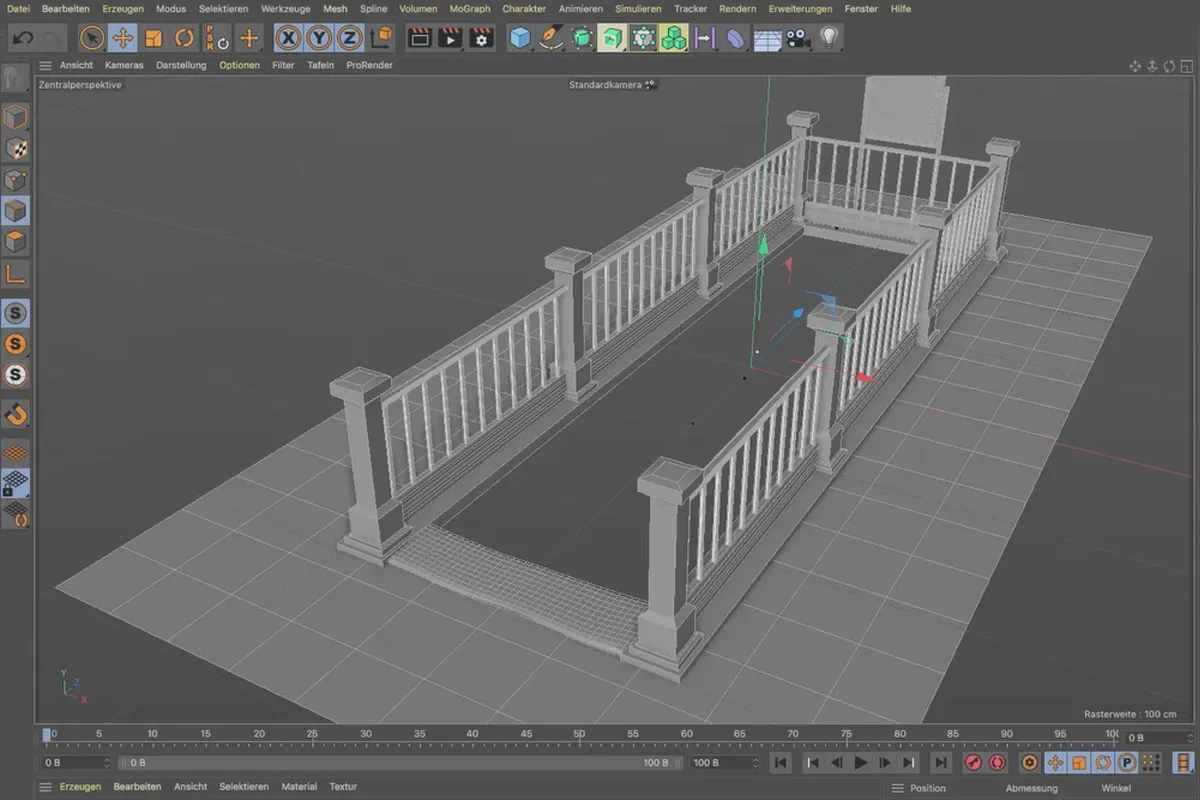
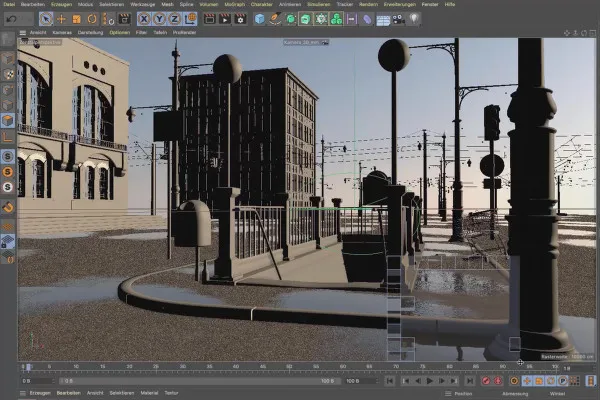
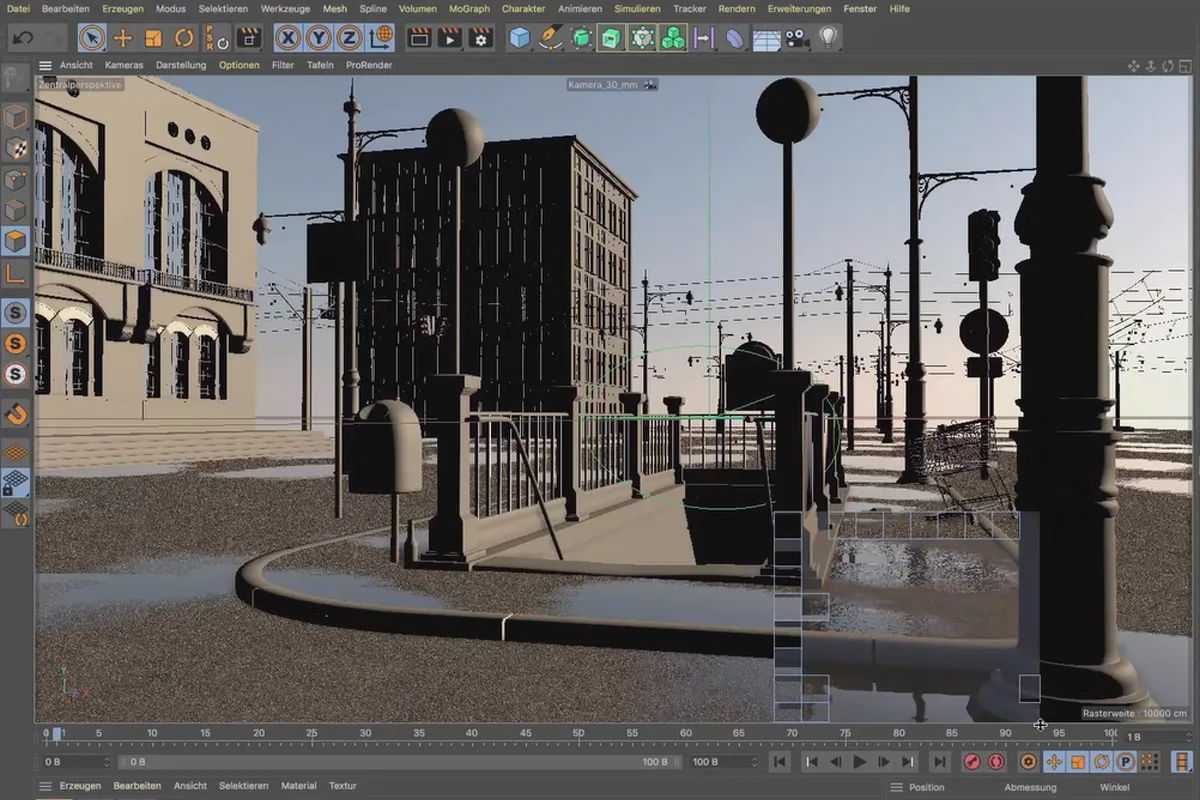
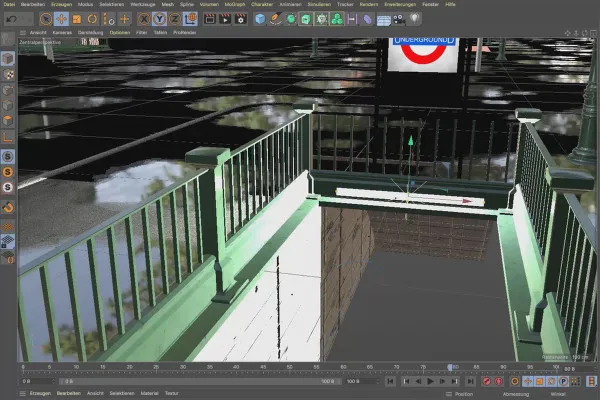
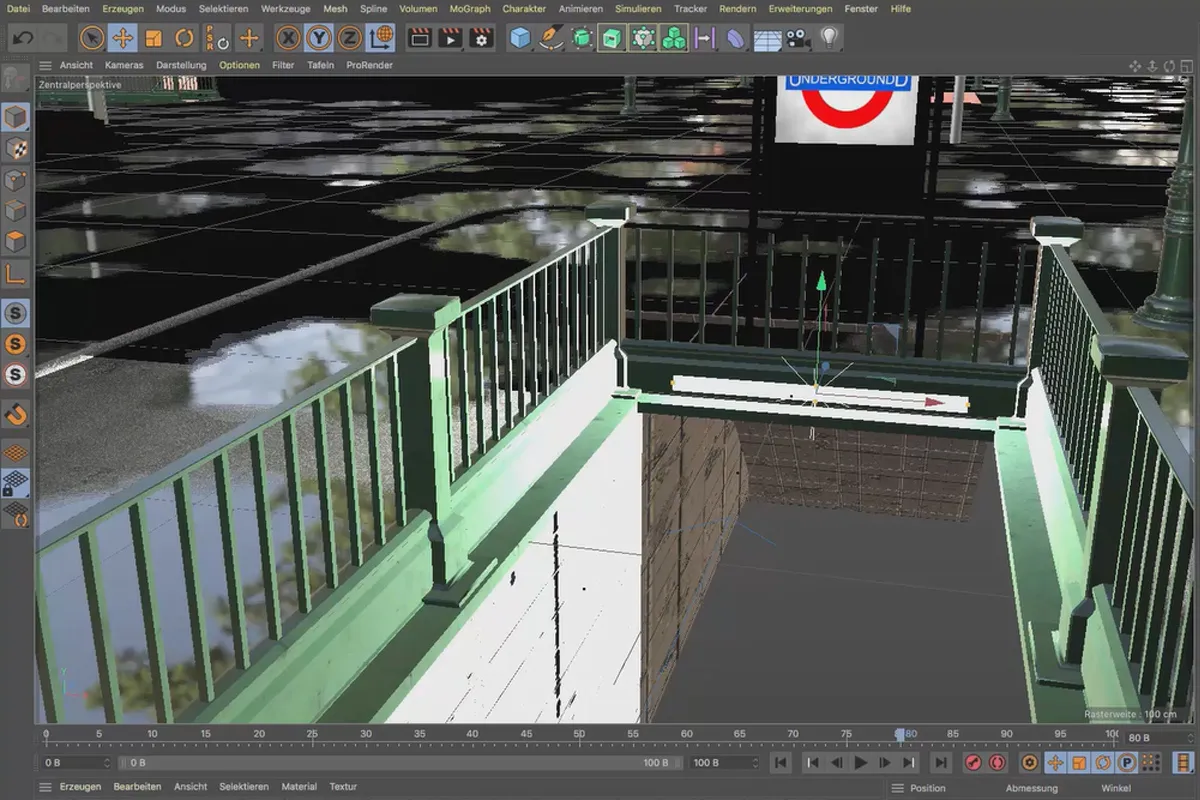
The video training course, which lasts over five hours , is divided into 44 lessons. First, you build the staircase to the subway station as well as additional 3D models. Then you apply suitable textures. Finally, you light up the scene to optimize it in Photoshop at the end.
Laying the foundation: creating 3D models in C4D
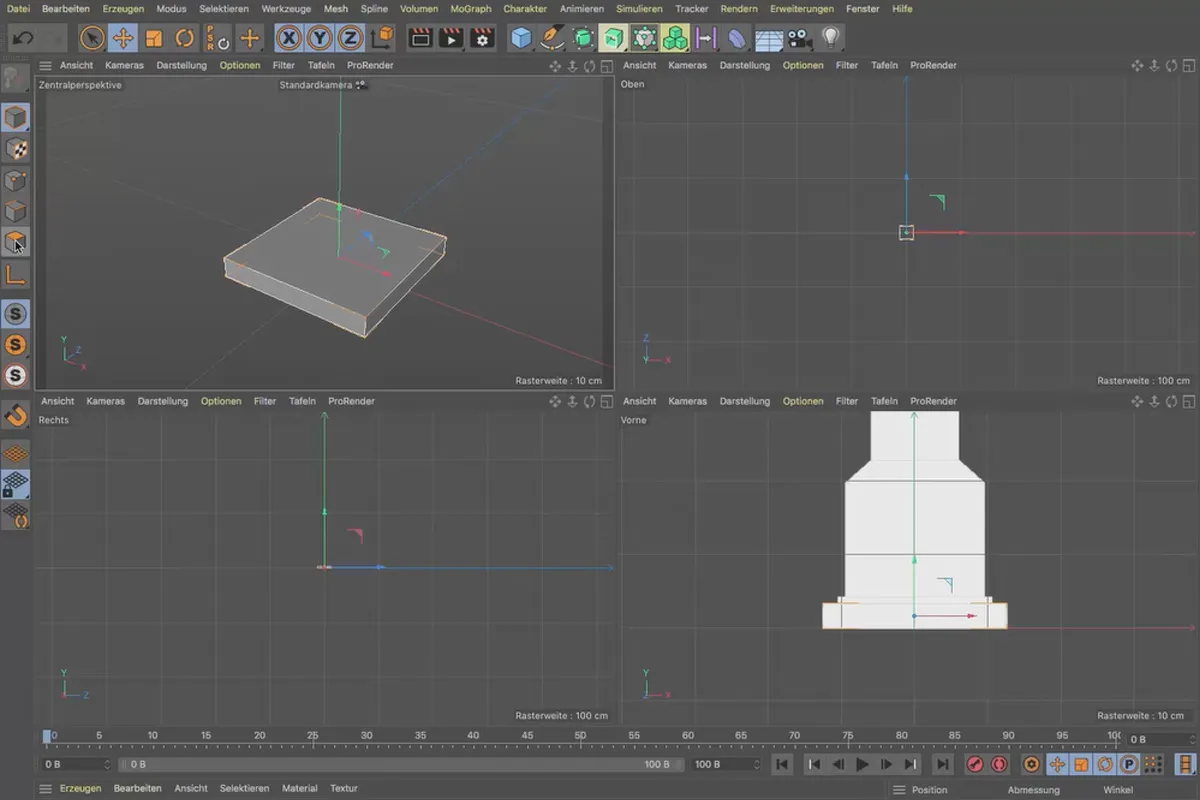
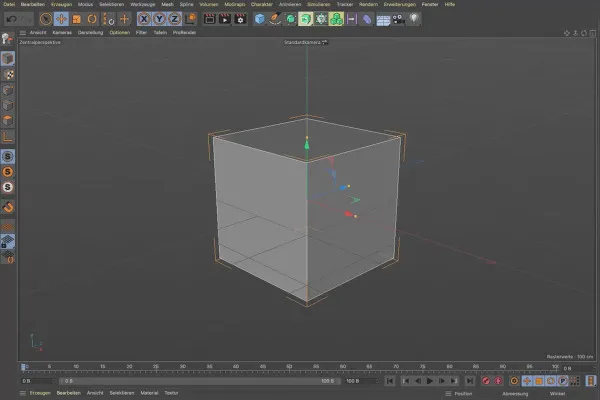
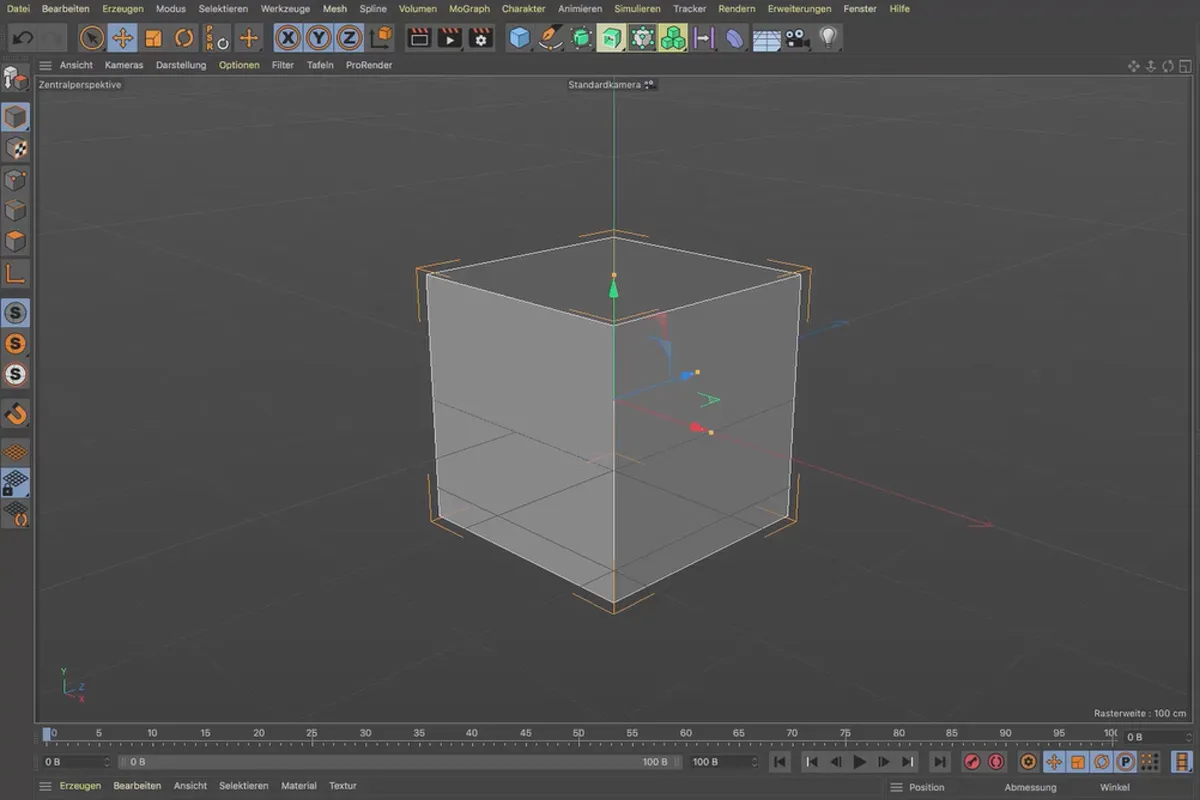
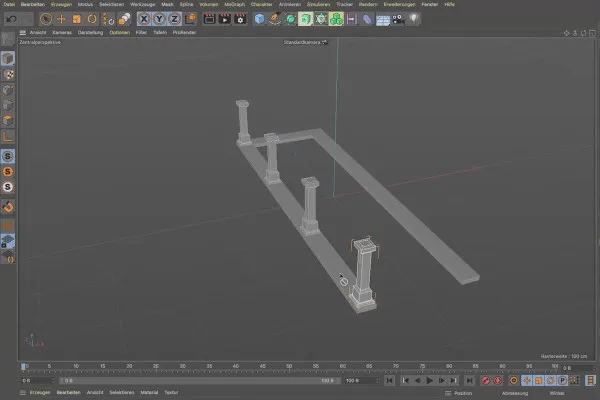
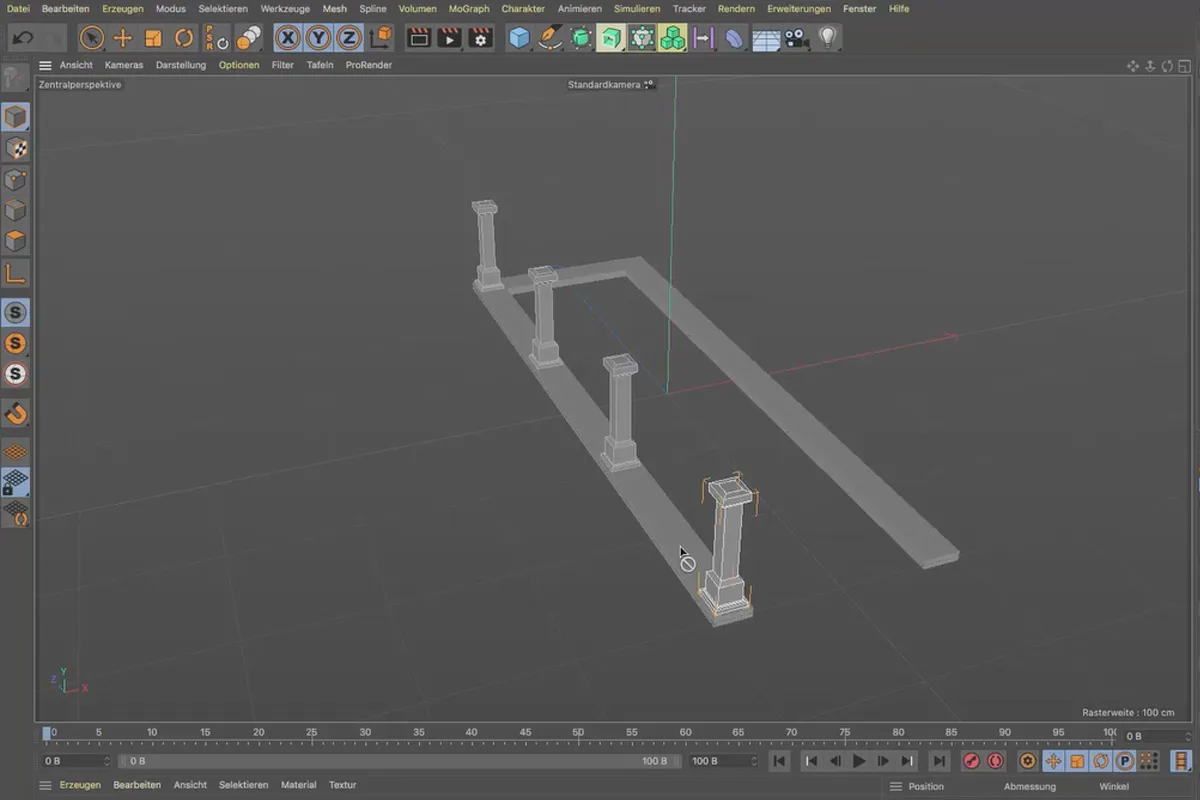
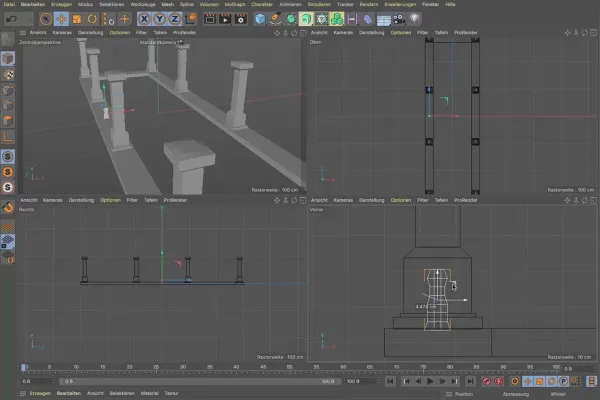
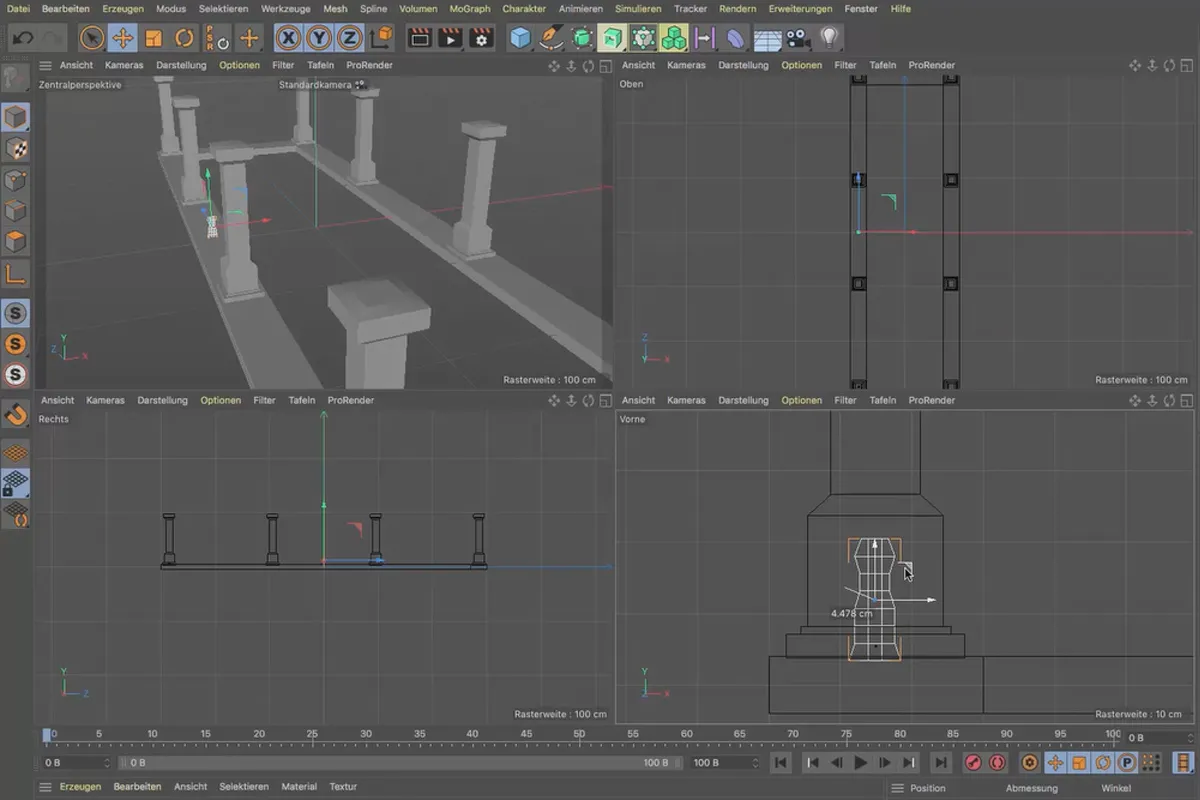
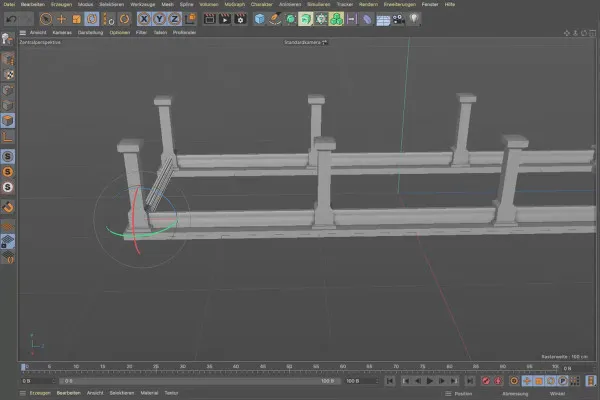
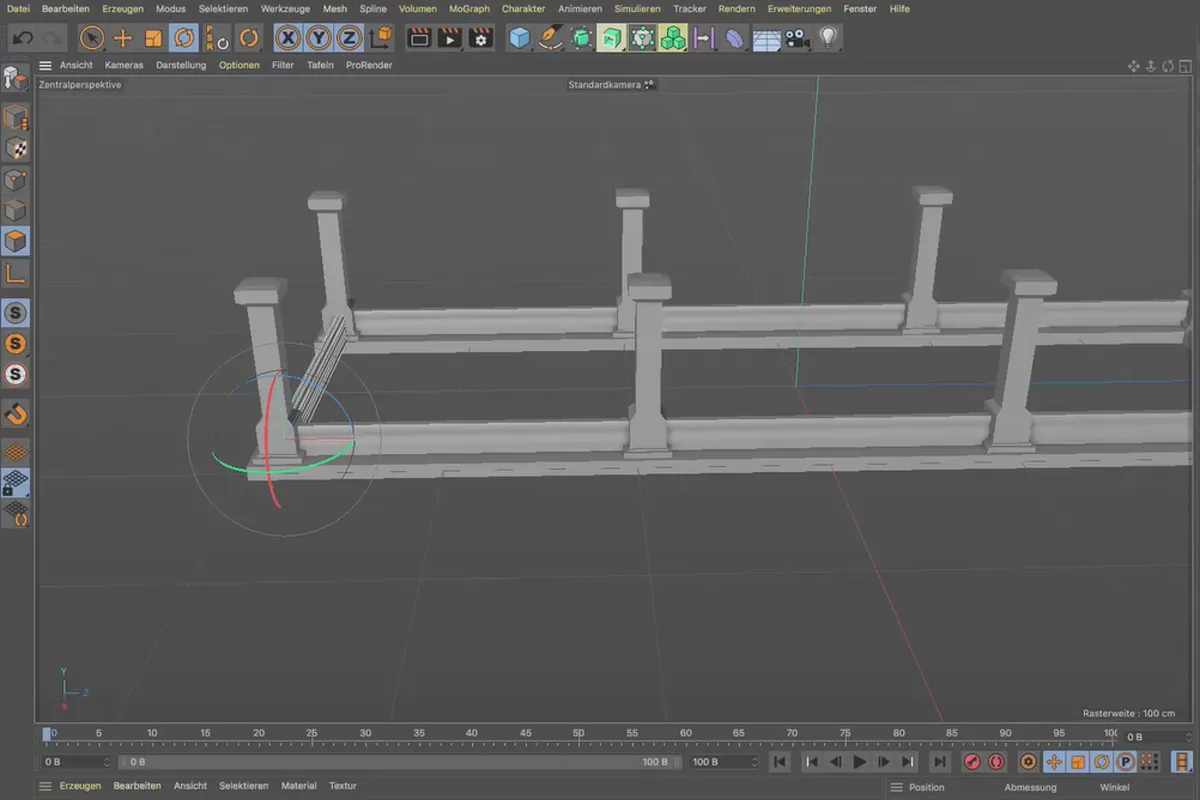
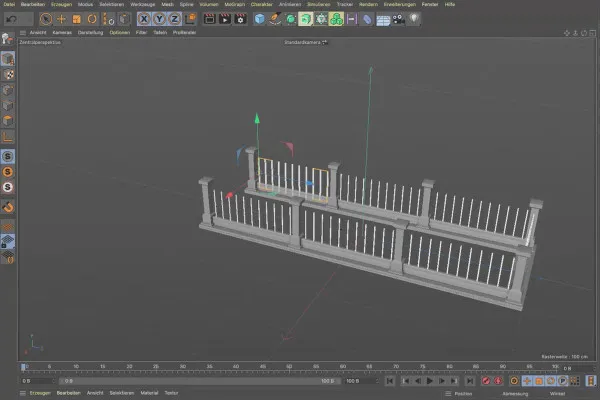
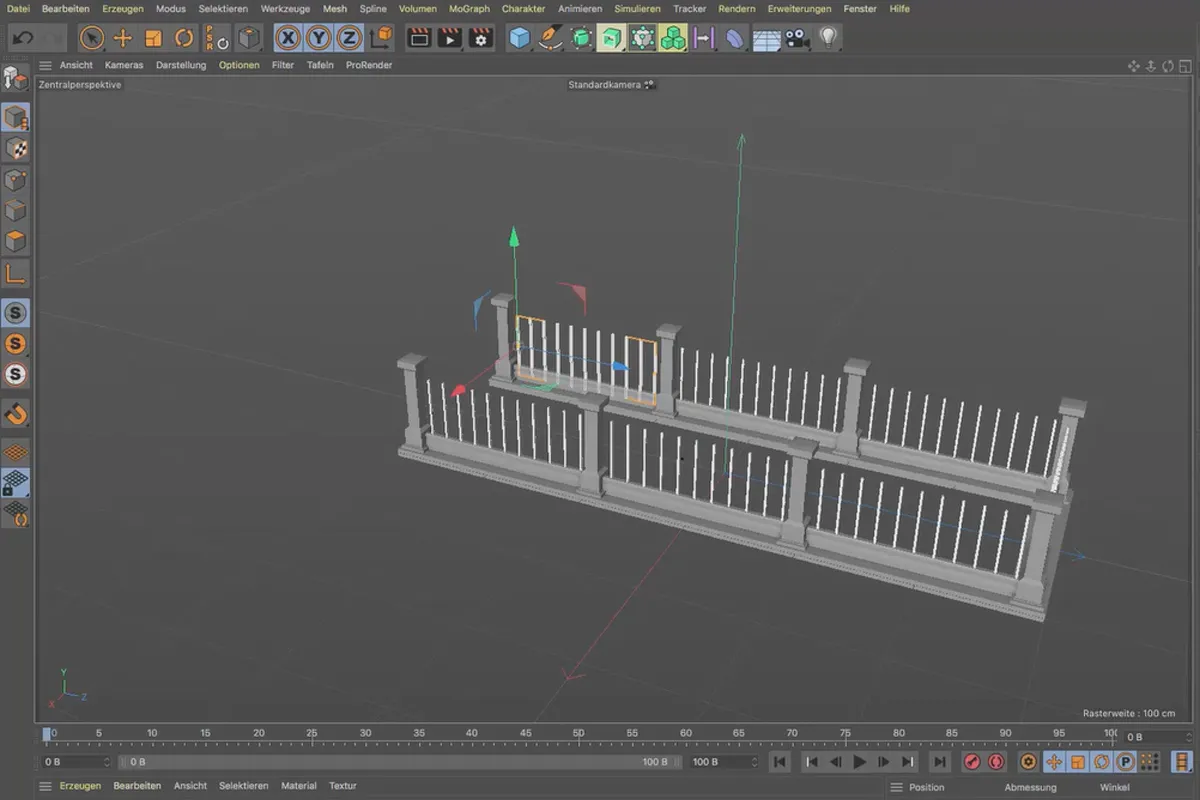
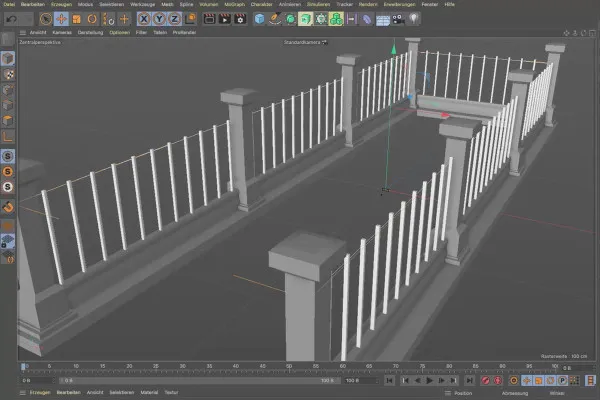
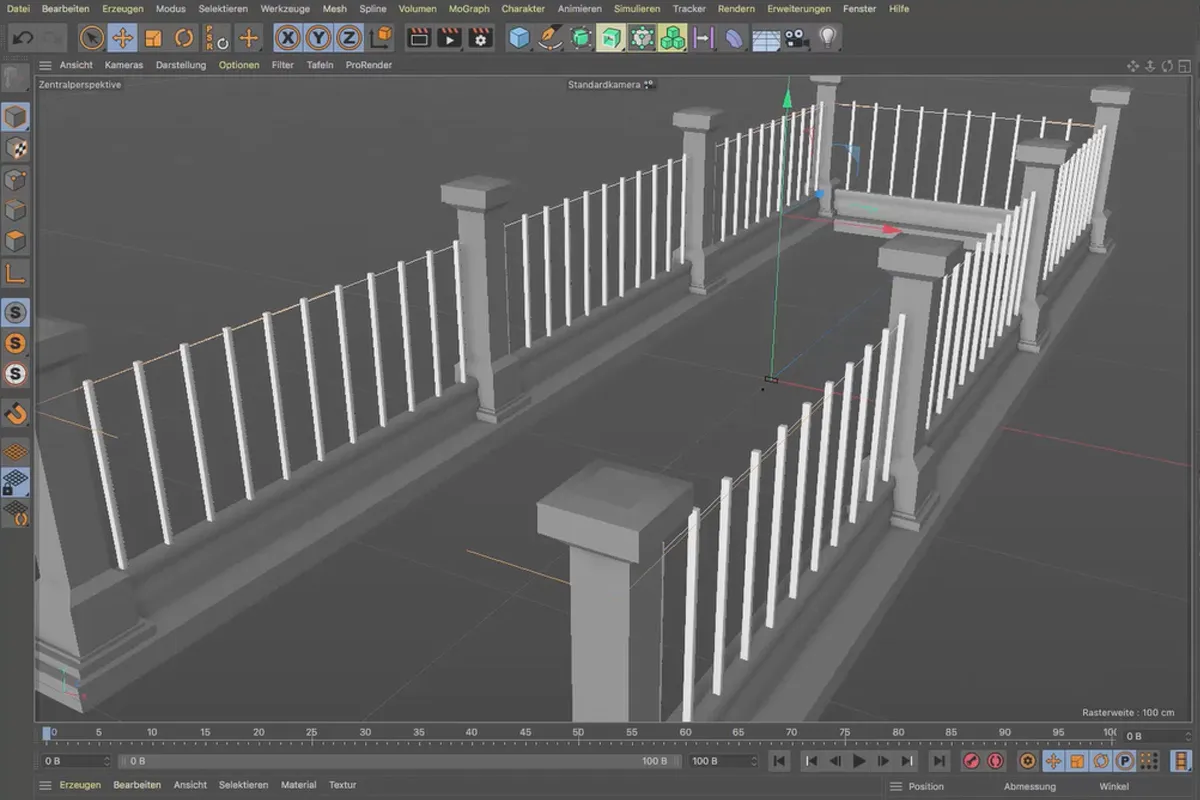
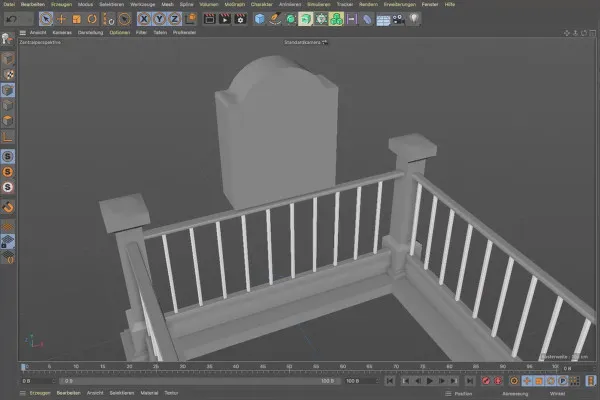
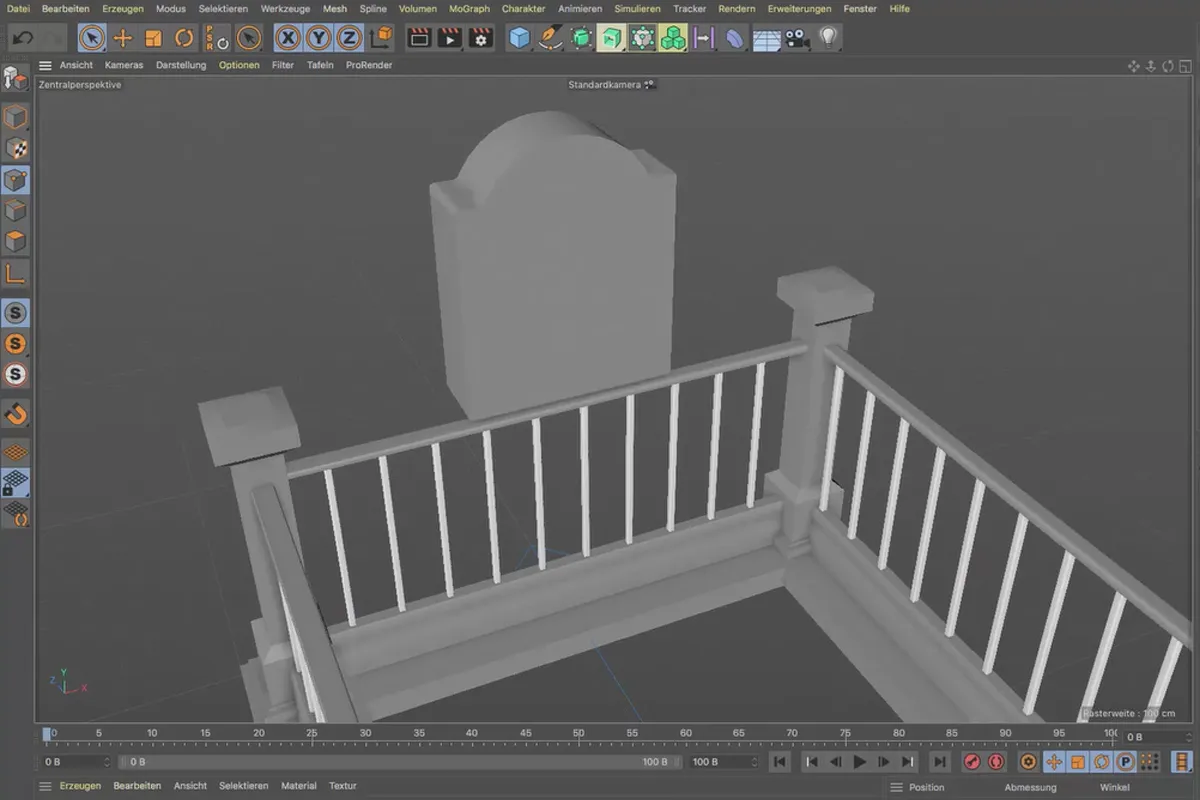
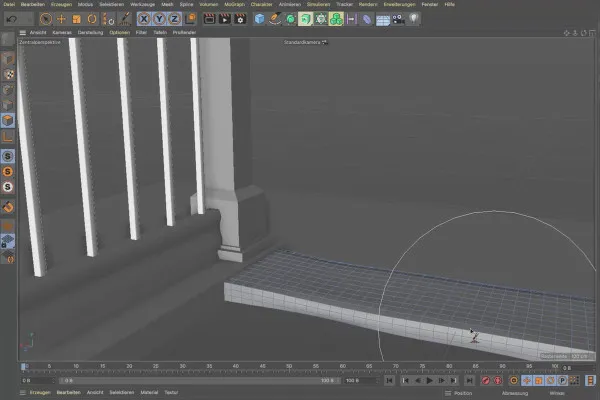
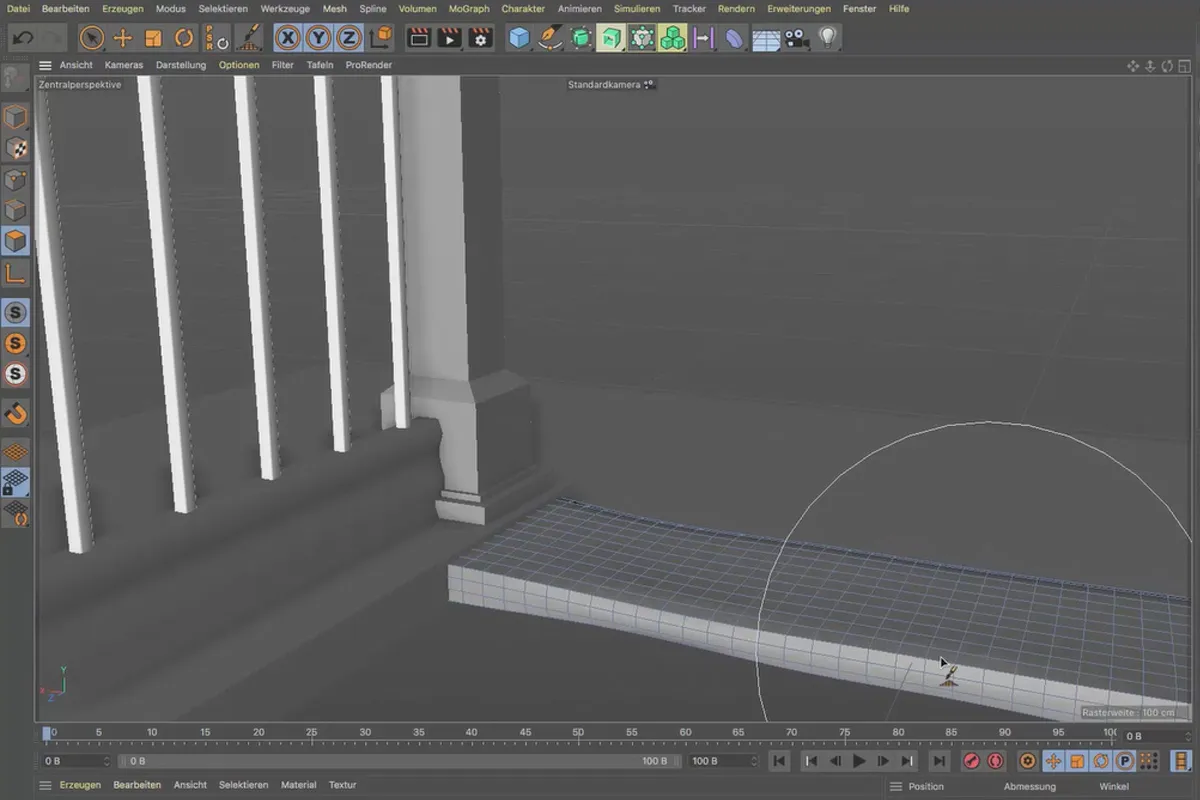
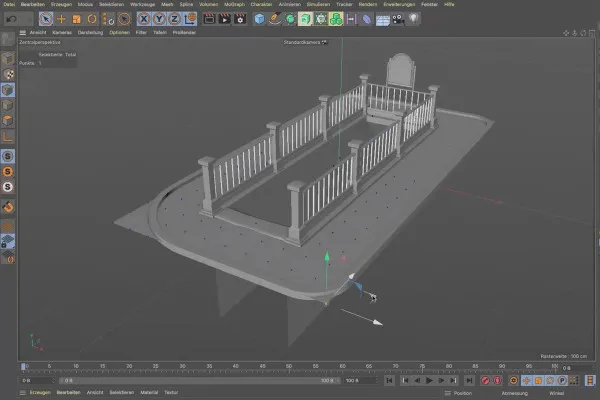
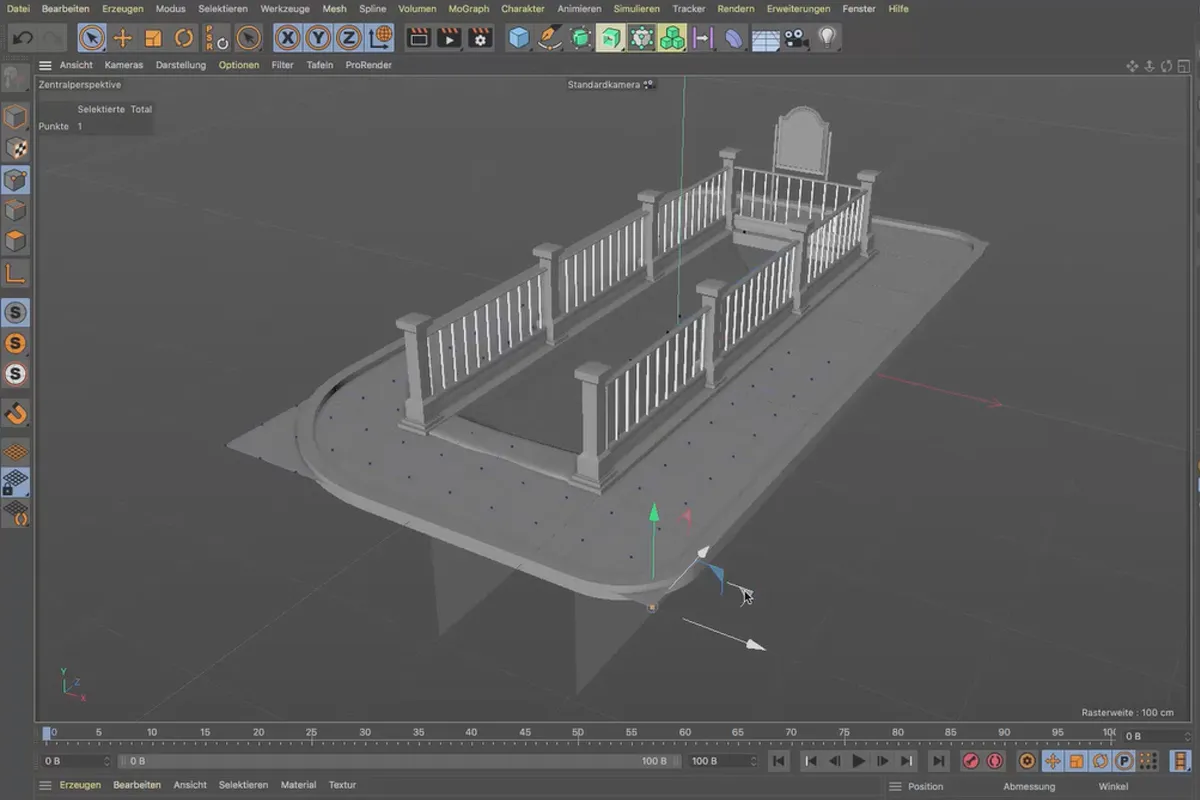
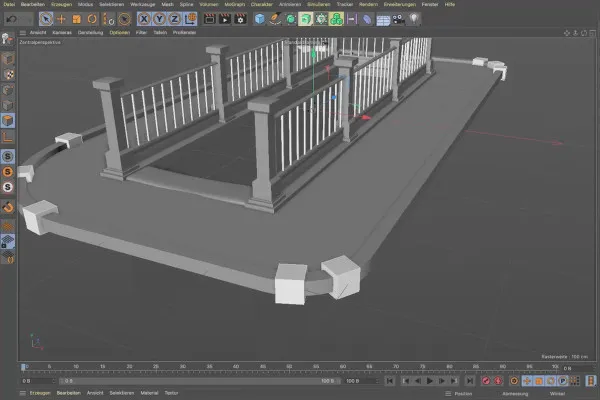
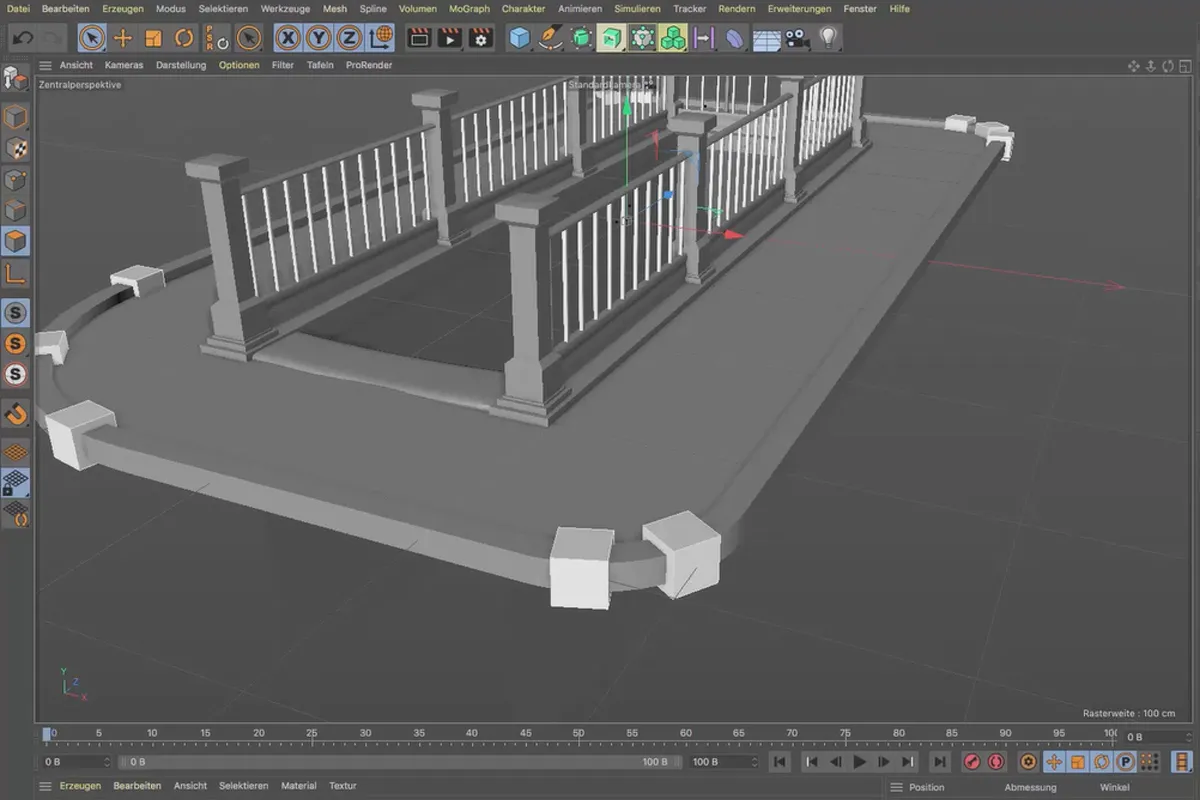
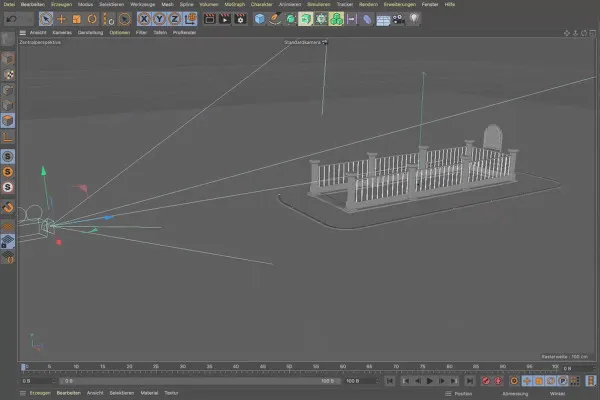
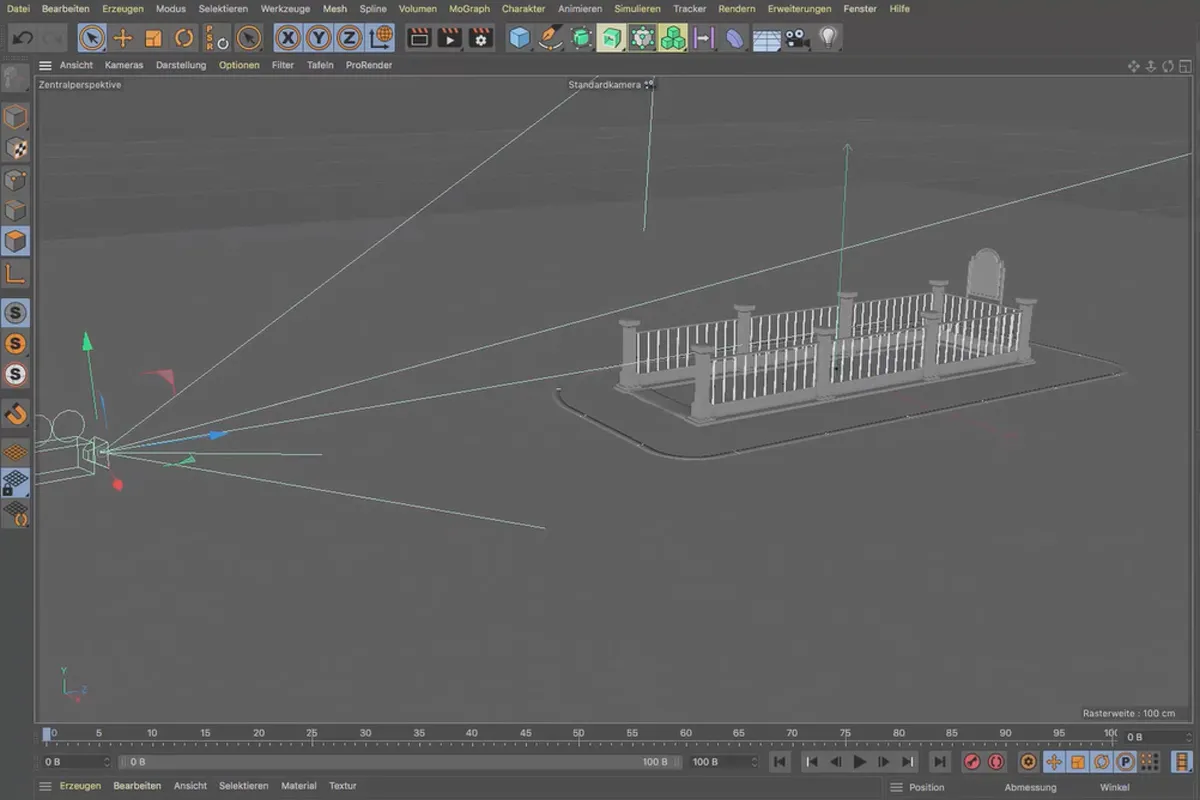
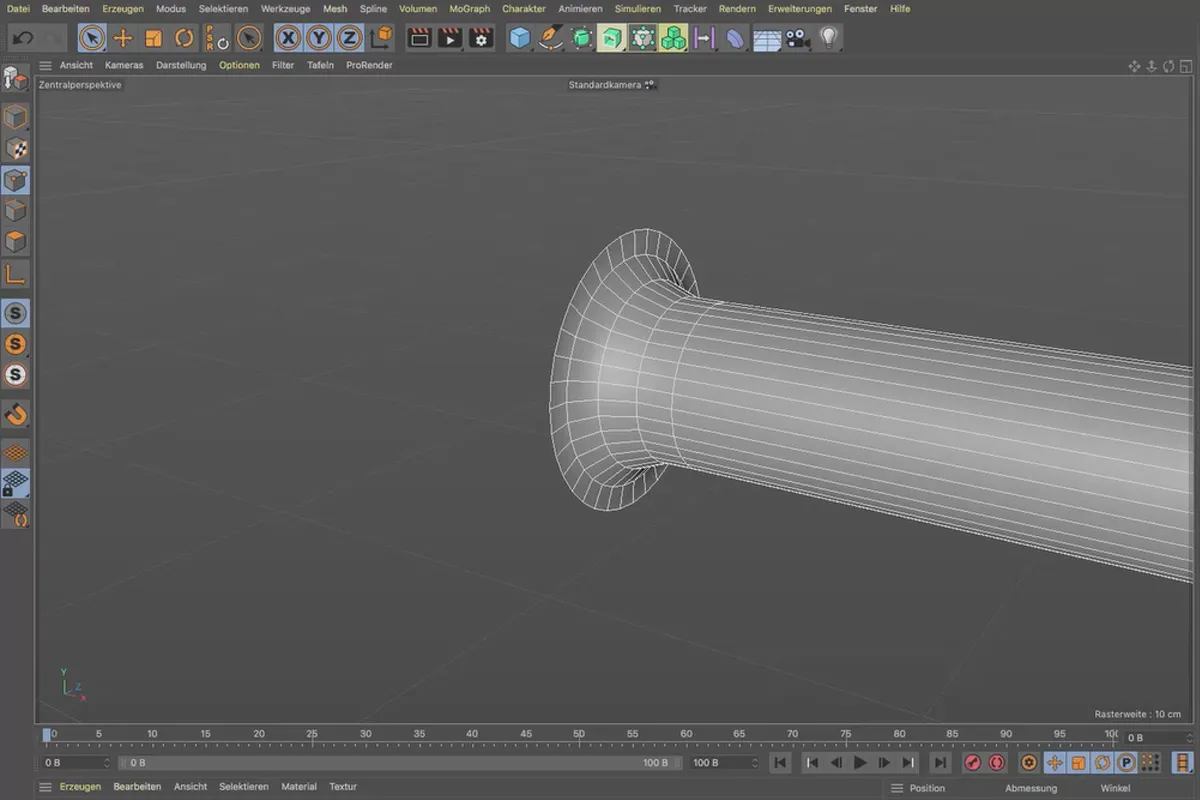
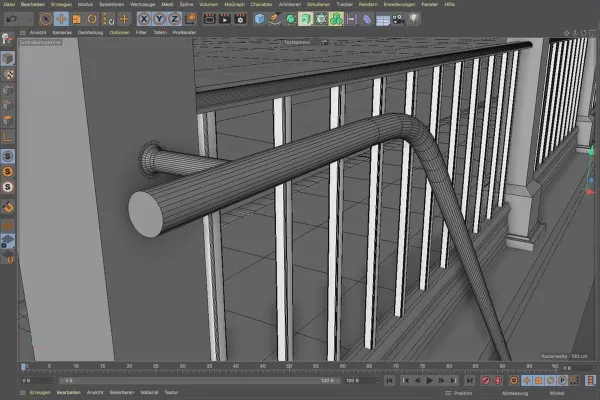
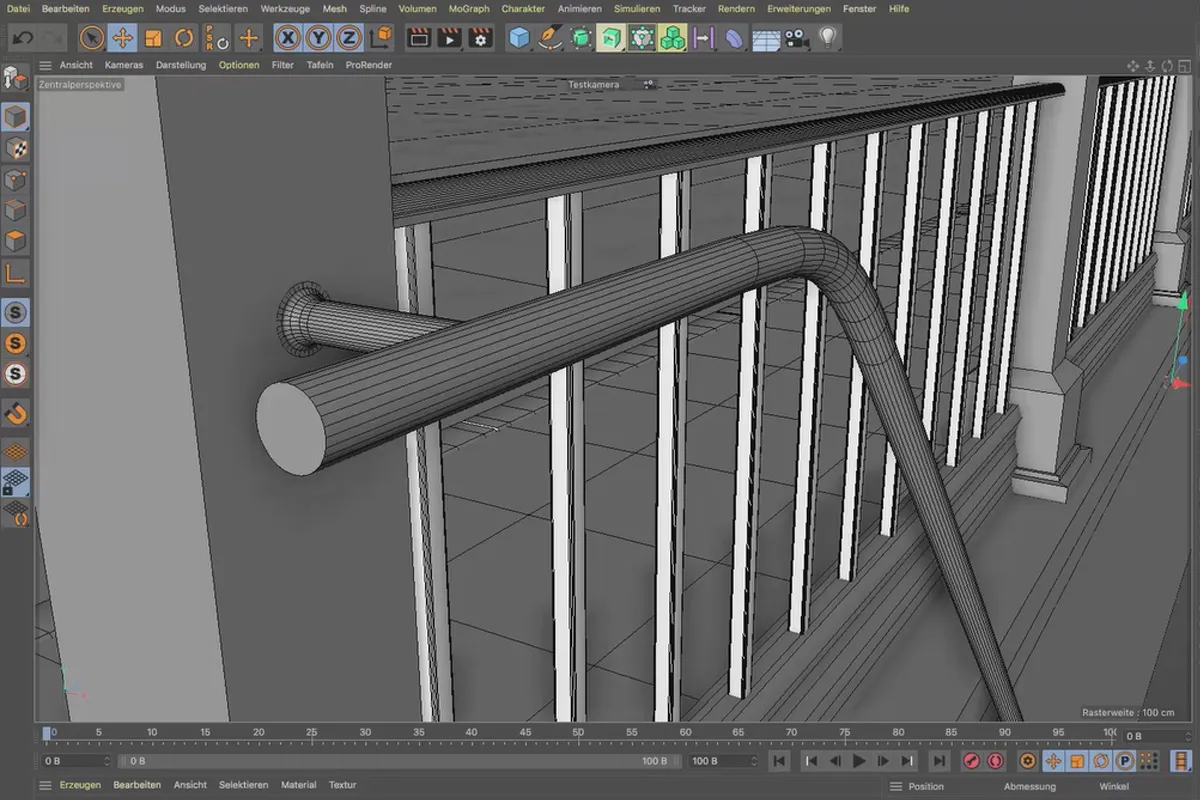
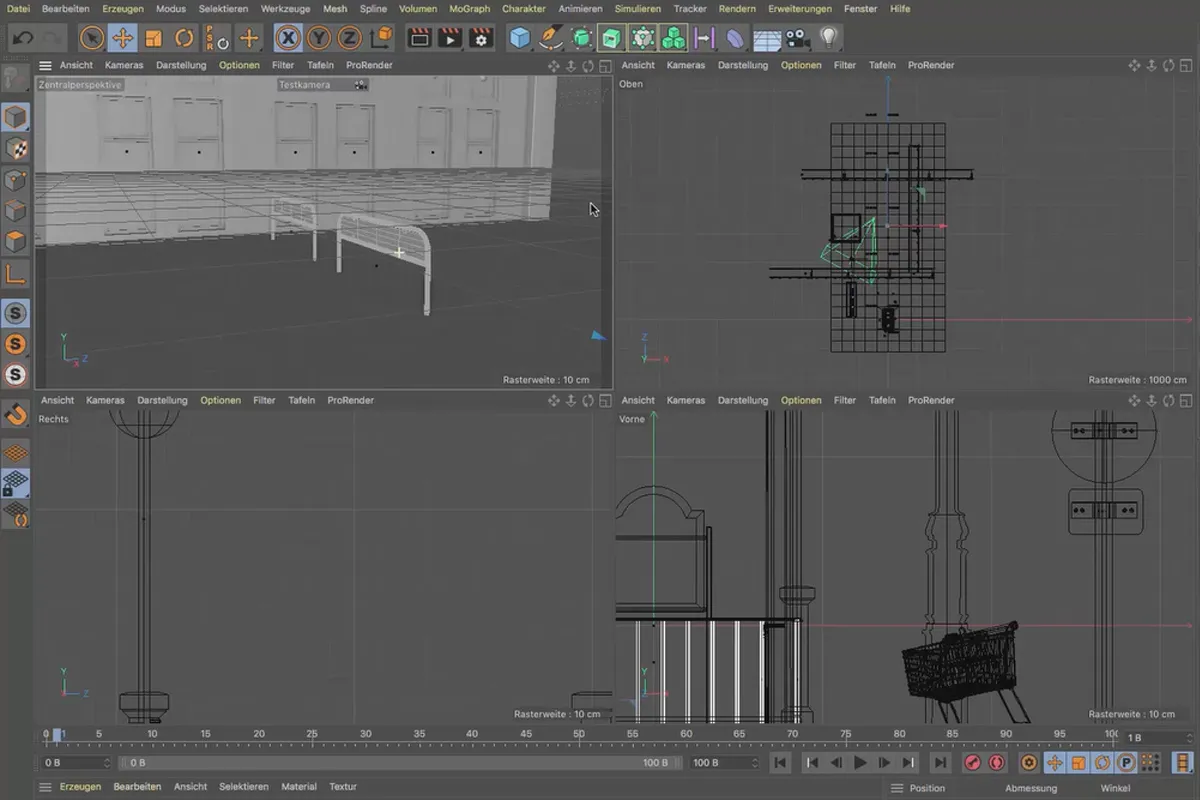
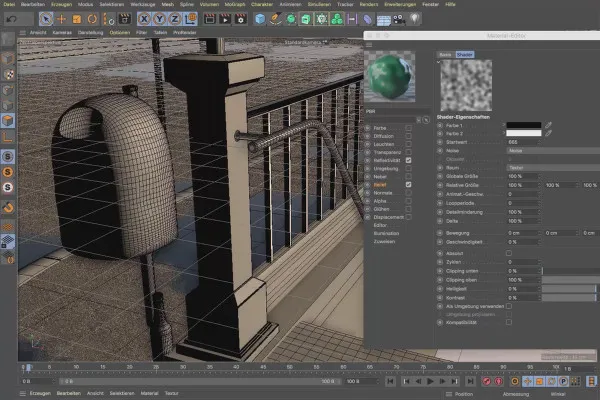
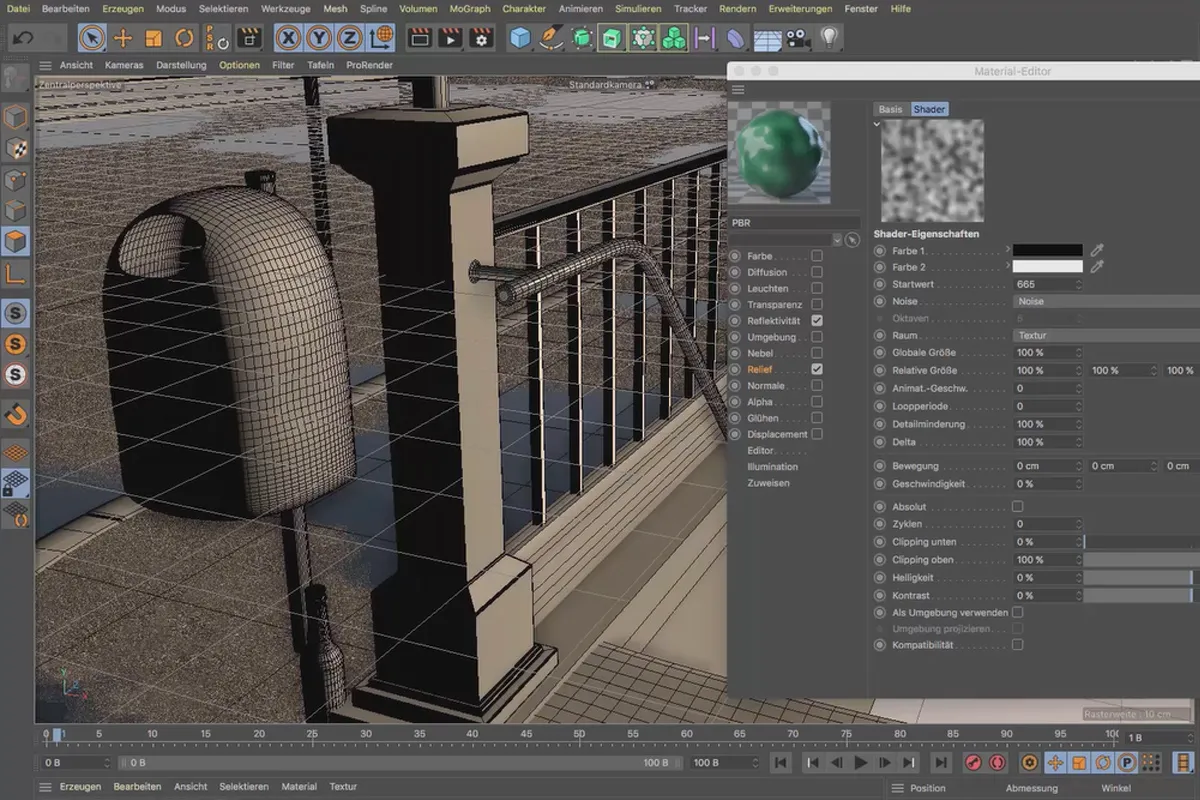
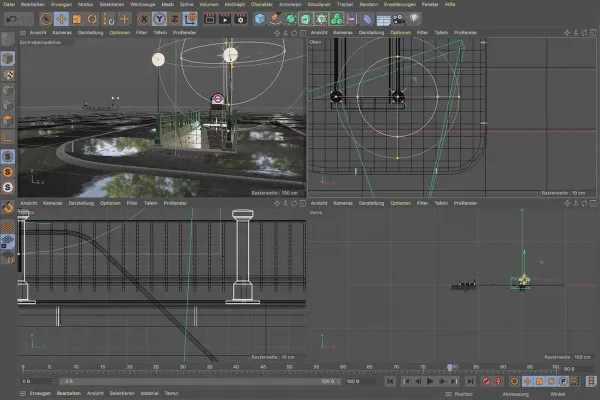
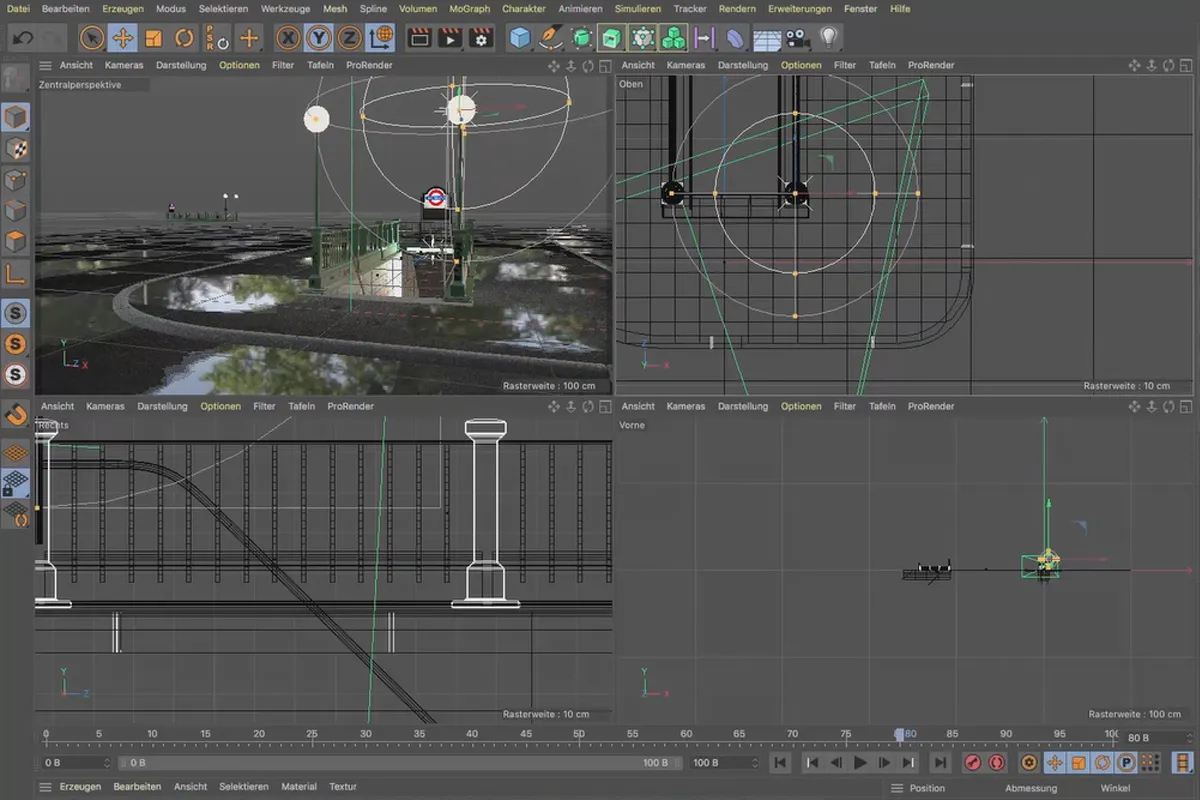
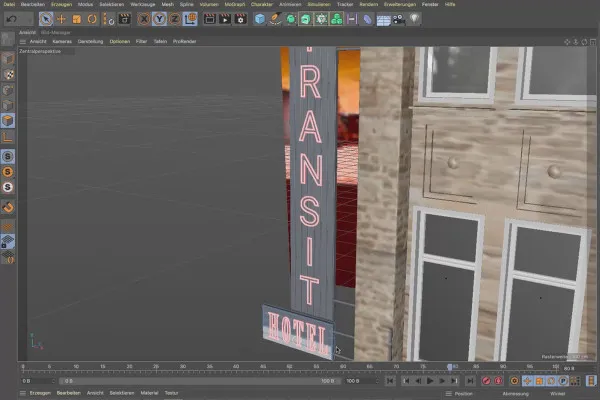
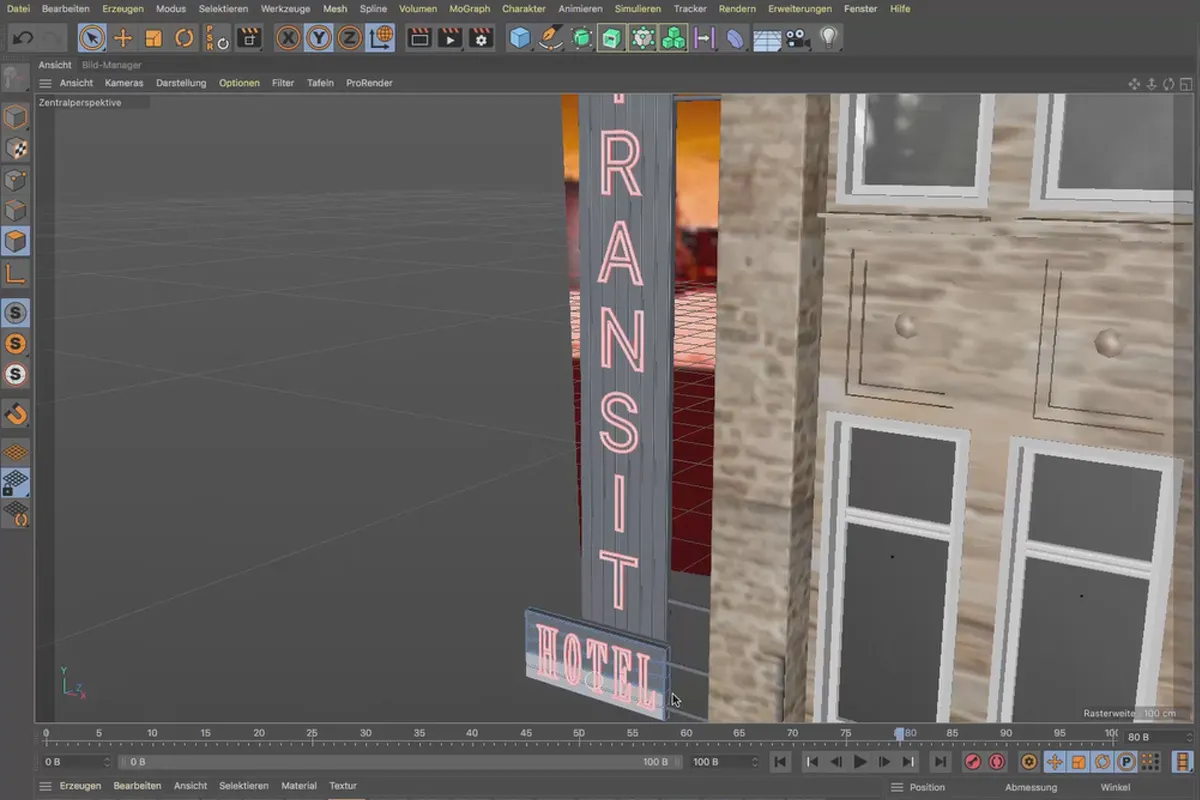
You can successfully complete the Cinema 4D tutorial with basic knowledge of the software. You start in an empty room and begin with the 3D modeling of posts, railings, handrails, subway signs and other objects required for the scene.
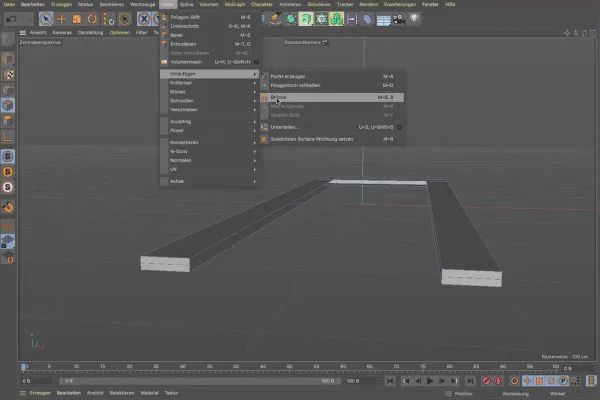
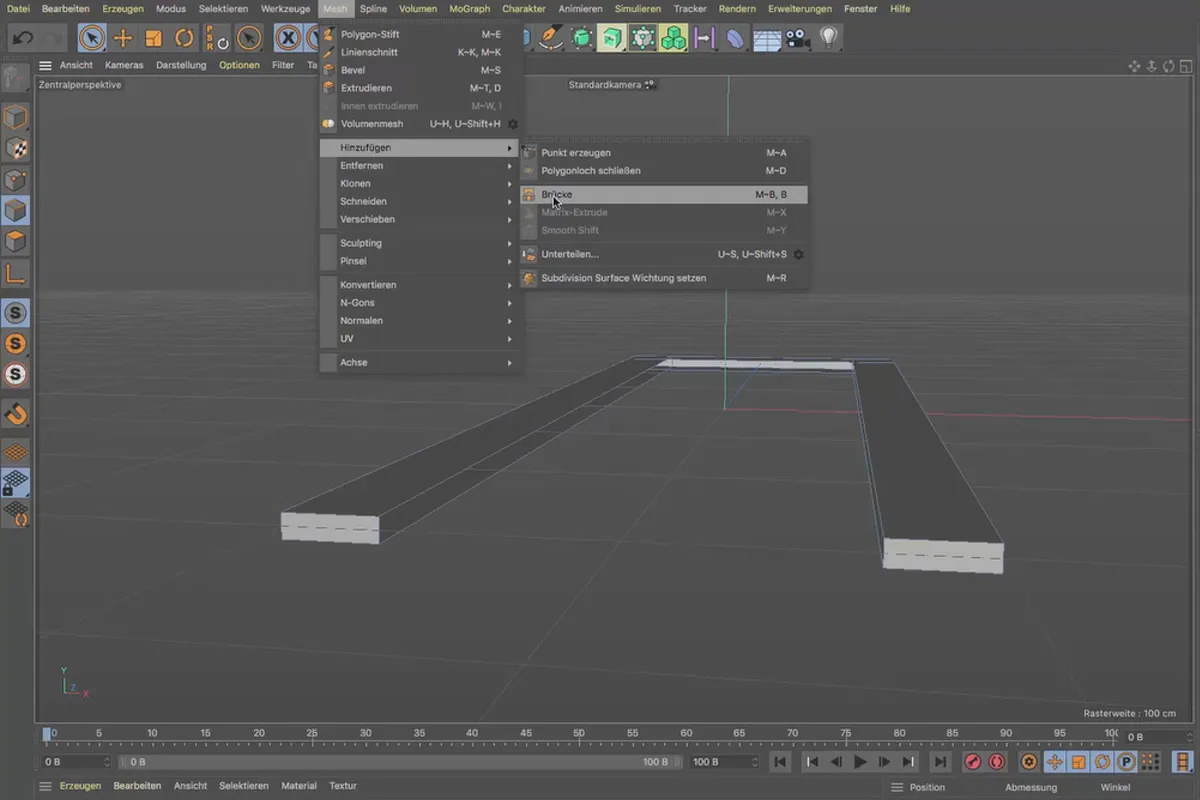
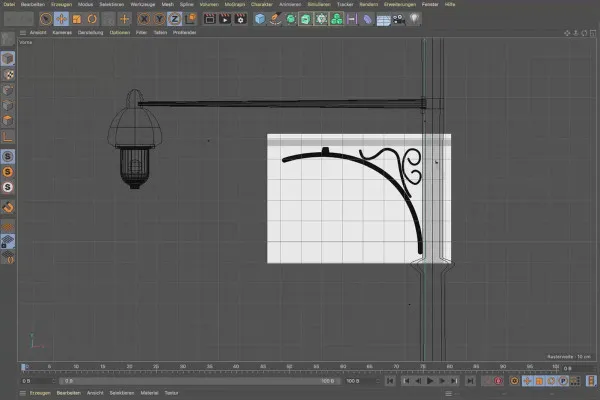
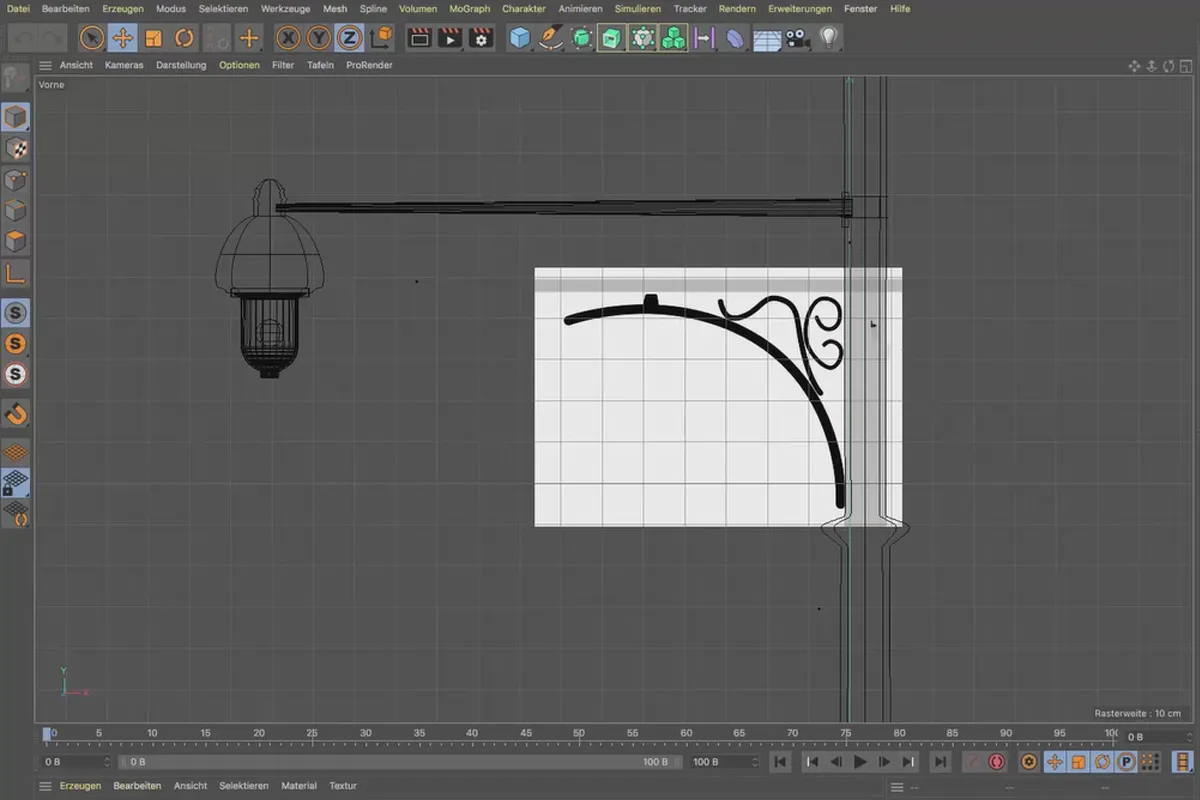
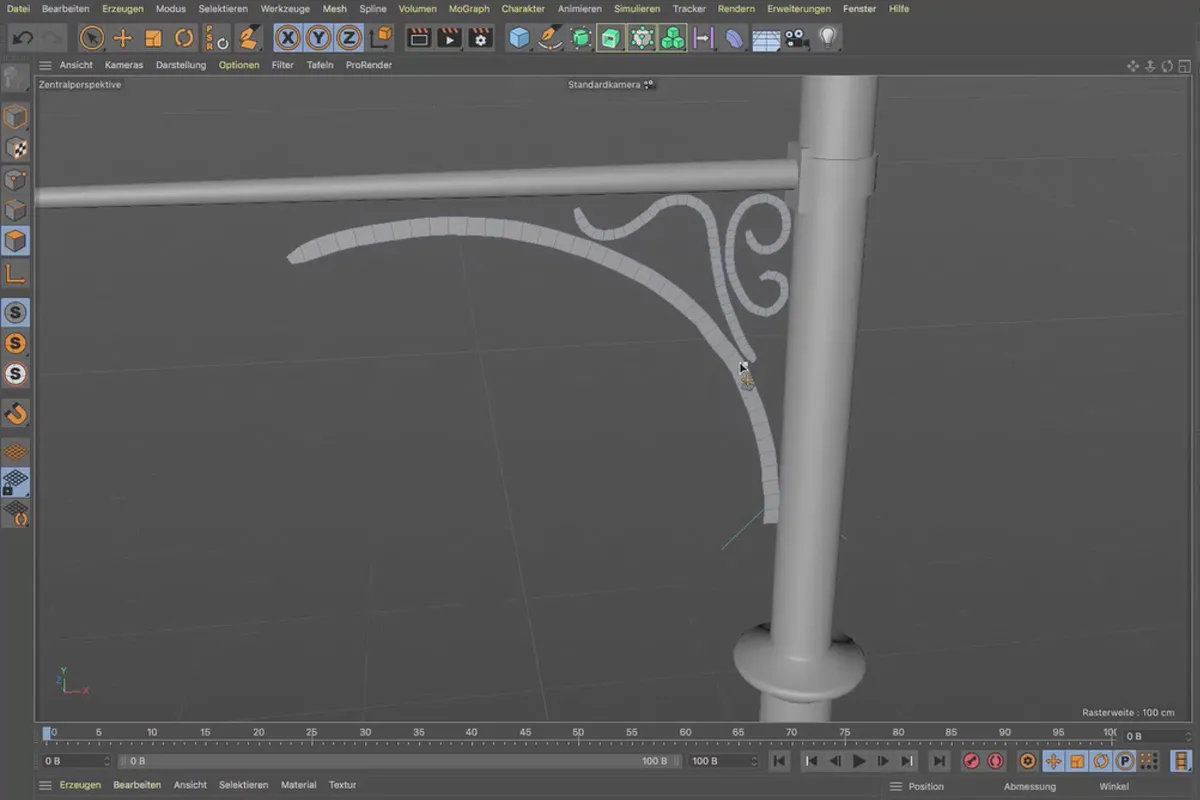
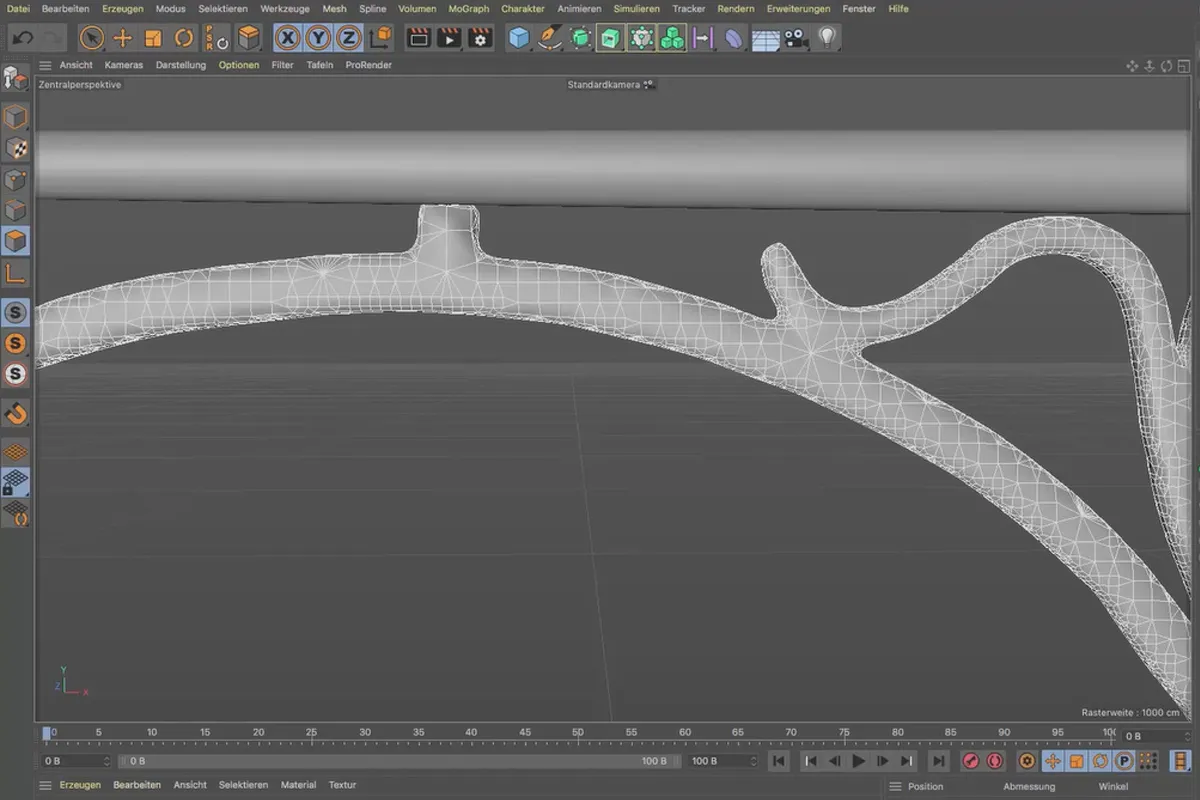
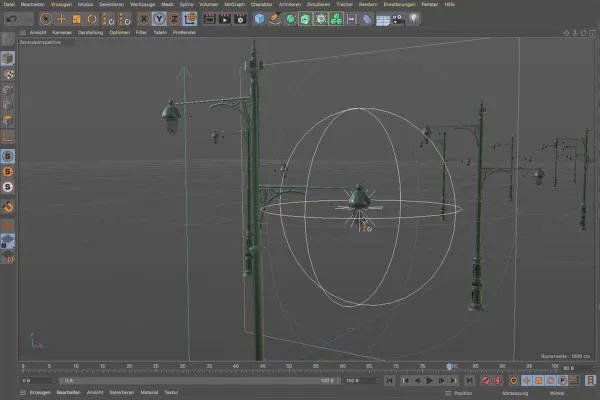
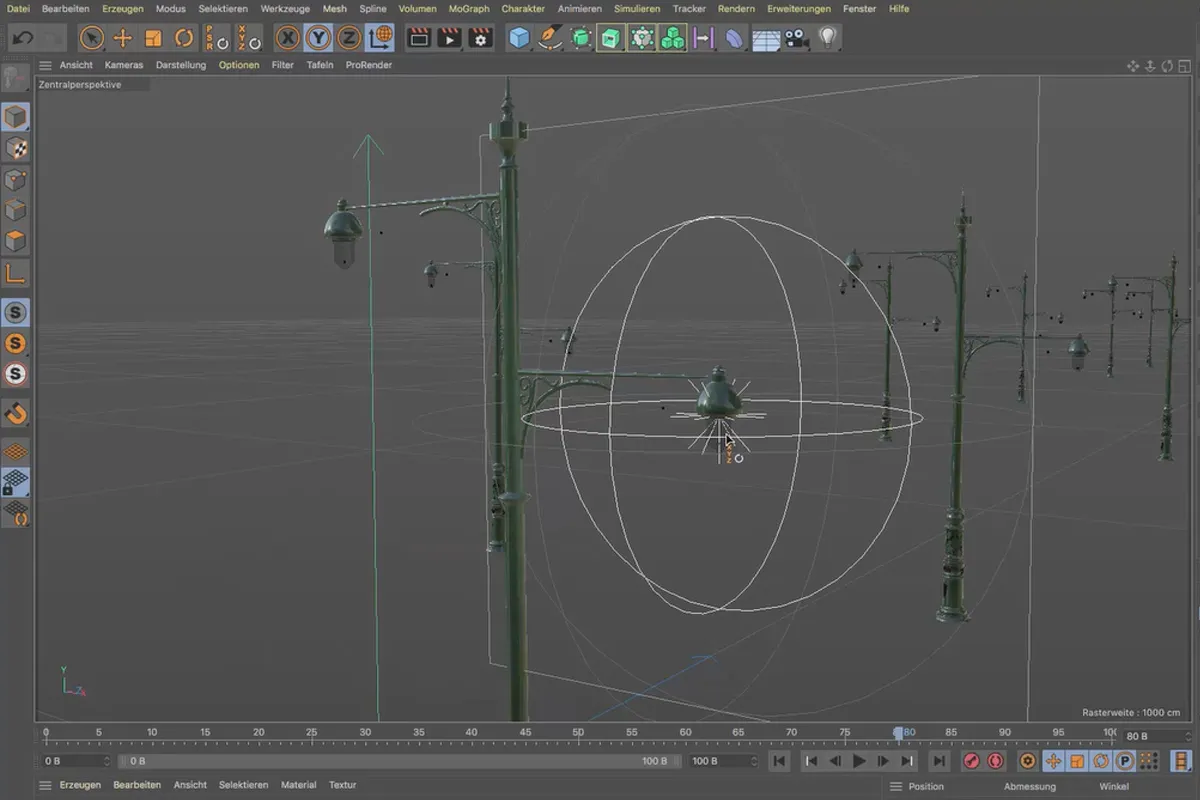
More challenging elements are also on your learning curve: learn how to go deeper with the staircase, how to enhance the streetlights with ornamental objects and where to add lively accents with the help of fine details such as a well-worn threshold. In all of this, you will work with common and sometimes less common Cinema 4D functions. From typical extruding to the use of MoGraph, you will use the appropriate tools for the respective 3D model .
Perfectly laid out and superbly illuminated: Textures and light
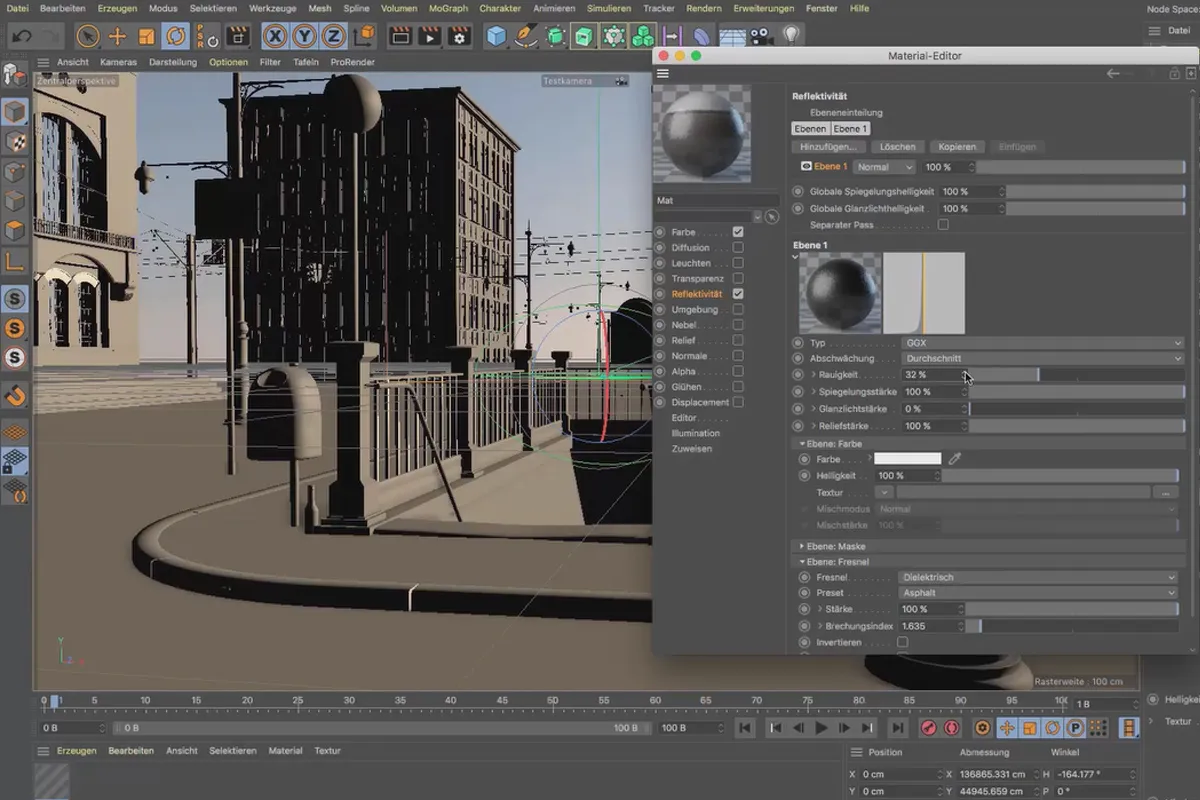
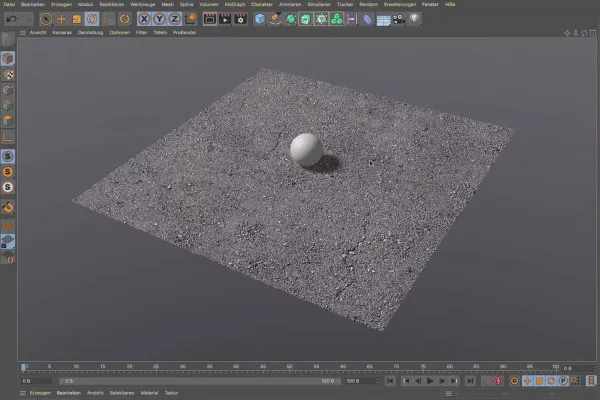
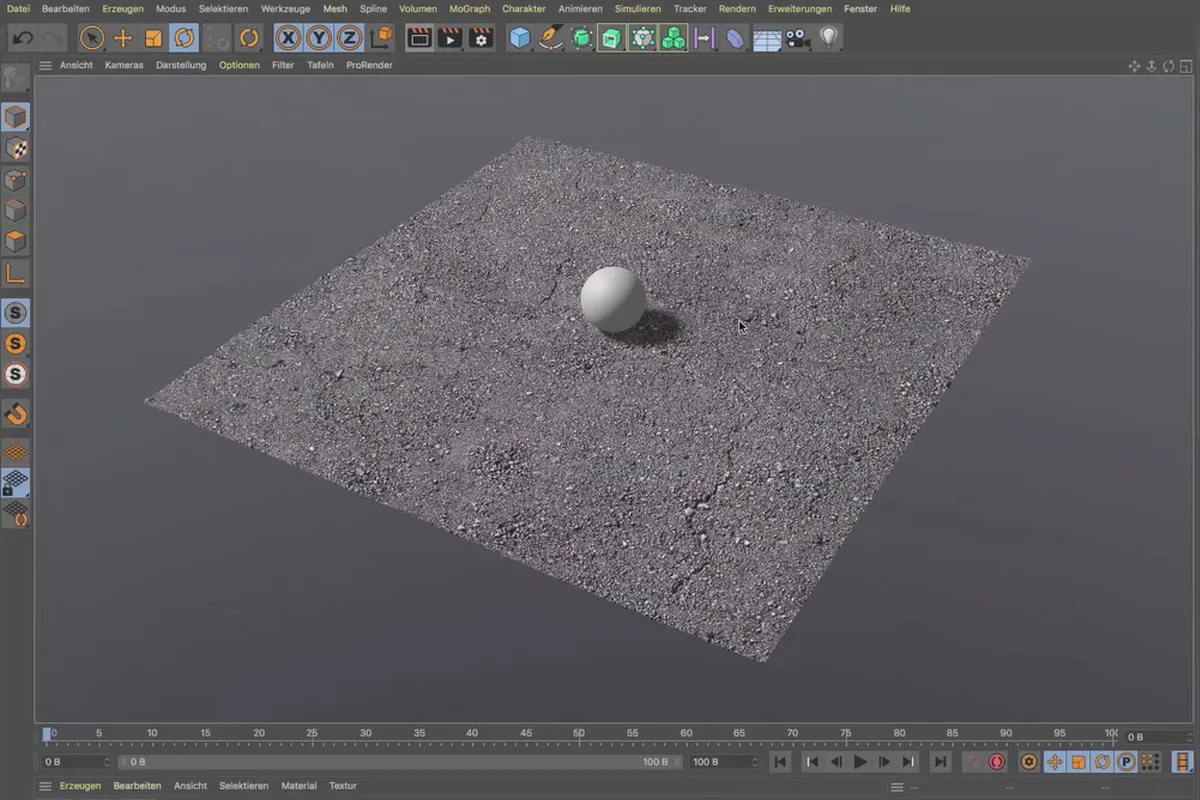
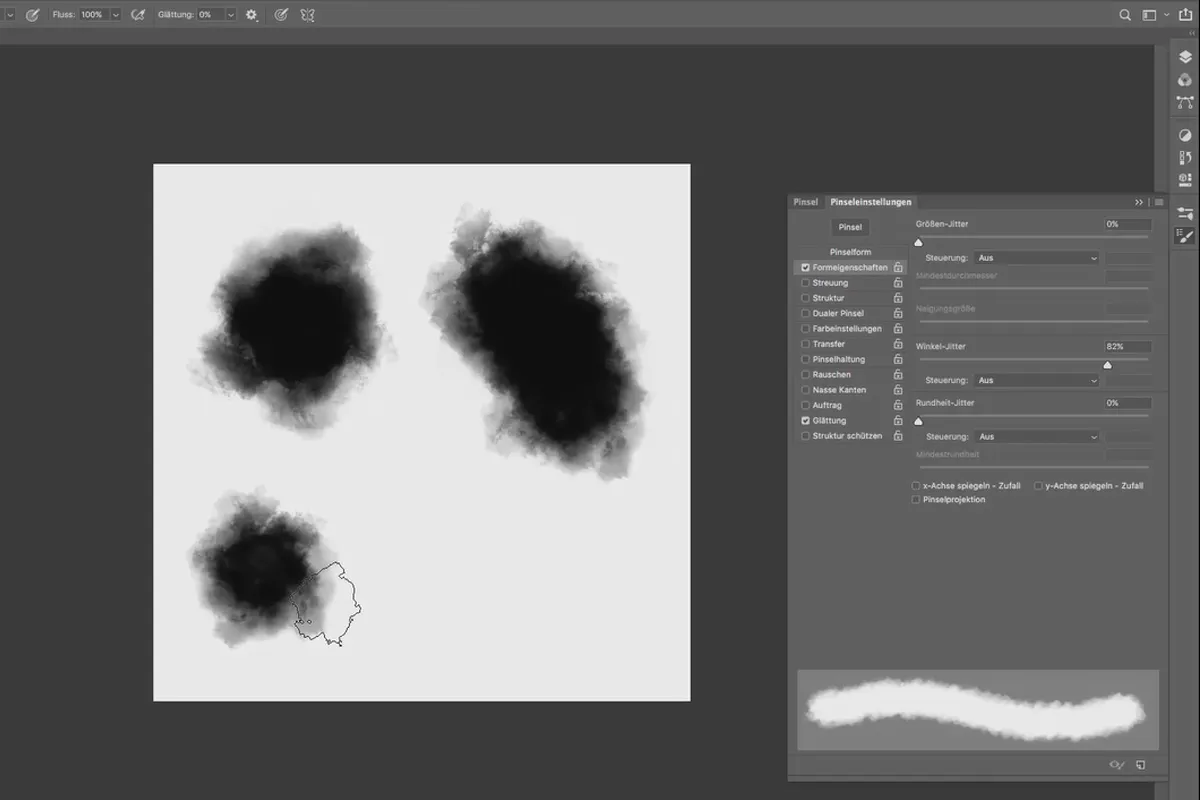
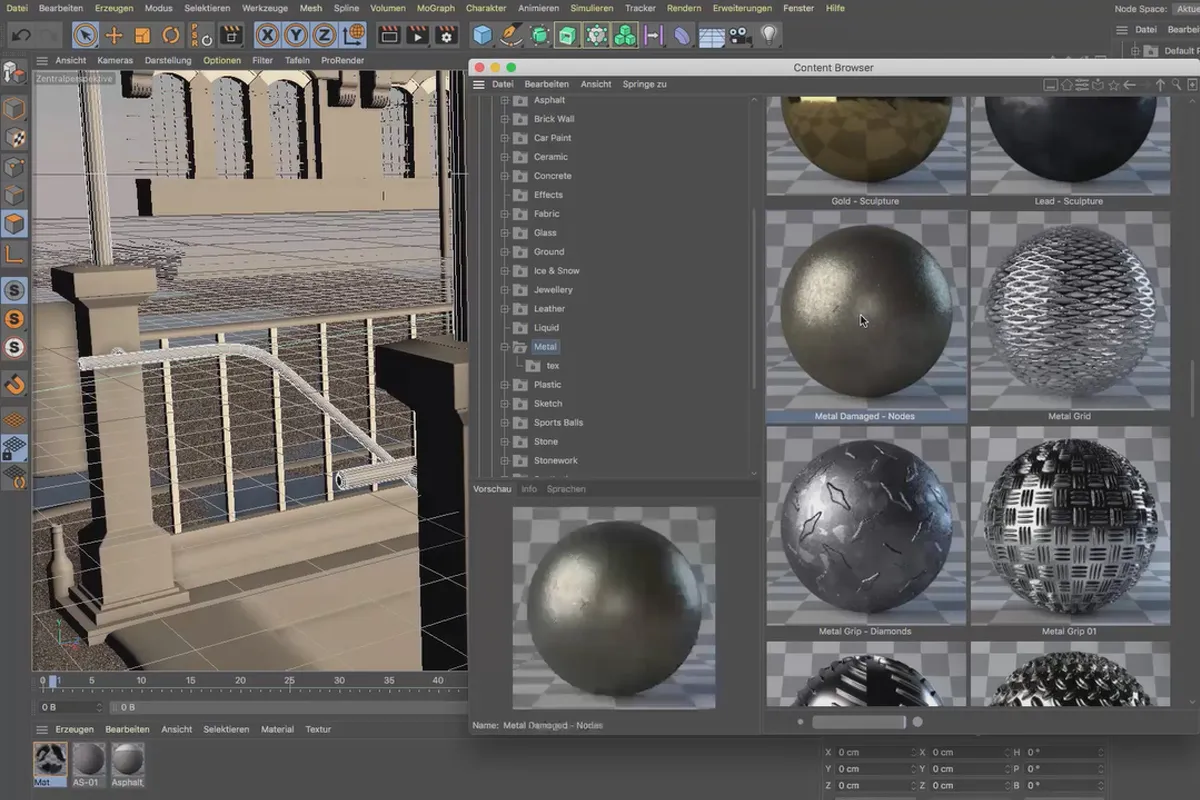
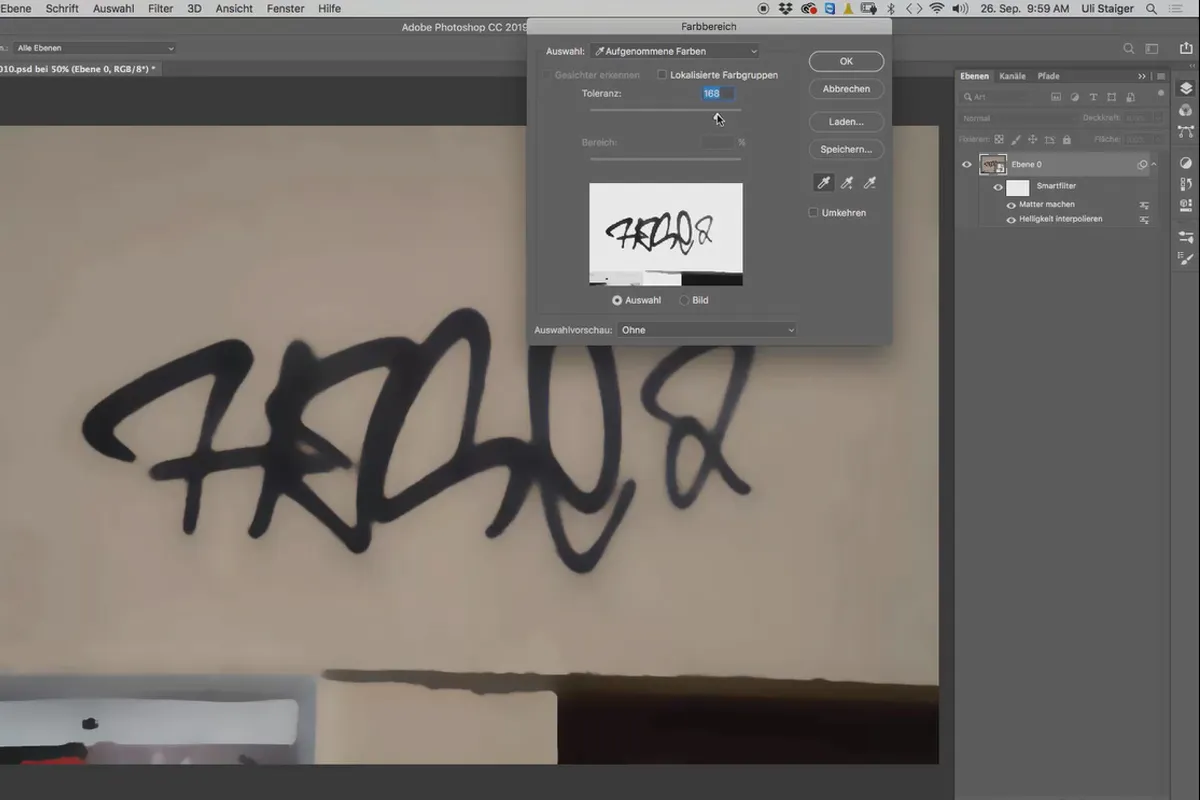
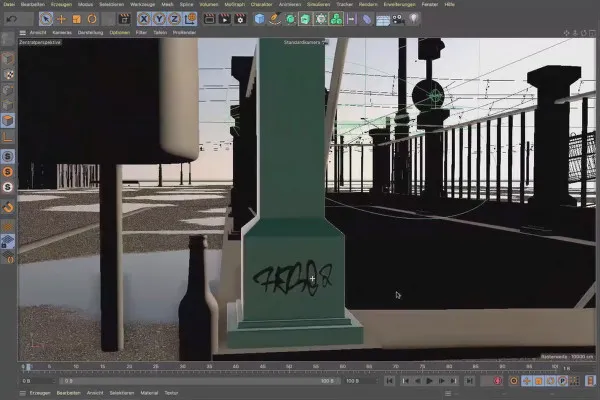
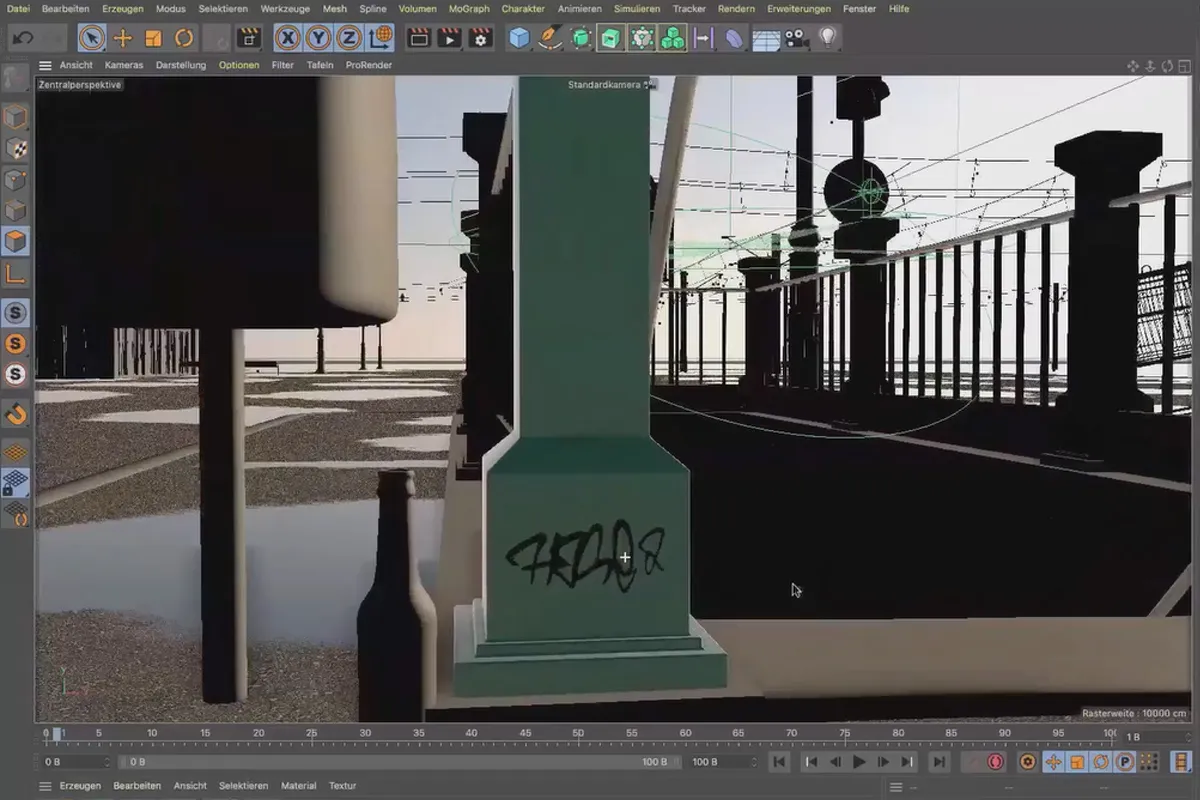
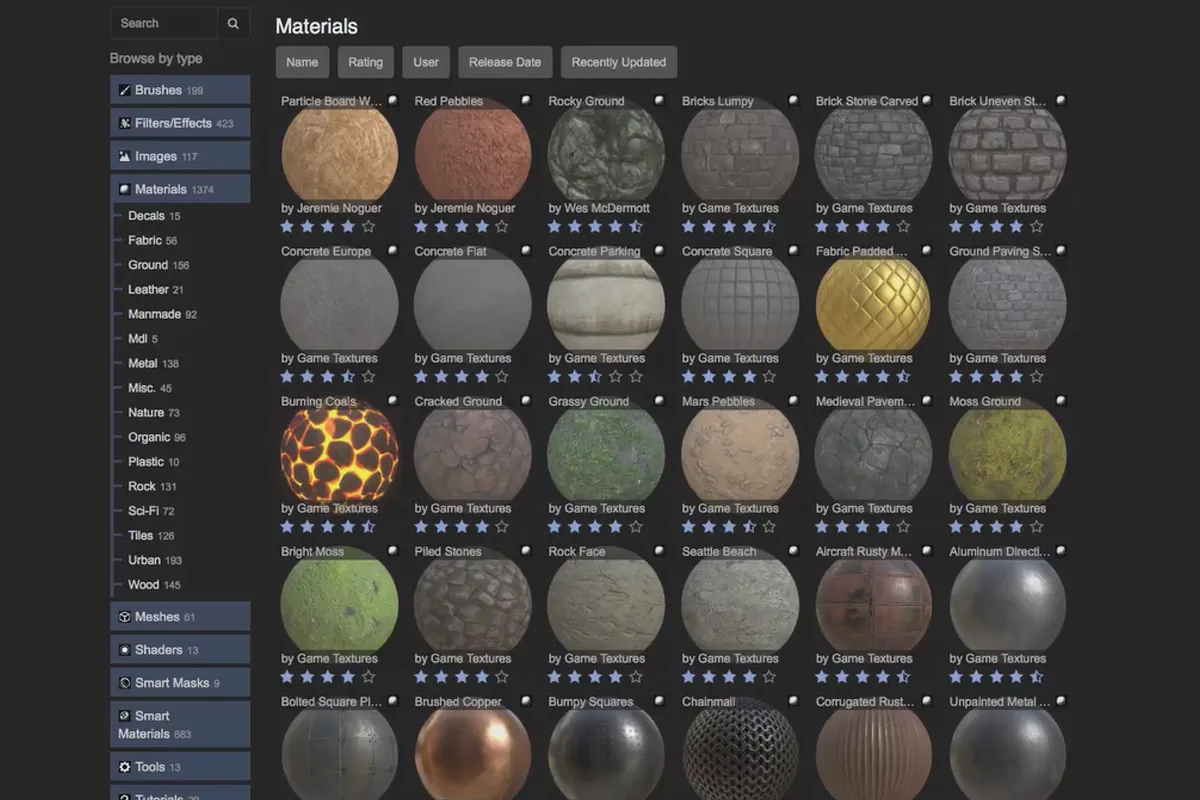
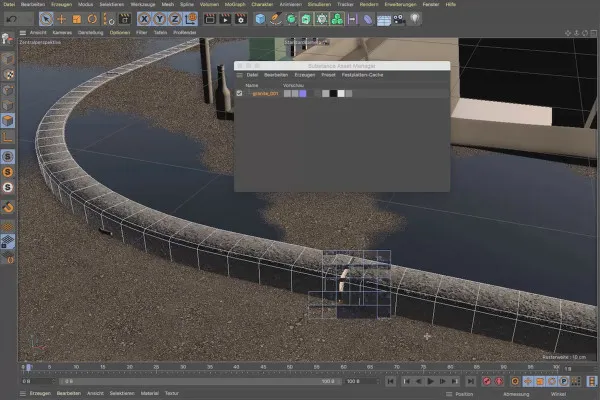
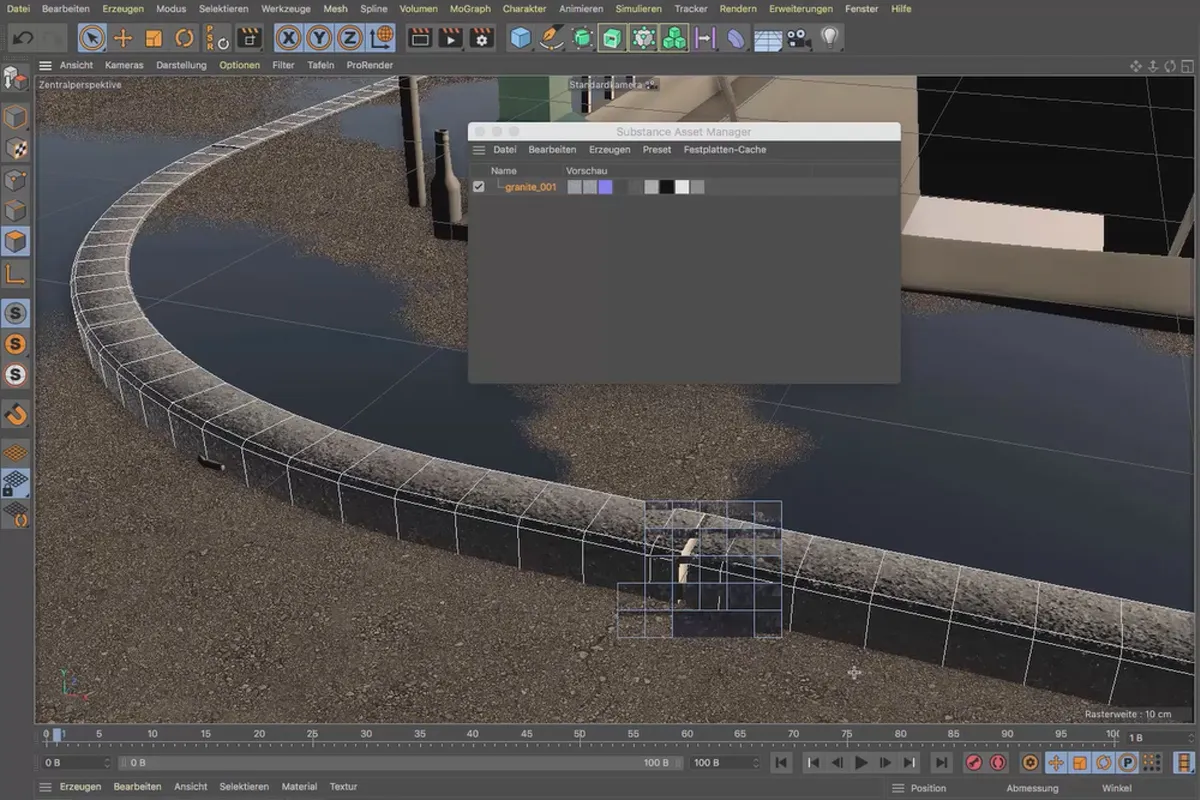
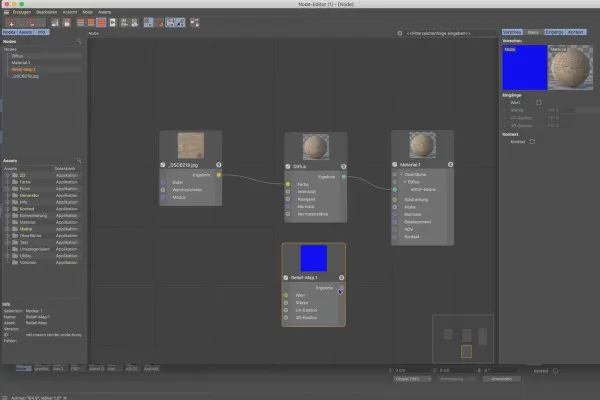
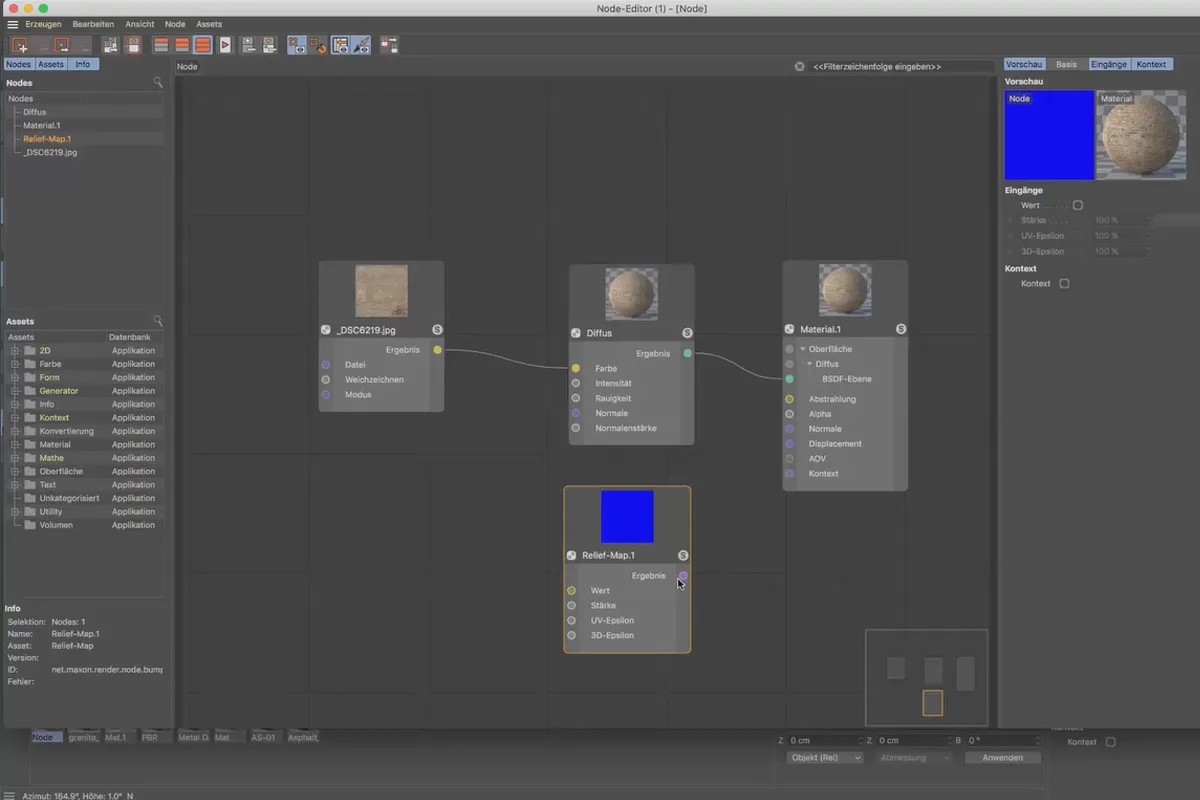
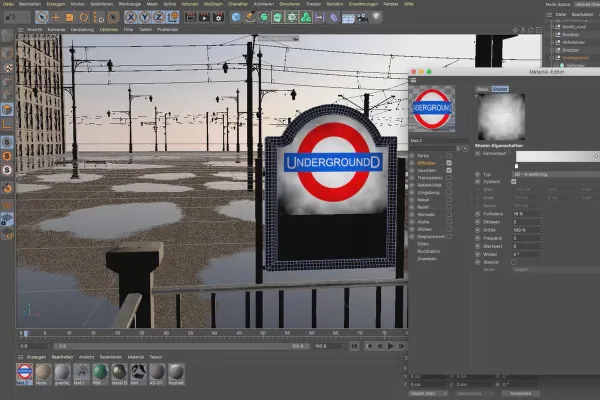
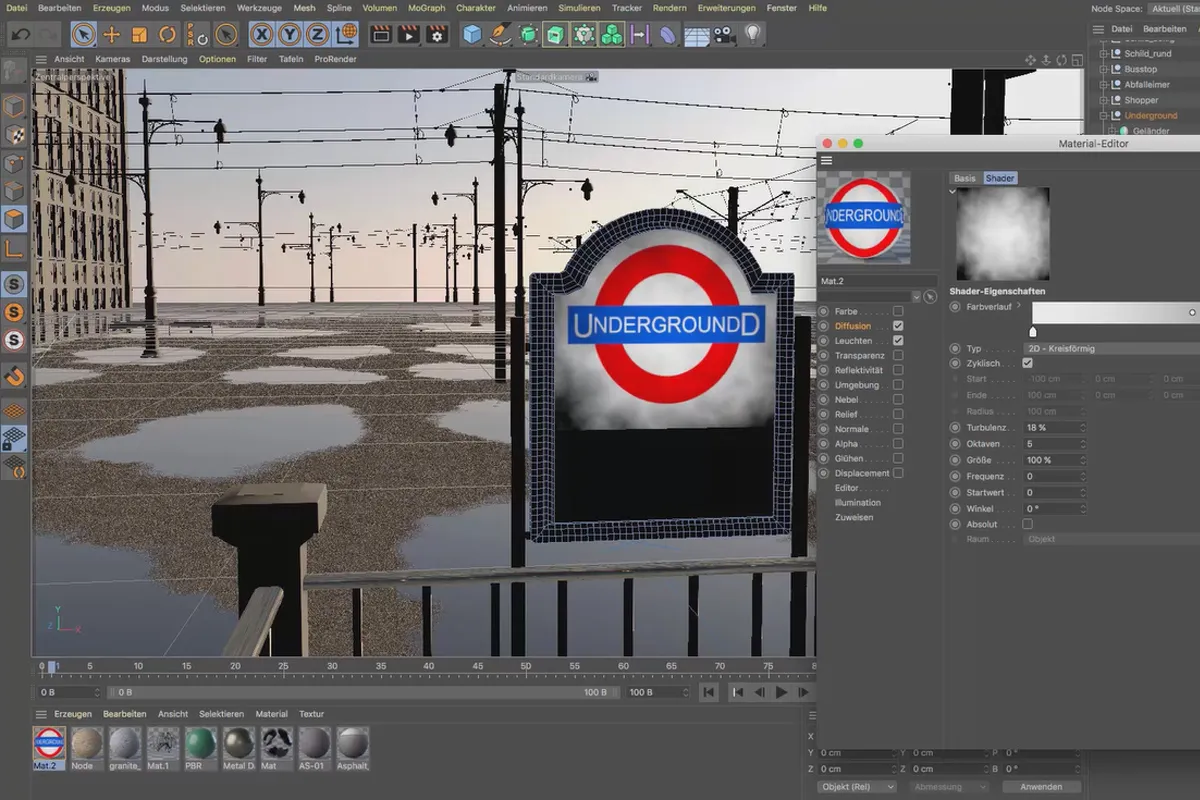
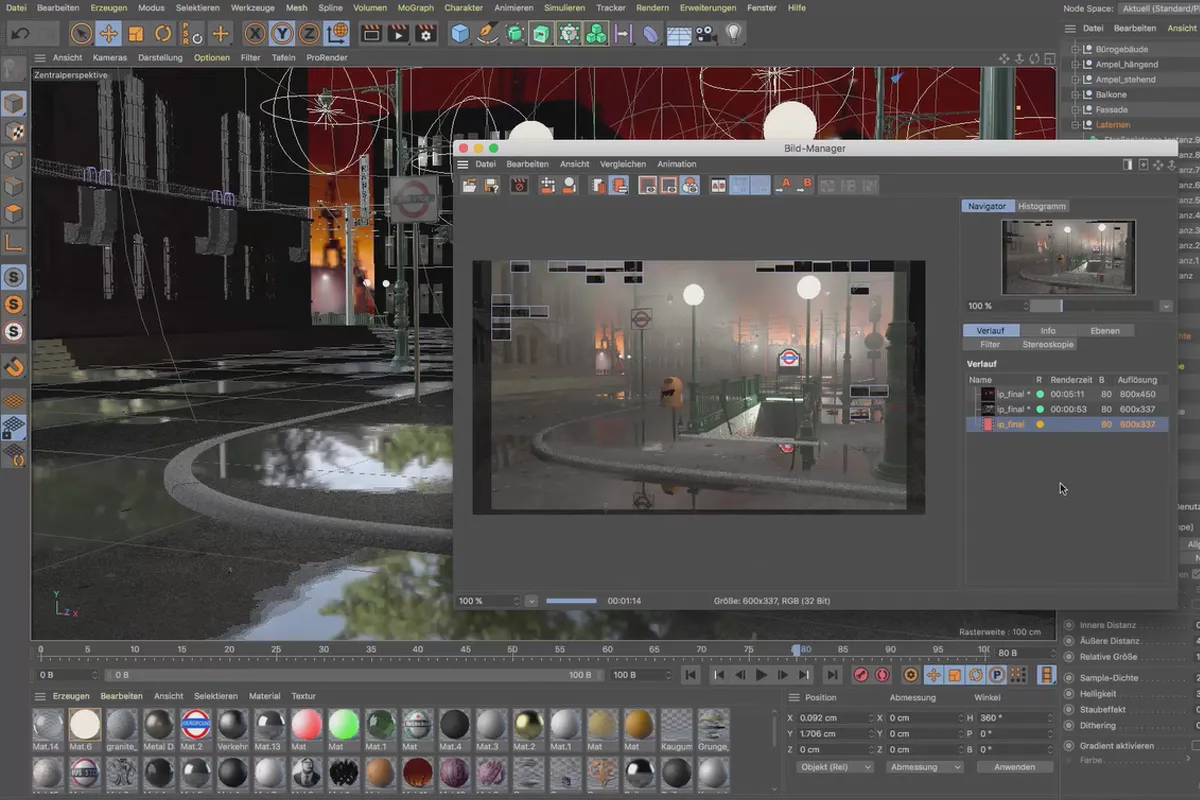
Once you have positioned the 3D objects, you can add textures such as asphalt, wall and paint to the road, sidewalk, wall and railings. You work in rain-soaked puddles with a reflective surface, work with the node-based material system and create an atmospheric background using a backplate. Details such as graffiti on the walls or crushed chewing gum on the ground are of course also a must in front of the subway station.
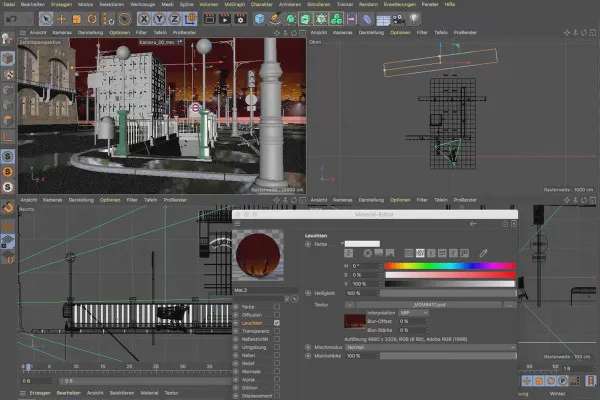
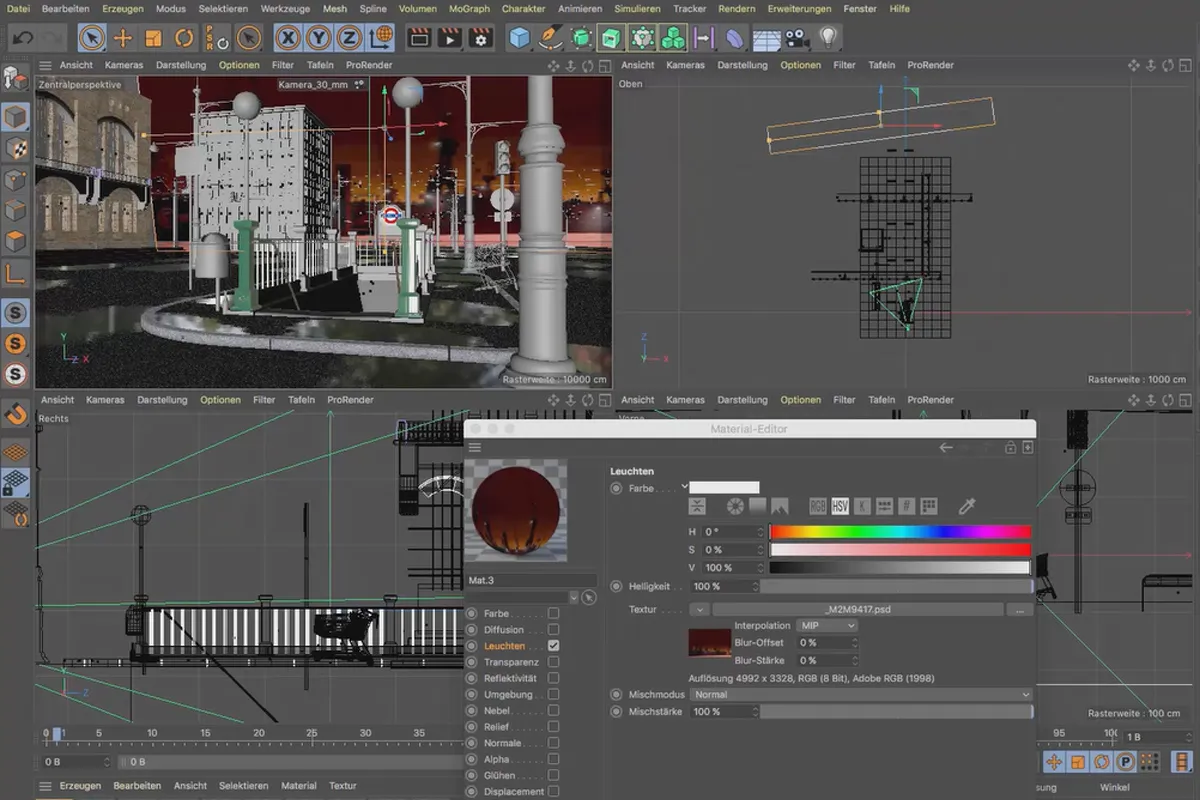
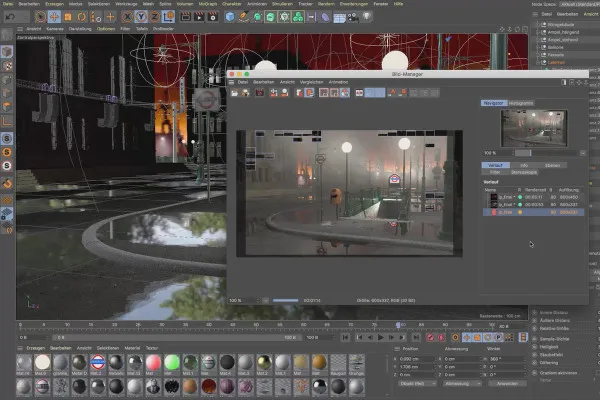
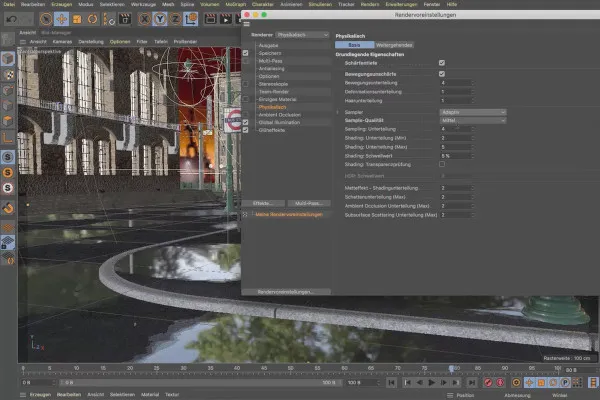
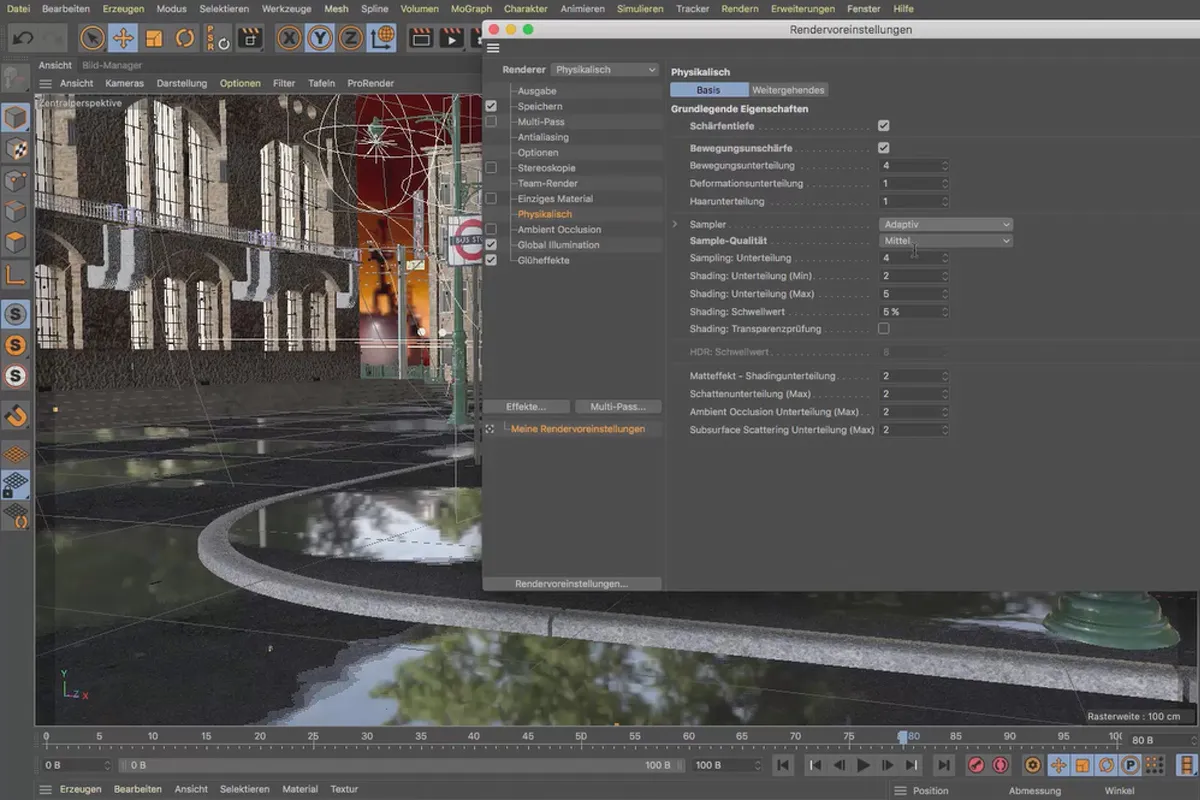
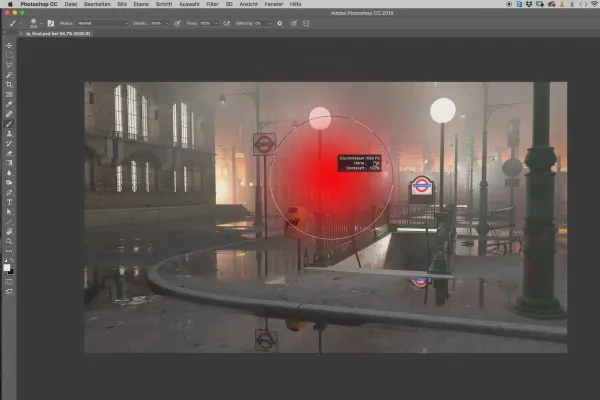
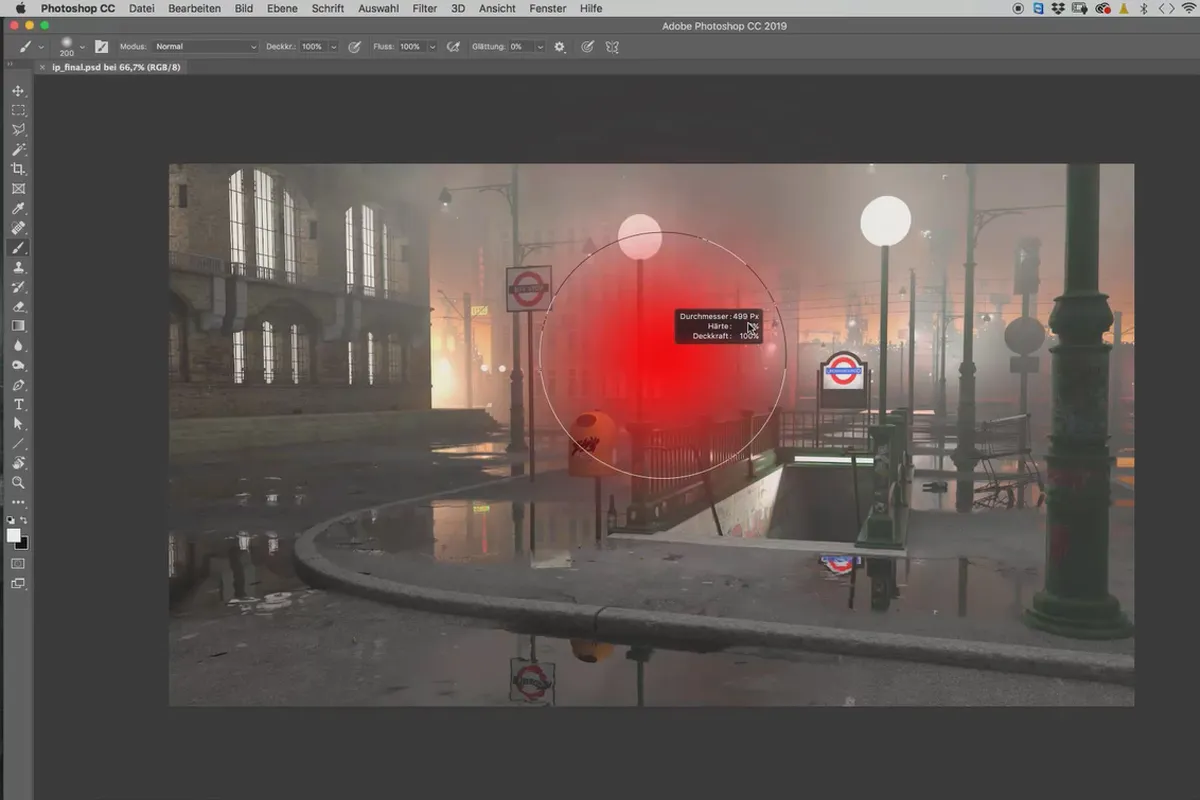
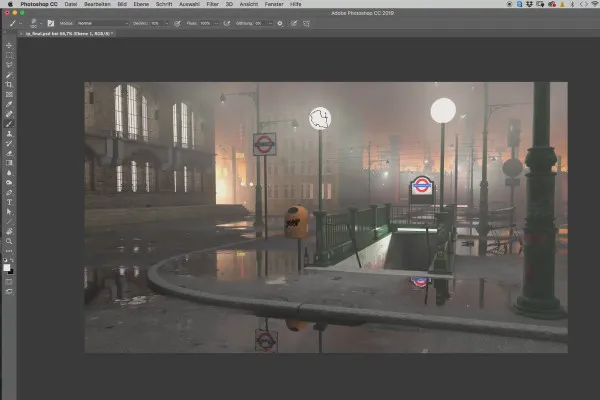
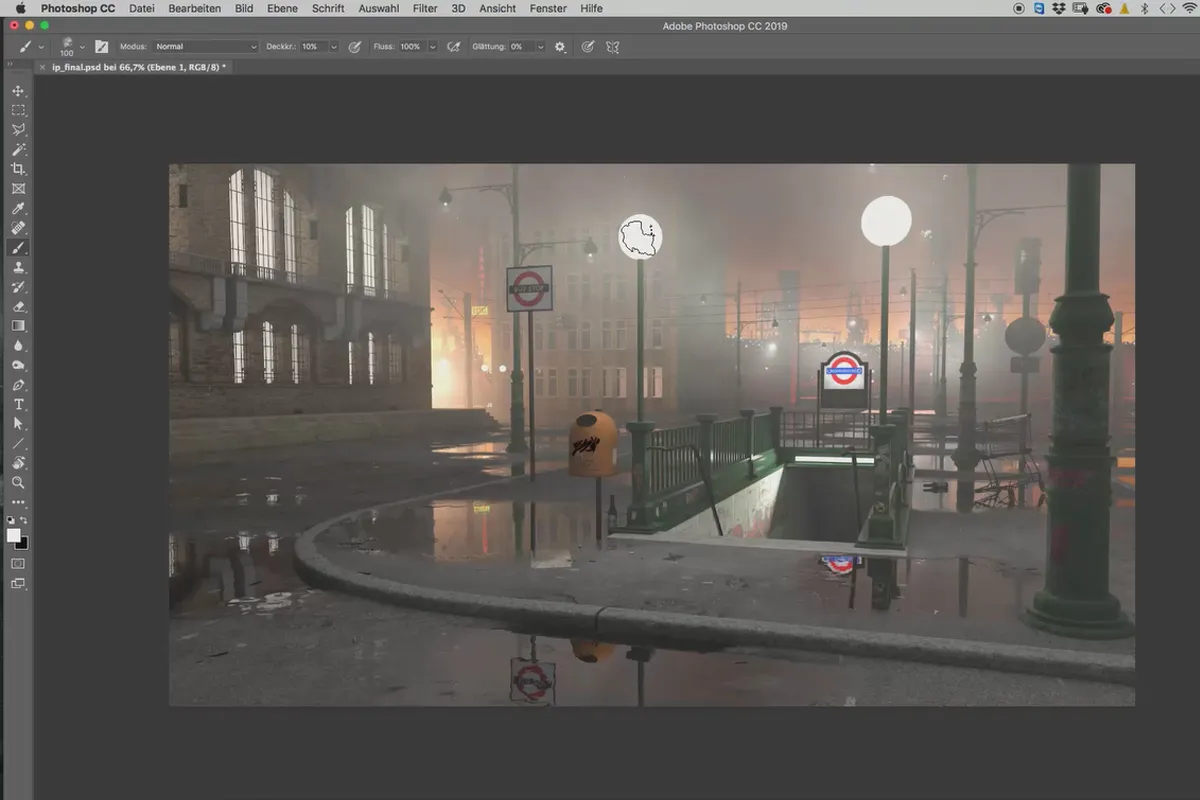
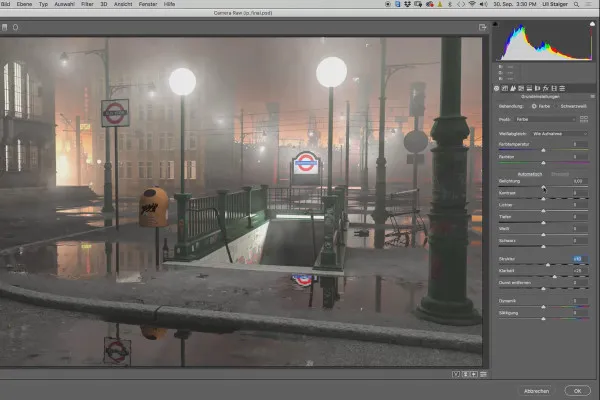
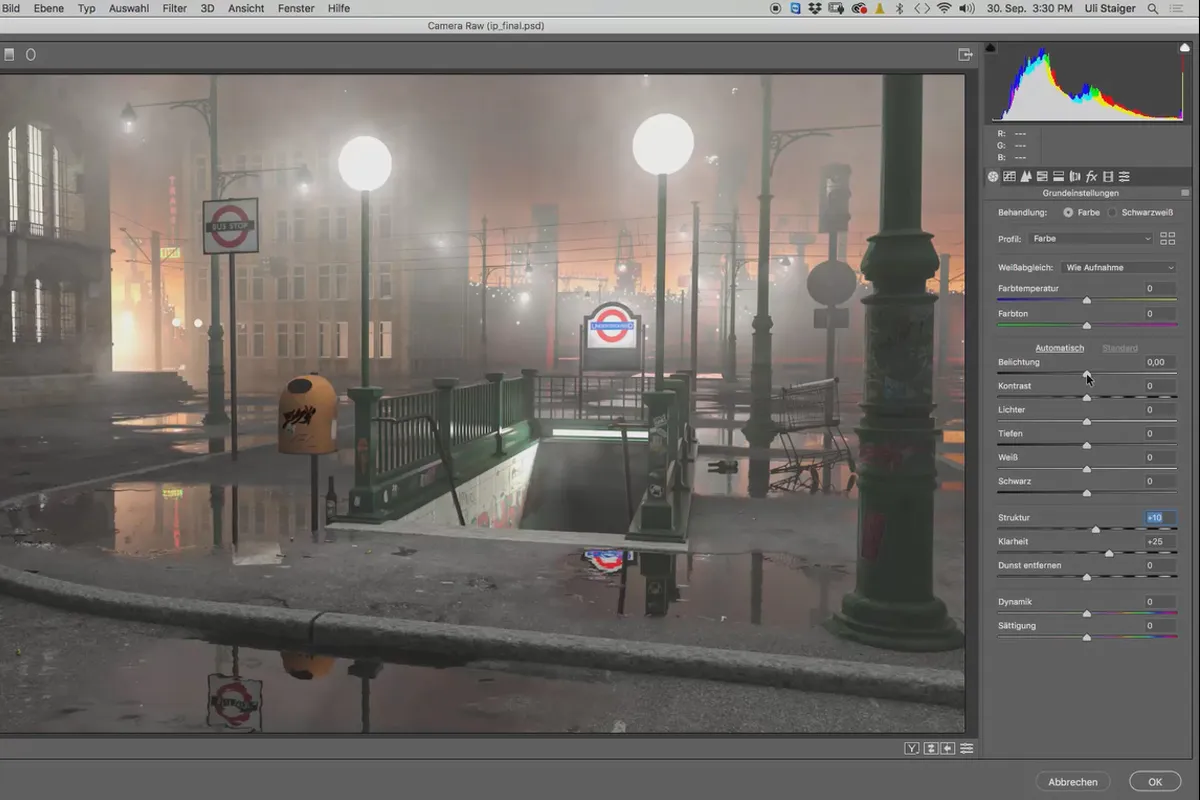
After the first rendering , use various light sources to give the scene the perfect city night atmosphere. Whether all-round spotlights, spotlights or backlighting - light the scene atmospherically and create the right light reflections in the right places. To finalize, start Photoshop to round off the image with light-painting brushes, vignette, contrast and Camera Raw filters.
Cinema 4D R21 and working materials
The Cinema 4D tutorial explicitly includes various functions of Release 21 of the software. In this way, you will learn about the possibilities offered by the R21 update and how to use them in practice. Numerous working materials are included so that you can recreate the scene one-to-one or adapt it with your own ideas.
Bonus: E-book with the new features in Cinema 4D R21
As a bonus, you will receive 100 PDF pages in which Cinema 4D professional Andreas Asanger explains the most important new R21 functions of Cinema 4D . Among other things, there are explanations of vector volumes and force fields, improved cover surfaces and bevels. Working materials included.
Other users are also interested
Listen to yourself carefully!

Make your beats audible!

Produce high-quality videos

Get an overview!

You'll be seen like this!
Practical applications for companies
Explained step by step

Short videos. Long-lasting success!


