Hair clipping - the compendium
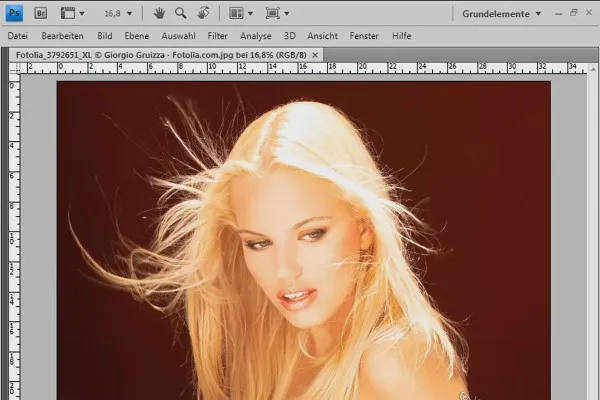
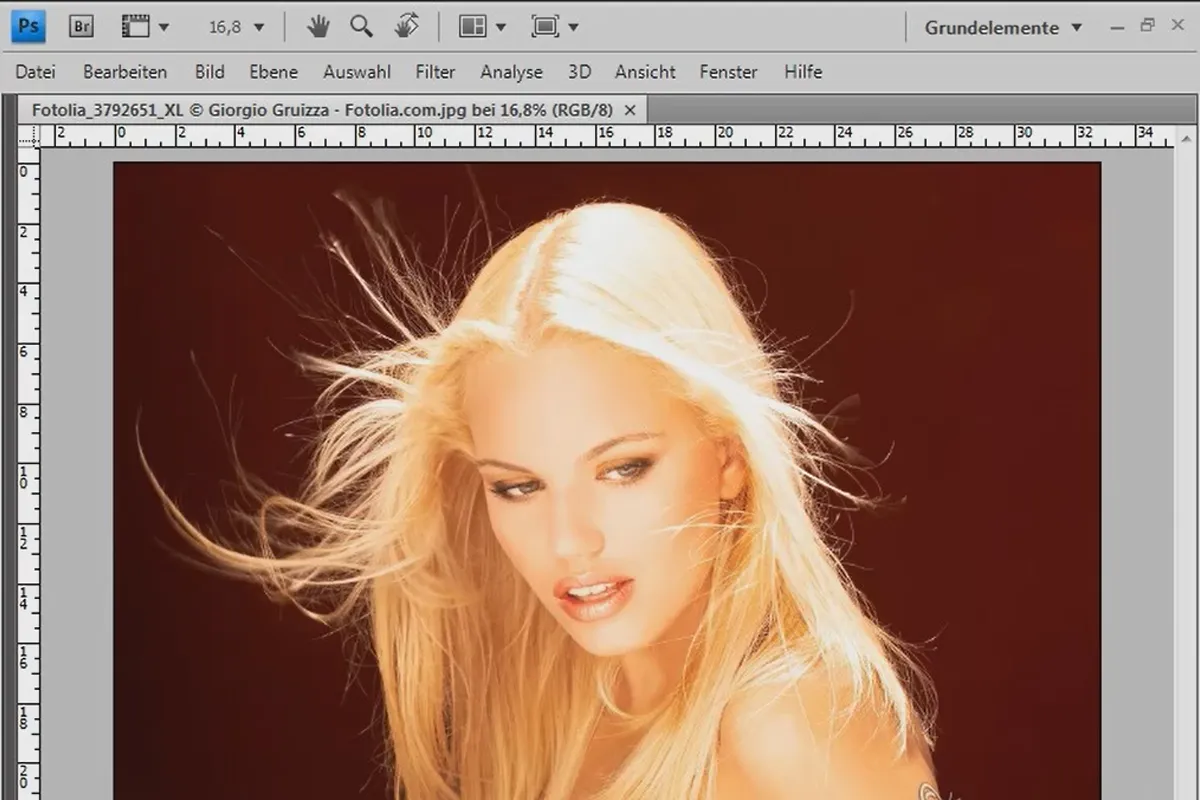
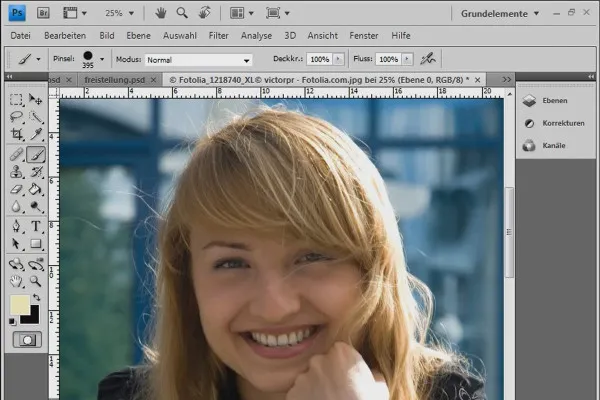
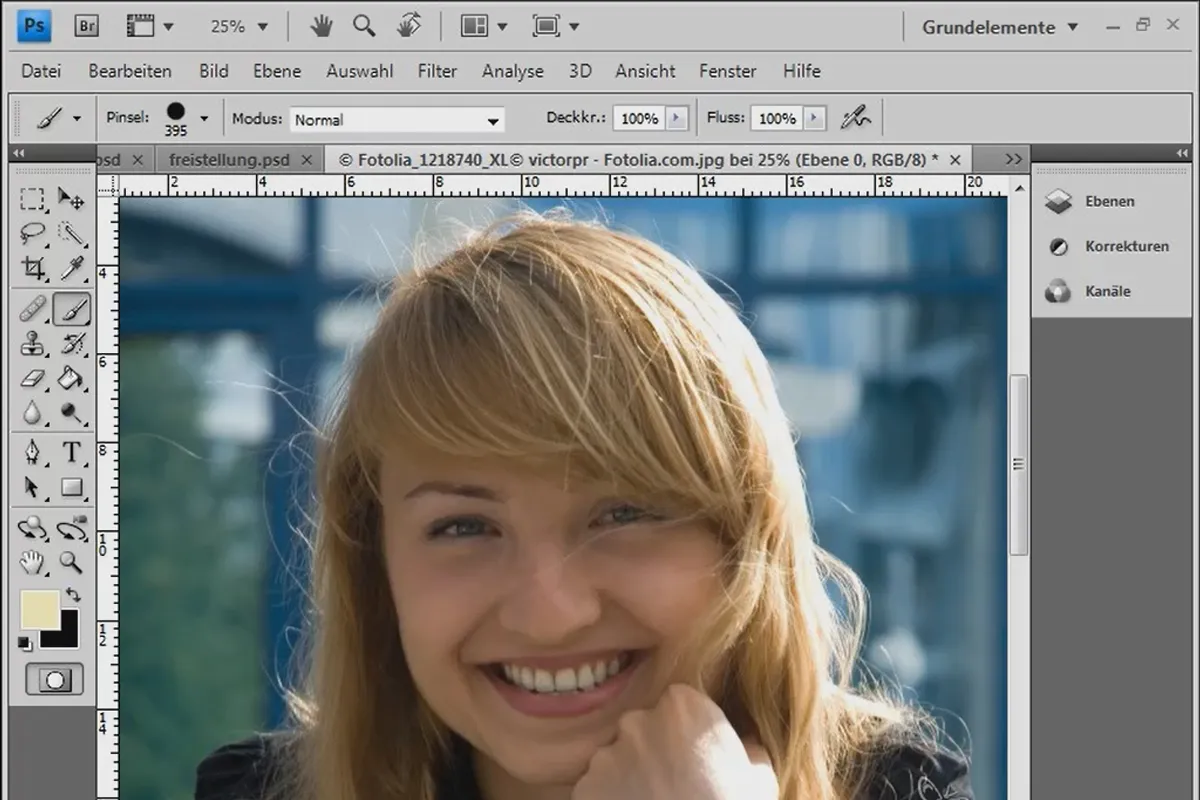
There is a reason why clipping hair is the supreme discipline in Photoshop. It is technically demanding, very time-consuming and does not always promise acceptable results in the end. Because hair clipping is generally perceived as so difficult, Matthias Petri has created an unprecedented tutorial series on the subject of hair clipping. Plunge into 3.5 hours of video training!
- 7 Design-Vorlagen zur Ankündigung von weihnachtlichen Events
- Format änderbar – zur Verwendung als Weihnachtsposter und -flyer
- With 8 practical video workshops
This compendium provides a remedy and promises more success hair by hair!
- content:
3 h Video training
- Licence: private and commercial Rights of use
Examples of use




Videos
Details of the content
How to crop hair in Photoshop!
The package contains 8 parts as video workshops:
1. clipping hair with channels - achieving perfect results without loss
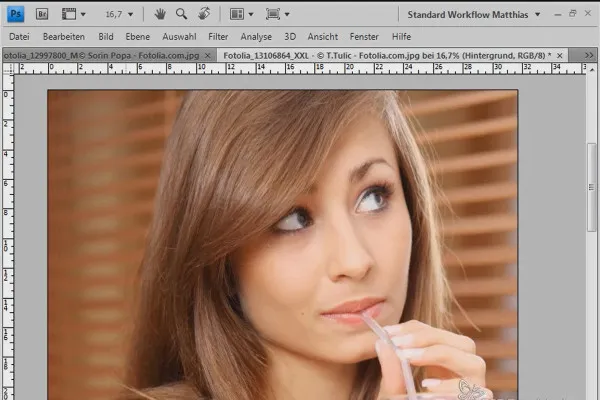
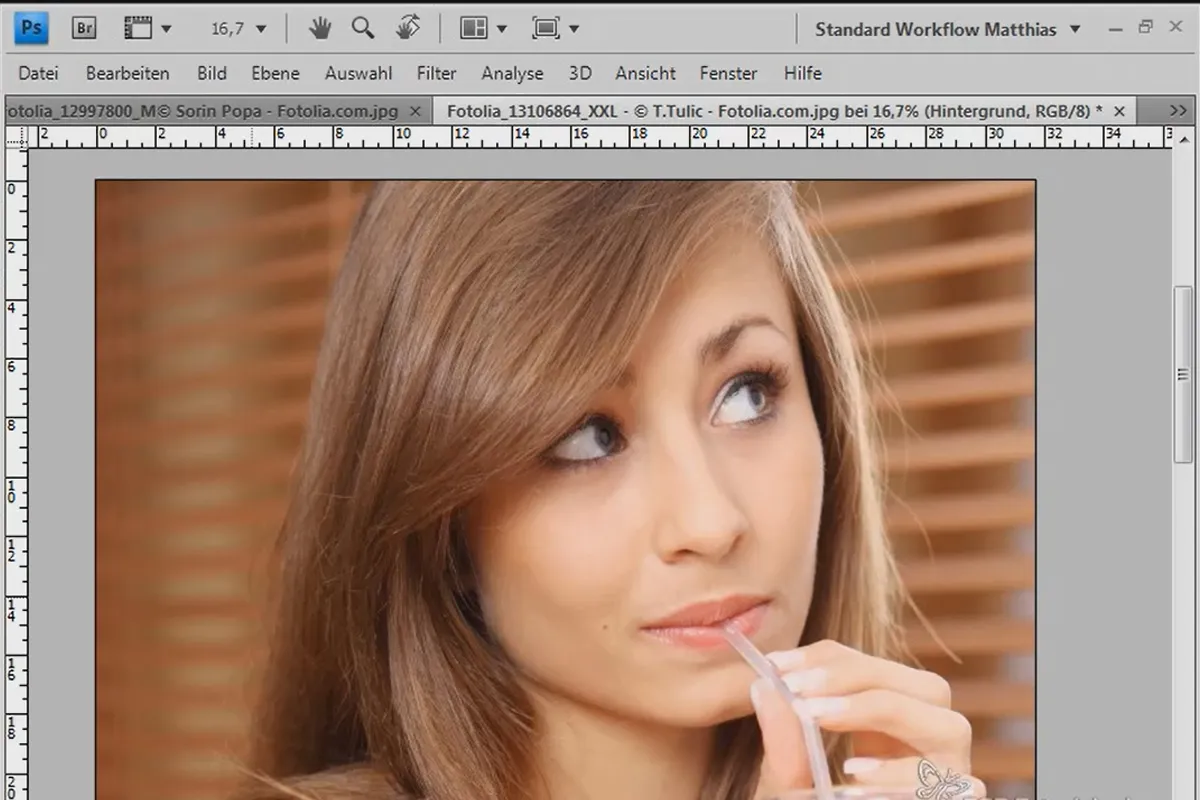
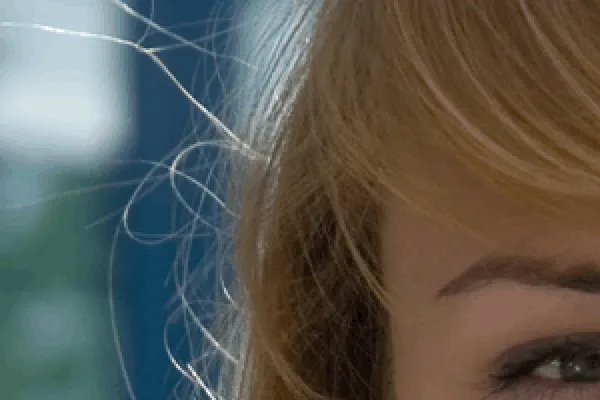
Hair clipping is one of the most challenging techniques in Photoshop. The difficulty lies in separating the fine structures of the hair from the background. These are not always sharp in the image, sometimes they appear semi-transparent and absorb the color from the background. Unfortunately, the usual selection tools such as the lasso tool, color range selection etc. are not suitable for this.
However, there are several techniques that are suitable for cropping hair, which can lead to a good result depending on the subject (hair type) and further use. In this video tutorial, I would like to introduce hair clipping via channels. This technique is ideal for images in which the hair is to be cropped in great detail and in sufficient sharpness with a visible difference to the background.
2. crop hair in the best possible way with a difficult background using selection sectors
Clipping hair with an irregular background is one of the most challenging techniques in Photoshop. The starting point for clipping hair with difficult backgrounds is to approach the result sector by sector. Depending on the background, I generate a selection that highlights and crops the hair. In this tutorial, I would like to introduce hair clipping using channels with selection sectors. The third sector, where the hair is very difficult to separate from the background, I will show you a trick to achieve a satisfactory result.
3. optimally crop hair with Extract - perfect for curls, fur and feathers
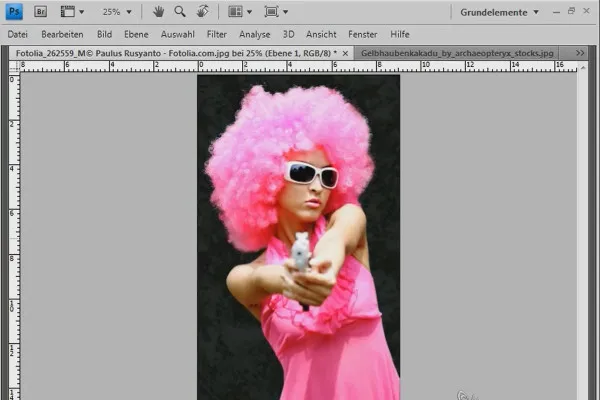
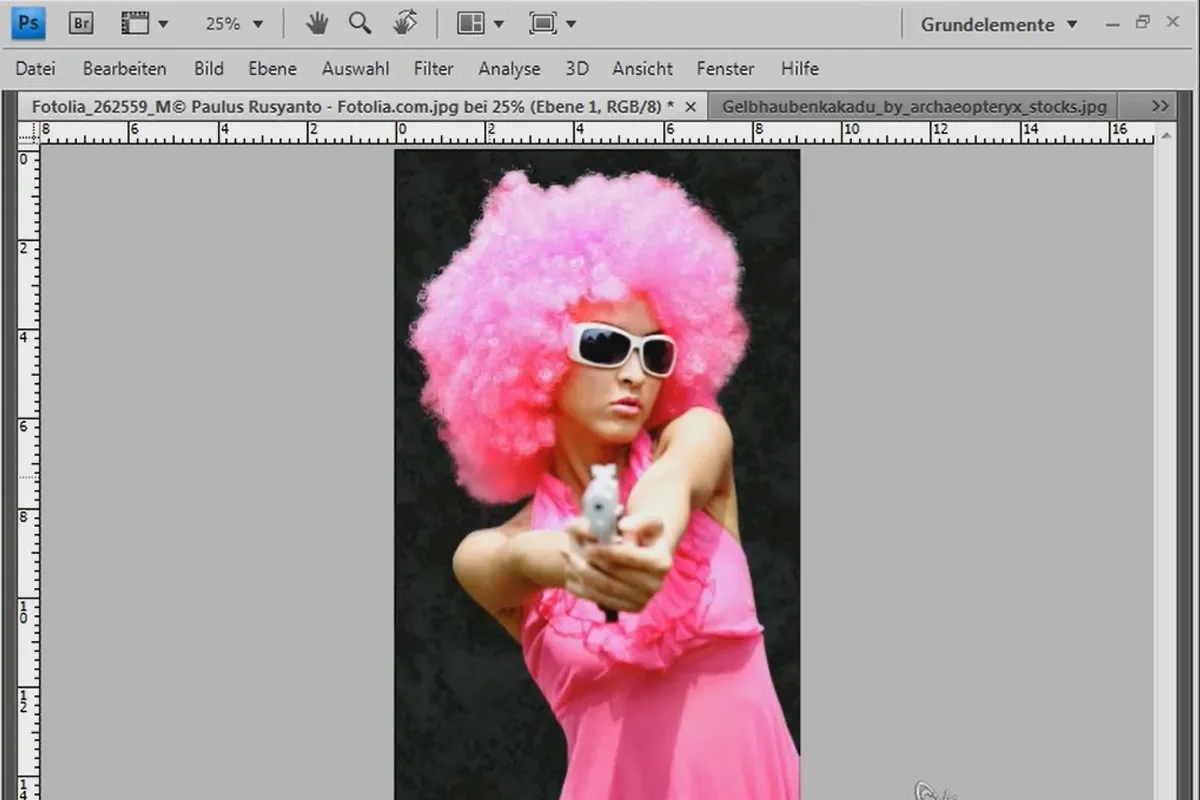
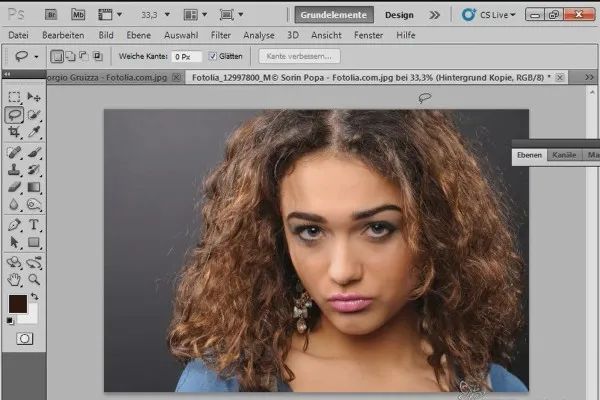
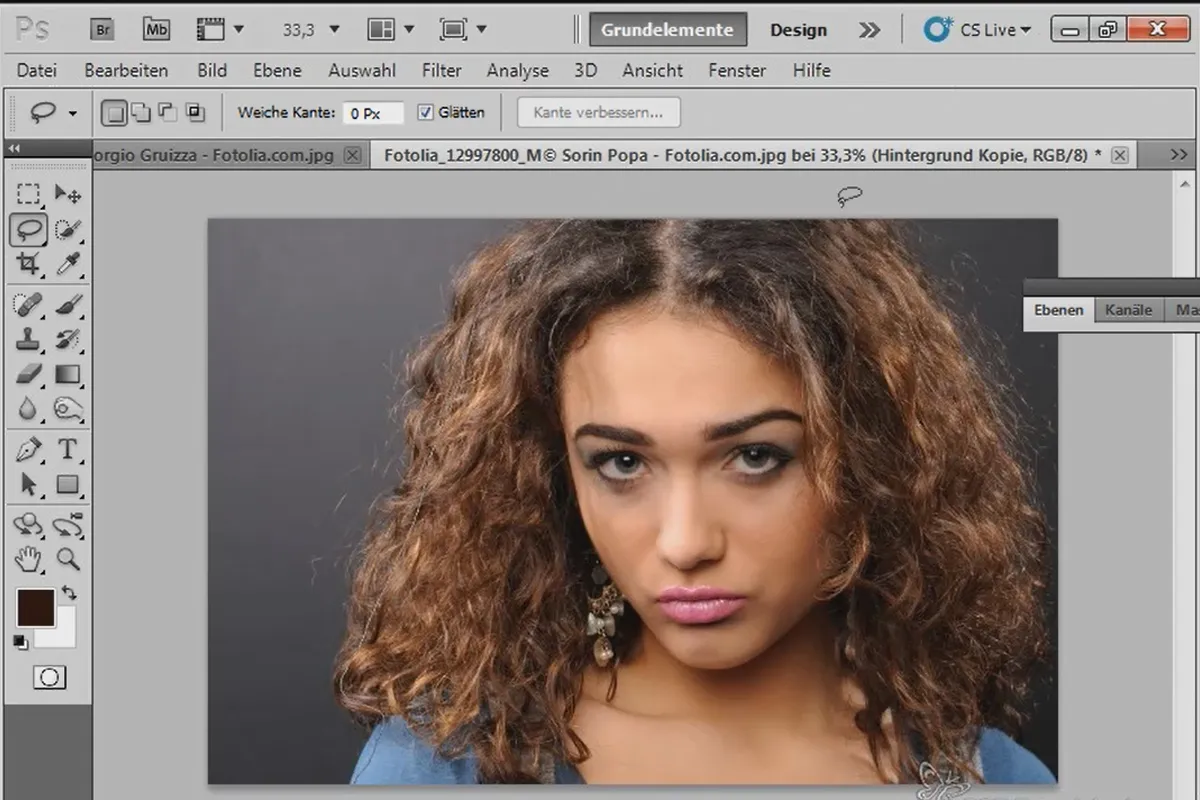
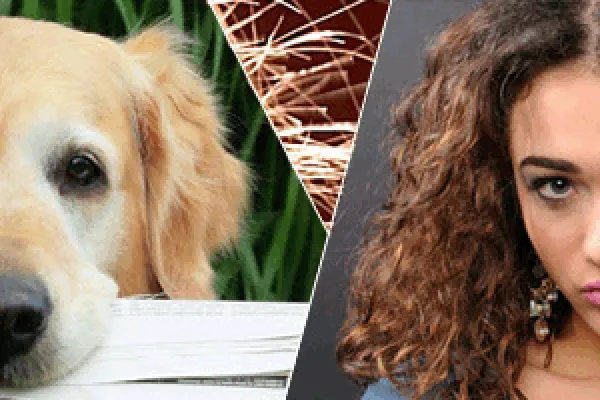
Extract is a filter for cropping, which can be used to solve certain hairy issues such as curls, animal fur or the feathers of a bird. In this tutorial, I will show you how the Extract filter works perfectly. In the first example, I'll free a cockatoo with complex feather structures. In the second example, I crop a curly wig (see preview image) and show some tips and tricks for post-processing, which offer very good solutions, especially for problems in the image material with depth of field.
4. hair clipping with color range selections and color range fades
With uniform backgrounds, it is a good idea to use a color range selection for cropping. Color range masking can also be an effective tool, which can even achieve good results with irregular backgrounds.
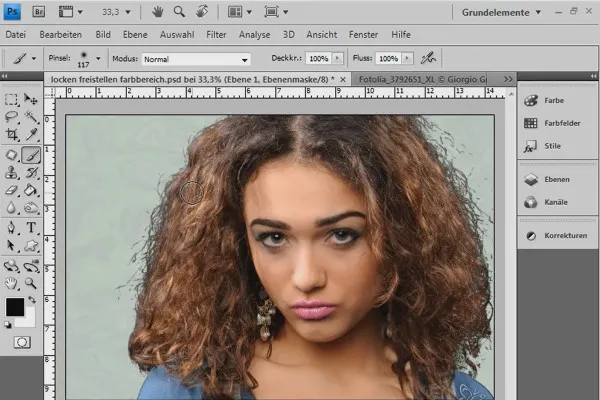
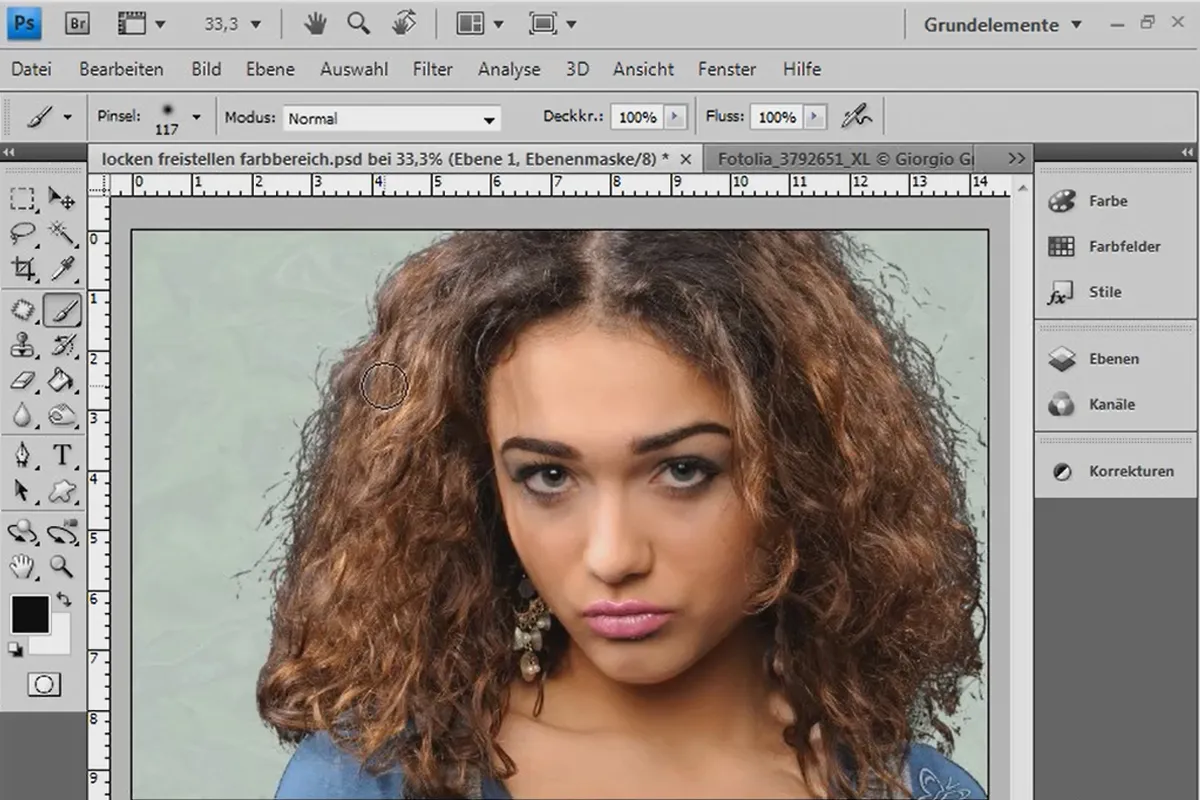
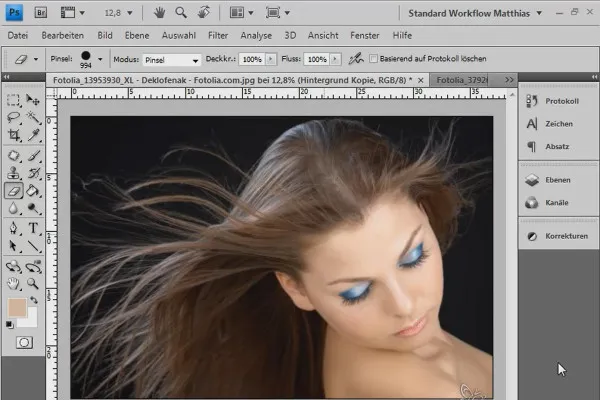
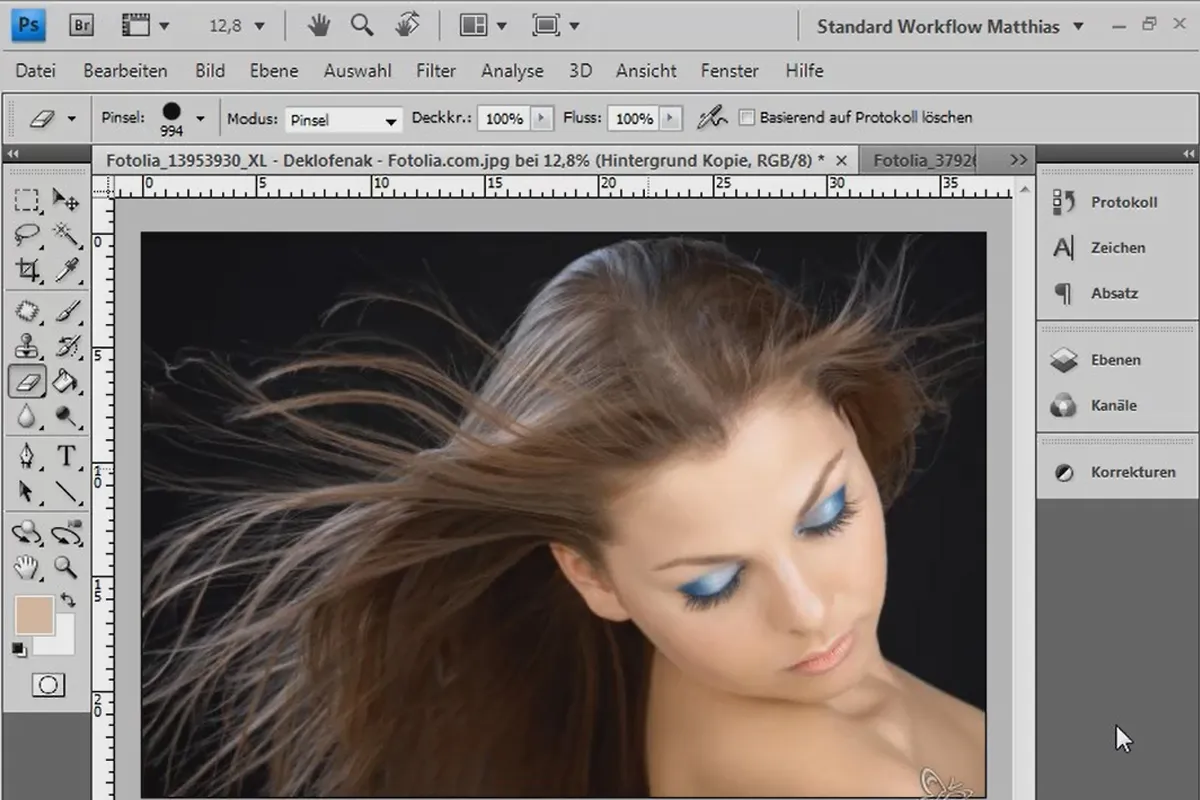
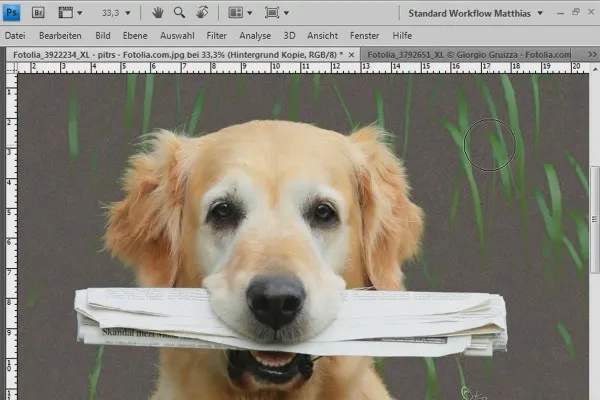
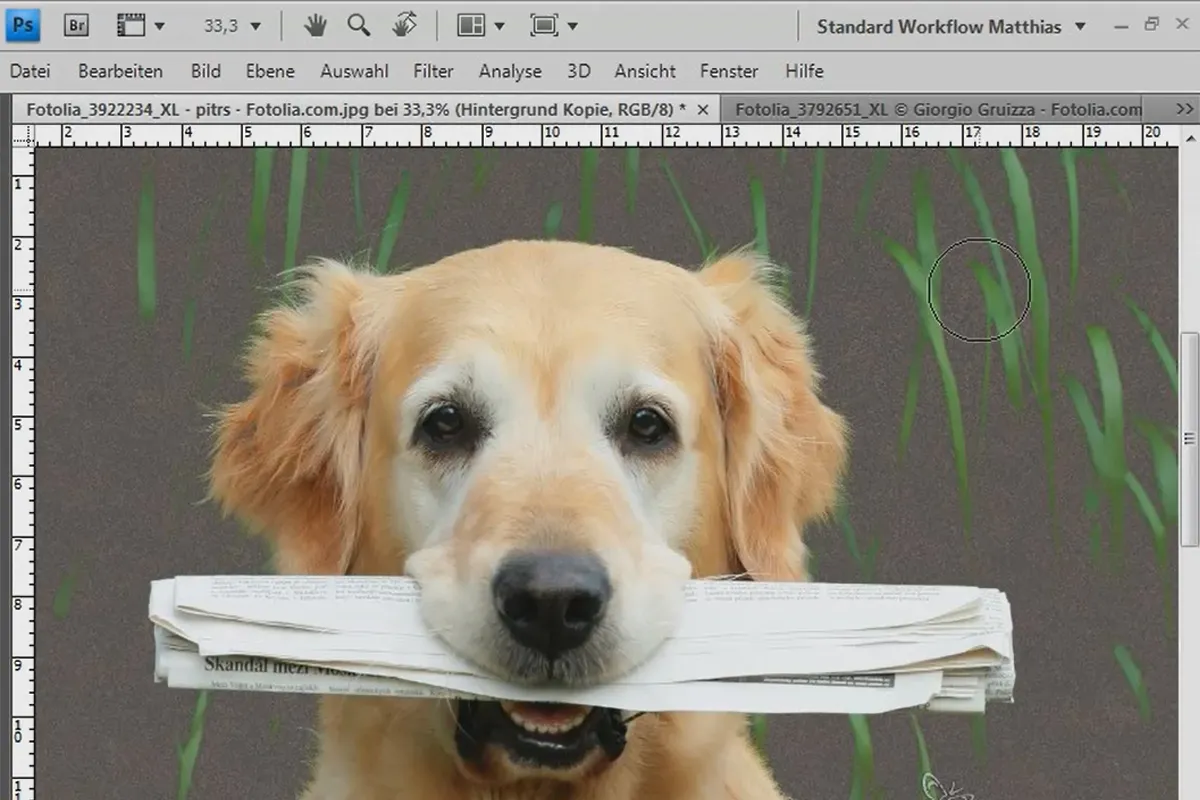
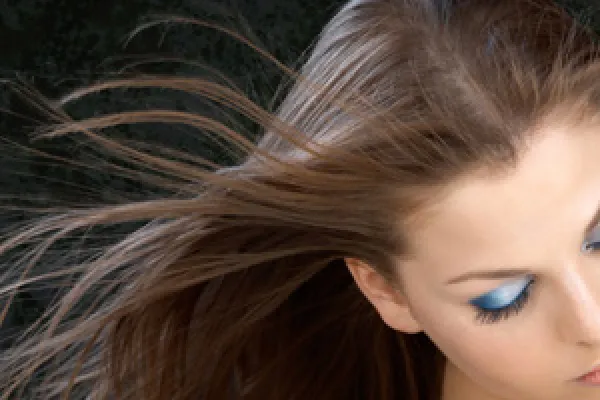
In this tutorial, I would like to present two techniques for clipping hair. In a total of three examples, I will show the possibilities and limitations of color range selections and color range blending. The examples are curls, straight hair swirling in the air and dog hair.
Don't be confused by the term "color range"! The second technique in particular, which explains the fading out of tonal values, is quite a tricky one and is still relatively unknown. So be sure to take a look!
5. hair clipping with the background eraser - it has never been so easy
Since Photoshop CS3, the background eraser has been available, which destructively crops, but makes the cropping of filigree details easier than ever before.
For the advanced Photoshop user who has internalized non-destructive work, the eraser tool causes, if not a rash, then a certain amount of irritation. The Background Eraser and Magic Eraser tools are hardly used or known because of this "bad neighborhood" in the application. However, the background eraser introduced with version CS3 can produce amazing results when clipping hair, which are in no way inferior to clipping with selections and even have an advantage that should not be underestimated. And anyone who thinks that this is just a kind of "magic wand clipping" will be surprised.
In three sample images, I show the cropping of blonde hair and brown hair against a uniform background and of dog fur against an irregular background. So: be sure to take a look. The technique is as simple as it is amazing!
6. hair clipping with layer mode offsets - so quick and fantastic
There are various methods for cropping hair that achieve good to very good results, depending on the subject. Depending on the further processing, I can also save myself the trouble of cropping hair by offsetting the new background against the existing image. The possibilities of this offsetting should not be underestimated. Anyone who understands how the offsets work can achieve fantastic results very quickly. In this tutorial, I would like to show you a total of six examples of how fill methods can be used for "hair clipping". The technique really is extremely effective and ingenious!
7. extreme hair clipping - the tricks for problem cases and difficult conditions
In this tutorial, I would like to show a combination of exact and simulated clipping so that the result is perfect in the end despite difficult initial conditions. A total of six problem cases are discussed in this tutorial and solved using various techniques from the bag of tricks.
It deals with brushing, drawing and wiping hair, tricky clipping using a hair simulation selection, creating hair brush presets and copy sources to correct clipping errors, destructive and non-destructive techniques for eliminating color fringes and accentuating hair edges using clipping duplicates in modified layer modes.
8. edge enhancement and intelligent masks
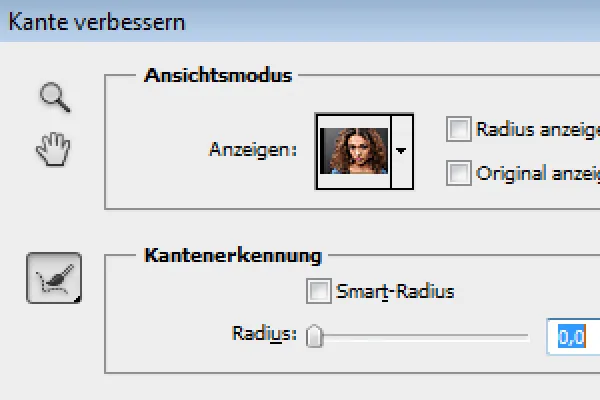
This is also the point: The Enhance Edge dialog (CTRL+ALT+R) has been significantly redesigned and improved in version CS5. Thanks to the new Enhance Radius tool (E) and the Smart Radius for edge detection, it is now possible to obtain detailed selection results from coarse selections of fine structures. Using three images as examples, I will demonstrate the possibilities and limitations of the Enhance Edge dialog when clipping hair.
Other users are also interested
Understand & apply effectively
Quickly create high-quality business equipment
Adjust your knowledge to AI!
Simply edit images professionally
Little effort. Sharp results.

Follow an instructive path of image editing!

Photo editing & image composition

Neatly cut out!

