When you create audio recordings (or record videos with sound), you may hear unwanted noise such as hiss , reverb , echo and pop noises on your audio tracks. These can affect the quality of your recordings and cause your listeners to become distracted or lose interest. Fortunately, there are a variety of techniques and tools you can use to reduce or even completely remove these noises.
If you want to learn how to improve and optimize the sound quality of your audio recordings, there are many resources out there to help you. From online training courses to books and tutorials, there are many ways to expand your knowledge and skills in audio editing. Some of the most important techniques you should learn are noise and reverb reduction, noise removal and improving sound quality through equalization and compression.
In this article, I will focus on sound editing for reverb, noise and other distracting sounds. I will introduce various techniques and tools that can help you minimize or eliminate these noises and improve the sound quality of your audio recordings. Whether you're a podcaster, YouTuber or professional audio engineer, these tips and tricks will help you make better audio recordings and delight your listeners. By the way, there's also a video training course here on TutKit.com: Improving audio recordings: Sound editing for reverb, hiss and other background noise
Table of contents
The basics of sound editing
Before you start editing your audio recordings, you should understand the basics of sound editing. Here are some important concepts you should know:
Frequencies
Every sound has a specific frequency. Low frequencies create low tones, while high frequencies create high tones. When editing a soundtrack, you can increase or decrease the volume of certain frequencies to improve the sound.
Dynamics
The dynamic range of a sound refers to the difference between the loudest and quietest parts of the sound. If an audio track has too much dynamic range, it can be difficult to listen to, as some parts may be too quiet and others too loud. You can reduce the dynamics of an audio track by reducing the volume of the loudest parts and increasing the volume of the quietest parts.
Reverb, noise and other background noises
Reverb, hiss and other noise can make an audio recording unusable. However, there are tools and techniques you can use to remove or reduce these noises. Some tools use AI-based algorithms to automatically detect and remove noise.
Equalizer
An equalizer is a tool that allows you to raise or lower the volume of certain frequencies. You can use an equalizer to improve the sound of an audio track or to emphasize certain frequencies.
Compression
Compression is a process in which the volume of the loud parts of an audio track is reduced and the volume of the quiet parts is increased. This can help to reduce the dynamics of an audio track and ensure that it sounds more even.
Now that you know the basics of sound editing, you can start optimizing your audio recordings.
Types of noise
When editing an audio recording, it's important to know the different types of noise that can occur. These can affect the sound of the recording and reduce the quality. Here are the most common types of noise and how to deal with them.
Reverb
Reverb is an echo effect that occurs when sound waves are reflected off hard surfaces. It can occur in rooms with high ceilings or smooth walls. Reverb can blur the sound of the recording and create unwanted reverberation times.
To reduce reverb, you can line a room with acoustic materials or use post-processing software that offers special reverb removal effects.

Noise
Noise is an unwanted background noise that can occur during recording. It can be caused by many factors, such as electrical interference, poor cabling, or excessive amplification or poor microphones.
To reduce noise , you can use a noise gate to filter the recording and keep only the loud parts, or use a noise reduction plugin that automatically removes the noise.
Other types of noise
There are many other types of noise that can occur, such as pops, pops, hisses, hums and more. These can be caused by various factors, such as bad cables or faulty equipment.
To reduce these noises, you can use a de-esser plugin to remove sibilance or an equalizer plugin to emphasize or reduce certain frequencies. A thorough review of the equipment can also help to identify and fix potential problems.
Overall, it's important to know the different types of noise and understand how to deal with them to achieve a high-quality audio recording.
Techniques to improve the audio recording
When you create an audio recording, you may encounter noise such as reverb, hiss or other unwanted sounds. These can affect the quality of the recording and diminish the listening experience. Fortunately, there are techniques you can use to reduce or even eliminate these noises.
Reverb reduction
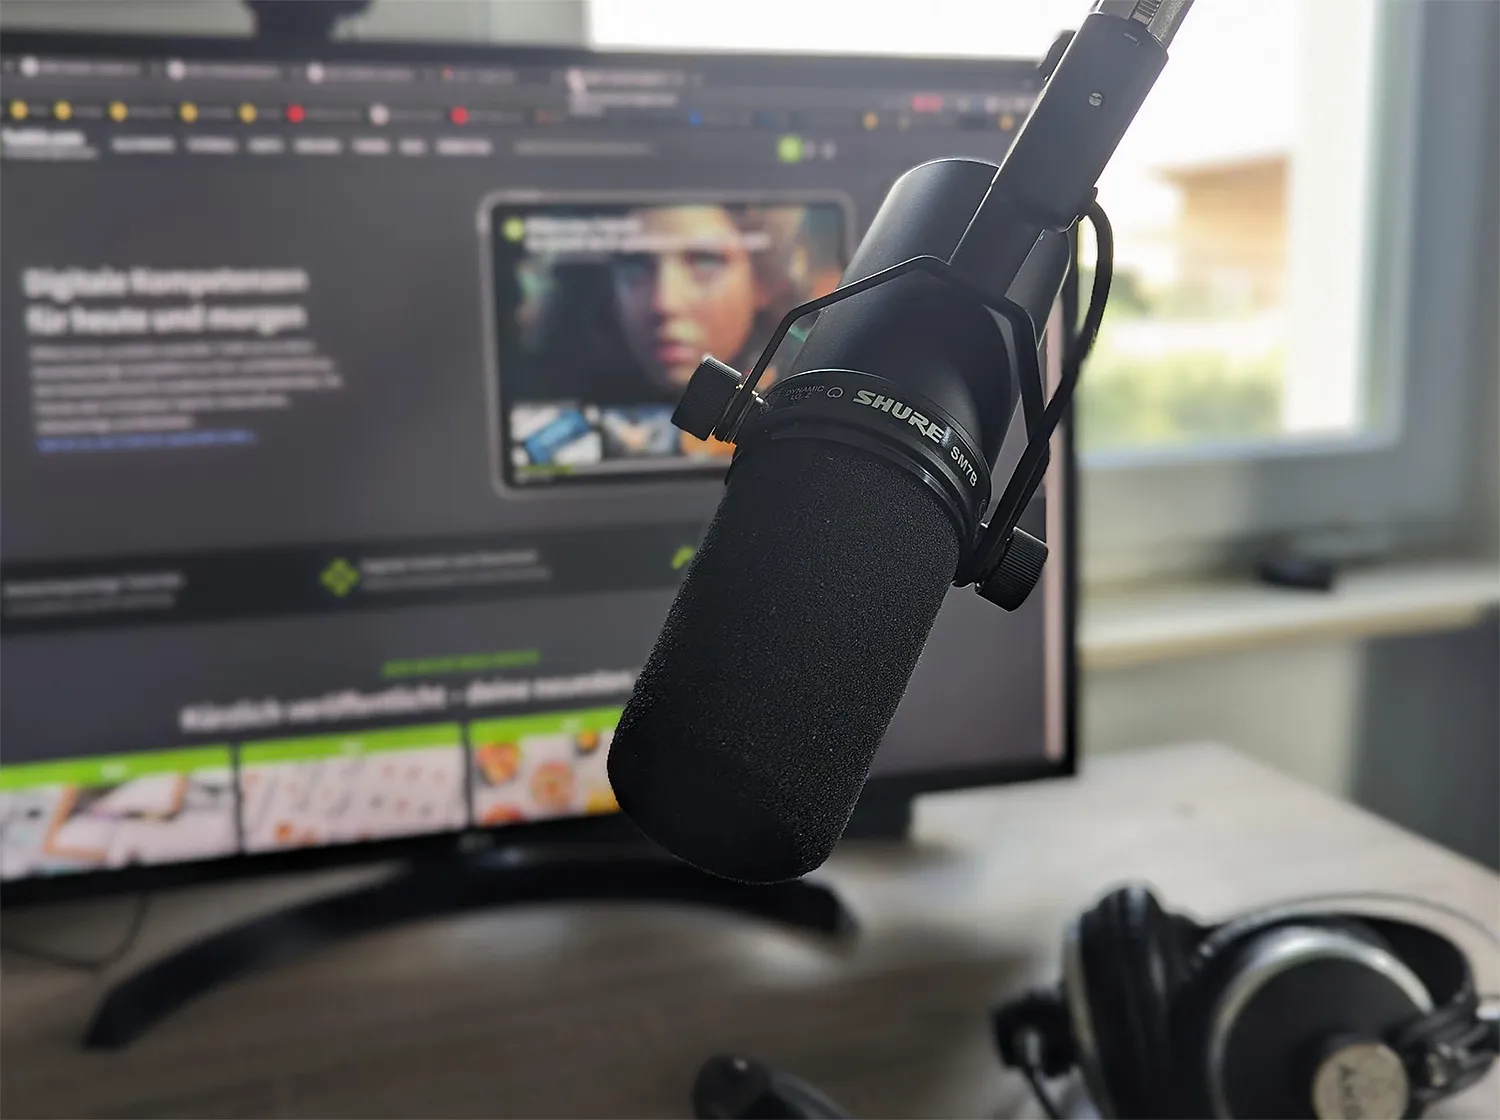
Reverb can occur when sound is reflected in a room and echoes several times. This creates an echo effect that can affect the audio recording. There are various techniques to reduce reverberation:
- Use soundproofing materials such as curtains, carpets or special foam panels to absorb the sound in the room. In my case, the 2 curtains by the window actually made the biggest difference (about 50% less reverberation)
- Place the microphone as close as possible to the sound source to minimize the room sound.
- Use a noise gate to set the threshold of the microphone. This will only activate the microphone when a certain noise level is reached.
Noise reduction
Noise can be caused by electrical or magnetic interference, bad cables or a poor power supply. There are various techniques to reduce noise:
- Use a high quality microphone (I have the Shure SM 7 B and am always complimented on how good the sound is).
- Use a preamp with high quality microphones (I use TritonAudio FetHead and it increases the volume without adding noise).
- Use a high quality cable to minimize interference.
Eliminating other noise
In addition to reverb and hiss, other noises such as crackling, humming or hissing can also occur. There are various techniques for eliminating these noises:
- Use an equalizer to emphasize or reduce certain frequencies.
- Use a de-esser to reduce sharp sibilants.
- Use a filter to remove hum or crackling.
By applying these techniques, you can improve the quality of your audio recordings and create a better listening experience.
Tools and software for sound editing
When it comes to improving audio recordings, there are a variety of tools and software on the market. Here are some of the best options:
Crumplepop
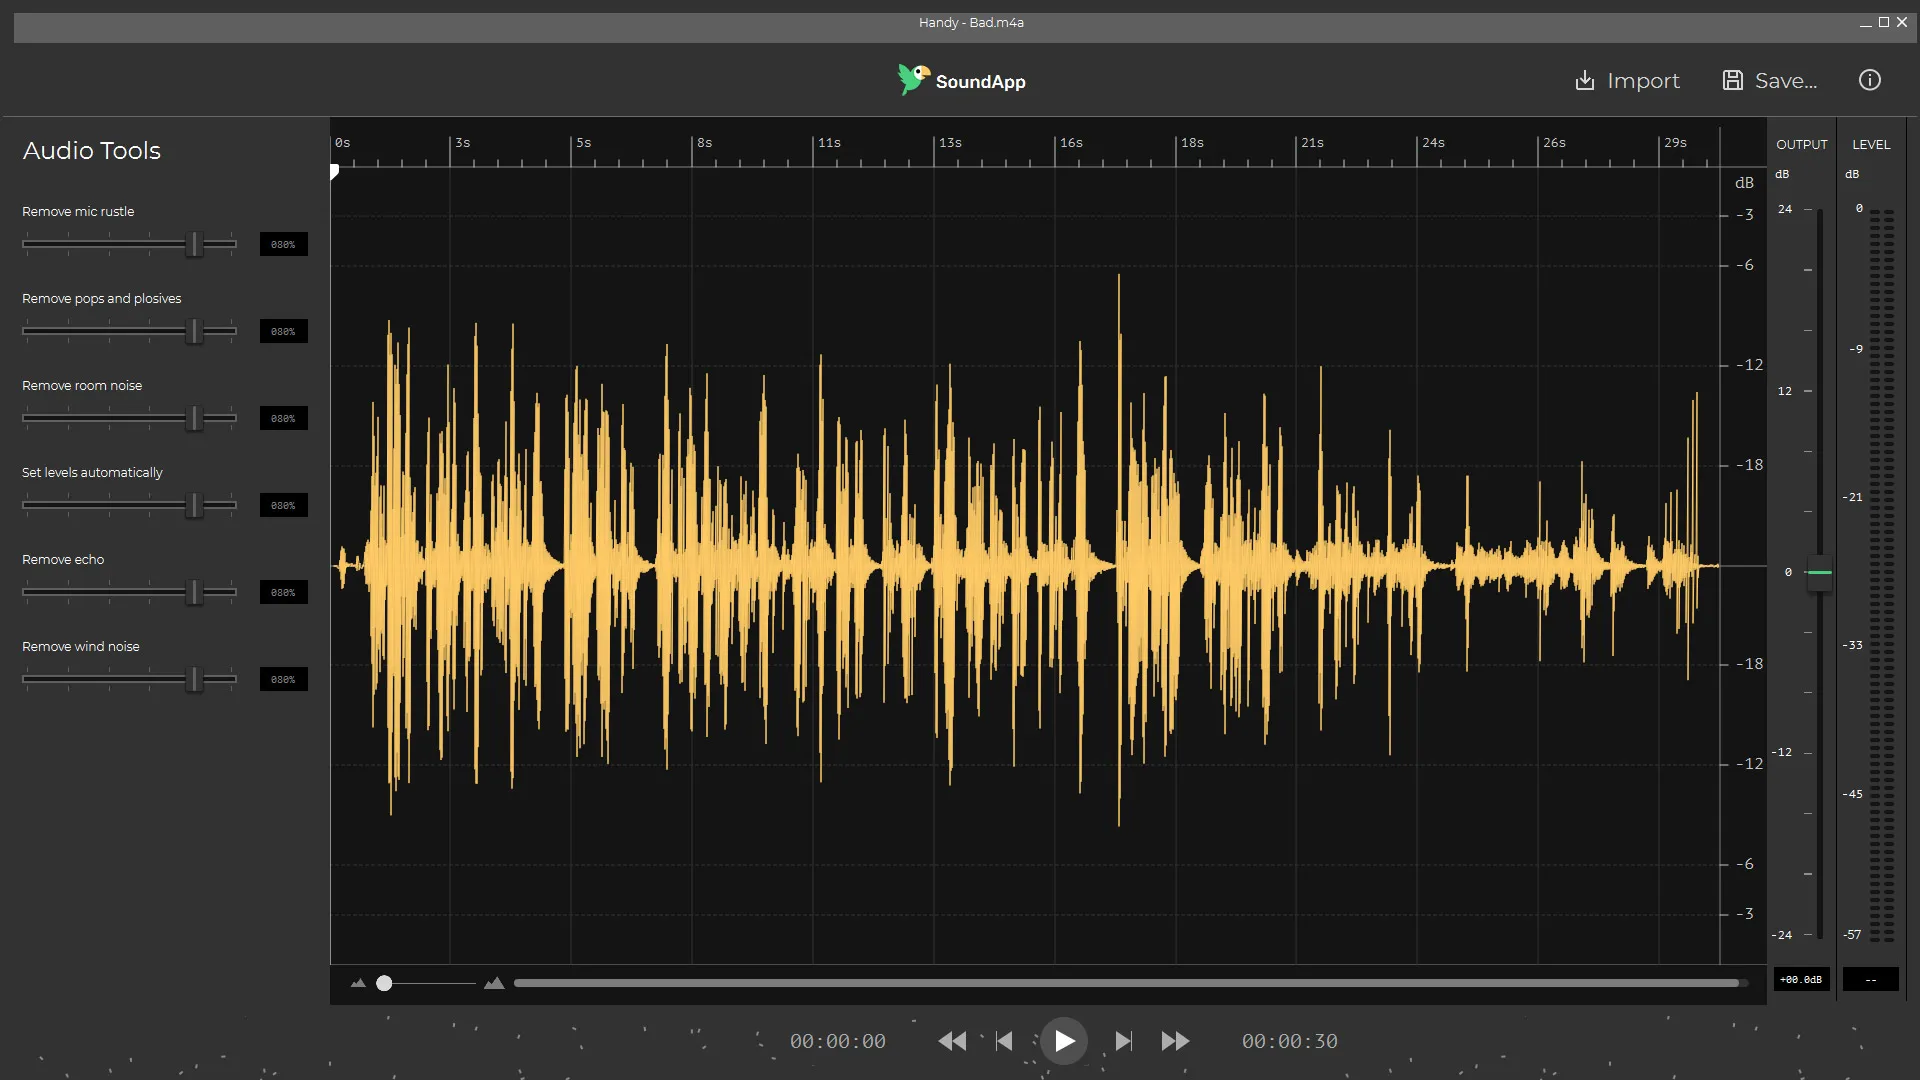
CrumplePop offers a range of audio and video plug-ins designed specifically for post-production. The tools are available for both Mac and PC and are compatible with popular programs such as Premiere Pro, Final Cut Pro and many more (also runs standalone). A special feature is the advanced AI, which effectively removes background noise and improves voice quality. All audio data is processed directly on your device, so nothing is uploaded to the cloud for added security. Whether you're a beginner or a pro, it's easy and intuitive to use, so you can quickly achieve professional-sounding results.
Enhance Speech from Adobe Podcast
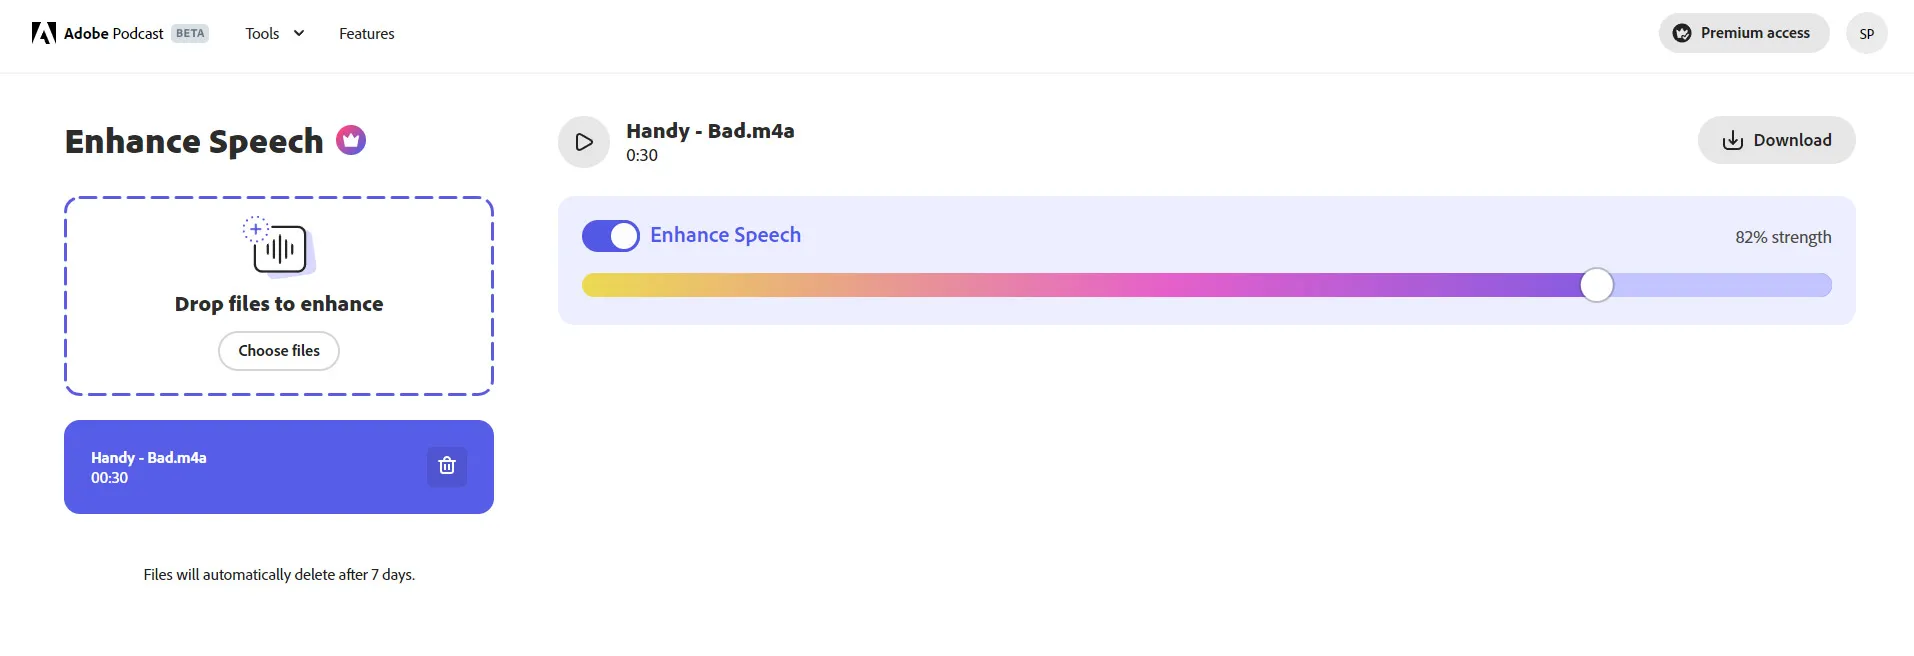
"Enhance Speech by Adobe Podcast is an AI-powered tool specifically designed to improve the audio quality of voice recordings. It can remove background noise, room reverberation and other distracting noises such as microphone handling. The tool can also adjust the proximity of the voice to the microphone if the original recording was made from a greater distance. It is particularly useful for podcasts and other voice-based content. However, you should be careful if the original recording is already of high quality, as the tool can reduce the clarity of the recording in such cases.
At https://podcast .adobe.com/enhance you can easily upload your audio file and very quickly get back a really good audio file with noise & reverb removed. Try it out, you will be surprised. The tool is (currently anyway) free of charge. The results are really impressive!
Essential Sound Panel in Adobe Premiere Pro
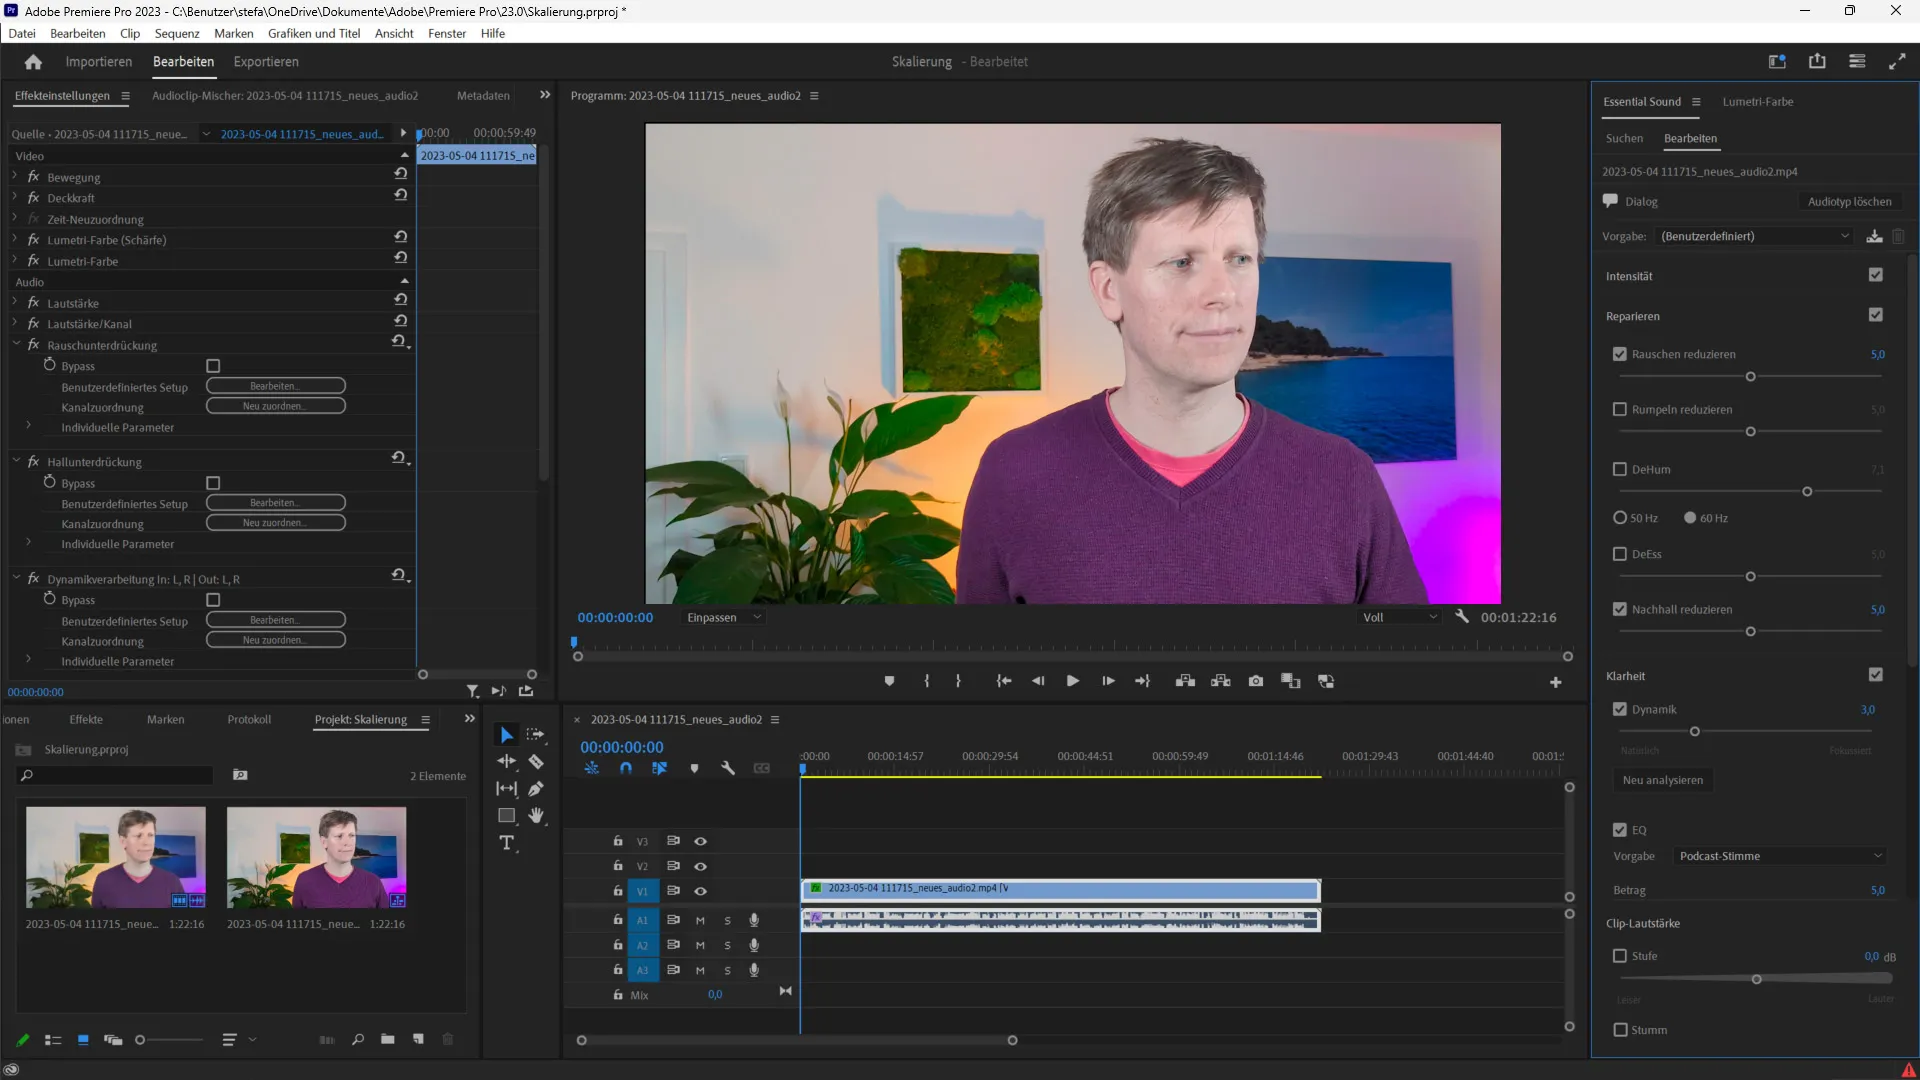
The Essential Sound Panel in Adobe Premiere Pro is an integrated audio editing tool. It provides tools for automatic audio cleanup, allowing you to reduce background noise and unwanted reverb. It's easy to use and offers a quick way to optimize your audio files.
Overall, there are many different tools and software options for improving audio recordings. Choosing the best tool depends on your specific requirements and budget.
Adobe Audition
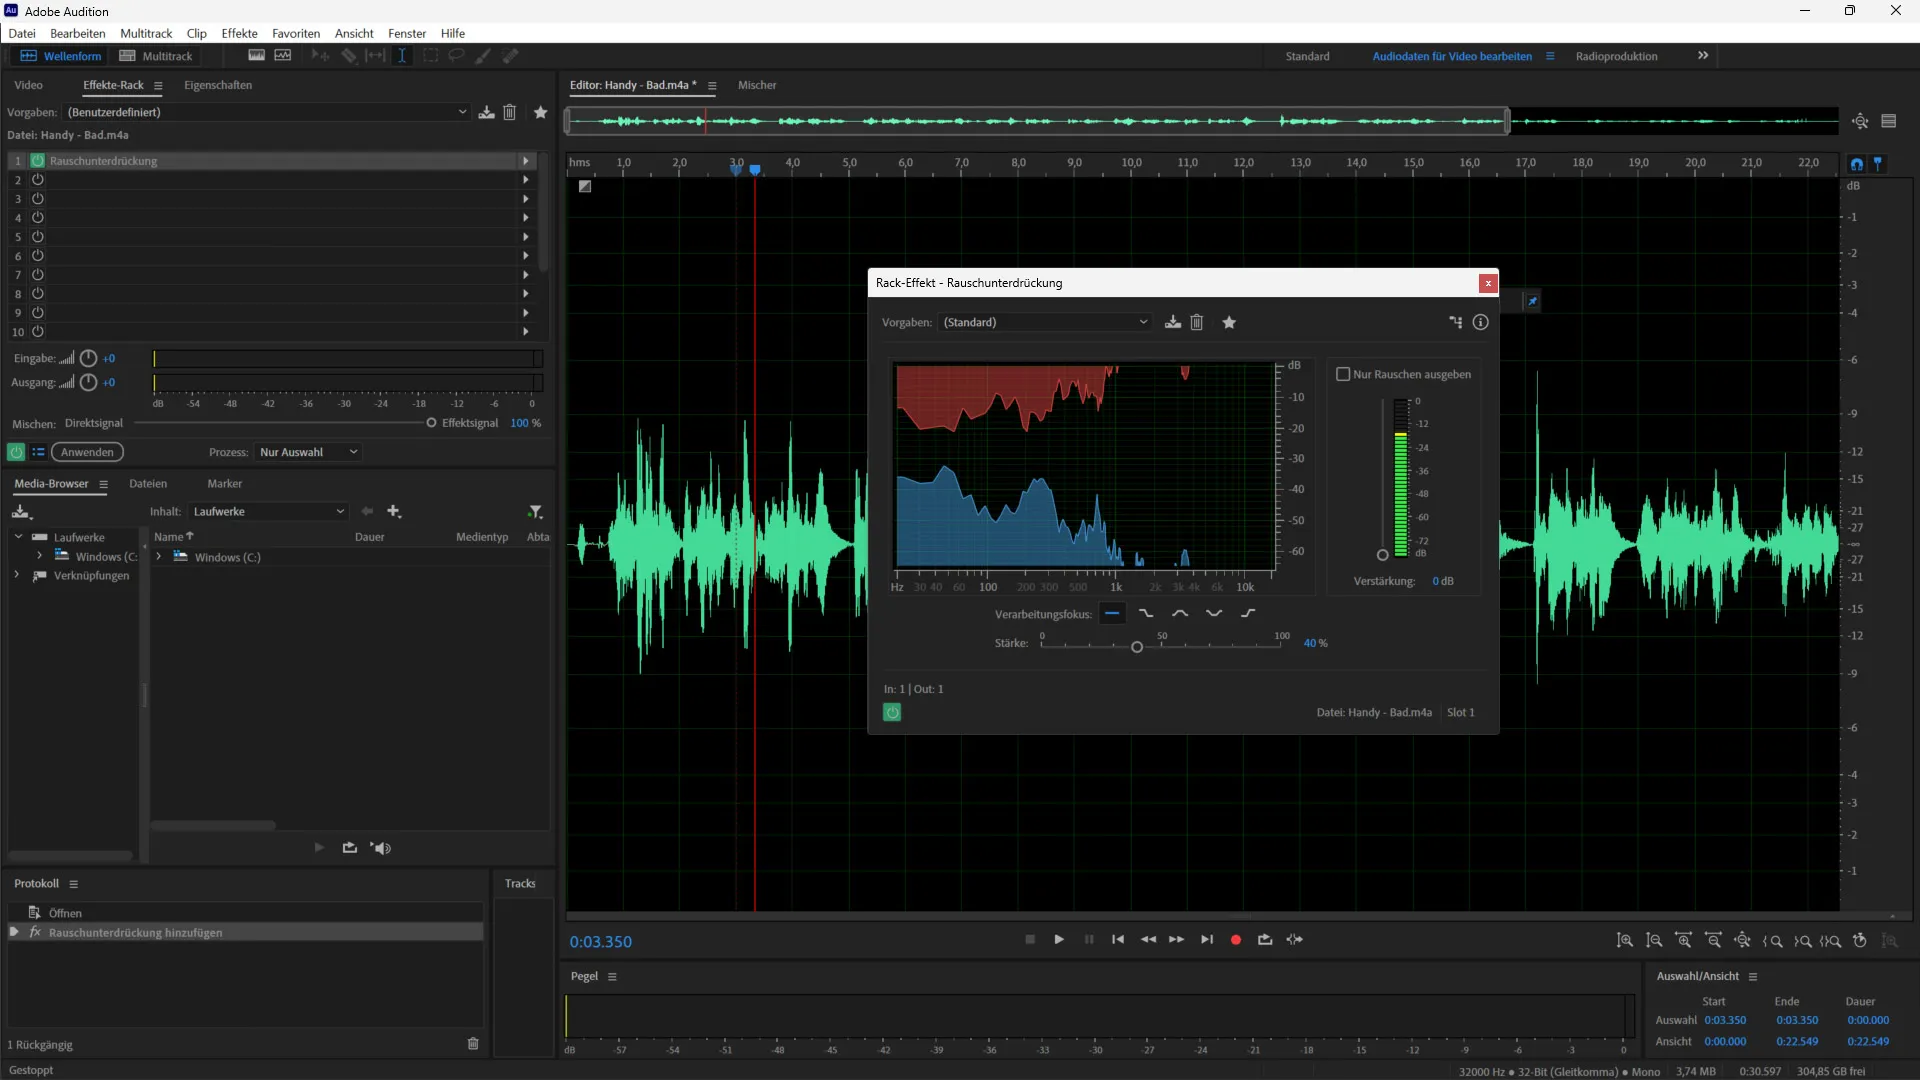
Adobe Audition is a professional audio production software that offers a variety of features for editing audio files. It offers an intuitive user interface and a variety of effects to optimize audio files, including noise reduction, reverb removal and compression.
Audacity
Audacity is a free, open-source audio editor that offers all the features you need to edit audio files. With Audacity, you can record, cut, copy, paste and mix audio. It also offers a variety of effects to optimize audio files, including noise reduction and equalizer.
iZotope RX
iZotope RX is an advanced audio editor software specifically designed for editing audio files that are plagued with noise, hiss and other issues. It offers a variety of tools to repair and enhance audio files, including de-verb, de-noise and de-click.
WavePad
WavePad is another audio editor that offers a lot of basic and advanced features. You can use it for all your audio editing purposes, including music production and regular recording. It offers a variety of effects, including noise reduction and equalizer, to optimize your audio files.
Practical tips for improving audio recording
When recording audio, you want to make sure the sound quality is as good as possible. Here are some practical tips that can help you minimize noise such as reverb and hiss and get a clear, clean audio recording.
1. choose the right recording location
The place where you record can have a big impact on the sound quality. Choose a quiet room where there is no distracting background noise. Avoid rooms with hard surfaces such as tiles or concrete, which can reflect sound and create reverberation. Instead, you should prefer rooms with soft surfaces such as carpets, curtains or furniture that absorb sound. If there's no other option, you can even record in your car, as it won't reverberate at all.
2. use the right microphone
The microphone you use can also have a big impact on the sound quality. Choose a microphone that is suitable for the purpose of your recording. A condenser microphone is good for vocals and acoustic instruments, while a dynamic microphone is better for loud instruments or drums. If you're recording outdoors, use a directional microphone that picks up sound from a specific direction and minimizes background noise.
3. avoid background noise
Interference such as reverberation, noise or wind noise can affect the sound quality. Avoid placing microphones near air vents or air conditioners, as these devices can generate background noise. Also use a pop filter to minimize plosive sounds such as "p" and "b", which can cause unwanted popping.
4. use audio programs
There are many audio programs that can help you minimize noise and improve sound quality. Use an equalizer to optimize the frequencies and remove unwanted frequencies. A noise reduction plugin can help minimize noise, while a de-esser plugin can minimize whistling sounds. Also use a compressor to adjust the volume and smooth out the sound. You can do it all in one go with Adobe Enhance Speech or if you need even more power, use Crumplepop.
5. use high quality recording equipment
Finally, it's important to use high-quality recording equipment to get a clear, clean audio recording. Use an audio interface to transfer the signal from your microphone to your computer and choose a microphone with high sensitivity and low noise. Also invest in good headphones to make sure you can hear the sound quality accurately while recording. I personally use the Shure SM 7 B as my microphone and my old AKG HSC 271 headset as my headphones.
With these handy tips, you can minimize noise and get a clear, clean audio recording.
Conclusion
In this audio editing tutorial, you have learned how to improve poor audio recordings. You have learned how to reduce or remove reverberation, noise and other disturbing noises to achieve better sound quality. Because let's face it: bad sound is worse than a bad picture in a video!
It's important to be patient and work carefully when editing audio recordings. Removing noise too aggressively can make the audio sound artificial or unnatural. Therefore, always use your ears and listen to the edited audio several times to make sure it sounds natural.
It's also important that you use the right tools. There are many audio programs on the market that offer a variety of tools for sound editing. Adobe Podcast, CrumplePop and Krisp are just a few examples. Choose the program that best suits your needs and budget.
Overall, you can significantly improve your audio recordings with the techniques presented in this blog post. With a little practice and patience, you can create professional-sounding audio files that are free of noise.

