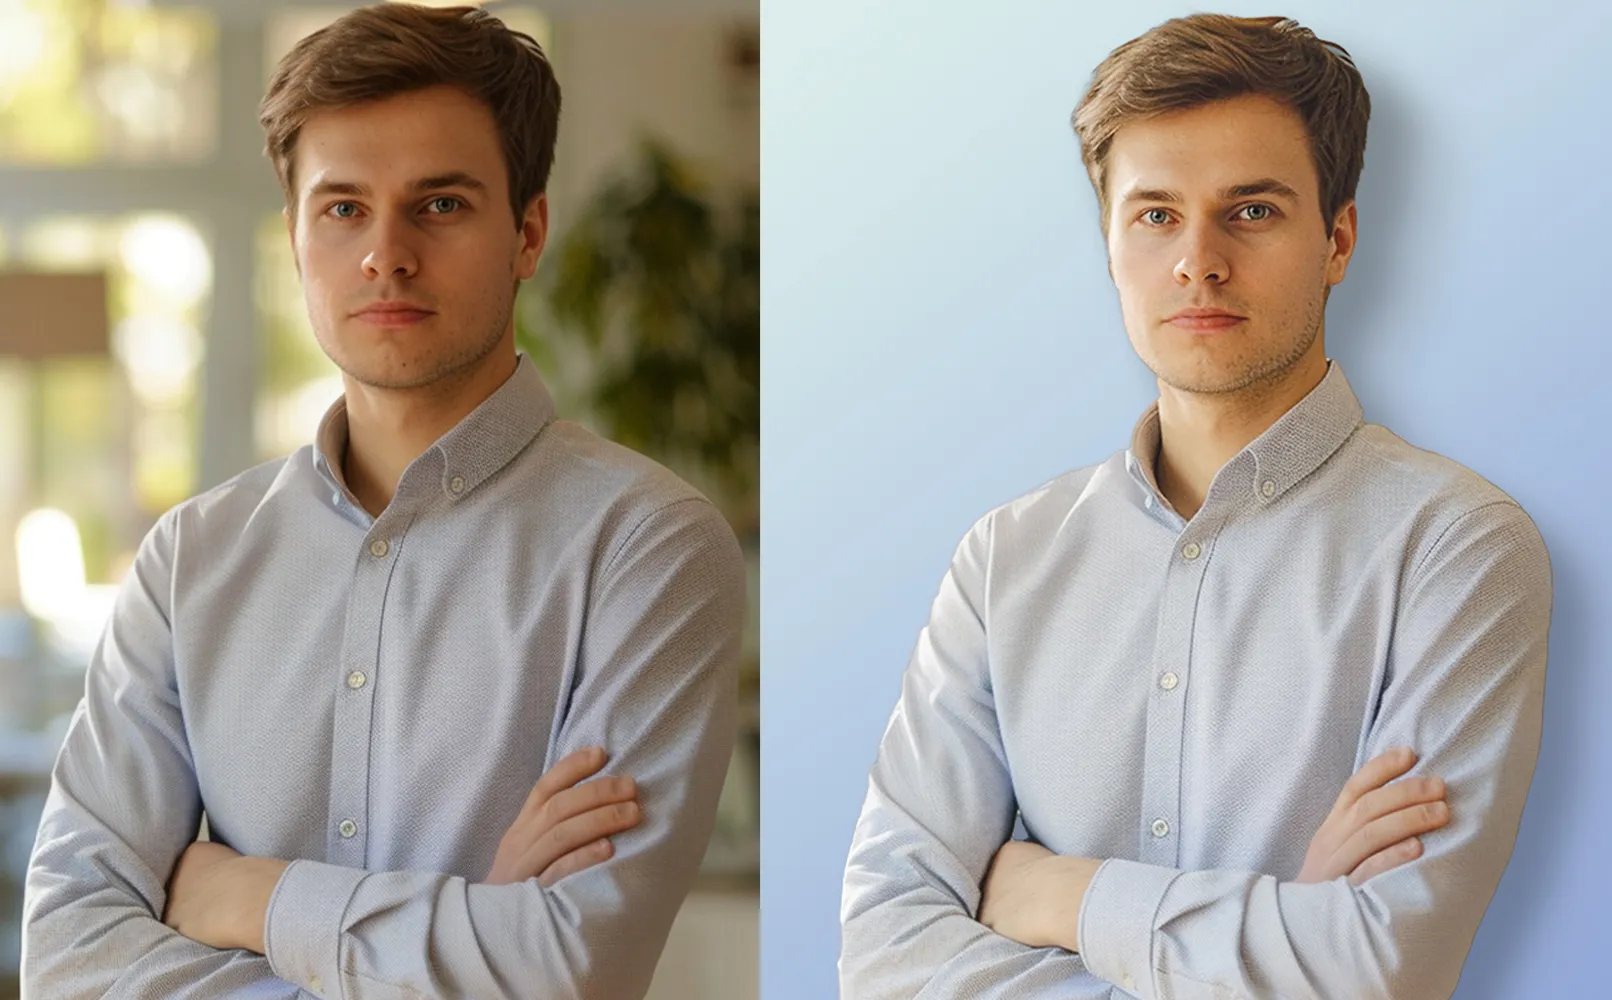
You can find out how to take your own application photo in this article. You will learn how to improve your photo using various Photoshop tools. For your application photo, you can improve the lighting, optimize the skin tone and adjust the background to make your photo look more professional and attractive to a potential employer.
If you follow all the tips, you'll end up with a professional application photo. This article is about how to improve the quality of the photo and change the background for your application photo.
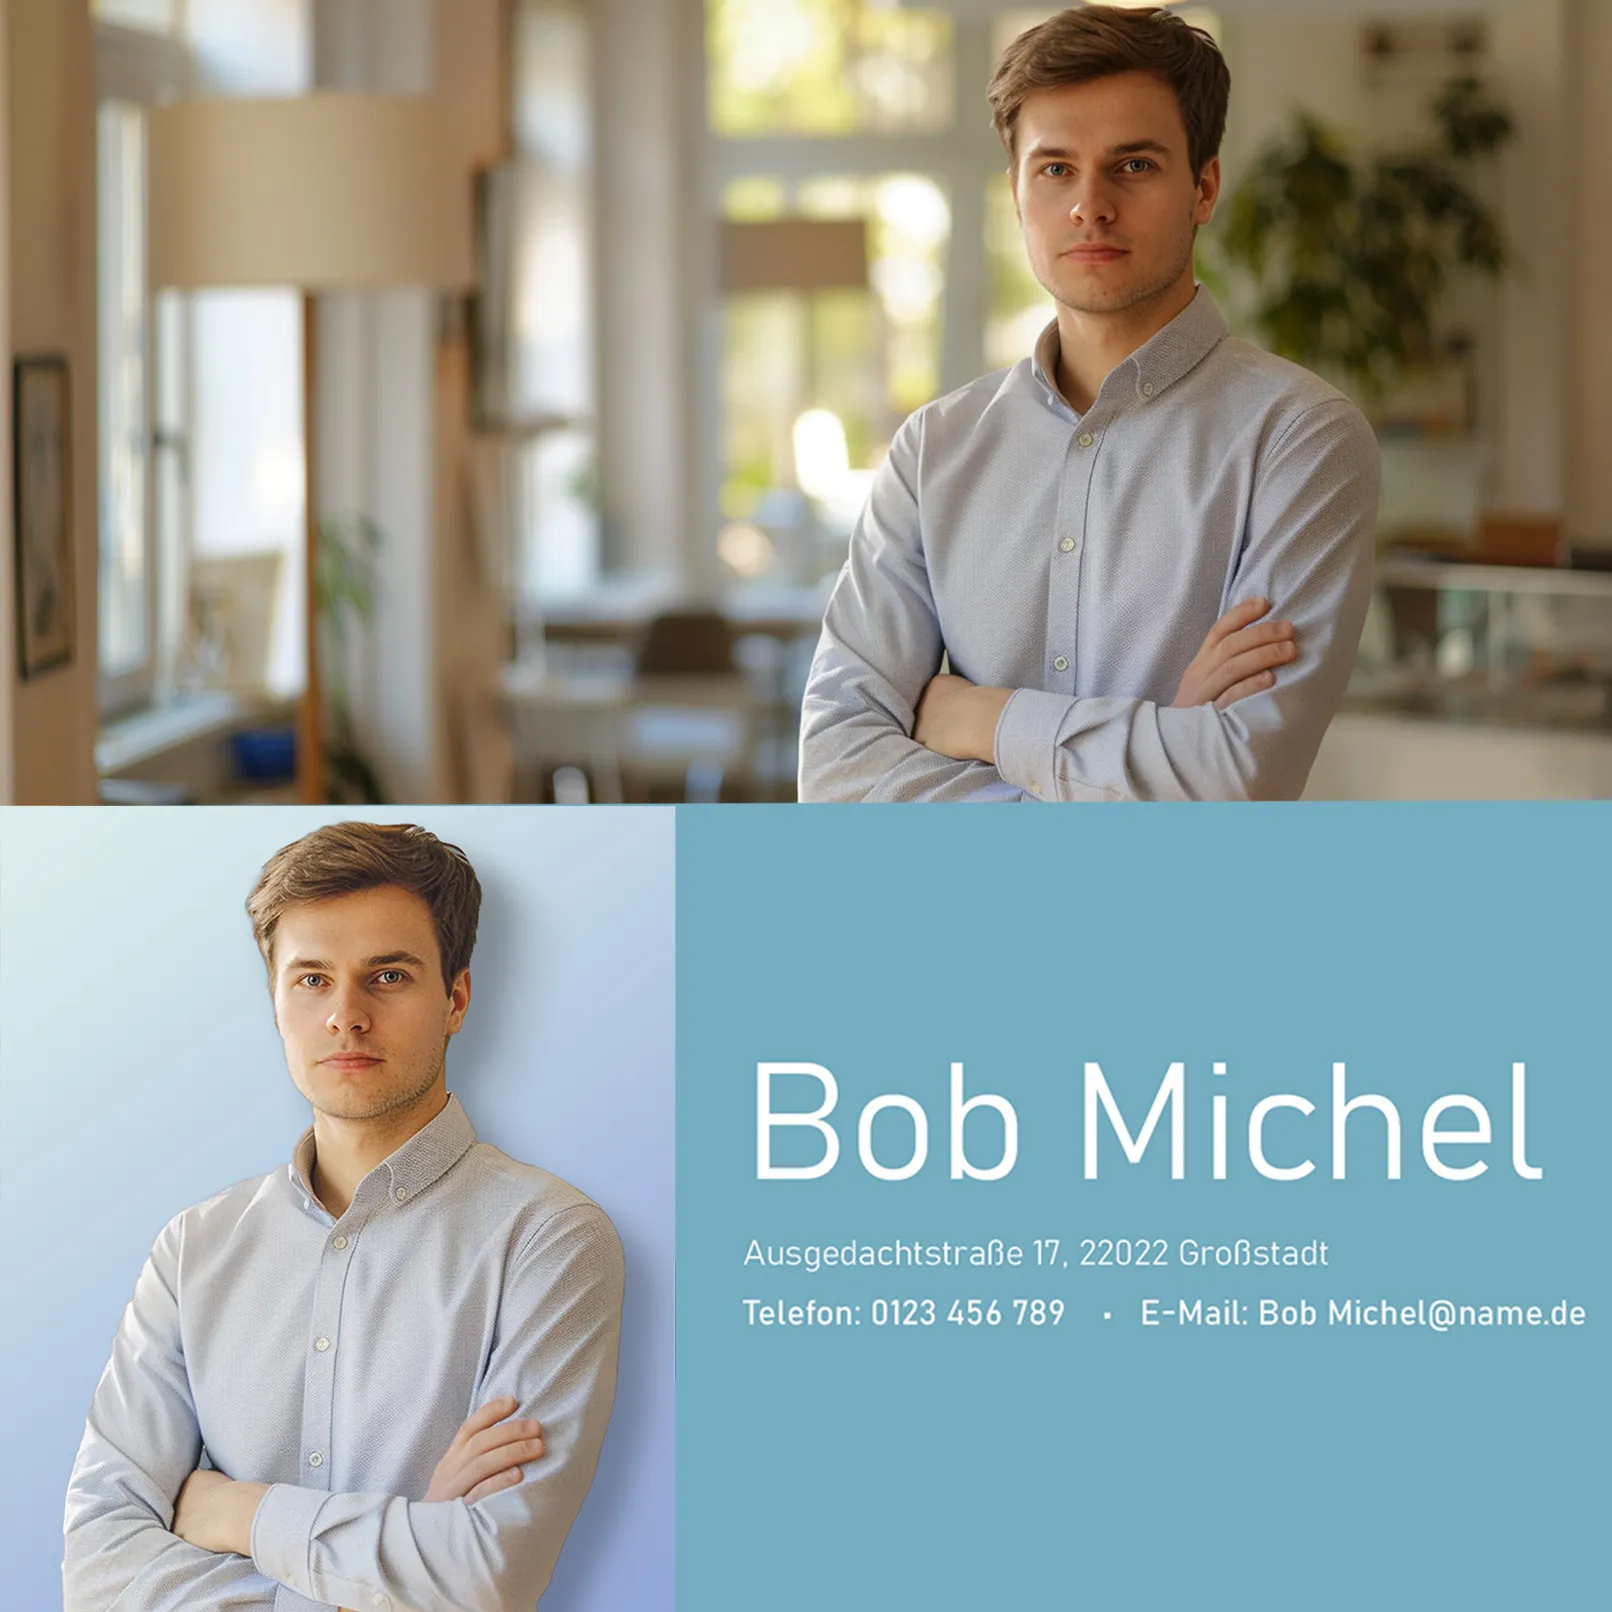
First some theory. If that doesn't interest you, use the table of contents and read on to find out how to take a professional application photo at home.
Table of contents
What are the dimensions of the application photo?
Every photo you take conveys something about a particular moment - a short piece of time when you were there, who you were with and what you were doing.
KEVIN SYSTROM
The application photo is attached to a CV or job application. It is the first element of the document that catches the recruiter's eye because we humans all like to look at faces. An application photo therefore helps the potential employer to get a first impression of the applicant. The size of the photo can vary and depends on the requirements of the application layout or the usual practices in the respective country. In Germany, there are no set standard sizes for application photos; however, formats such as 4 x 6 cm, 6 x 9 cm, or 6.5 x 6.5 cm are often used. The choice of format can vary depending on personal preferences and the design of the application documents.
Creating a cover photo
To create a high-quality application photo , it is important that you set up the file correctly in Photoshop. I choose a format of 5x6 cm and set the resolution to 300 pixels. This ensures the high quality resolution of the application photo.
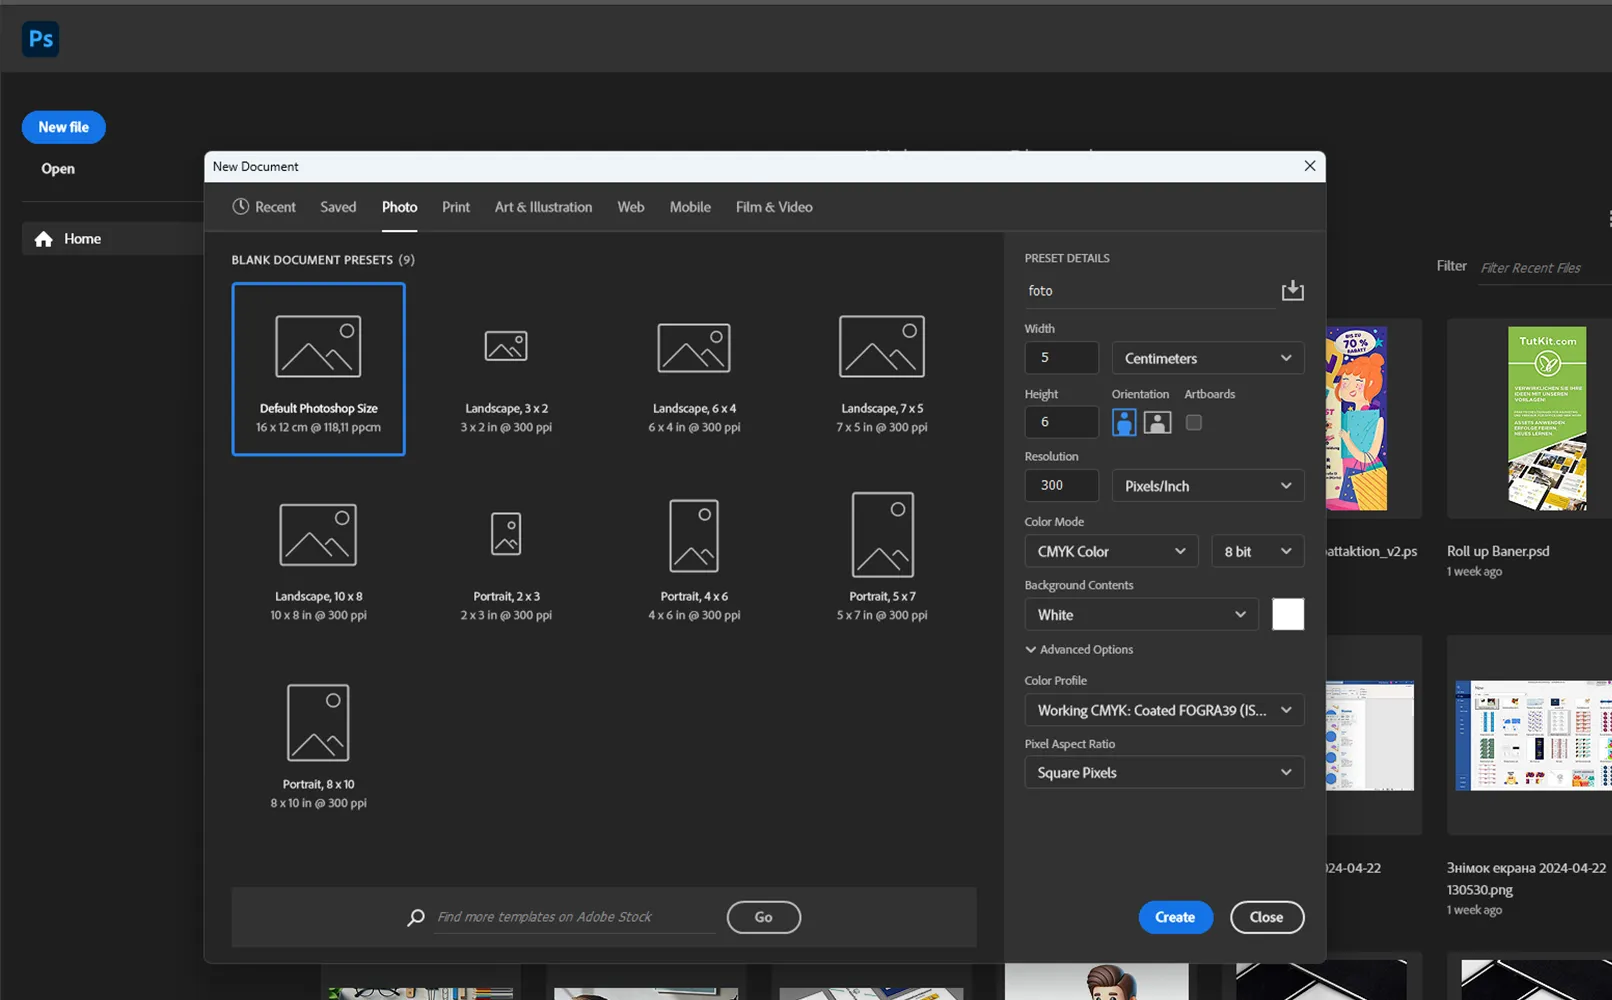
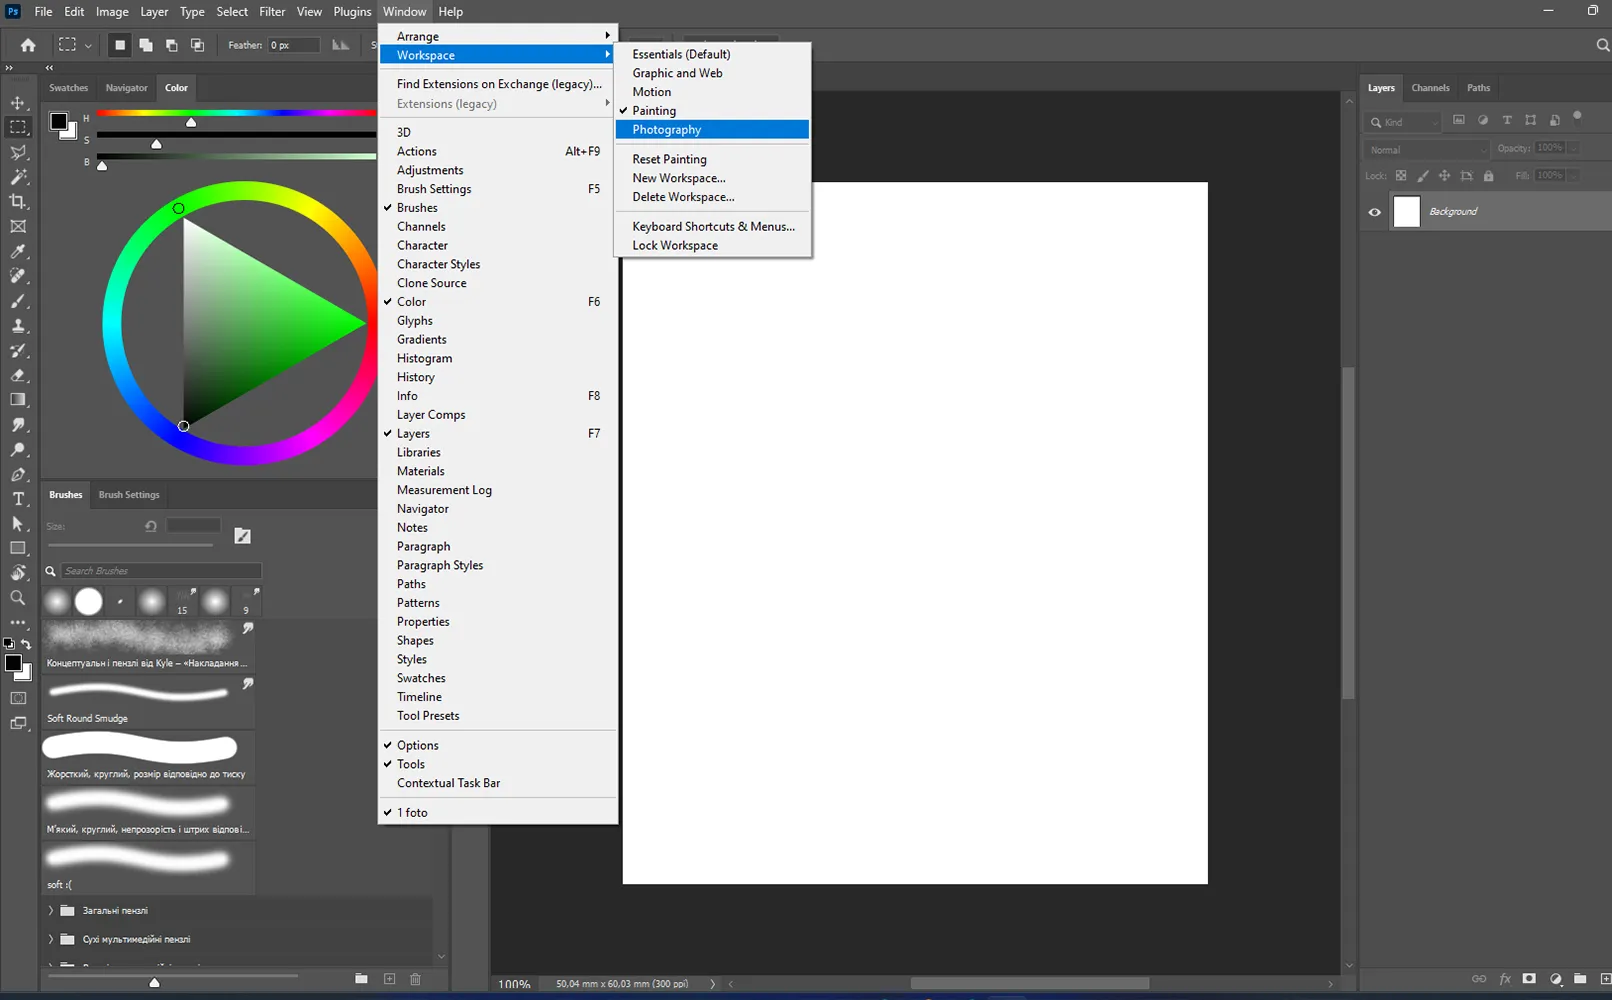
I switch the interface to photo mode to make it easier to use. This puts the editing tools in Photoshop in convenient places and makes it easy to edit an application photo yourself.
Now I'll add a picture. There are several options, here are two of them:
- Copy a photo and paste it into the program using the keyboard shortcuts Ctrl+C and Ctrl+V.
- The easiest way is to simply drag and drop the photo from your file browser into Photoshop. I will use this method. I drag the photo and use the left mouse button to place it as close to the center as possible.
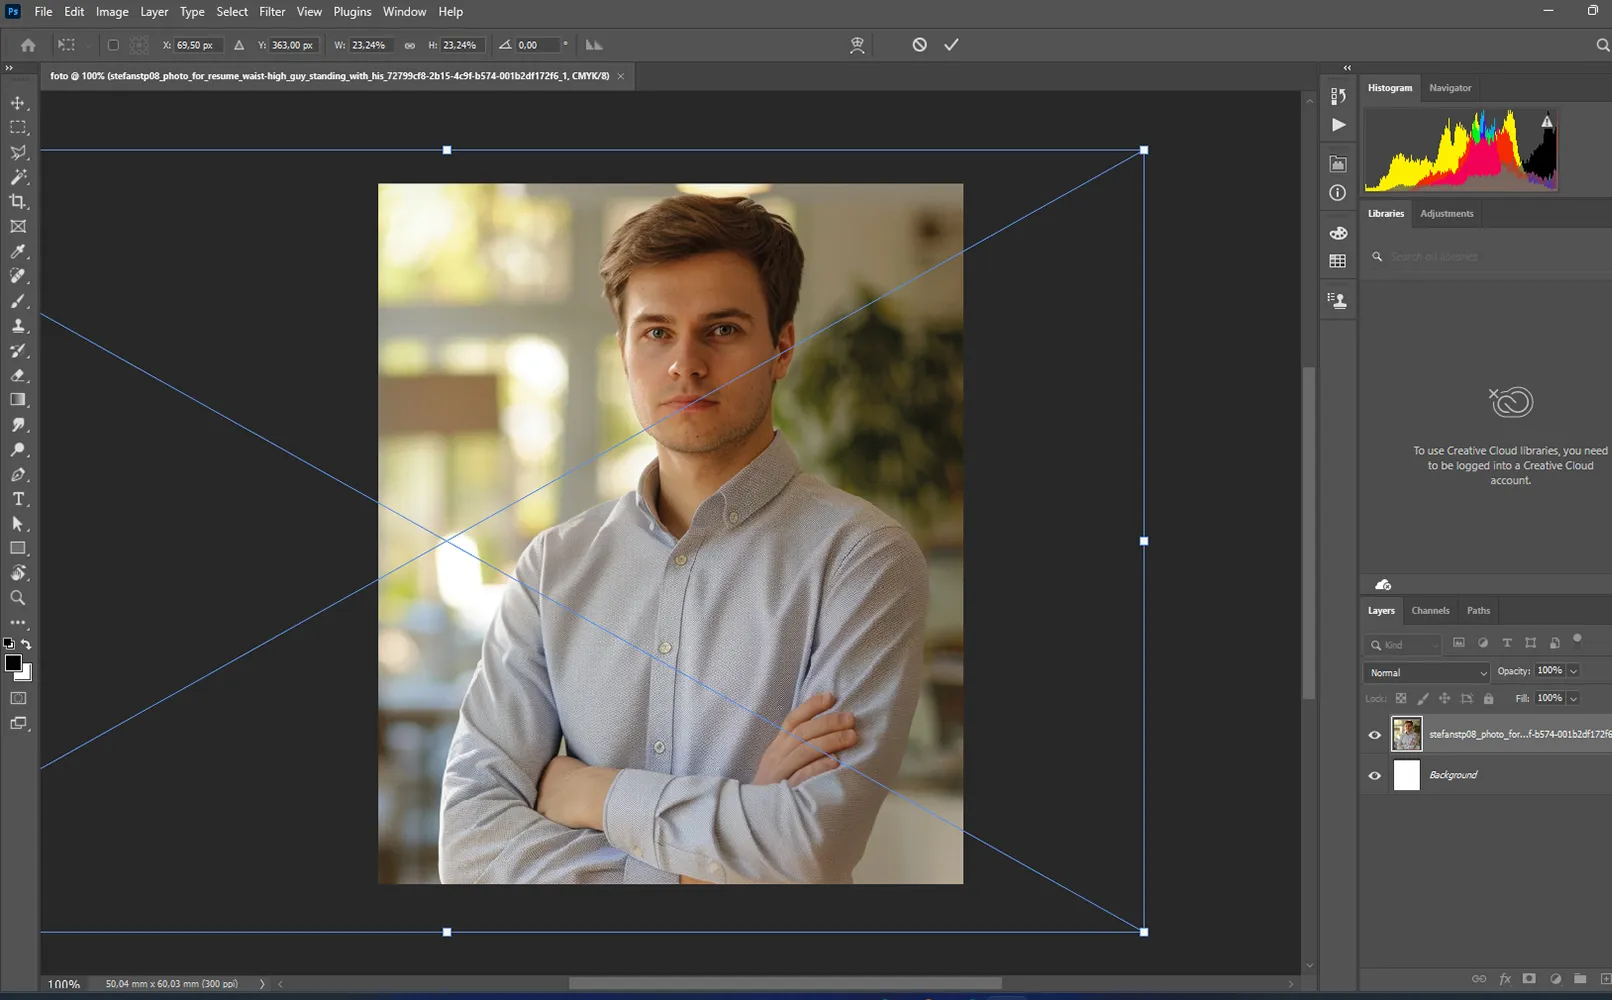
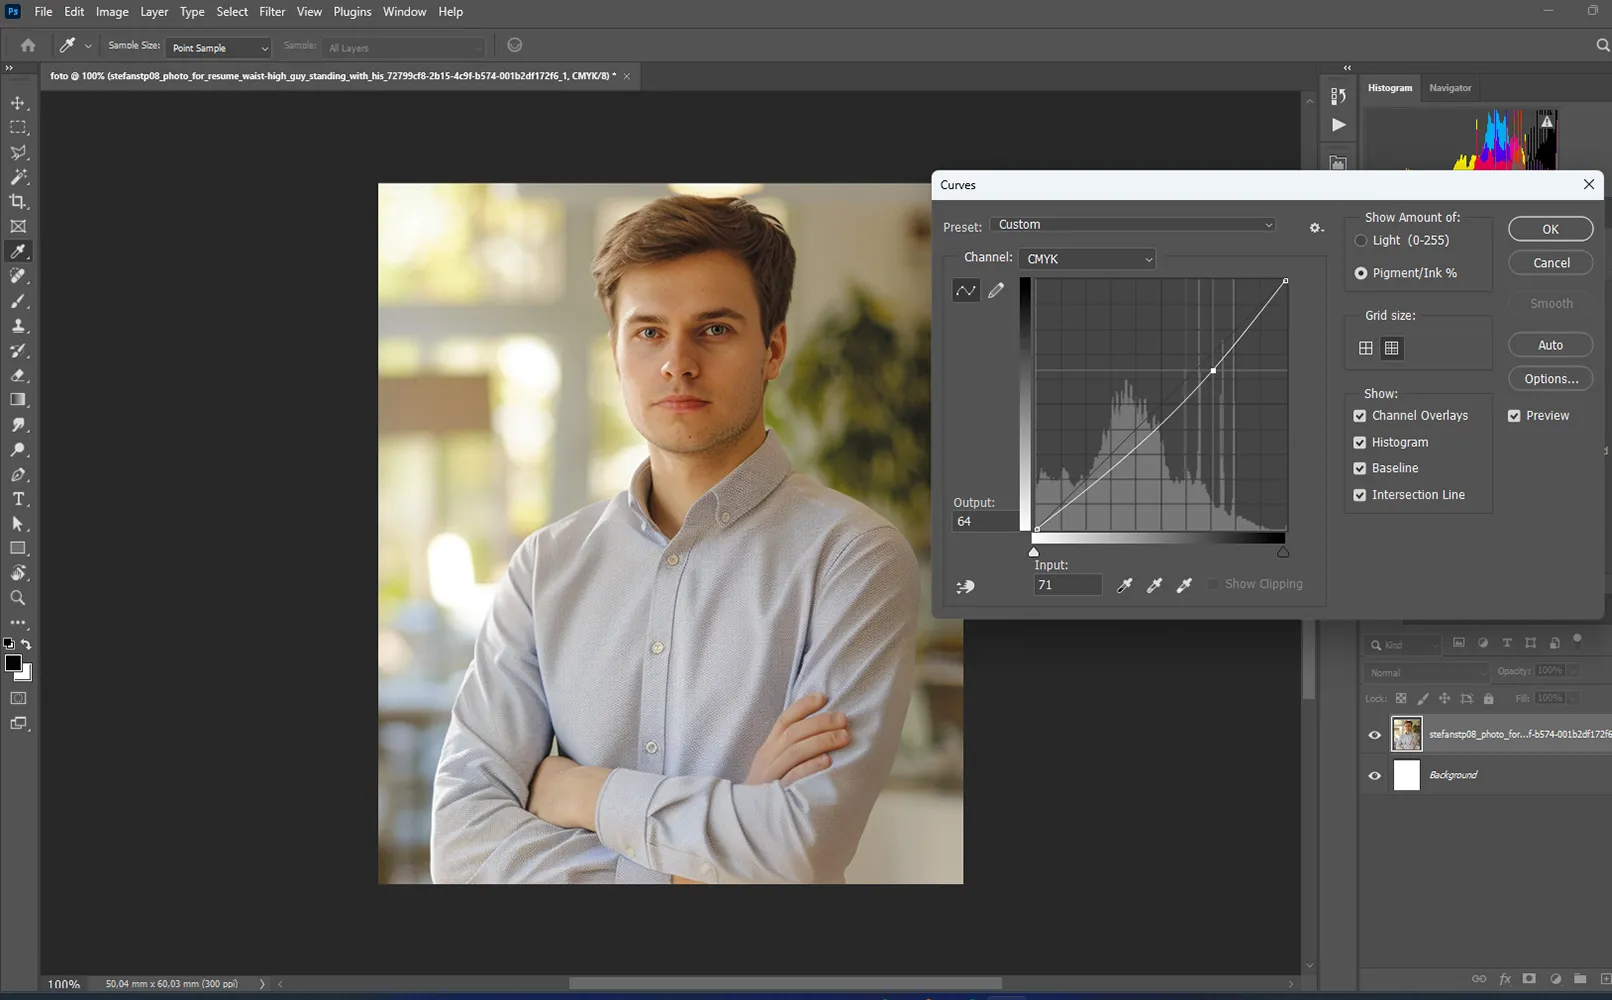
The photo is placed and now I'll use the gradation curve corrections to lighten the darker areas. In the example, you can see that the left side is brighter.
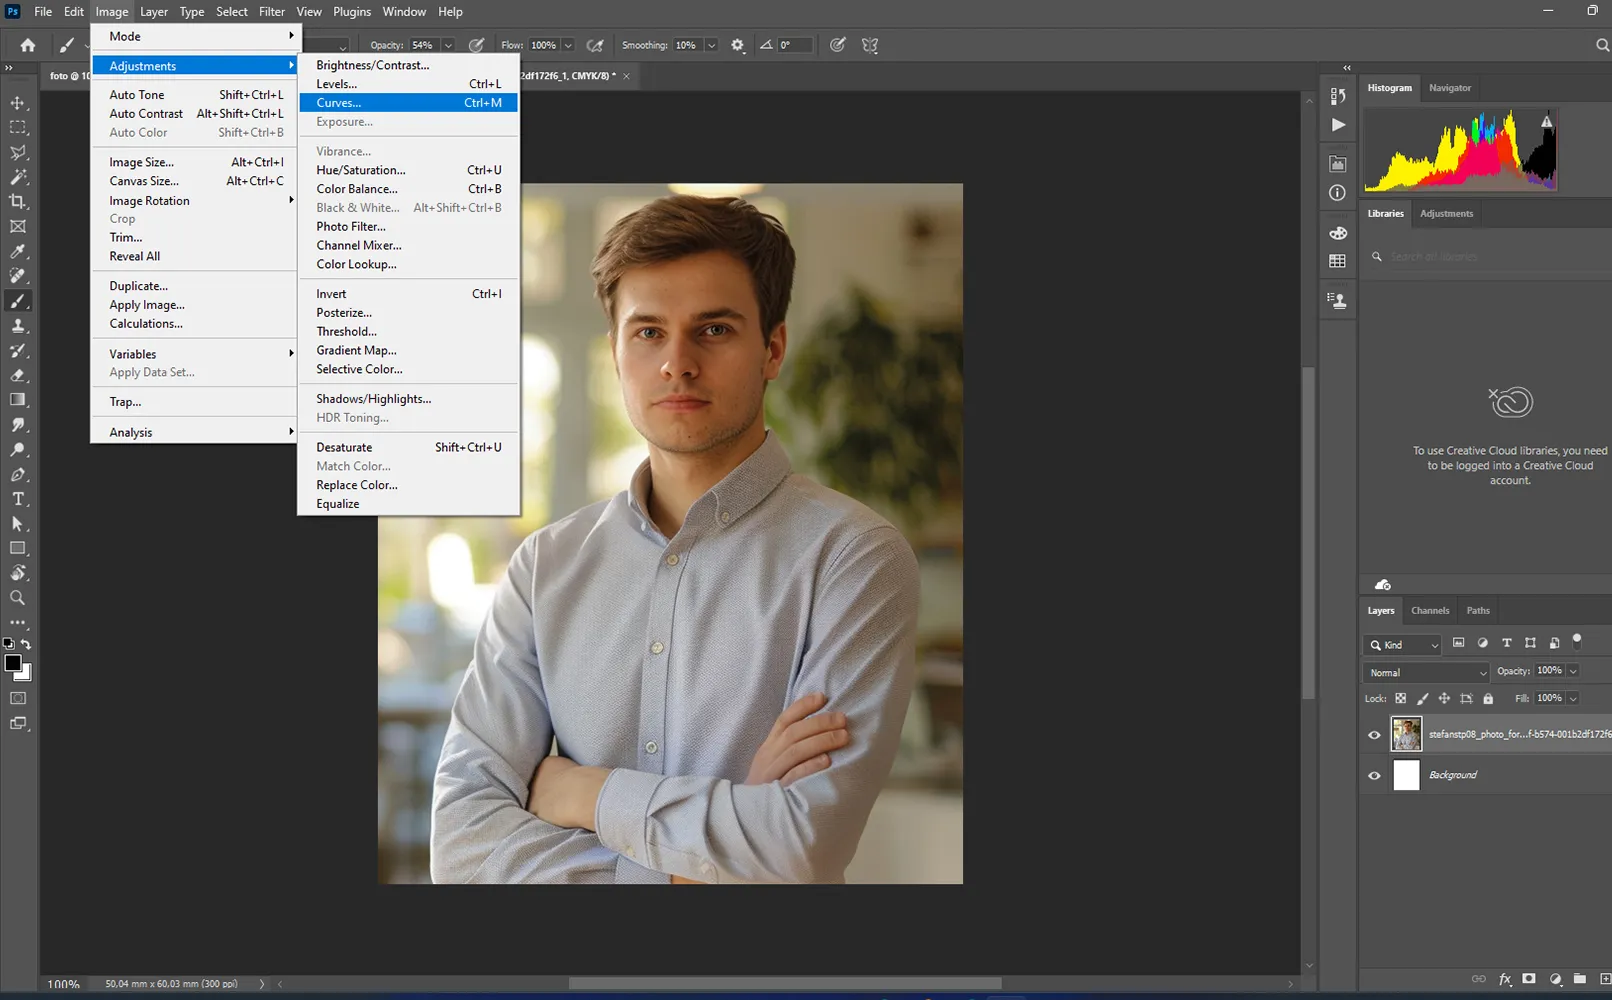
I tilt the curve down and to the right a little so that the darker parts of the photo become a little lighter.
I want to remove the background. To crop the object, go to the selection menu settings, as shown in the example below, and select Object.
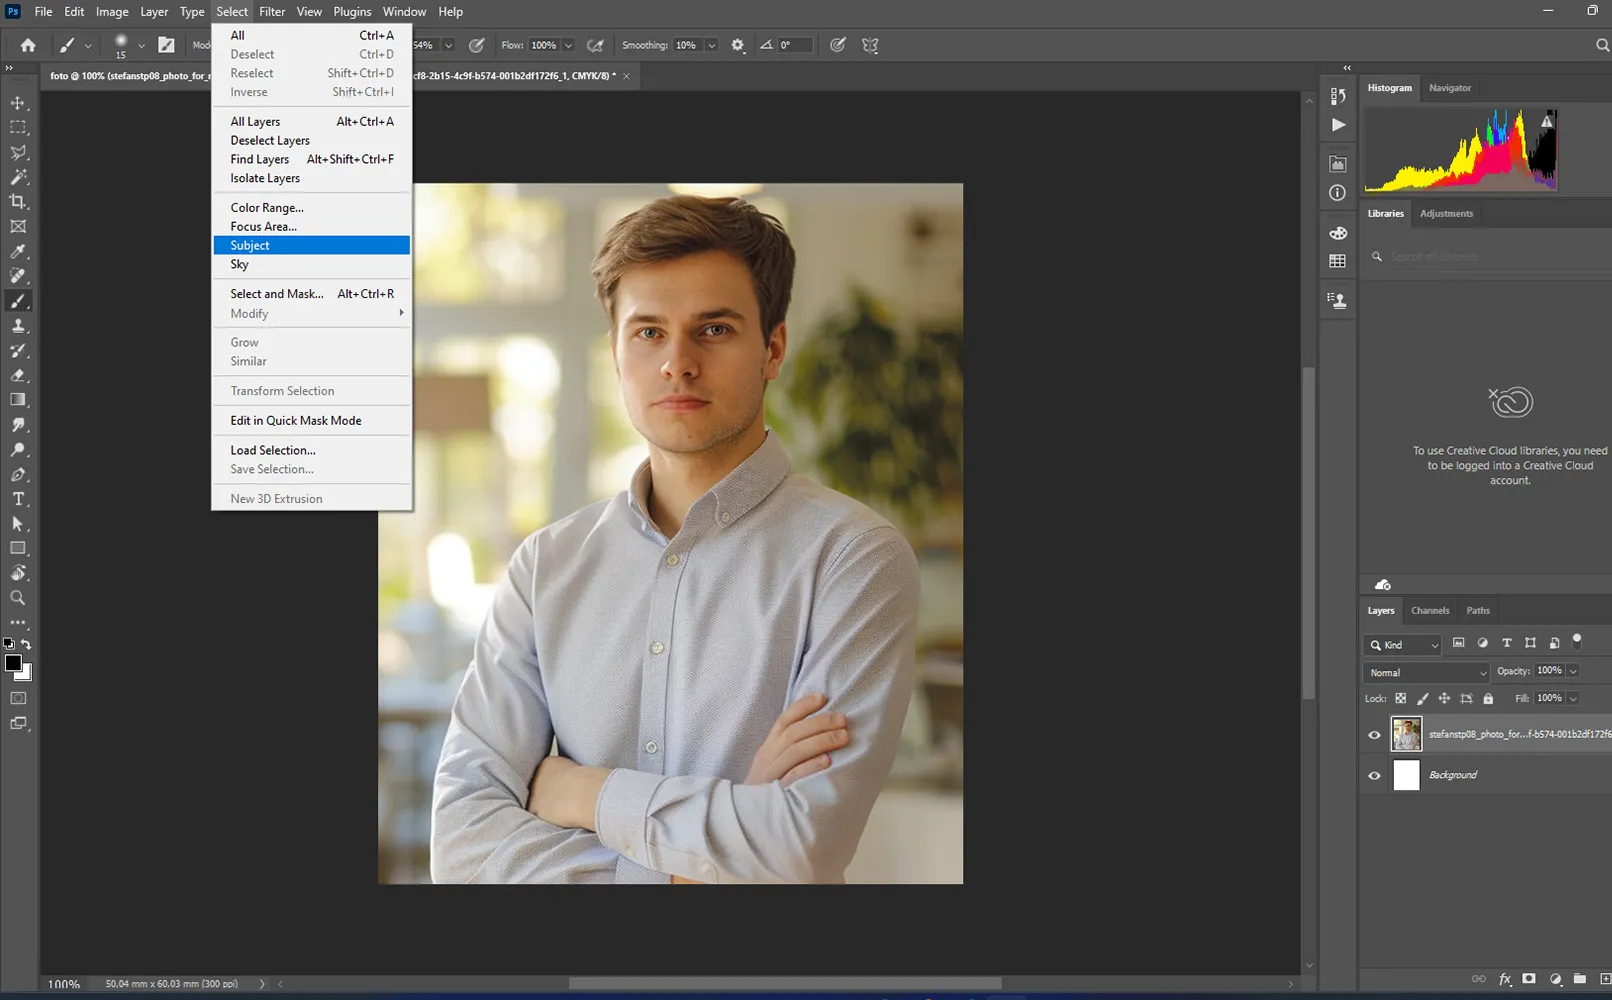
Photoshop automatically recognizes the object to be cropped and selects it automatically. You can then add a mask to the layer in the Layers panel to hide the background.
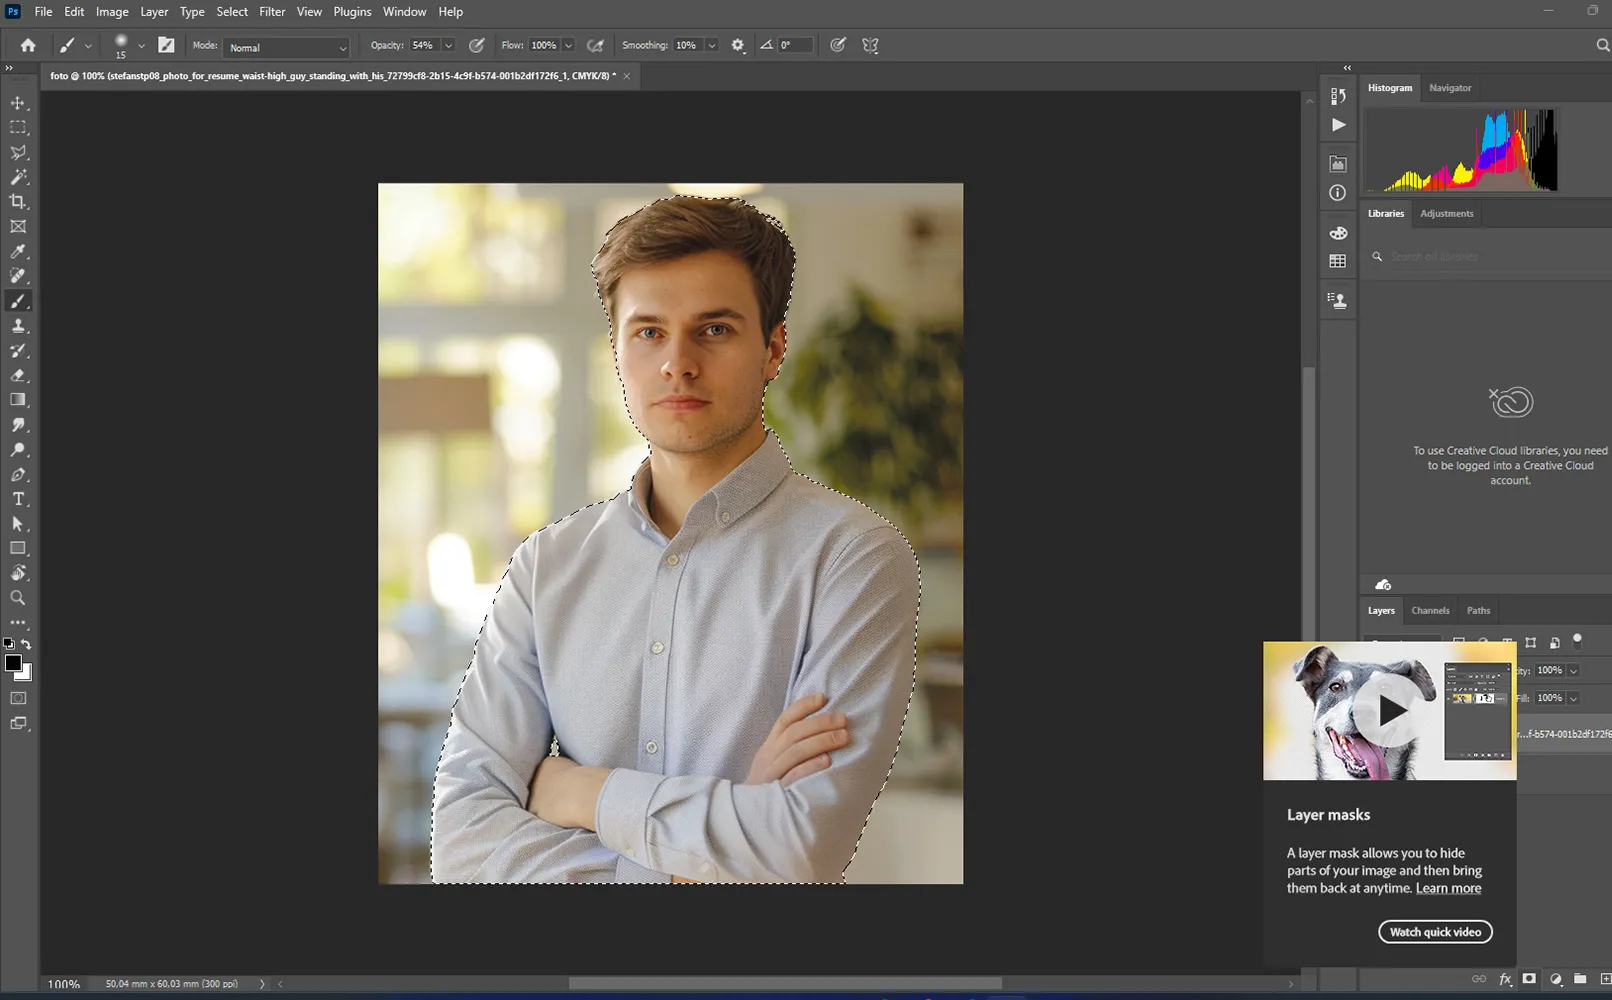
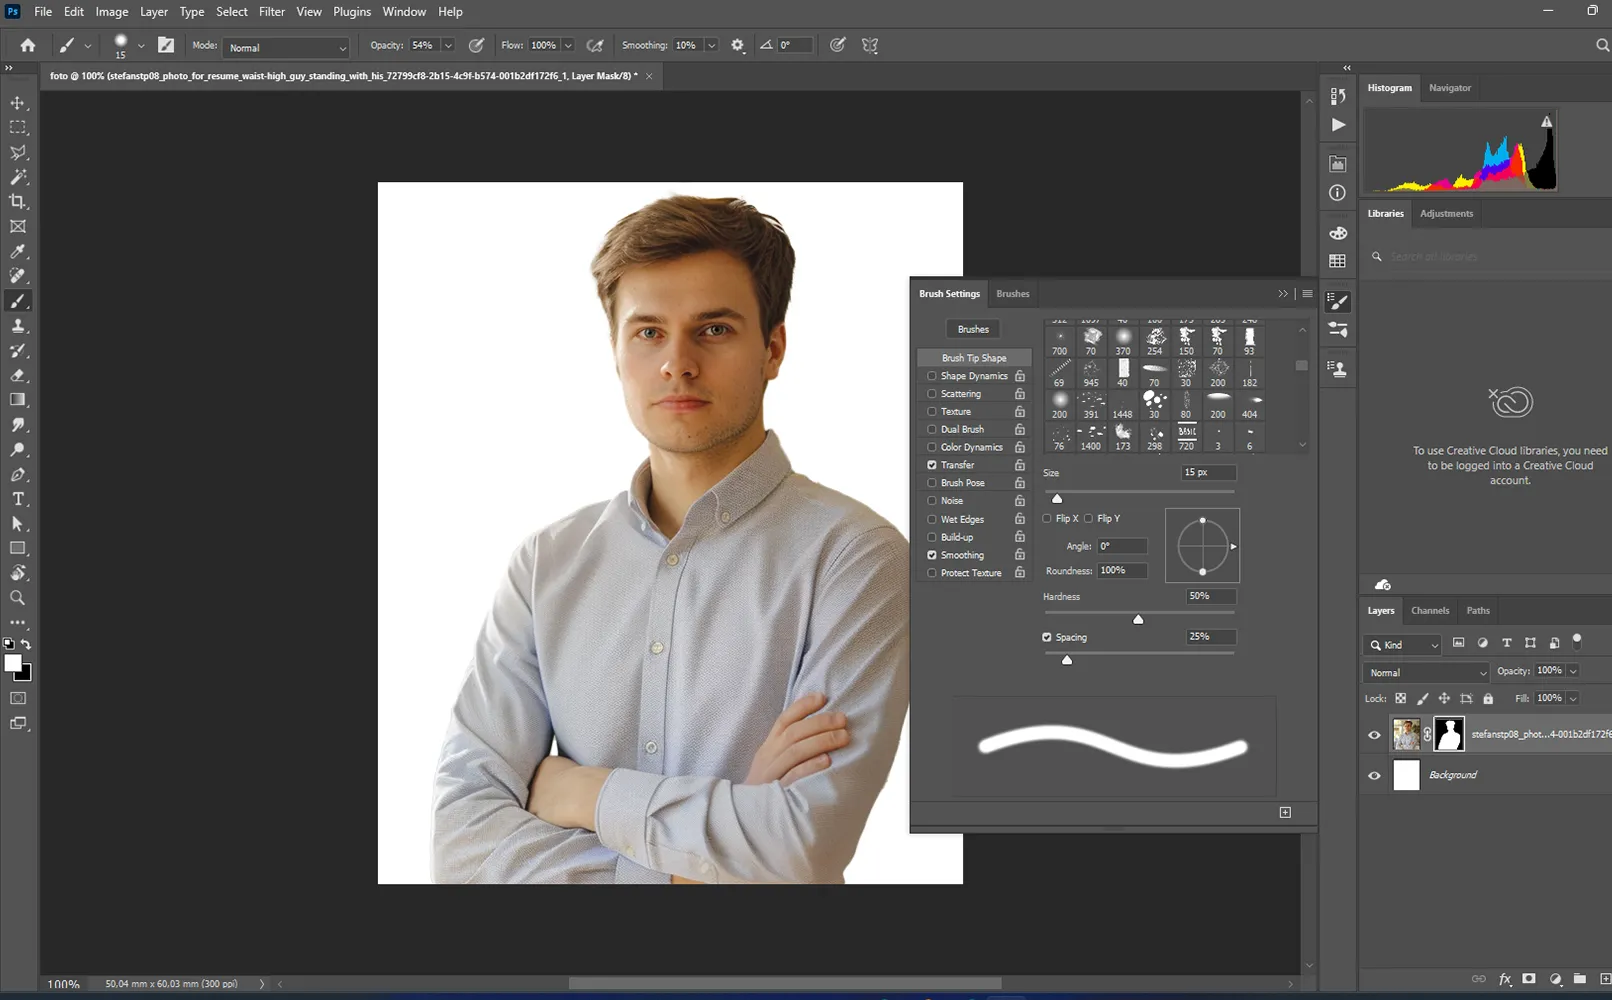
If something has been cut off or left out, don't worry, everything can be corrected. To do this, I take a brush, set its parameters and get to work.
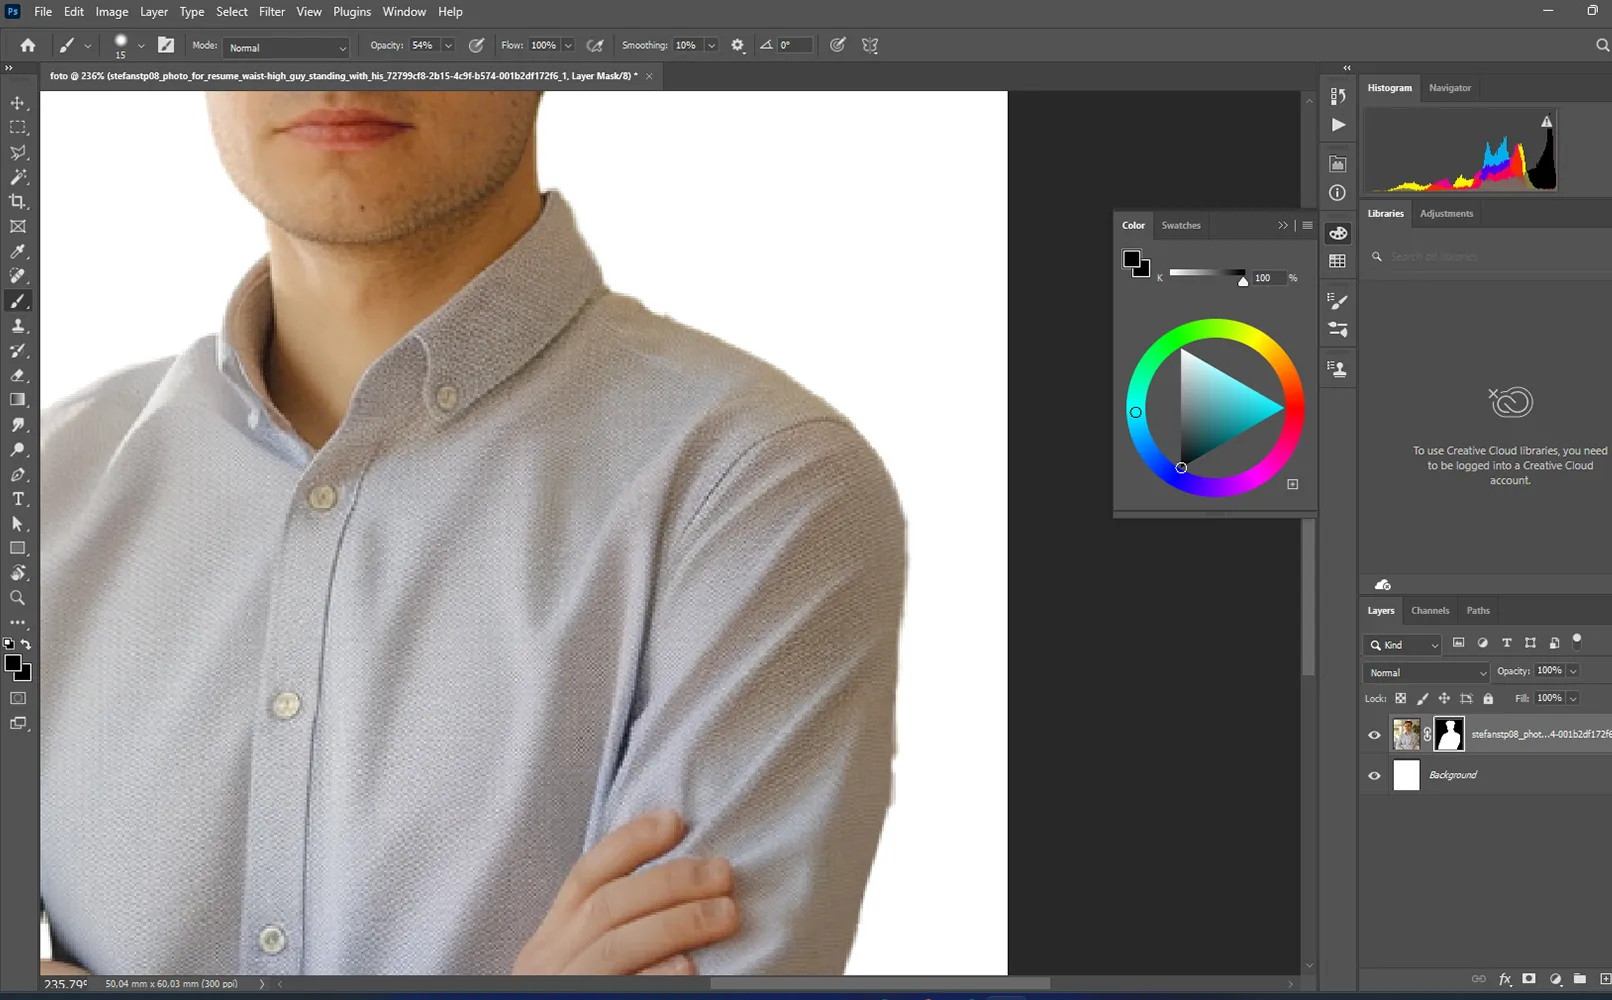
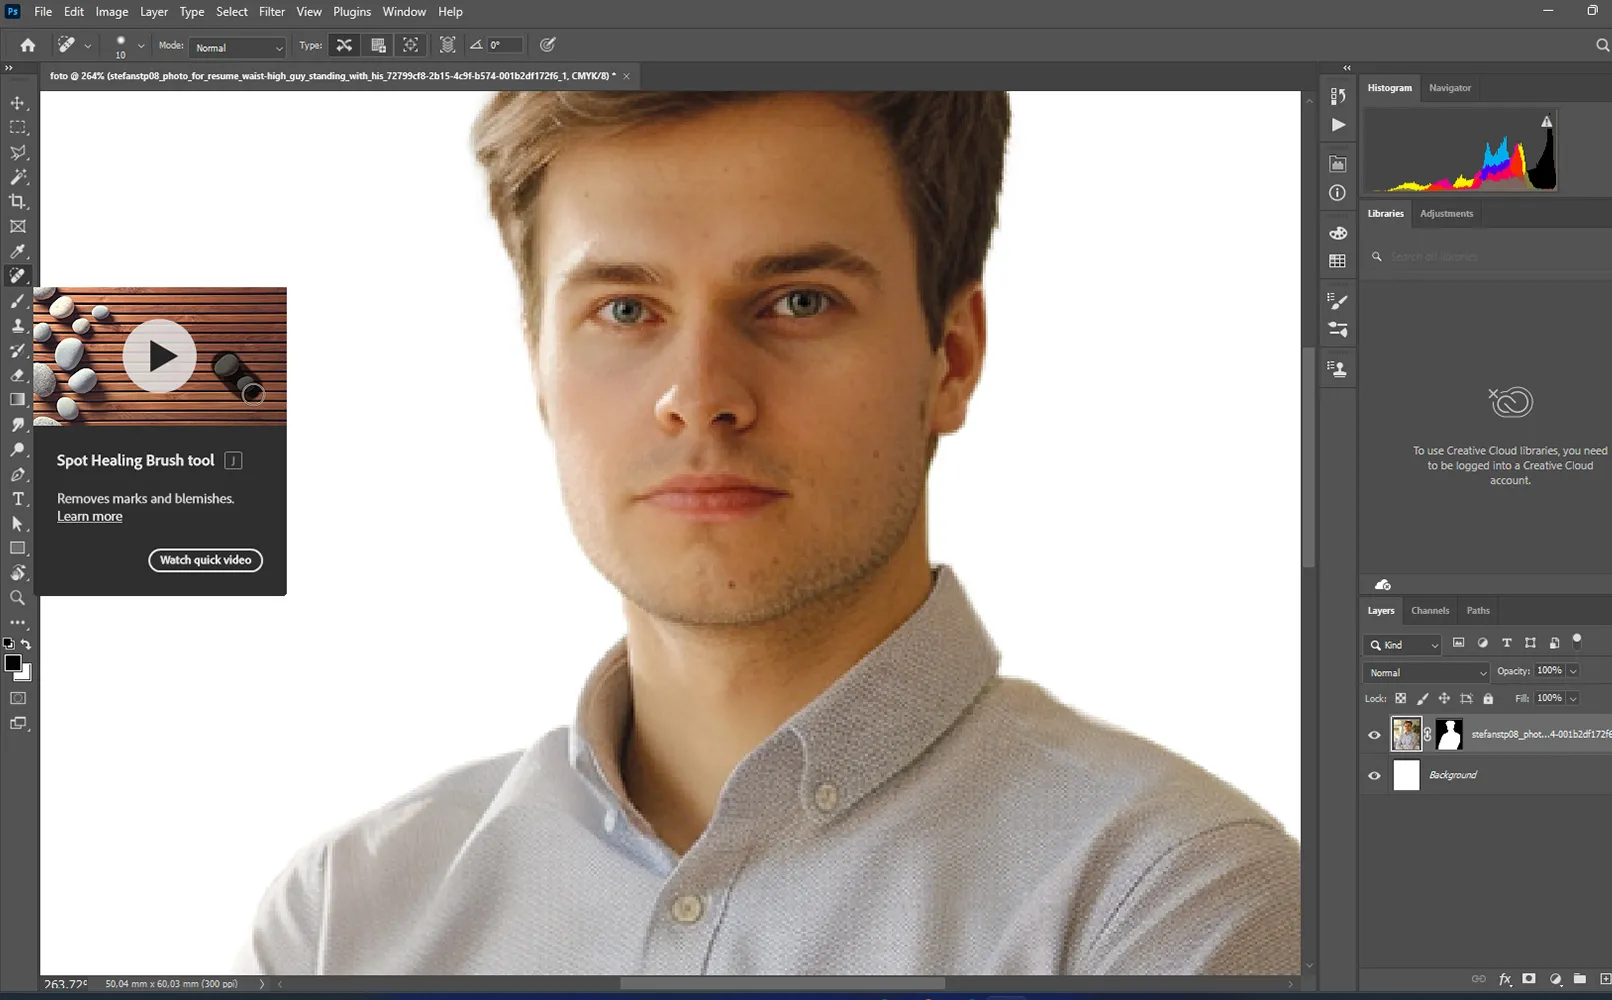
I'll show you a tool that you can use to remove excess from your face or shirt. In this example, we want to remove moles. This is a quick and easy way to retouch annoying elements such as spots.
The photo is almost finished. I just need to sharpen the image a little and make it clearer by using the contrast and lighting as in the example.
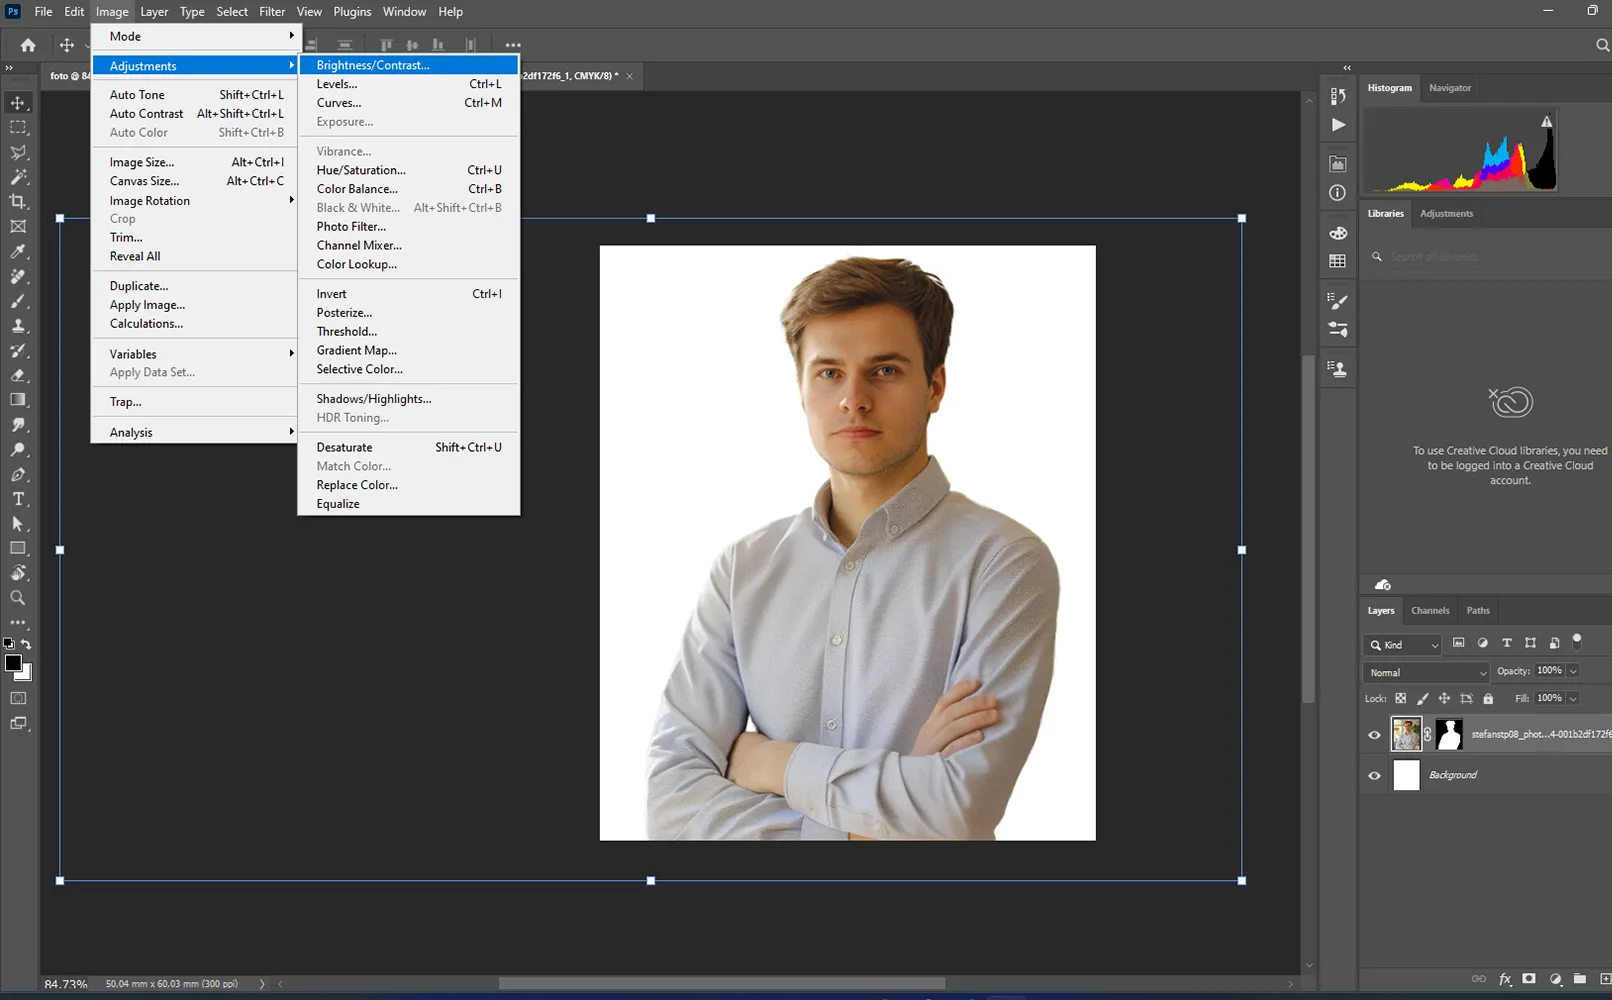
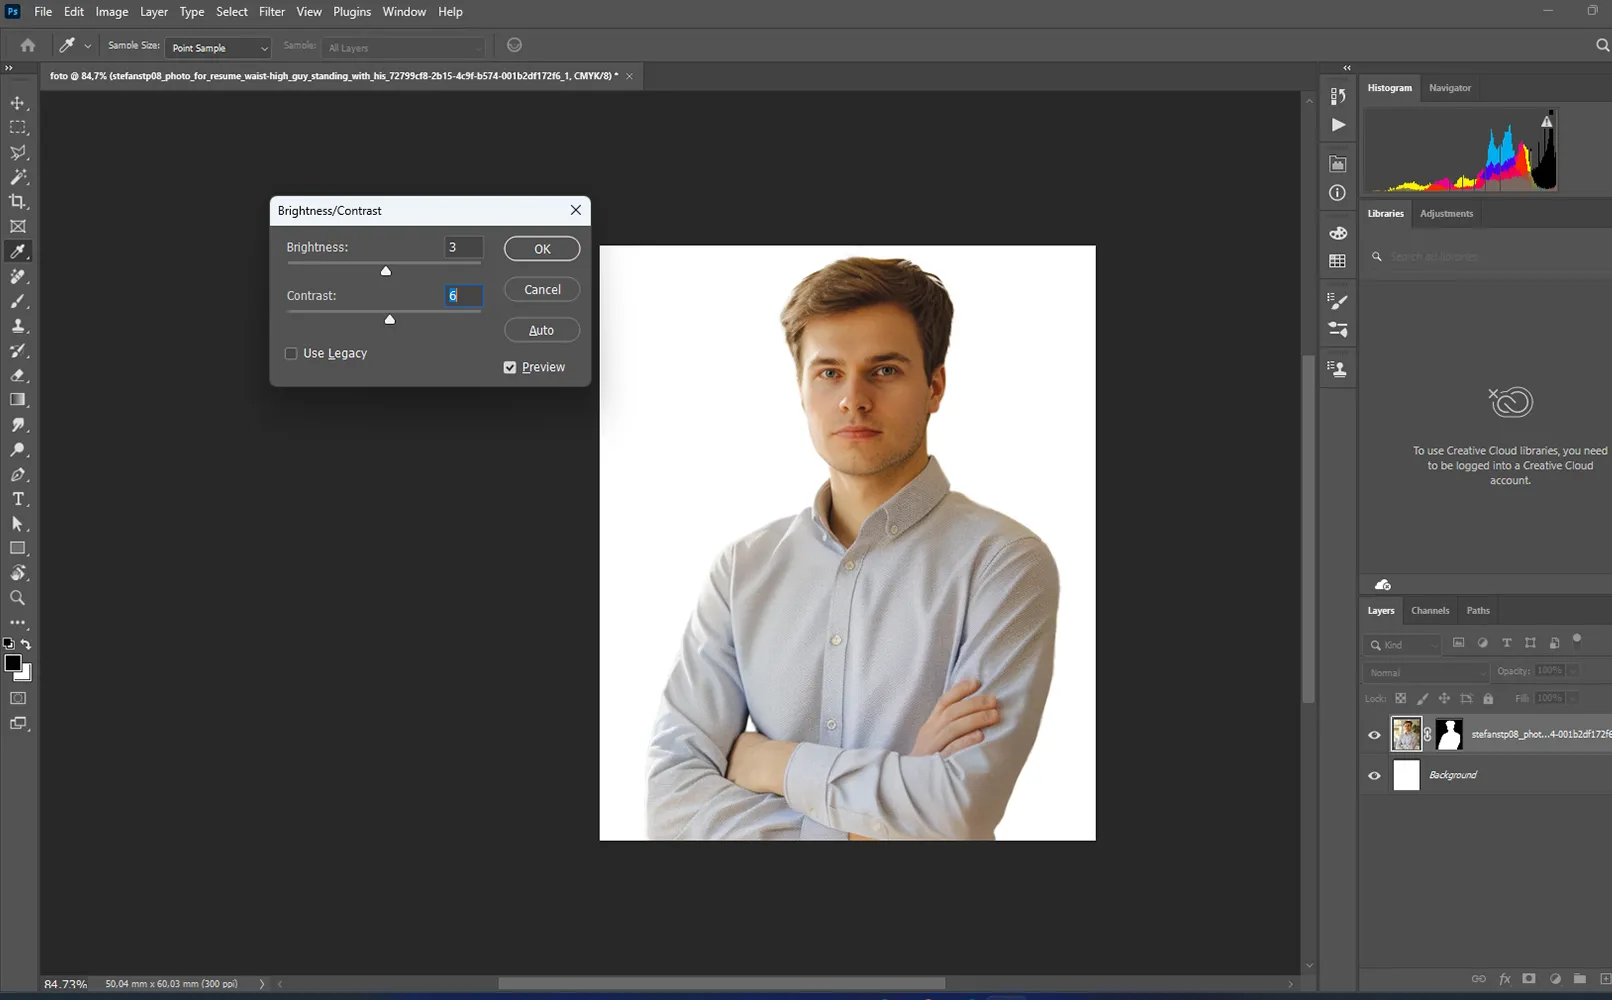
I add a new layer by clicking on the "+" button in the bottom right corner of the layers panel.
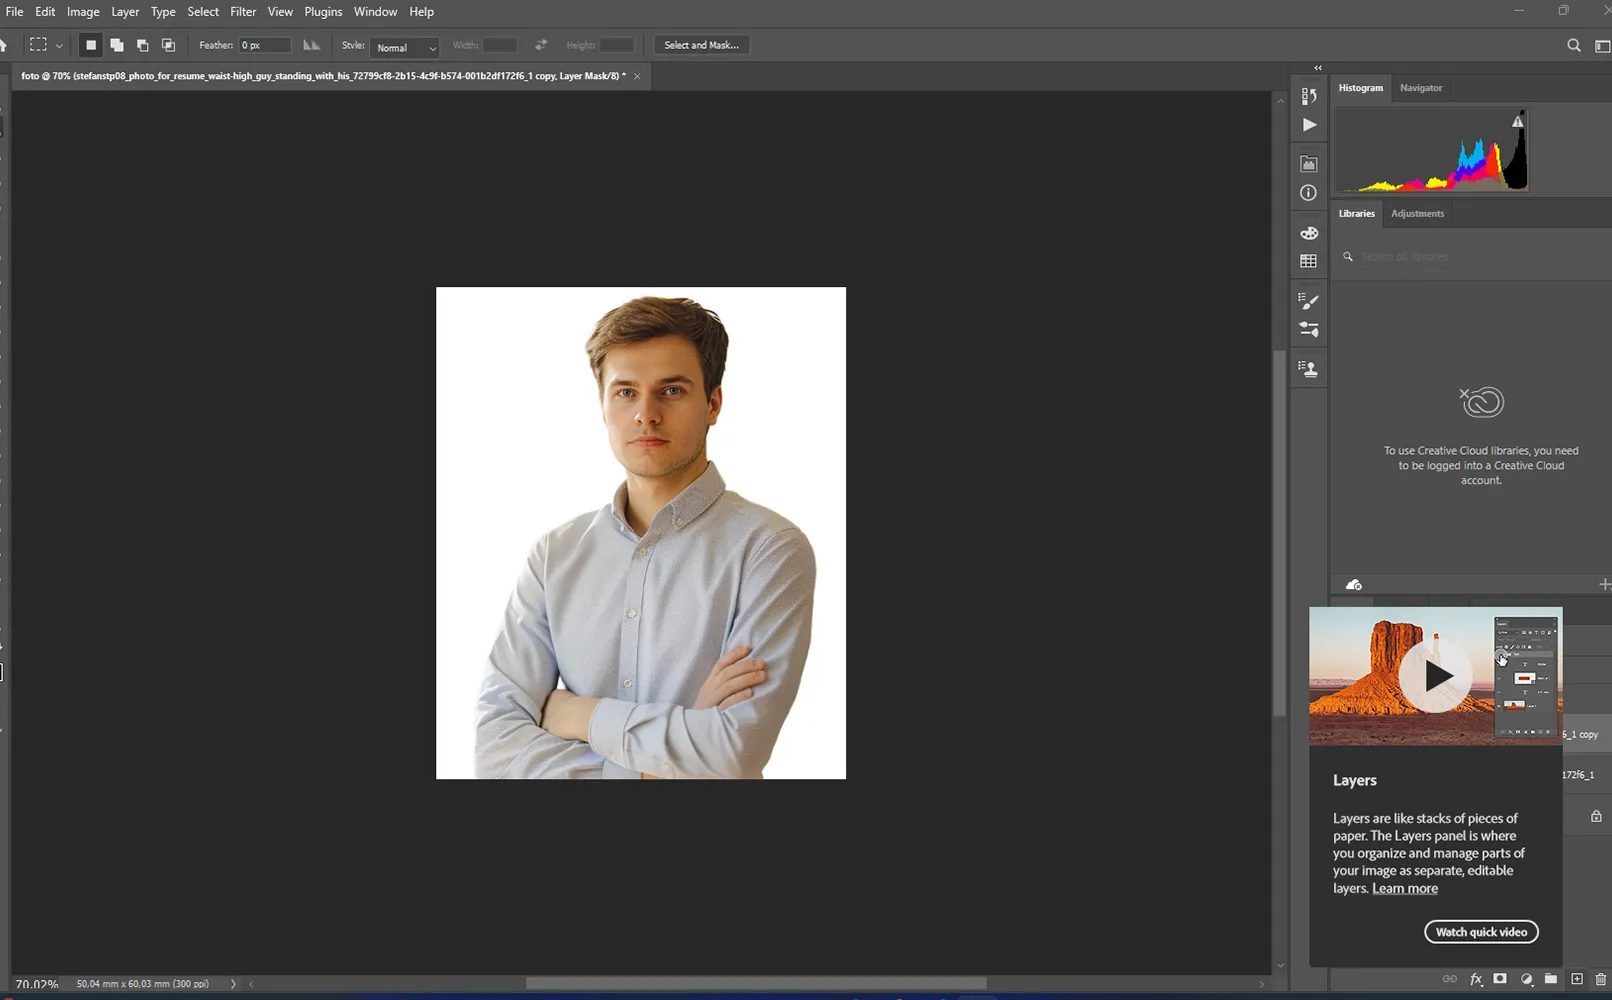
Then I move the layer down and use the gradient tool to create a colored background.
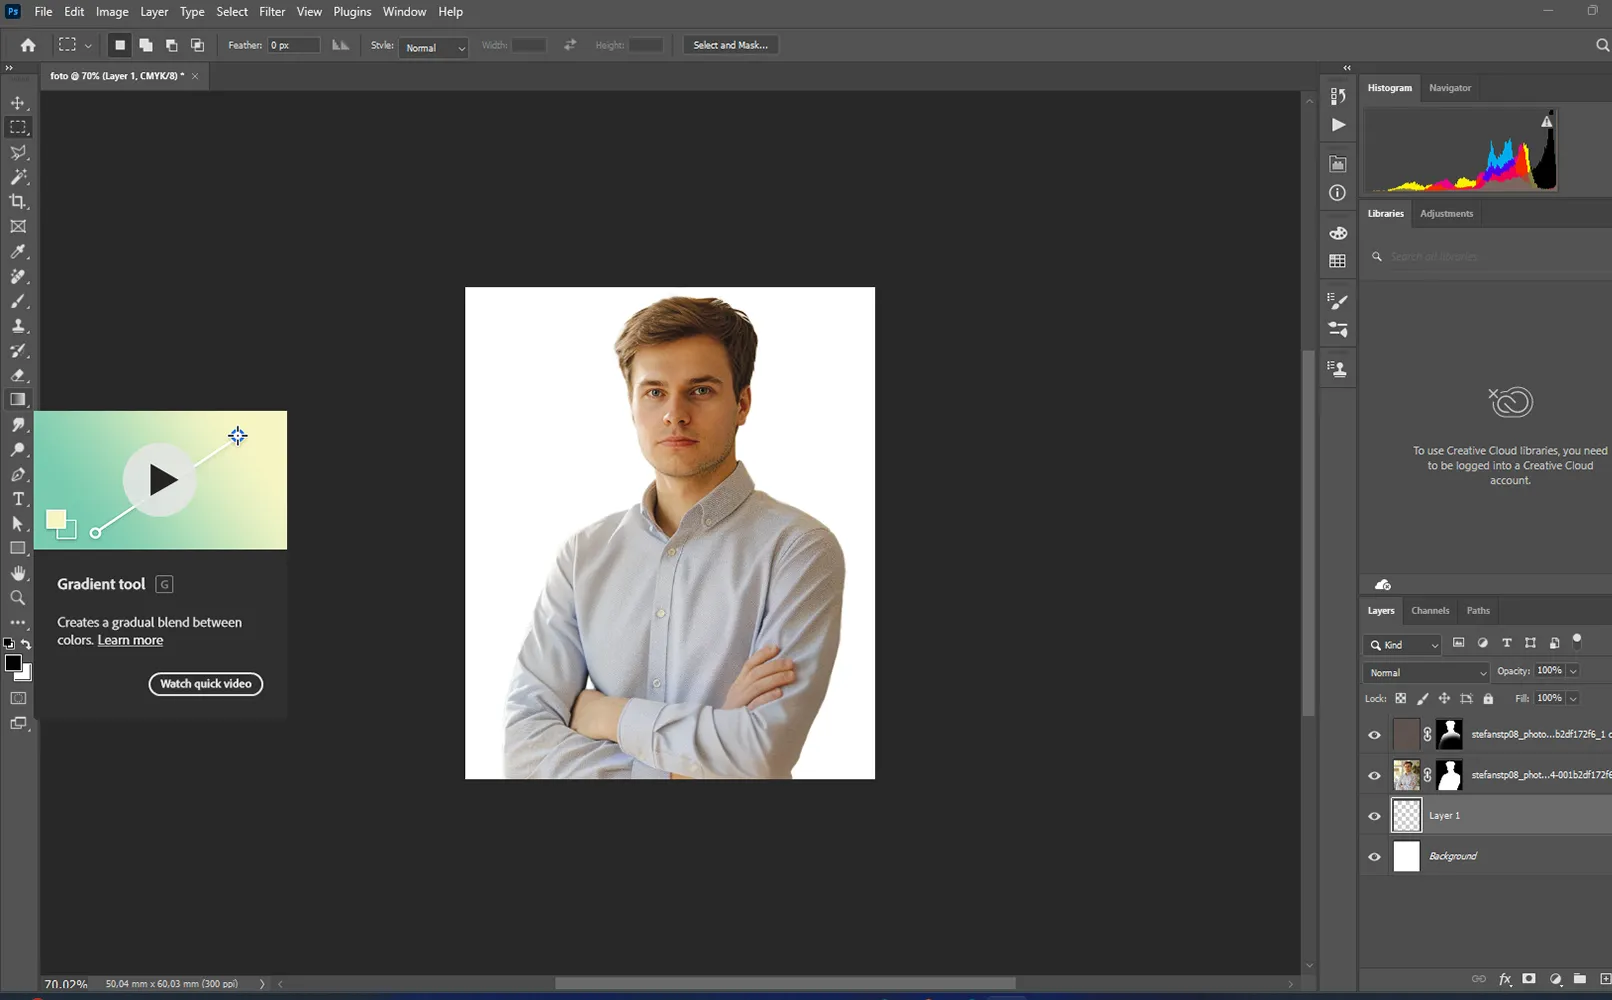
I double-click on the color wheel and select the desired hue.
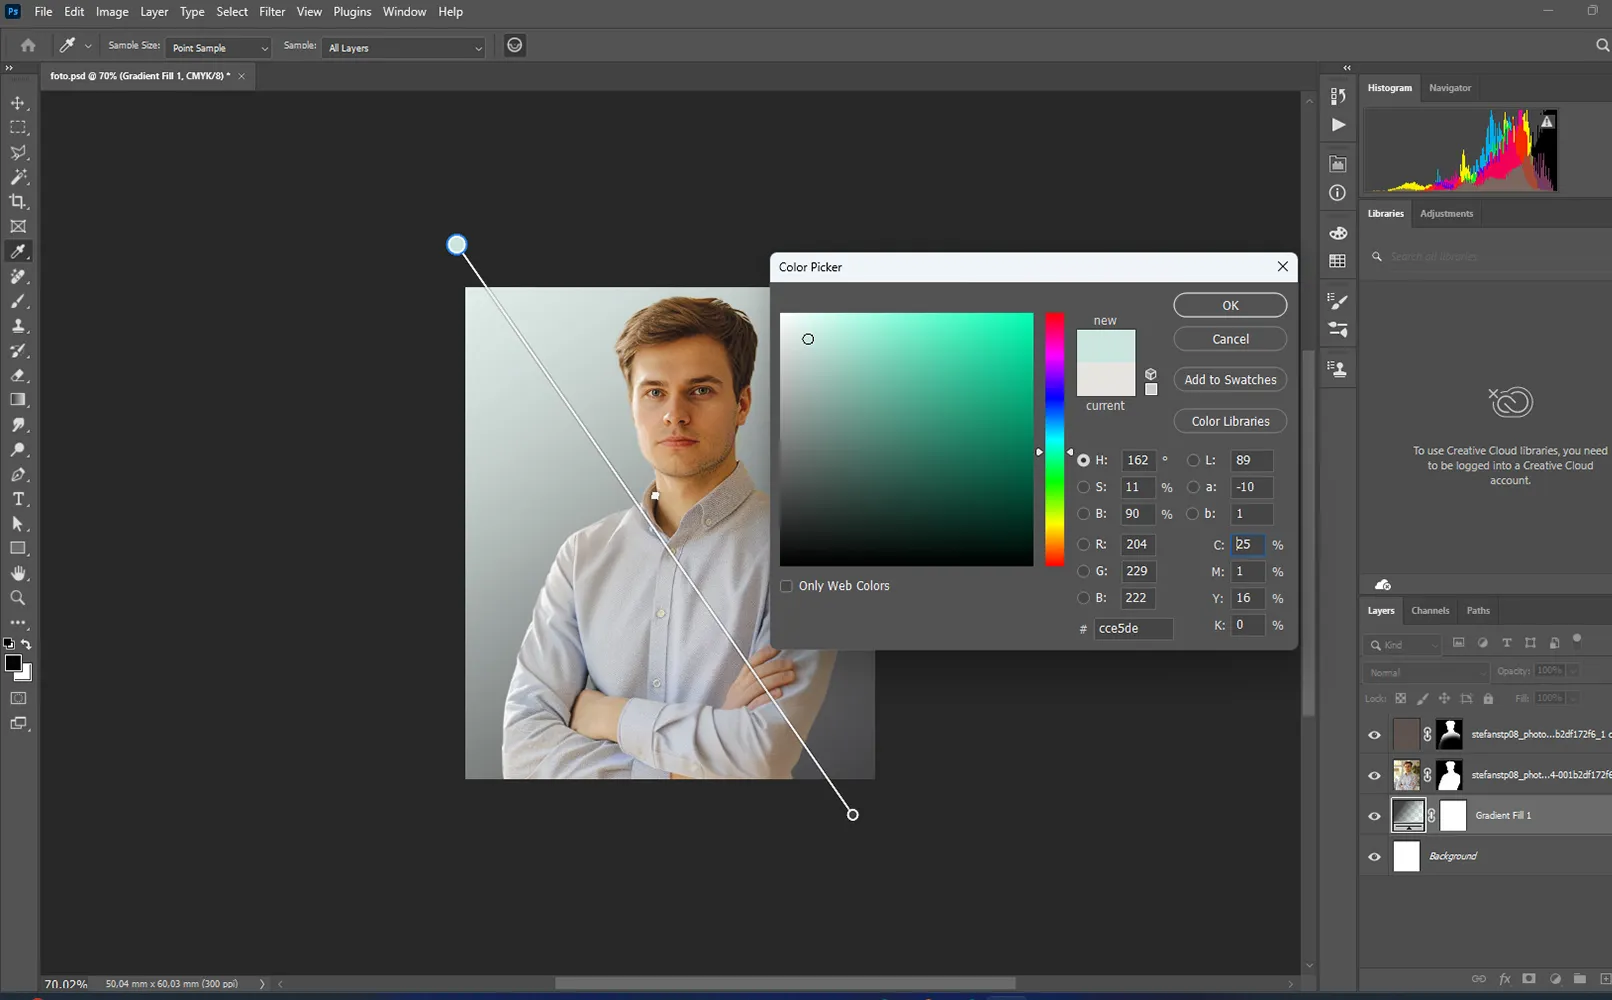
The last step is to create some realism with the shadow. To do this, open the layer settings window by double-clicking on the layer.
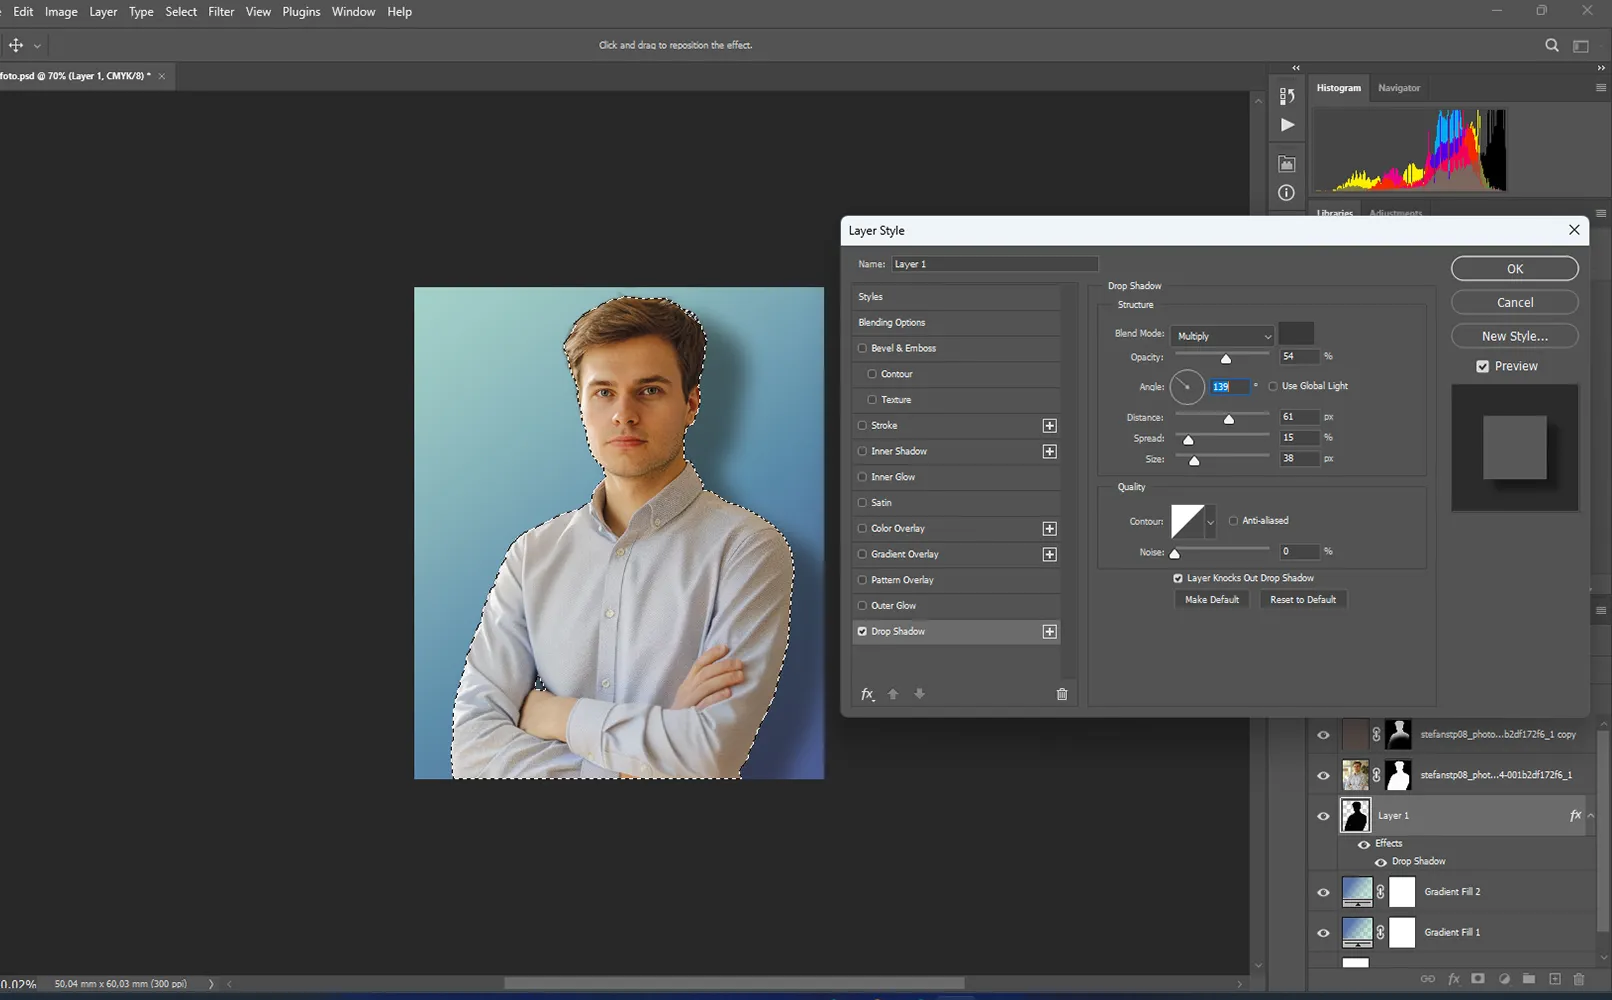
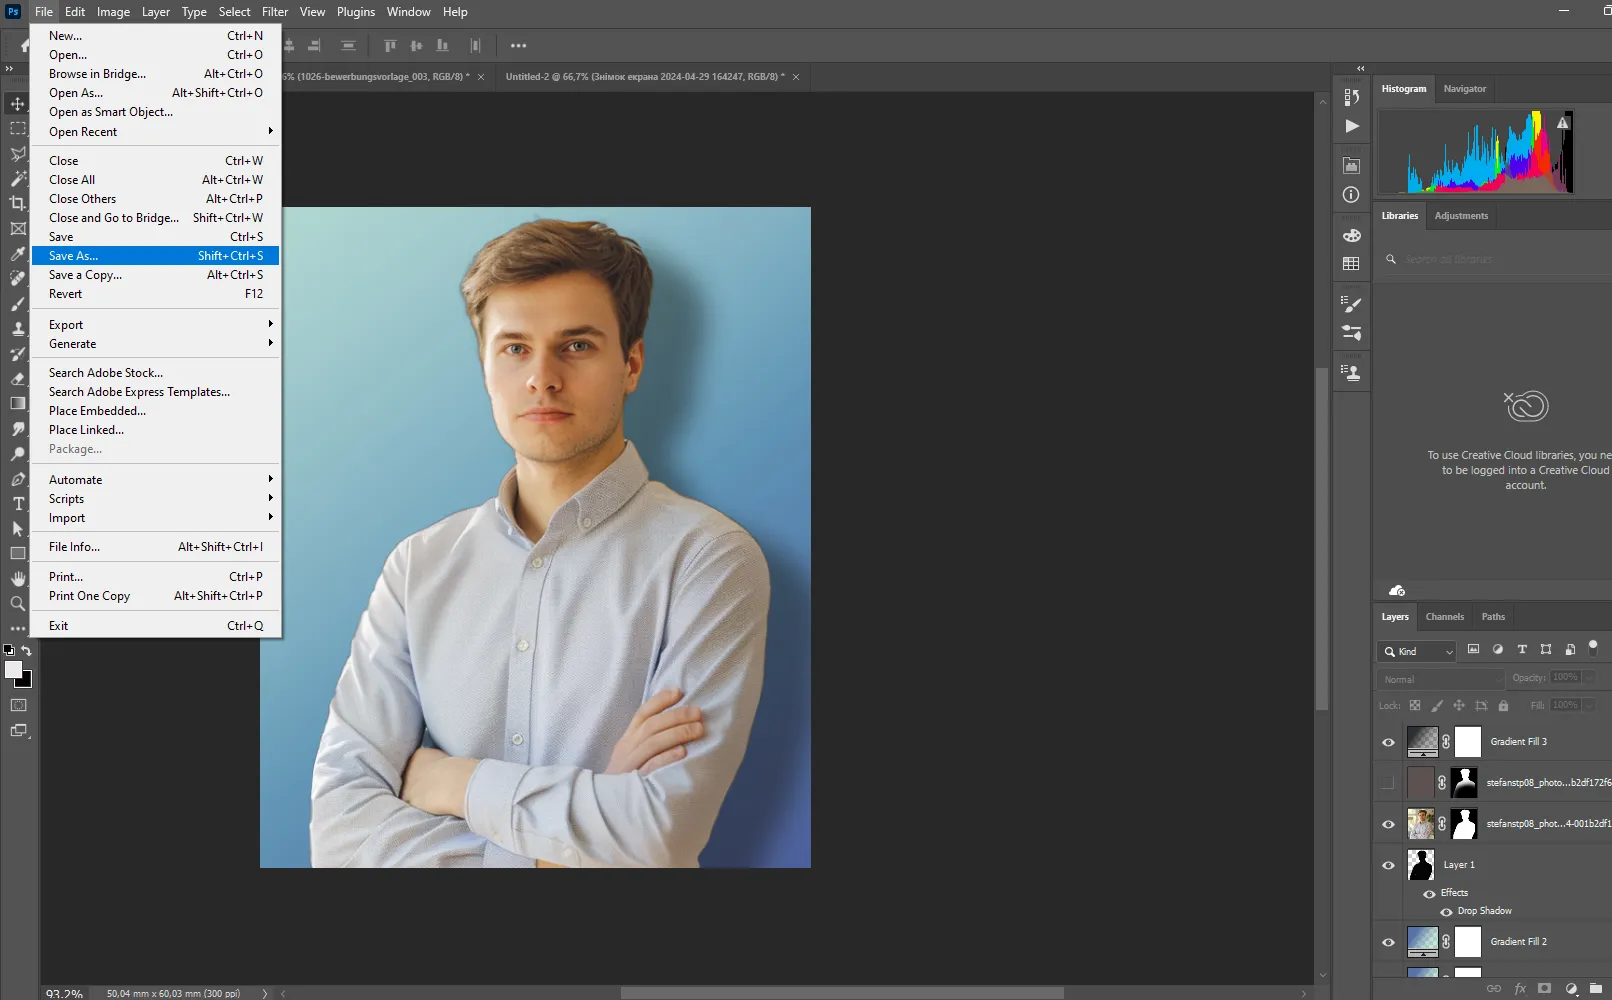
The photo is ready and now you can save the result.
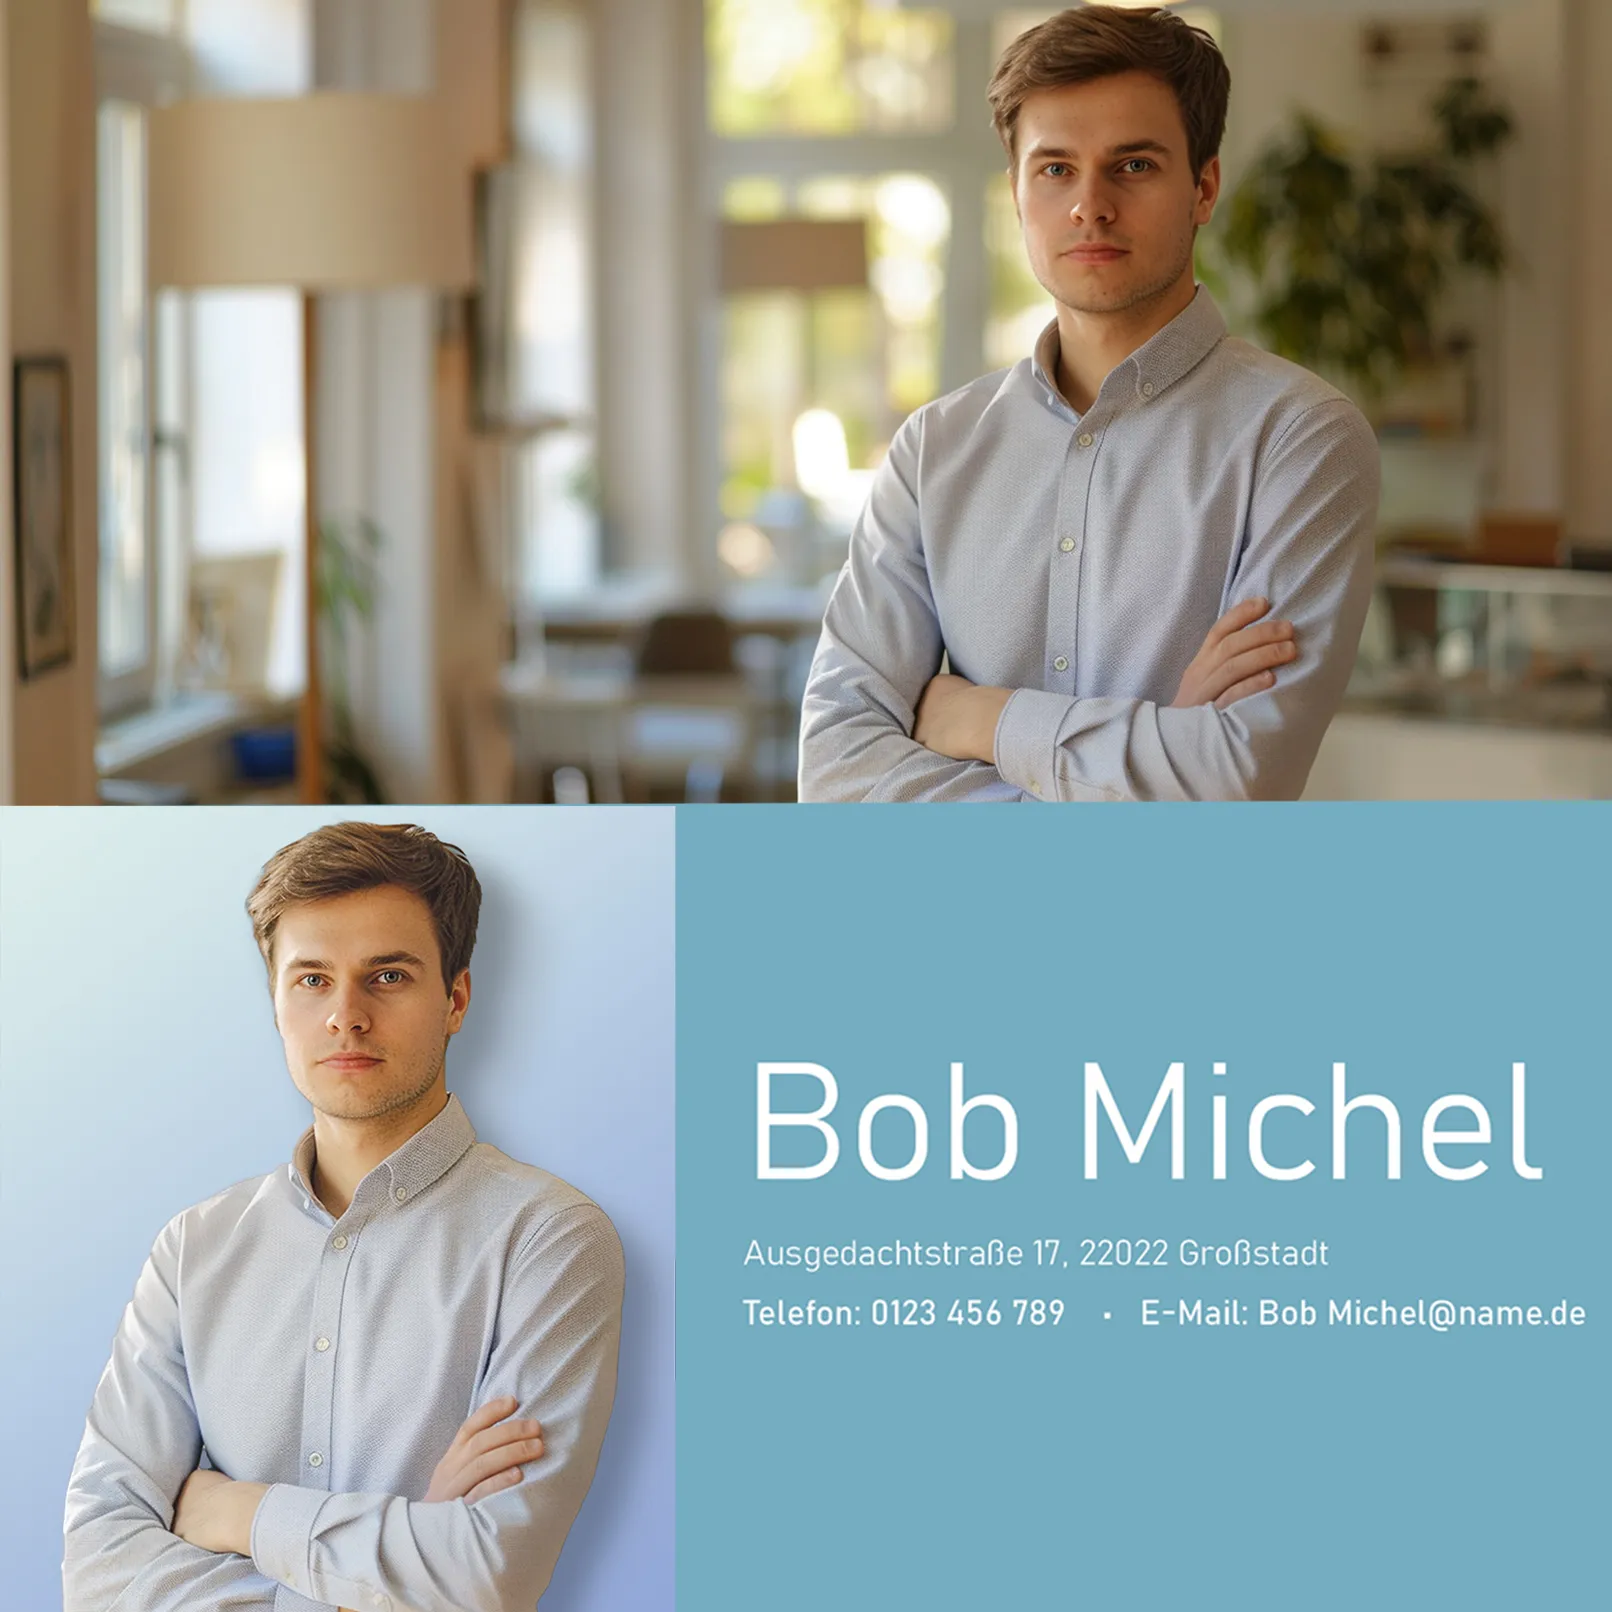
And here is the result. As you can see, even a smartphone photo can be customized and turned into an application photo.
8 tips for creating a job application photo
Most photo shoots consist of a nice dress, a natural location and poses.
JENNA DEWAN
I've written down 8 tips to help you take a beautiful application photo:
- Lighting: pay attention to the lighting conditions. Avoid bright light that casts shadows on your face. Natural light is best. Take photos near a window or in a room with good lighting.
- Facial expression: Take photos with a friendly facial expression. For more serious posts, try to look confident and friendly, but not too cheerful.
- Posture: Don't be too flirtatious with your pose. Avoid tilting or turning your head too much, this looks unprofessional.
- Sample pictures: If you can, look at sample photos of how people in your target industry present themselves in their profile photos on LinkedIn, for example.
- Don't forget to smile: A smile can instantly make you look more attractive and friendly.
- Background: It's important that you choose a background that doesn't distract from your face. Use a neutral background, e.g. a plain wall or light pastel colors. Avoid bright and saturated colors. If the background is an office building or glass windows, the background should be blurred.
- Be tidy: Remember that first impressions are important. Look neat and tidy. Brush your hair if necessary. Pay attention to small details such as facial hair and clothing. Your skin should also not be shiny due to sweat on your face. In this case, powder your face.
- Choose your clothes: Choose clothing that meets the recognized standards of your profession and industry. In most cases, classic and simple garments such as jackets, shirts, blouses or dresses are appropriate. Do not use bright or flashy colors and remember that your clothing should be comfortable and appropriate for the work environment.
What tools are needed for editing application photos?
There are a large number of tools in Photoshop to create a job application photo. And here are a few of them:
- Background: A slight gradient in the background can be an effective way to add depth and interest to a photo. When choosing a gradient, be sure to use only a smooth transition from lighter to darker tones, which creates a depth effect and draws attention to you in the photo. As an example, take the photo above, where the color gradient is also very gentle.
- Touch-up tool: This tool allows you to remove small imperfections in the photo, such as wrinkles on clothing or minor skin blemishes. It is ideal for making the image look neater and more professional by removing unwanted elements.
- Filters: Filters can significantly change the appearance of a photo by giving it a particular character or mood. For example, applying a blur filter can give the image a more artistic look.
- Blur: The blur tool makes it possible to soften contours and reduce the sharpness of the image. This is useful for smoothing out some details or creating a depth of field effect. You can also blur the background with the blur filter.
We sincerely hope that you get exactly the job that brings you joy and satisfaction. Then you will achieve good results and be successful. All the best for you!
Perhaps our modern application templates will also help you to present yourself even better. Which design do you like best?
Application photo: How to take a professional photo yourself
From Vitalii Shynakov
